Manage high volume emails for Microsoft 365 Public preview
Important
High volume email (HVE) service is currently in public preview and subject to change. We reserve the right to suspend or disable the service at any time if we detect any misuse or abuse of the service by any user. We appreciate your understanding and cooperation in this matter.
HVE is mainly for internal mass communication, and we have a limit of 2k external recipients per day. Please note that any efforts to bypass this limit will be noticed and such email will not be delivered.
Here's the comparison of options to send email using Microsoft 365 or Office 365 for multifunction device or application:
| Features | SMTP client submission | SMTP relay | Microsoft 365 High Volume Email |
|---|---|---|---|
| Send to recipients in your domain(s) | Yes | Yes | Yes |
| Relay to internet via Microsoft 365 or Office 365 | Yes | Yes | Limited* |
| Bypasses antispam | Yes, if the mail is destined for one of your Microsoft 365 or Office 365 mailboxes. | No. Suspicious emails might be filtered. We recommend a custom SPF record. | Yes, if the mail is destined for one of your Microsoft 365 or Office 365 mailboxes. |
| Supports mail sent from applications hosted by a third party | Yes | No | Yes |
| Saves to Sent Items folder | Yes | No | No |
| Open network port | Port 587 or port 25 | Port 25 | Port 587 |
| Device or application server must support TLS | Required | Optional | Required |
| Requires authentication | Microsoft 365 or Office 365 username and password required | One or more static IP addresses. Your printer or the server running your Line of Business (LOB) app must have a static IP address to use for authentication with Microsoft 365 or Office 365. | Office 365 HVE account username and password |
For detailed comparison see: How to set up a multifunction device or application to send email using Microsoft 365 or Office 365 | Microsoft Learn.
Note
A few additional notes around authentication:
- If
Security Defaultsis enabled, all basic authentication including SMTP is disabled, making High Volume Email (HVE) non-functional. - HVE accounts can operate even if
SMTPClientAuthenticationDisabledis set toTruewithinTransportConfig, due to the use of the custom endpoint. - To avoid any impact from authentication policies, it's important for customers to ensure
AllowBasicAuthSmtpis enabled in their organization for the HVE account. Custom authentication policies can be applied to the HVE accounts as needed.
Public preview limitations and known issues:
- Up to 100k recipients per 24 hrs.
- Up to 20 HVE accounts.
- Up to 50 recipients per message.
- HVE accounts are different kinds of mail user accounts. Please avoid giving any license to HVE accounts.
Get started with High Volume Email service
Create an HVE account
Navigate to https://admin.exchange.microsoft.com/.
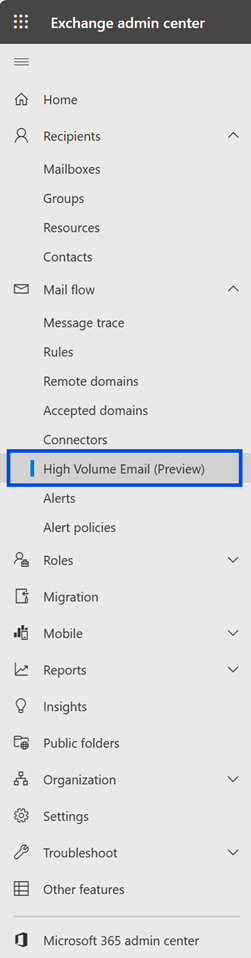
Under the Mail flow menu, select High Volume Email(Preview).
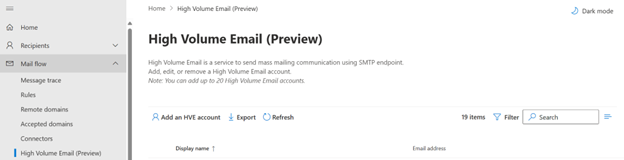
Select Add an HVE account.
Provide a valid display name. Primary address should be in the following format: username@contoso.com, where contoso.com should be within a list of accepted domains, alias (optional), and password.
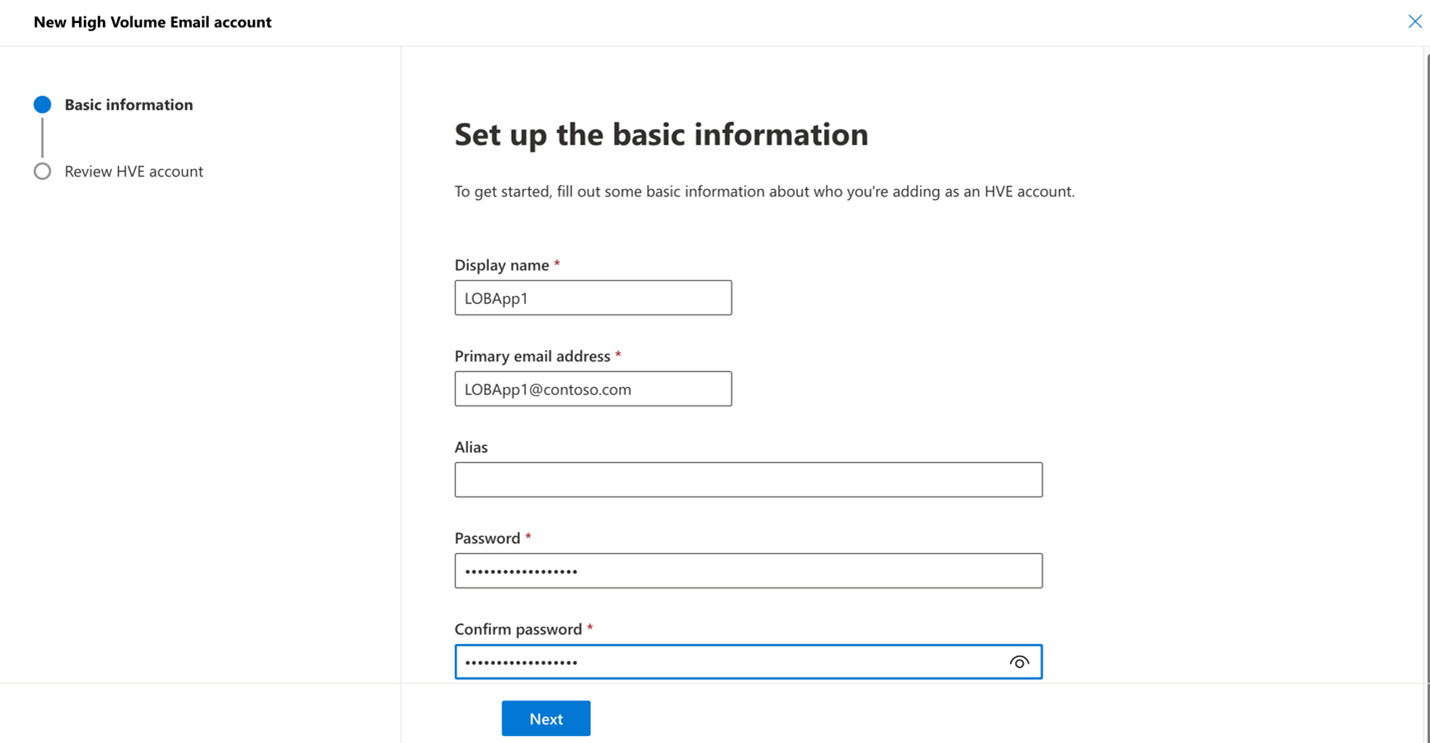
Select Next.
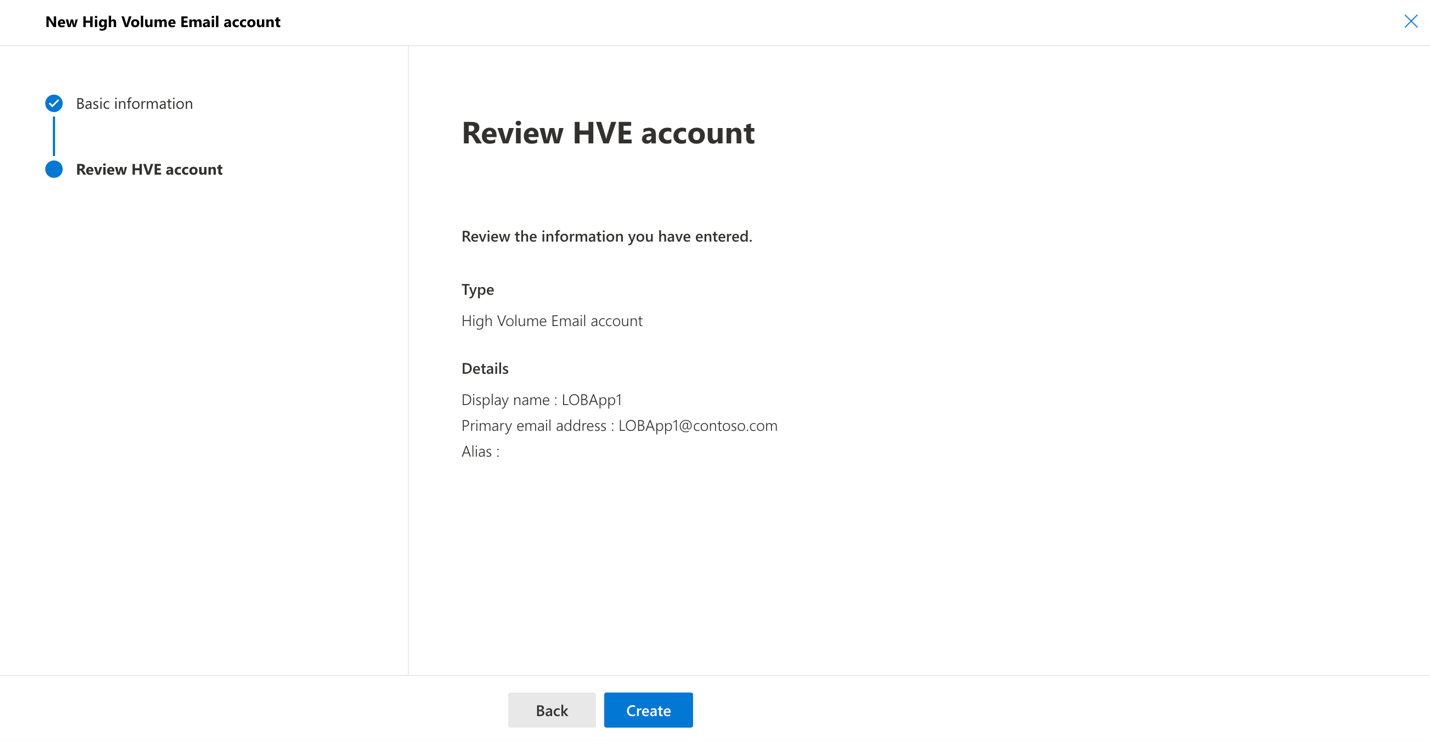
Validate provided information.
Select Create.
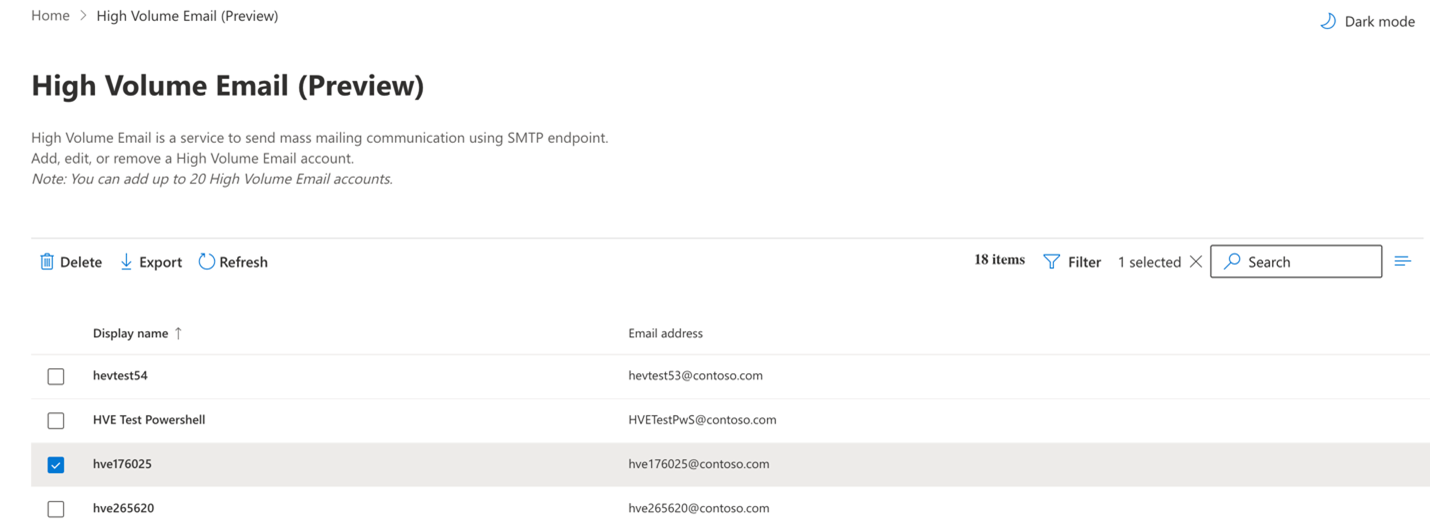
The new HVE account is listed in the HVE accounts list.


View HVE usage report
Navigate to https://admin.exchange.microsoft.com/.
Under Reports, select Mail flow.
Under listed Mail flow reports, select High Volume Email (Preview).
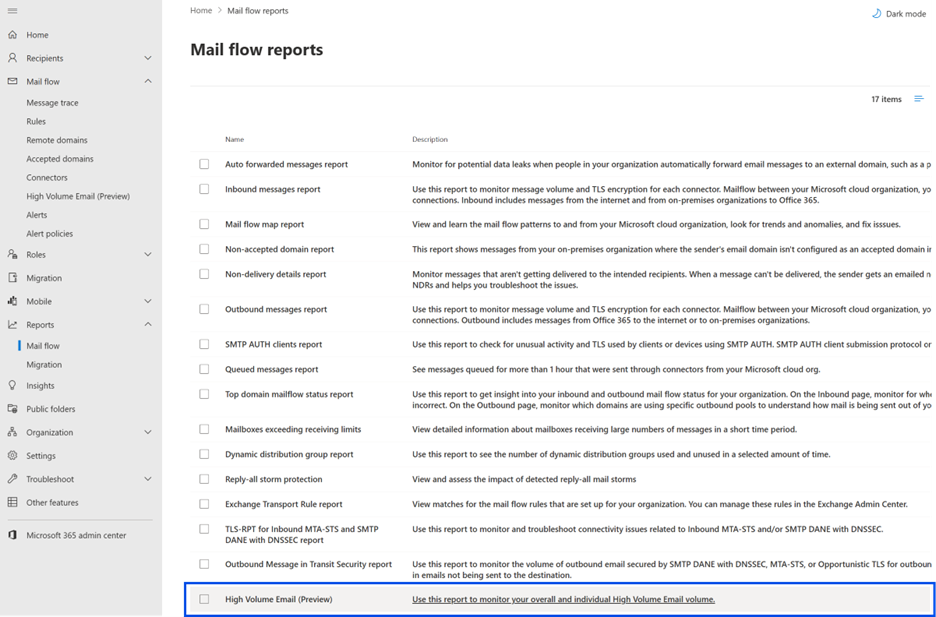
Report shows usage data for the tenant for the selected period.
Select specific Sender address to view usage data for this account for selected period.
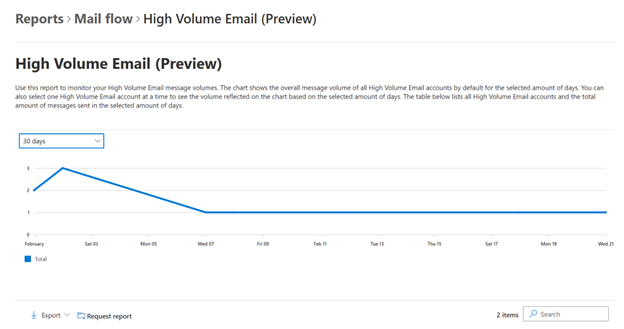
To see how much each HVE account uses, choose an account from the list.
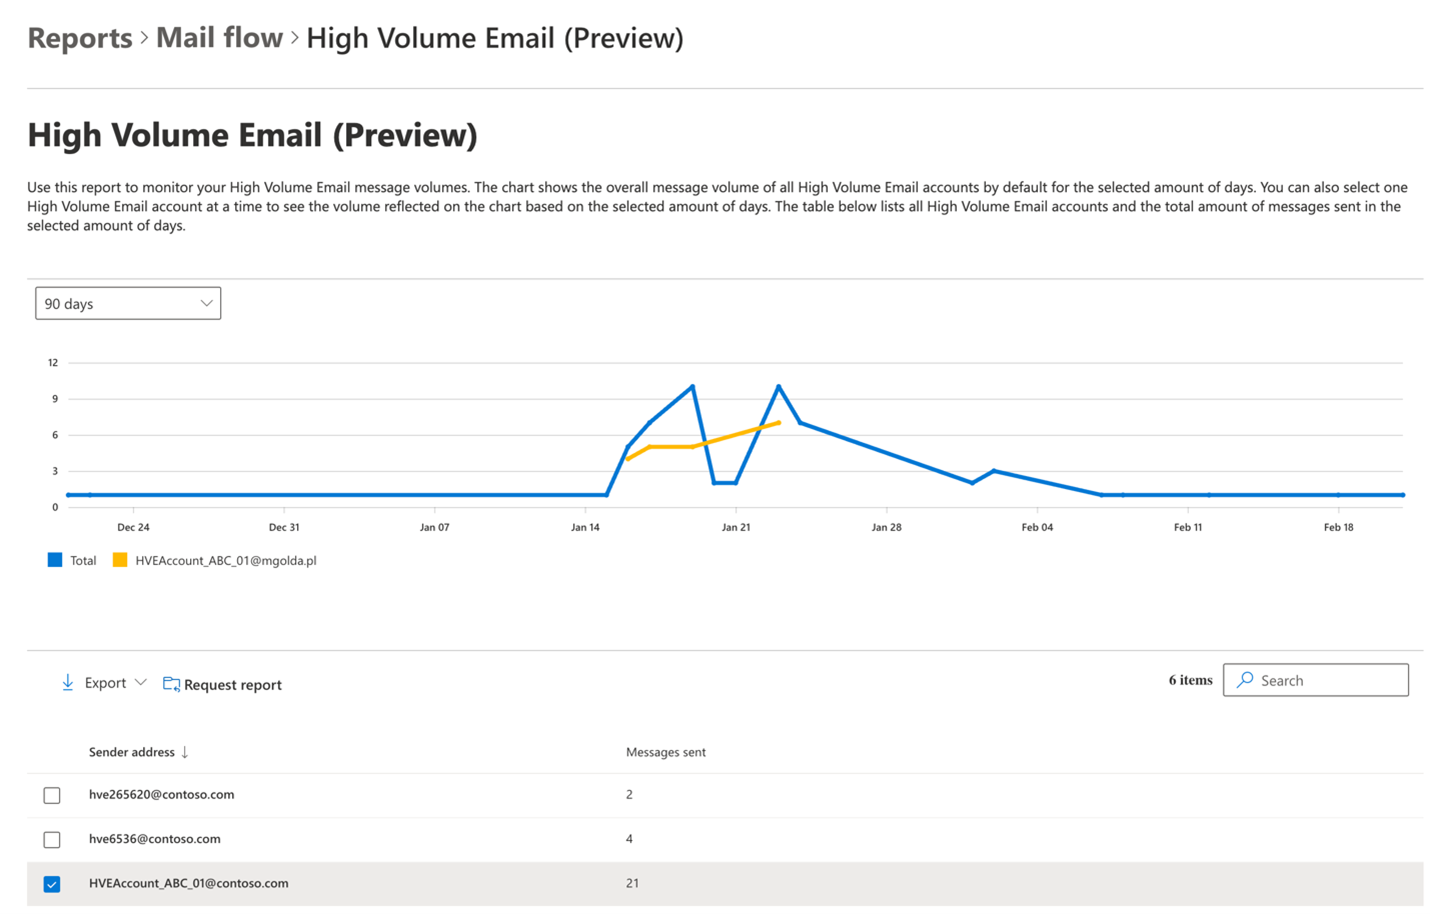
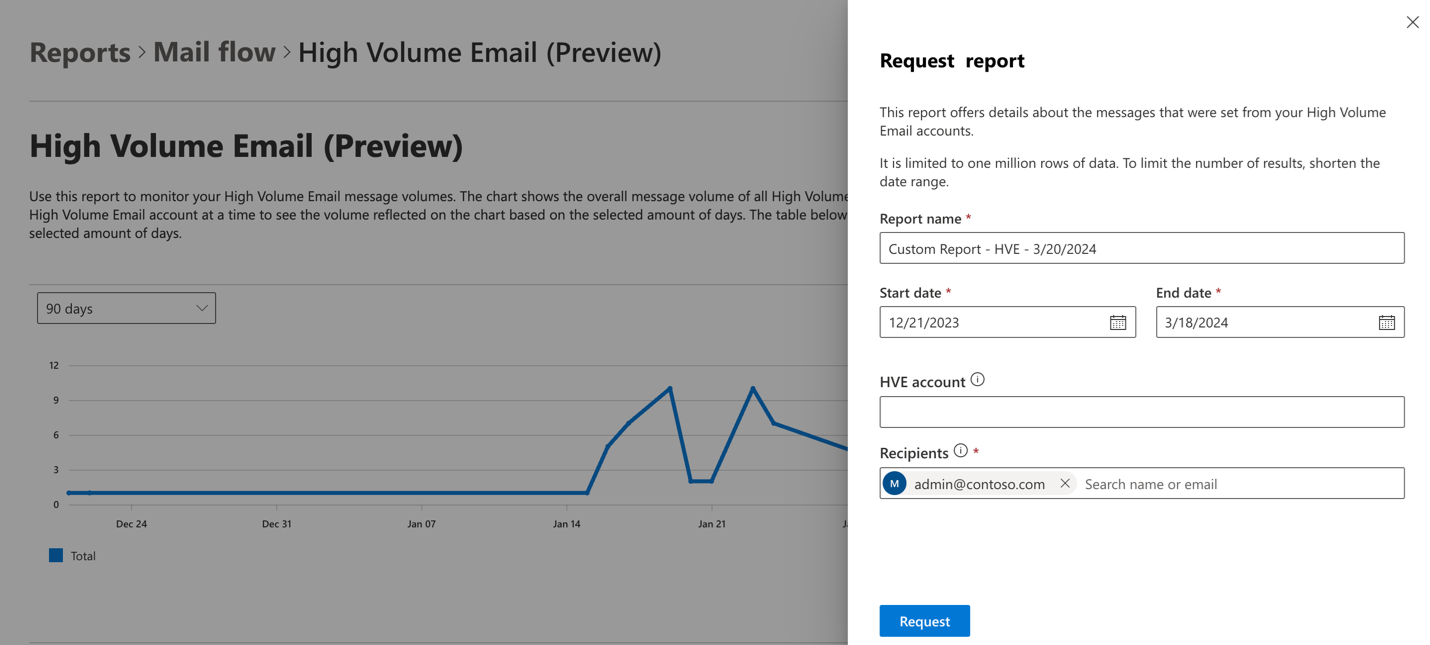
To get detailed information about messages that are sent from your HVE, select Request report.
Enter the Start date, End date, and Recipients to identify email addresses of users who will receive requested report. If you enter value in the HVE account field, you'll get detailed report only for this specified HVE account.
Select Request.


PowerShell account management
To connect to Exchange Online PowerShell, see Connect to Exchange Online PowerShell.
Display all HVE accounts
To display all existing HVE accounts, run the following command:
Get-MailUser -LOBAppAccount
This command returns the following data:

Create HVE account
To create HVE account, use one of the following methods:
Provide the account and password:
$securePassword = Read-Host "Enter password" -AsSecureString

New-MailUser -LOBAppAccount -Name "HVEAccount01" -Password $securePassword -PrimarySmtpAddress "HVEAccount_01@contoso.com"
Provide the account and be asked to enter the password:
New-MailUser -LOBAppAccount -Name "HVEAccount01" -PrimarySmtpAddress "HVEAccount_01@contoso.com"You'll receive confirmation of the HVE account creation:

Be asked to enter the account and password:
New-MailUser -LOBAppAccount -PrimarySmtpAddress "HVEAccount_01@contoso.com"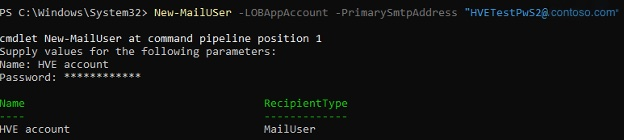

Note
For the Public preview release, you can create up to 20 HVE accounts for the tenant.
Remove HVE account
To remove HVE account, run the following command:
Remove-MailUser -Identity "HVEAccount_01"
You need to confirm that you would like to remove this account.
Change display name
To change display name, run the following command:
Set-MailUser -LOBAppAccount -Identity "HVE account" -DisplayName "HVE account 2"