Note
Access to this page requires authorization. You can try signing in or changing directories.
Access to this page requires authorization. You can try changing directories.
Sign in to Power Automate.
In the left pane, select My flows, and then select New flow > Instant cloud flow in the menu at the top.
Name your flow, select Manually trigger a flow under Choose how to trigger this flow, and then select Create.
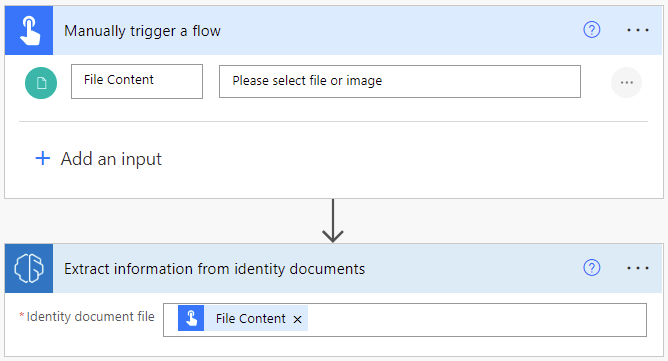
Expand Manually trigger a flow, and then select +Add an input > File as the input type.
Select +New step > AI Builder > Extract information from identity documents.
Specify File Content as the identity document file you want to process in your flow.
Congratulations! You've created a flow that uses the ID reader model. Select Save, and then select Test in the upper-right corner to try out your flow.
Example flow that adds extracted information to an Excel worksheet
In the following example, you'll add steps to your flow to enter the extracted information in an Excel worksheet. First, you'll prepare a table to use in your flow. The table must match the information you want to extract. Then you'll add an Excel connector to your flow.
Create an Excel table
Create an Excel workbook in a Microsoft OneDrive or SharePoint folder.
In the first row of the worksheet, enter the following values, one to a column: First name, Last name, Identity document number, and Country. These values are the column headers for your table.
Select the cells and format them as a table, with the first row as the header.

Save and close the workbook.
Enter the extracted data in the table
Use the ID reader flow you created, or create another one for this example.
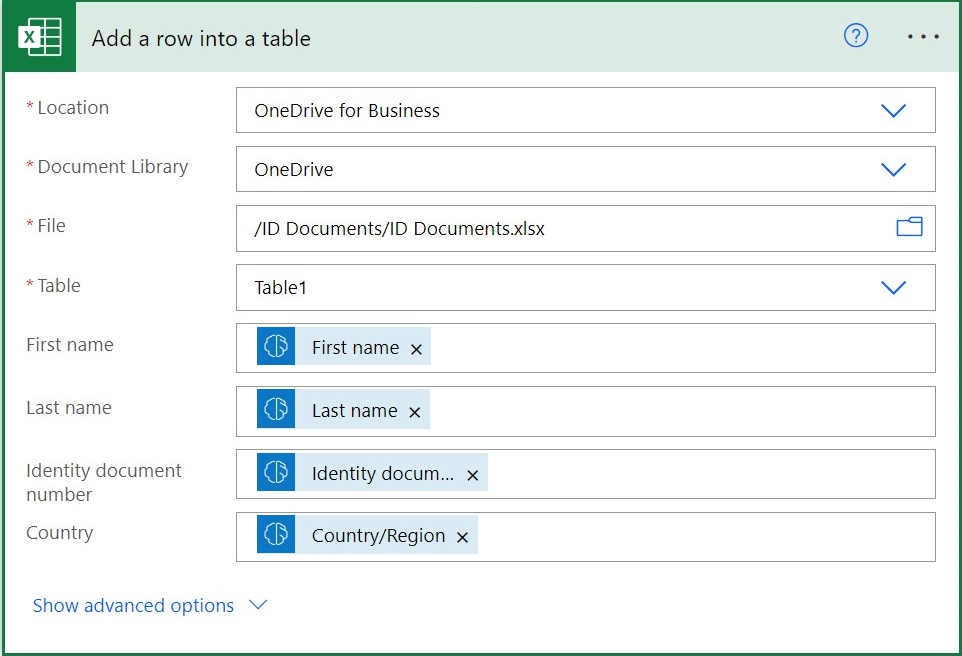
Select +New step > Excel Online (Business) > Add a row into a table.
Select a Location, Document Library, and File to specify where to find your Excel workbook.
Select the Table that you created in the previous step.
In First name, Last name, and Identity document number, select the matching value in the dynamic content list.
In Country, select Country/Region in the dynamic content list.
Select Save.
Test the flow
Select Test, select Manually, and then select Test to trigger the action.
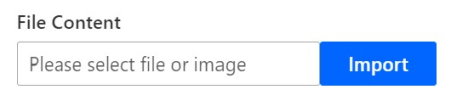
In File Content, select an identity document file or image, and then select Import.
Select Run Flow.
The flow may take a few seconds to execute while AI Builder extracts the data and adds a new entry to the table in Excel. Open your Excel workbook to confirm the extracted information has been entered.

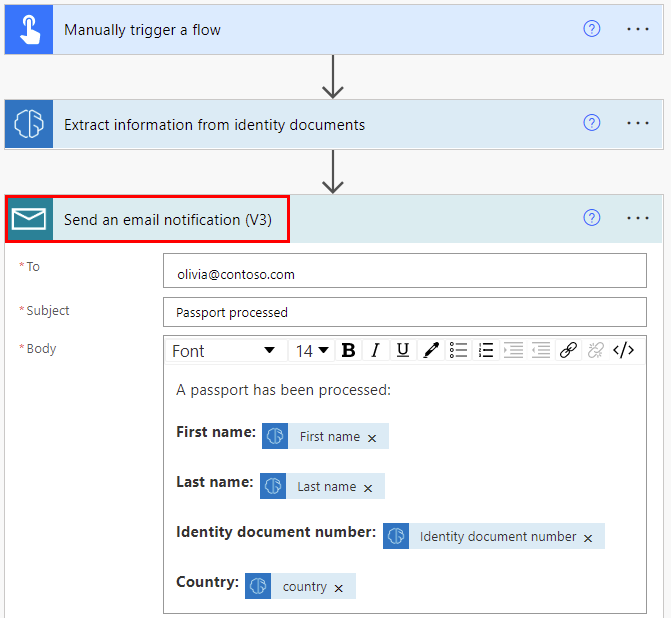
Example flow that sends extracted information in an email
The following example shows how to set up a flow to send the extracted information in an email. You can add the Send an email notification connector to the flow you created earlier or create an ID reader flow for this example.