Hello Rajiv,
Which kind of project did you use? And which version of selenium package did you install?
On my side, I tested with Microsoft Unit Test Project. After creating a “MSTest Test Project(.NET Core)” which was based on .NET Core 3.1, I installed the Selenium.WebDriver NuGet package(version: 4.0.0-alpha05 or Latest stable 3.141.0) and it installed successfully and worked well. I also tried with a “Unit Test Project (.NET Framework)” which was based on .NET Framework 4.5, the Selenium.WebDriver NuGet package also installed and worked well.
To create selenium based test projects in Visual Studio 2019, please launch VS 2019 > create a new project for example Unit Test Project > right-click your project > Manage NuGet Packages… > install related NuGet packages for example “Selenium.WebDriver” package.
Here are some details:
- If you want to use selenium in Visual Studio 2019, you just need to download and install selenium NuGet packages. You can download them by right-clicking the project > Manage NuGet Packages… > Browse > select and install (note to choose the proper versions).
- If you need to use project based on .NET Core, please remember to install corresponding .NET Core SDK from here: Download .NET, and the “.NET Core cross-platform development” workload from VS Installer. If you need to use project based on .NET Framework 4.5, you should check if .NET Framework 4.5 has been installed on your machine.
To create a .NET 4.5 based project, you can change the version of .NET Framework on the “Configure your new project” page when you click File > New > Project… > Framework. If you have created a project, you can also change the version of .NET Framework by right-clicking your project > Properties > Application > select .NET Framework 4.5 under Target framework.
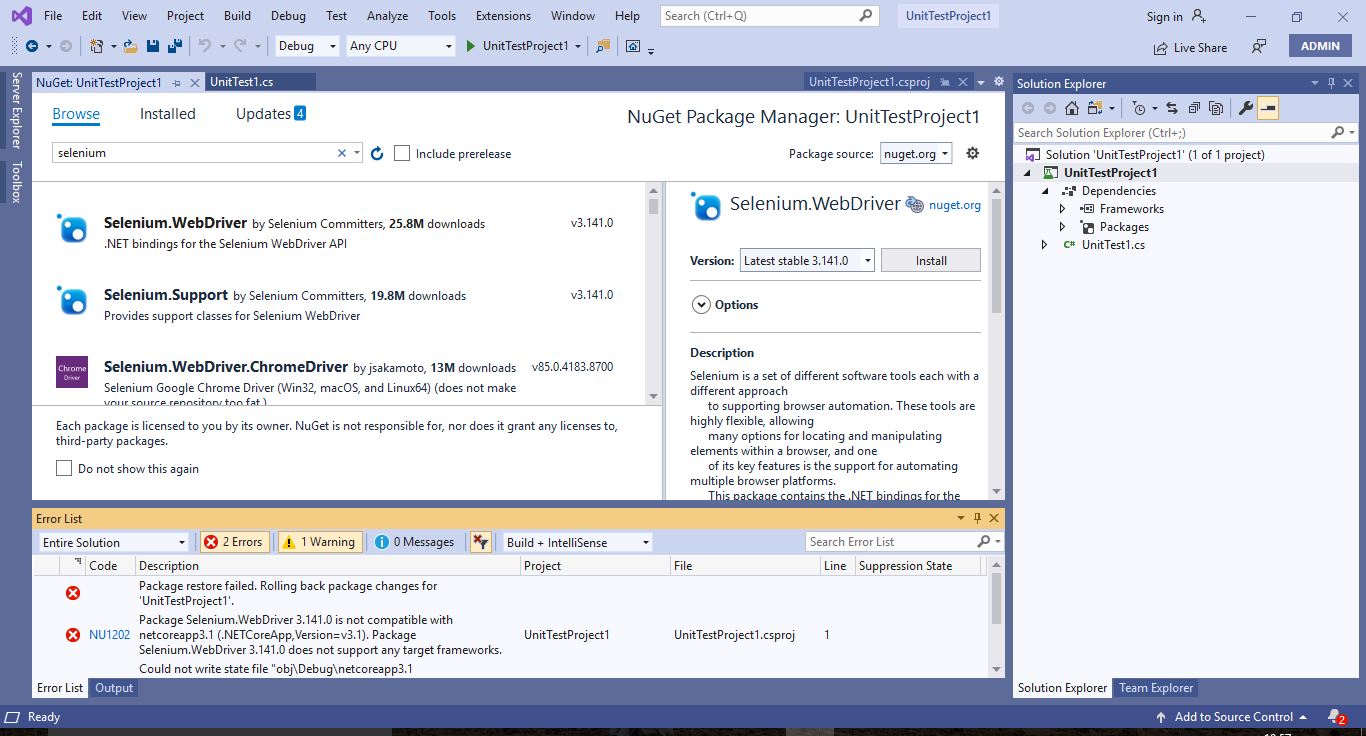
For your issue(selenium is not compatible with .net core 3.1), could you share some screenshots which include error message and some detailed reproduced steps with me for further check?
- Update1:
Please also try to follow steps below to clear cache of NuGet.
- From Tools > Options > NuGet Package Manager > General > click “Clear All NuGet Cache(s)”.
- Download the recommended latest nuget.exe from https://www.nuget.org/downloads > add the folder where you placed nuget.exe to your PATH environment variable > start “CMD” > type “cd XXXX\XXXX” to this folder > type “nuget .exe locals all -clear” > Enter.
Also follow these steps to troubleshoot.
- Delete the
bin,objand the hidden.vsfolder. - Try to update VS to the latest version from VS Installer.
Sincerely,
Tianyu
- If the answer is helpful, please click "Accept Answer" and upvote it.
Note: Please follow the steps in our documentation to enable e-mail notifications if you want to receive the related email notification for this thread.
