Microsoft Entra ID
A Microsoft Entra identity service that provides identity management and access control capabilities. Replaces Azure Active Directory.
21,698 questions
This browser is no longer supported.
Upgrade to Microsoft Edge to take advantage of the latest features, security updates, and technical support.

Hello Team,
Please let me know the process of enabling accidental deletions prevention in the Azure AD provisioning service. I would appreciate if you provide me with steps by step screenshot.
Have a great day ahead!

Hi Gurudas,
Please see this article and it provides detailed information on setting up the accidental deletion prevention. accidental-deletions
Hope this helps.
JS
==
Please "Accept the answer" if the information helped you. This will help us and others in the community as well.

@Gurudas
Thank you for your post and I apologize for the delayed response!
I understand that you would like some screenshots associated with the steps in our Enable accidental deletions prevention in the Azure AD provisioning service documentation, as shared by @JimmySalian-2011 , which I'll share below.
Configure accidental deletion prevention
To enable accidental deletion prevention:
Azure Active Directory. Enterprise applications and then select your app. 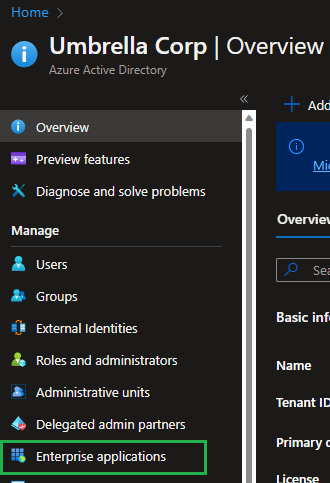
Provisioning and then on the provisioning page select Edit provisioning. 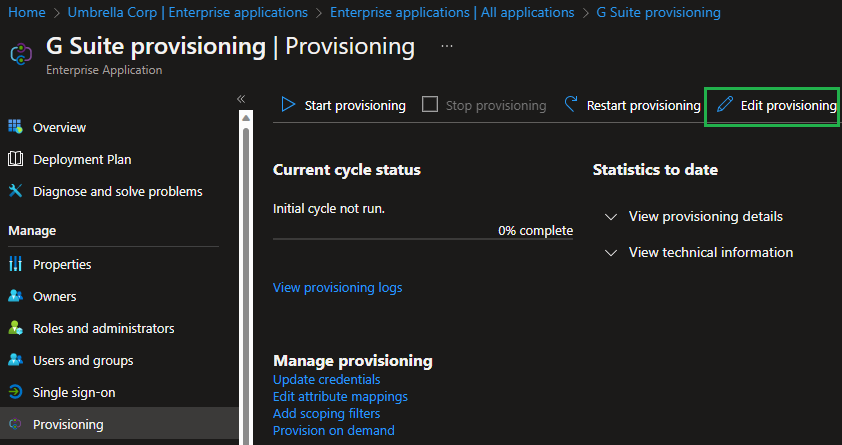
Settings, select the Prevent accidental deletions checkbox and specify a deletion threshold. Also, be sure the notification email address is completed. If the deletion threshold is met an email will be sent. 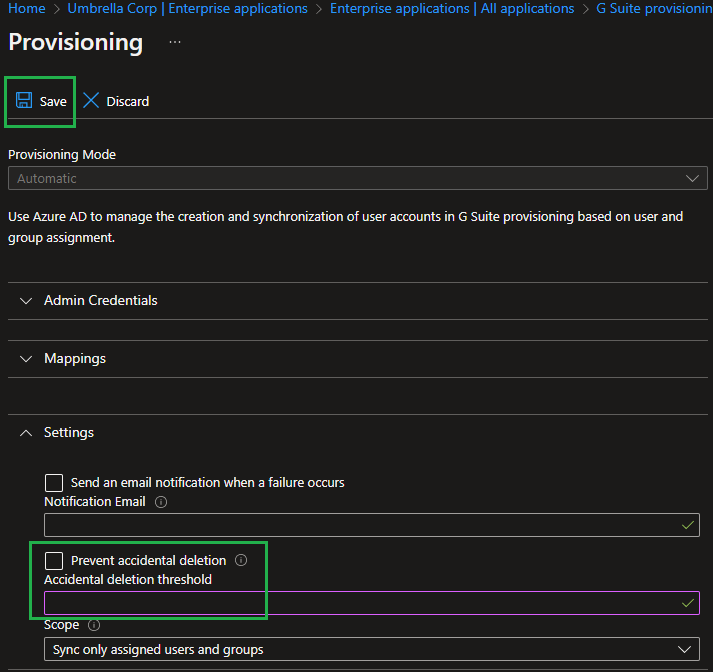
Save, to save the changes. I hope this helps!
If you have any other questions, please let me know.
Thank you for your time and patience throughout this issue.
----------
Please remember to "Accept Answer" if any answer/reply helped, so that others in the community facing similar issues can easily find the solution.

This is great, how do you do this via powershell?