i tried to port Windows Terminal Window rainbow border effect from here terminal codes is in c++ and i am working with c# and winui
https://github.com/microsoft/terminal/blob/be9fc200c7b22c544103ec3304ca31c3b984031e/src/cascadia/WindowsTerminal/AppHost.cpp#L1166
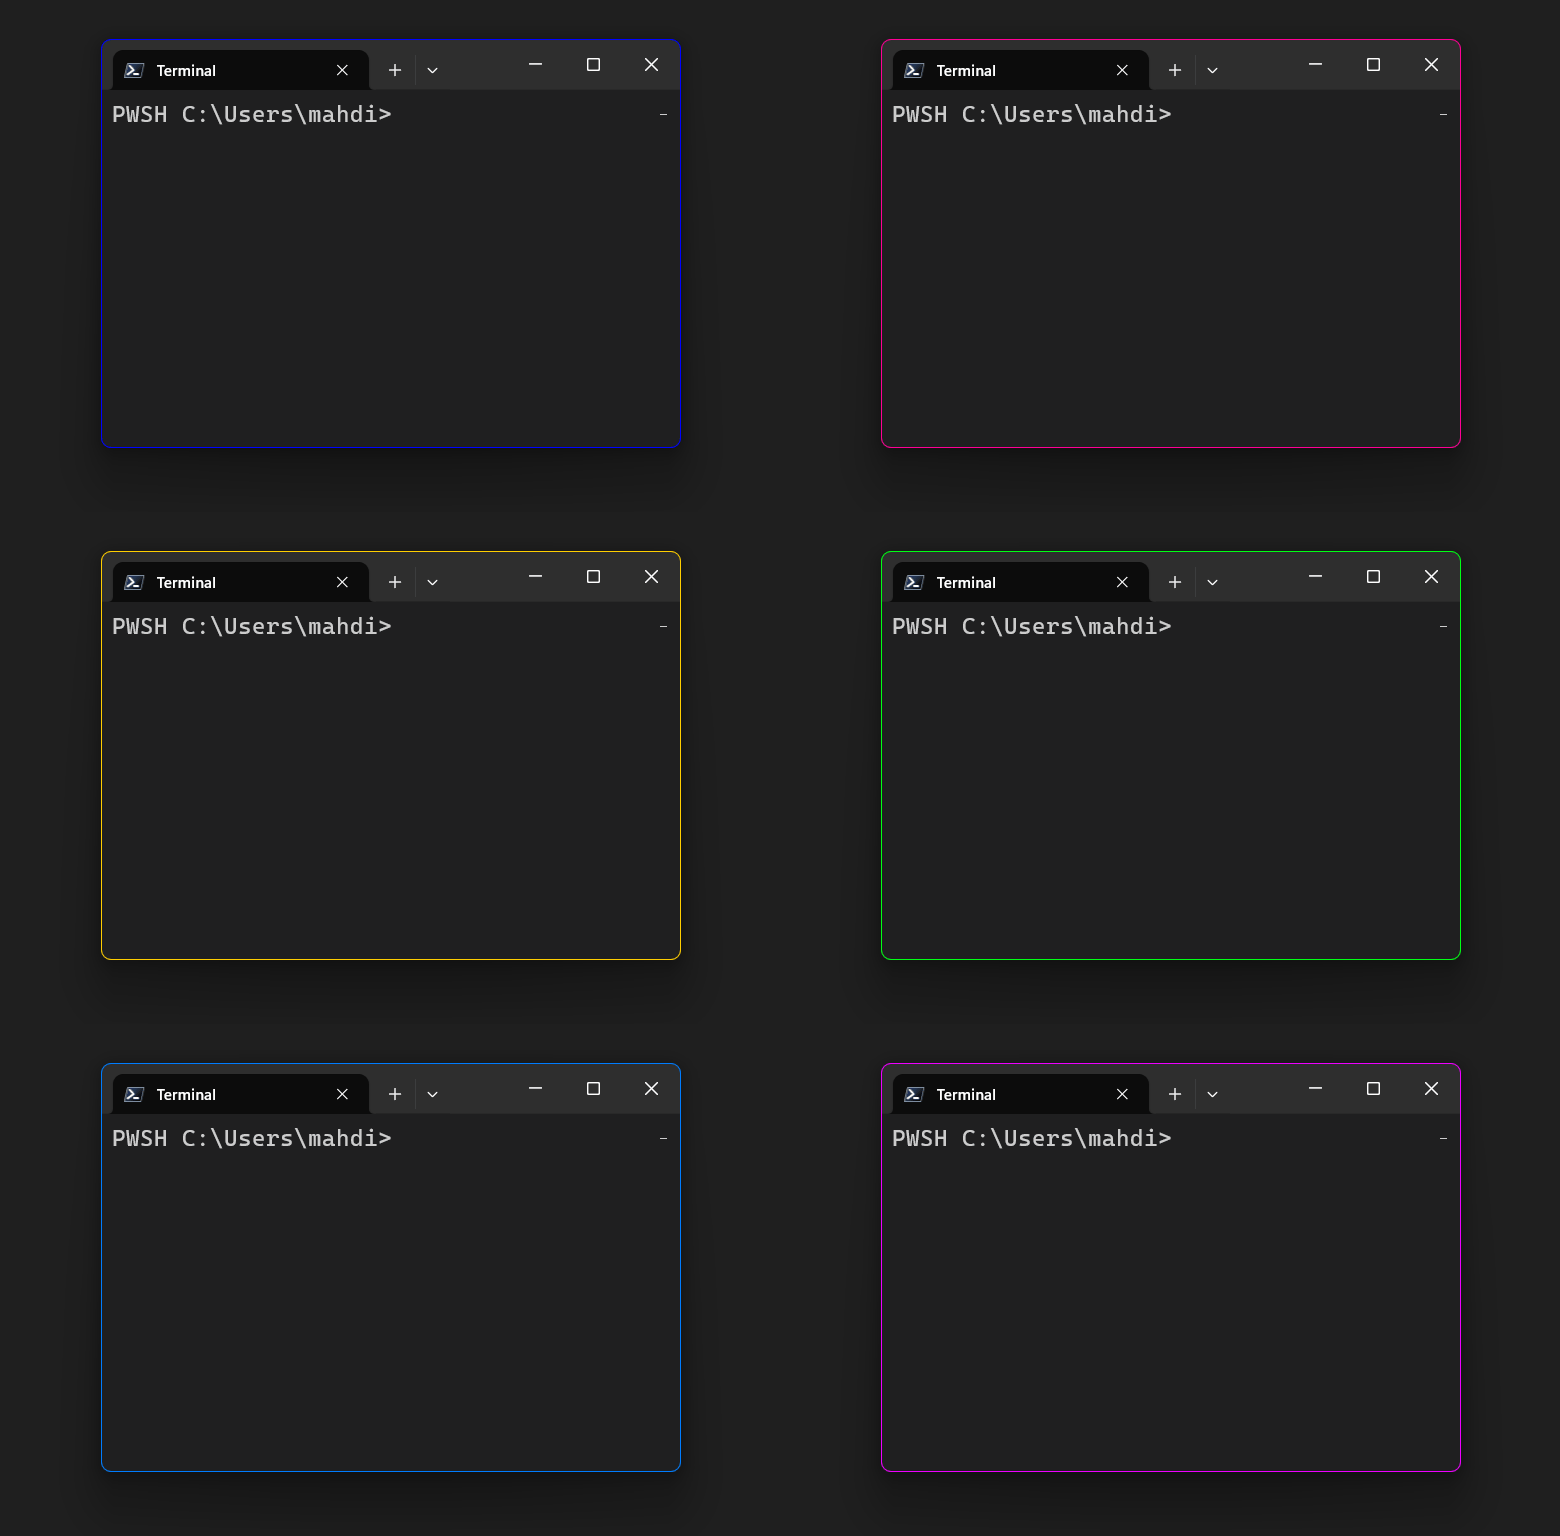
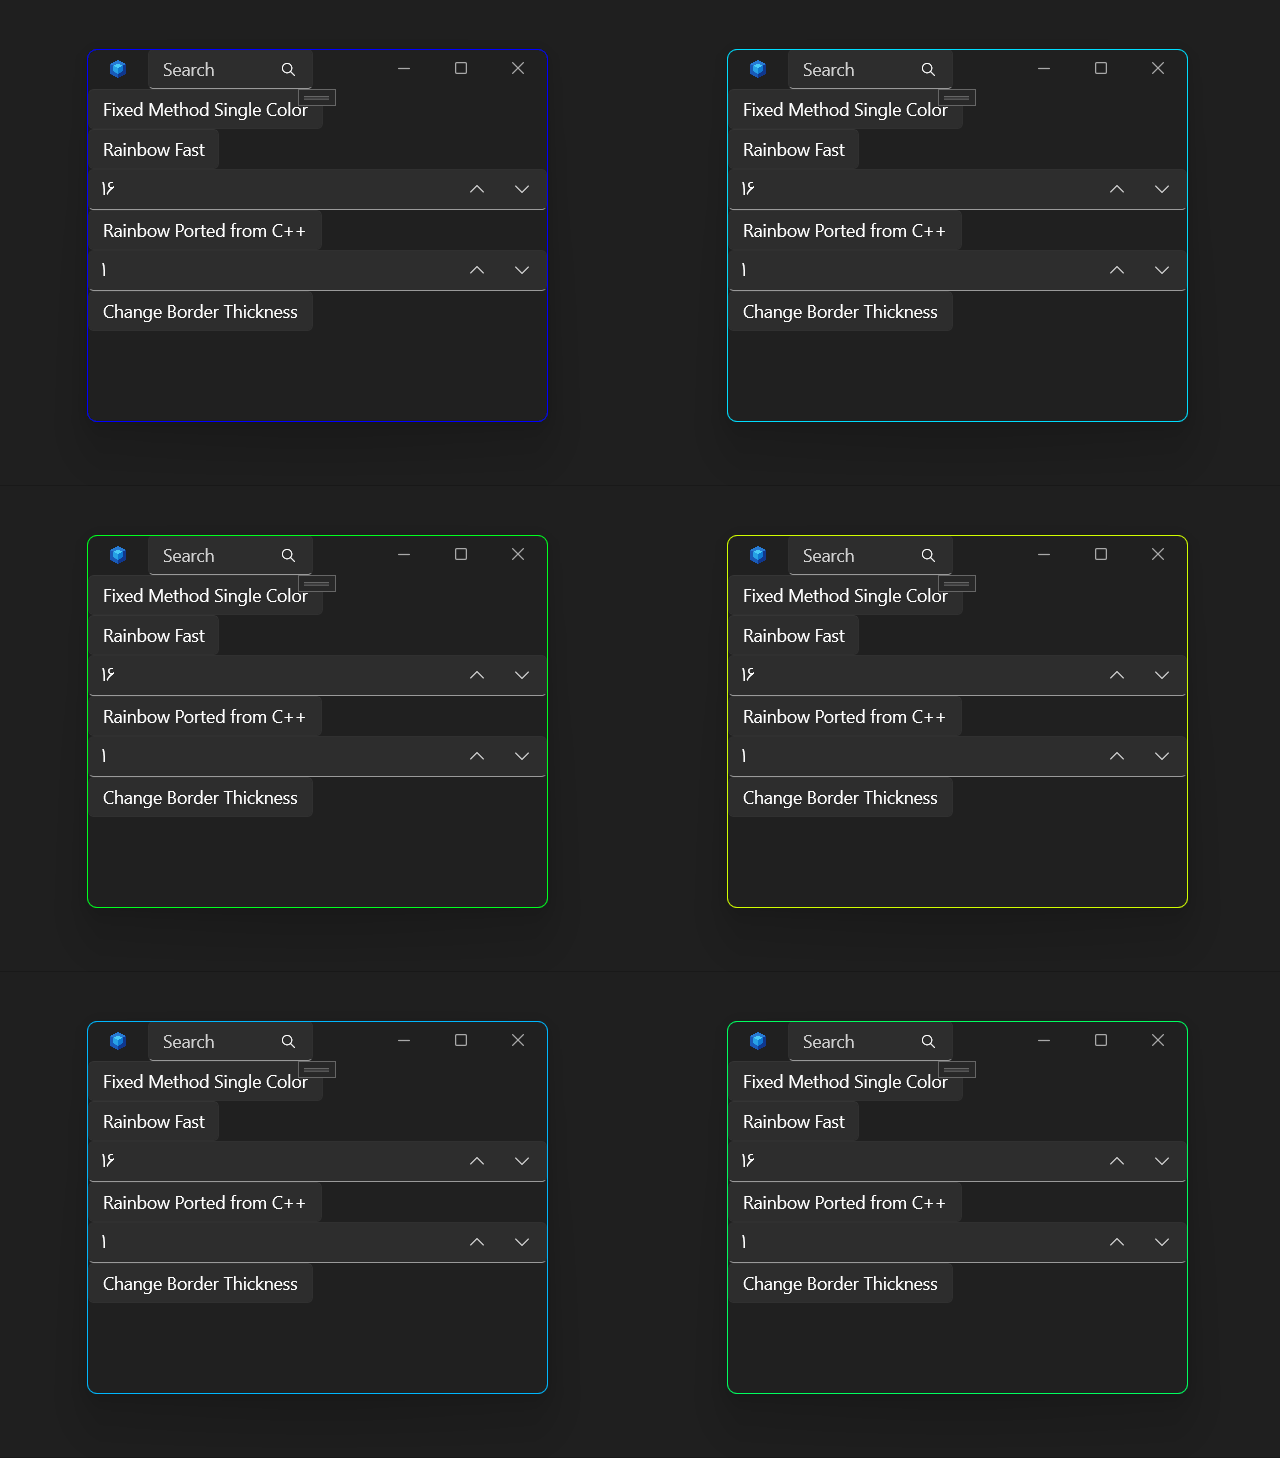
i was able to create a window frame with a rainbow effect, however there is some issues and some of the colors is absent for example i dont see red, pink... colors! you can open a Terminal Preview with rainbow effect and compare both app.
first issue is colors like red, pink... is not exist/absent
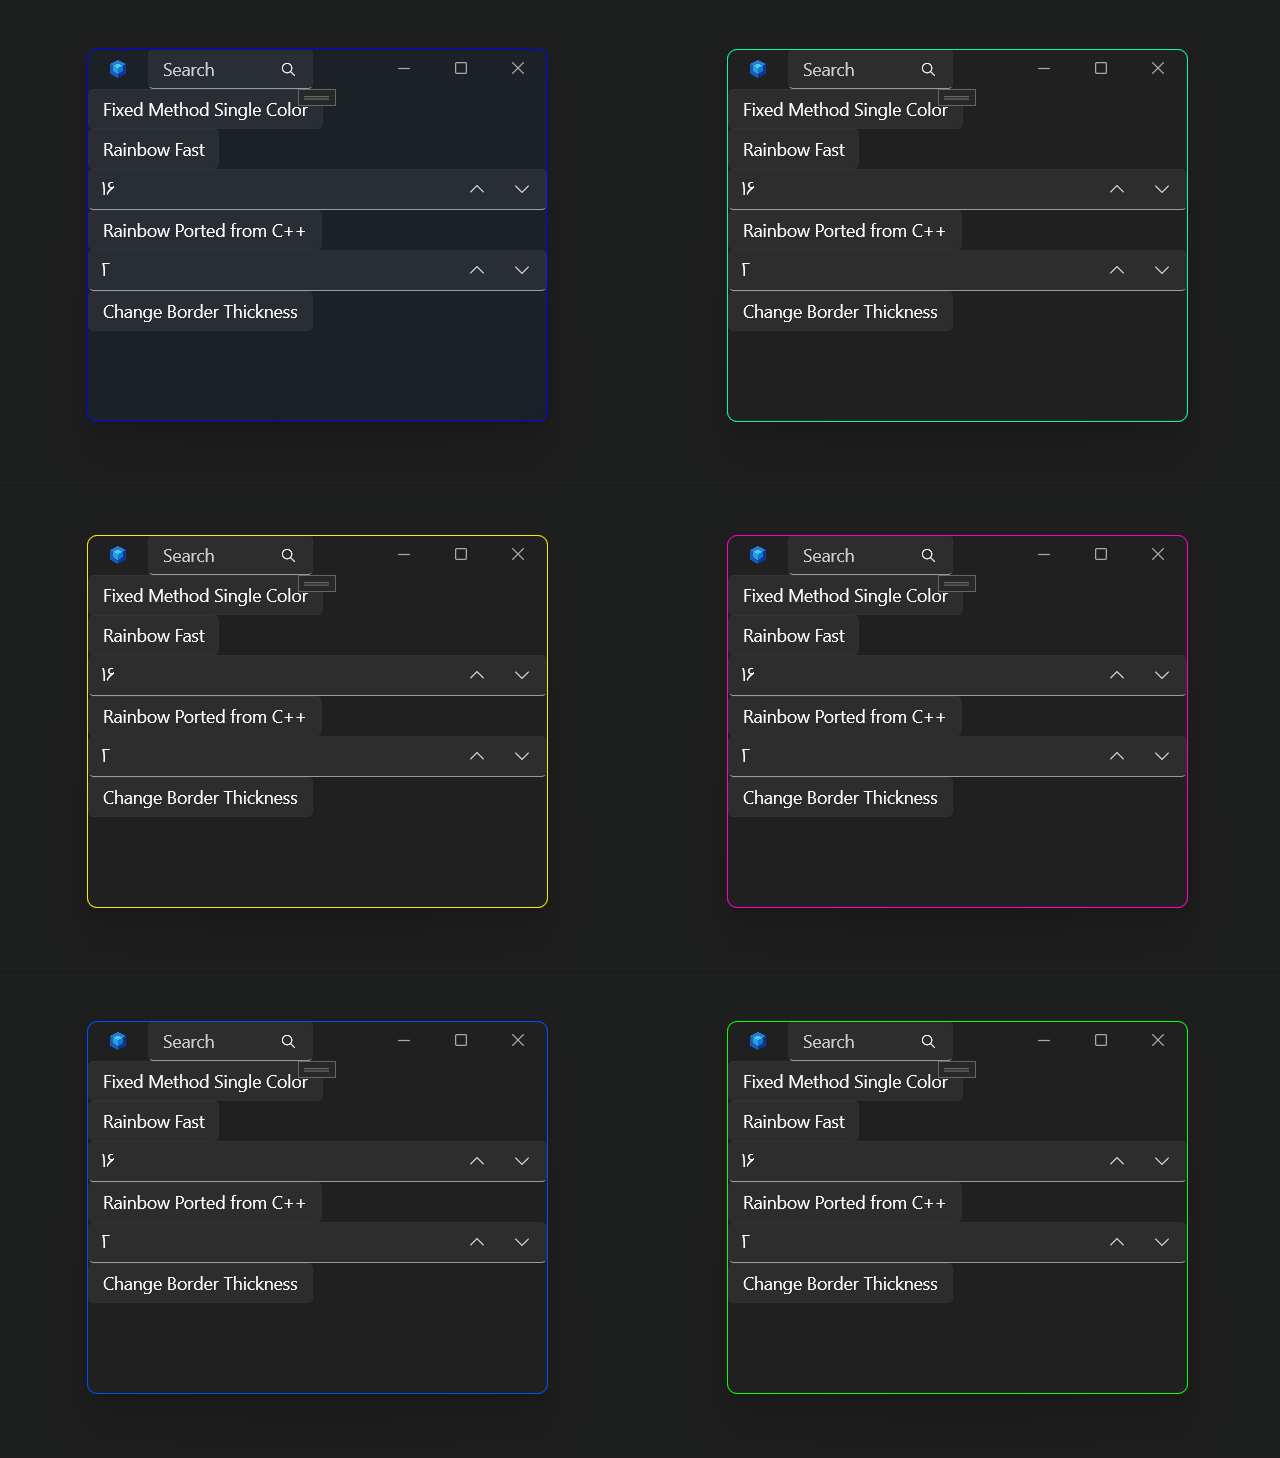
second issue is last color will wait more and does not change, after a while, color change.
i found out that if i change ignore from 1 to 2, all colors will be available but, last color will be wait longer.
i am not a c++ developer and i dont have any expert in c++. so mybe something is missed in codes.
this is terminal:

and this is my app which colors is missing:

and also this is my app with ignore value = 2, all color is available but last color (blue) take to long to change:

internal class TerminalBorder

{

    static double ignore = 1;

    static DispatcherTimer _frameTimer;

    static DateTimeOffset _started;

    private static readonly TimeSpan FrameUpdateInterval = TimeSpan.FromMilliseconds(16);

    [DllImport("dwmapi.dll", CharSet = CharSet.Unicode, PreserveSig = false)]

    private static extern int DwmSetWindowAttribute(IntPtr hwnd, DWMWINDOWATTRIBUTE dwAttribute, ref uint pvAttribute, uint cbAttribute);

    private static void FrameColorHelper(IntPtr h, uint color)

    {

        //if (Utils.IsWindows11())

        //{

        //}

        DwmSetWindowAttribute(h, DWMWINDOWATTRIBUTE.DWMWA_BORDER_COLOR, ref color, sizeof(uint));

    }

    public static void UpdateIgnore(double ignoreValue)

    {

        ignore = ignoreValue;

    }

    public static void UpdateTheme(double ignoreValue)

    {

        ignore = ignoreValue;

        _started = DateTimeOffset.Now;

        StartFrameTimer();

    }

    private static void StartFrameTimer()

    {

        if (_frameTimer == null)

        {

            _frameTimer = new DispatcherTimer();

            _frameTimer.Interval = FrameUpdateInterval;

            _frameTimer.Tick += (s, e) => UpdateFrameColor(s, e);

        }

        _frameTimer.Start();

    }

    private static uint ColorToUInt(Color color)

    {

        return (uint)((color.A << 24) | (color.R << 16) | (color.G << 8) | color.B);

    }

    private static void UpdateFrameColor(object sender, object e)

    {

        var saturateAndToColor = new Func<float, float, float, uint>((a, b, c) =>

        {

            return ColorToUInt(new Color

            {

                R = (byte)(255f * Math.Clamp(a, 0f, 1f)),

                G = (byte)(255f * Math.Clamp(b, 0f, 1f)),

                B = (byte)(255f * Math.Clamp(c, 0f, 1f))

            });

        });

        // Helper for converting a hue [0, 1) to an RGB value.

        // Credit to https://www.chilliant.com/rgb2hsv.html

        var hueToRGB = new Func<float, uint>(H =>

        {

            float R = Math.Abs(H * 6 - 3) - 1;

            float G = 2 - Math.Abs(H * 6 - 2);

            float B = 2 - Math.Abs(H * 6 - 4);

            return saturateAndToColor(R, G, B);

        });

        // Now, the main body of work.

        // - Convert the time delta between when we were started and now, to a hue. This will cycle us through all the colors.

        // - Convert that hue to an RGB value.

        // - Set the frame's color to that RGB color.

        var now = DateTimeOffset.Now;

        var delta = now - _started;

        var seconds = delta.TotalSeconds / 4; // divide by four, to make the effect slower. Otherwise it flashes way too fast.

        var color = hueToRGB((float)Math.IEEERemainder((float)seconds, ignore));

        FrameColorHelper(WindowNative.GetWindowHandle(App.currentWindow), color);

    }

    public static void StopFrameTimer()

    {

        _frameTimer?.Stop();

    }

}
