How can we create a custom monitoring %cpu /%physical memory used/%logical disk used

Chua Liang Wei 186 Reputation points
2021-01-20T04:21:32.697+00:00

Anywhere we can find guide to create a custom monitoring %cpu+queuelength /%physical memory used/%logical disk used

System Center Operations Manager
A family of System Center products that provide infrastructure monitoring, help ensure the predictable performance and availability of vital applications, and offer comprehensive monitoring for datacenters and cloud, both private and public.
1,602 questions
0 comments No comments
{count} votes

3 answers

Sort by: Most helpful
  1. AlexZhu-MSFT 6,591 Reputation points Moderator
    2021-01-21T08:14:47.797+00:00

    Hi,

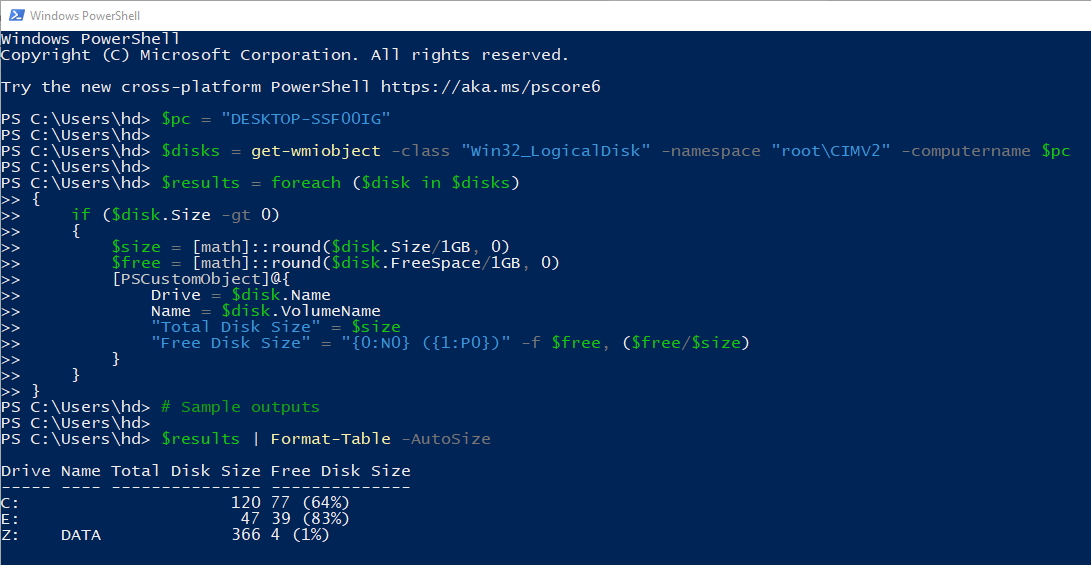
    As far as I know, this feature is not of out-of-box monitor. To achieve this, we may create a script-based monitor, which requires some scripting skills .The script gets the current value, which may vary based on the different requirements.

    If we don't already have the "Sample Management Pack", which is used for creating PowerShell script in SCOM, go ahead and download and install that first. It can be fetched from here: https://gallery.technet.microsoft.com/Sample-Management-Pack-17b76379

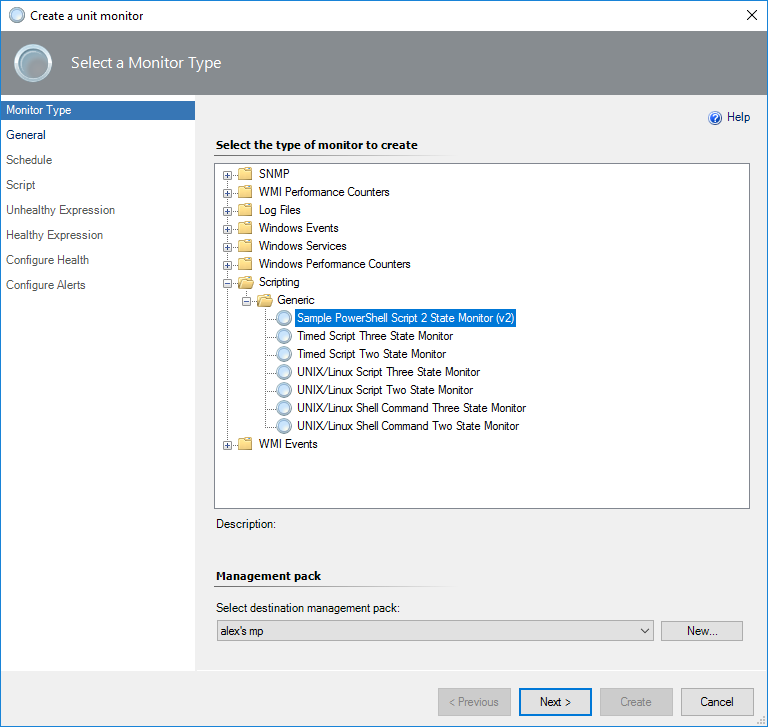
    The following example shows how to generate an alert if a result*.csv file exists

    First, create a monitor in operations manager, and save it in unsealed MP
    scom_ps_script_based_monitor_01.PNG
    59081-scom-ps-script-based-monitor-01.png

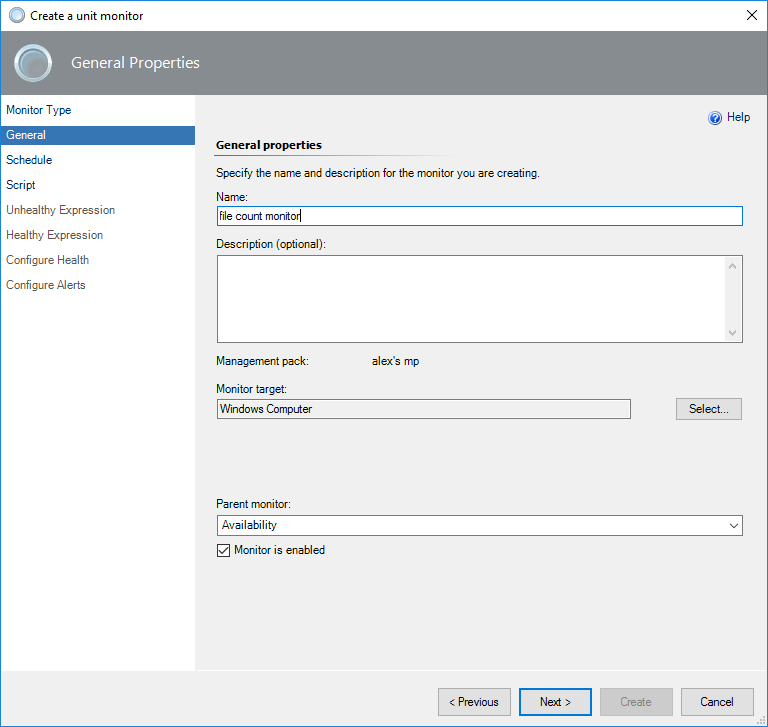
    name it and select the target
    scom_ps_script_based_monitor_02.PNG
    59009-scom-ps-script-based-monitor-02.png

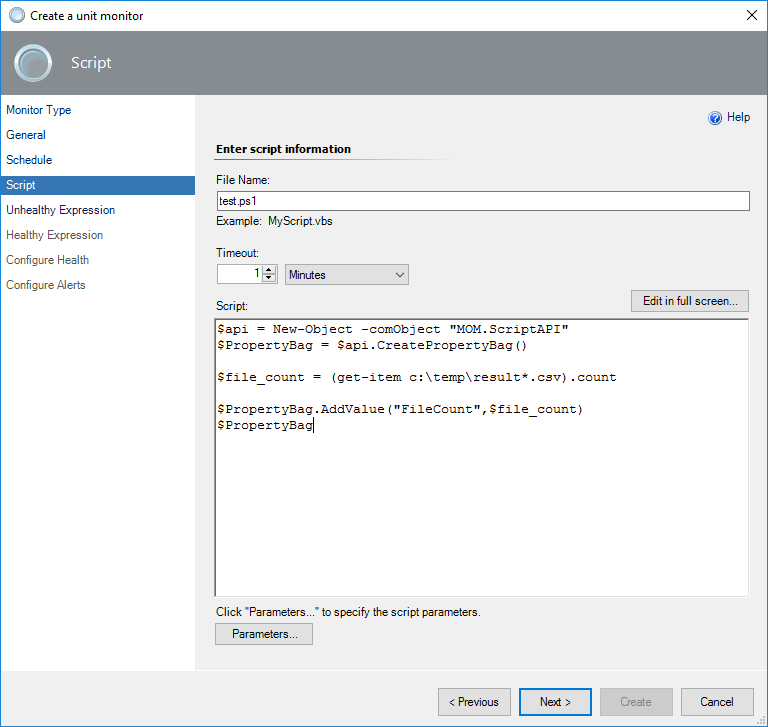
    enter the script (if Linux computer, just provide the script path that already created in Linux)
    scom_ps_script_based_monitor_03.PNG
    59082-scom-ps-script-based-monitor-03.png

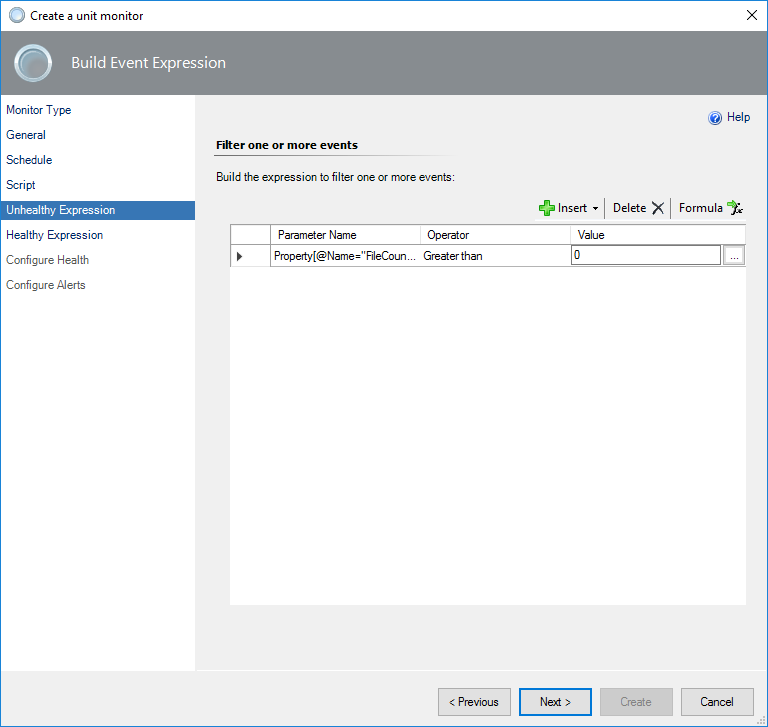
    configure the criteria (compare the current value with the threshold)
    scom_ps_script_based_monitor_04.PNG
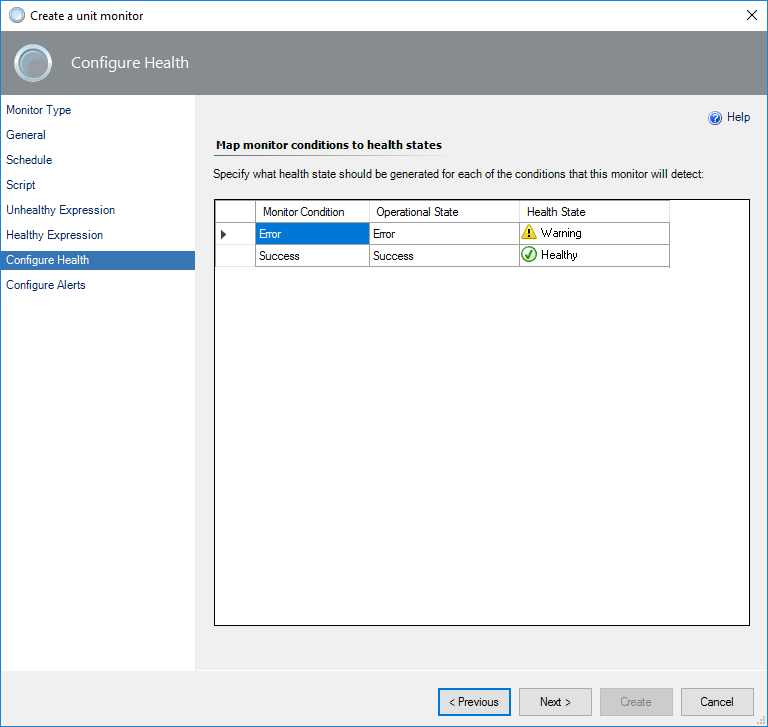
    58959-scom-ps-script-based-monitor-04.png

    map health status
    scom_ps_script_based_monitor_06.PNG
    59064-scom-ps-script-based-monitor-06.png

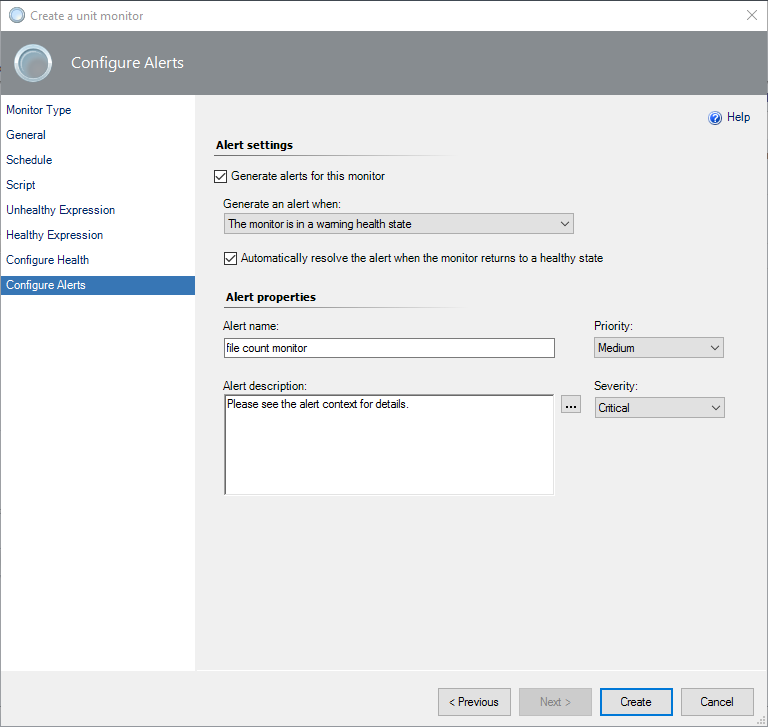
    enable alerting and write the alert description if necessary
    scom_ps_script_based_monitor_07.PNG
    59065-scom-ps-script-based-monitor-07.png

    Hope the above information helps.

    Alex Zhu


    If the response is helpful, please click "Accept Answer" and upvote it.

    0 comments No comments

  2. Chua Liang Wei 186 Reputation points
    2021-01-22T01:46:03.067+00:00

    we need create extra or duplicate monitoring for %logical disk, %cpu+queue length & %physical memory used. how and where we can find the guide

    0 comments No comments

  3. AlexZhu-MSFT 6,591 Reputation points Moderator
    2021-01-26T02:59:57.523+00:00

    Hi,

    Sorry for missing the reply. For such customization issue, I'm afraid there is no existing guide to cover every detailed steps. In general, we may need to import the MP mentioned above, write the PS script (to achieve our goal) each, configure the criteria, setup the alert.

    For example, for %logical disk, we may use the following script.

    $pc = "mycomputer"  
      
    $disks = get-wmiobject -class "Win32_LogicalDisk" -namespace "root\CIMV2" -computername $pc  
      
    $results = foreach ($disk in $disks)  
    {  
        if ($disk.Size -gt 0)  
        {  
            $size = [math]::round($disk.Size/1GB, 0)  
            $free = [math]::round($disk.FreeSpace/1GB, 0)  
            [PSCustomObject]@{  
                Drive = $disk.Name  
                Name = $disk.VolumeName  
                "Total Disk Size" = $size  
                "Free Disk Size" = "{0:N0} ({1:P0})" -f $free, ($free/$size)  
            }  
        }  
    }  
    # Sample outputs  
    $results | Out-GridView  
    $results | Format-Table -AutoSize  
    $results | Export-Csv -Path .\disks.csv -NoTypeInformation -Encoding ASCII  
    

    Here's the testing screenshots for your reference.

    60479-powershell-get-free-disk-space.png

    Hope the above information helps.

    Alex Zhu


    If the response is helpful, please click "Accept Answer" and upvote it.

    0 comments No comments

Your answer

Answers can be marked as Accepted Answers by the question author, which helps users to know the answer solved the author's problem.