' cx='32' cy='32' r='32' /%3E%3Ctext x='50%25' y='55%25' dominant-baseline='middle' text-anchor='middle' fill='%23FFF' %3ET%3C/text%3E%3C/svg%3E)
7,920 questions
' cx='32' cy='32' r='32' /%3E%3Ctext x='50%25' y='55%25' dominant-baseline='middle' text-anchor='middle' fill='%23FFF' %3EA%3C/text%3E%3C/svg%3E)
Hi @t0kyobanana ,
Well actually I don't know much about powershell:( So I could only give you this based on my understanding.
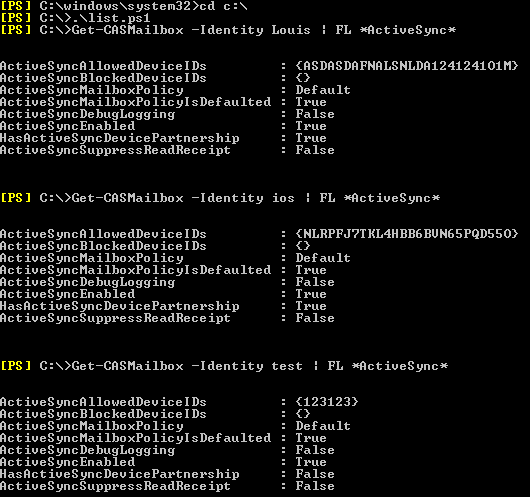
Get-CASMailbox | Set-CASMailbox -ActiveSyncAllowedDeviceIDs $null
##First clean all AllowedDeviceIDs for mailboxes.
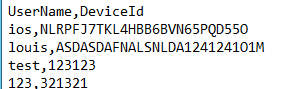
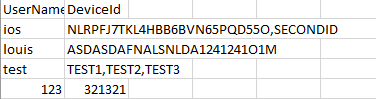
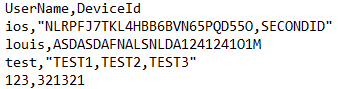
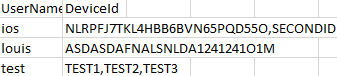
Import-Csv C:\list.csv |
ForEach{
try {
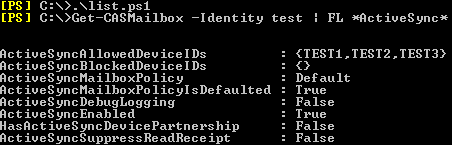
Set-CASMailbox -Identity $_.UserName -ActiveSyncAllowedDeviceIDs $_.DeviceId -ErrorAction Stop
##Import the csv file and run Ser-CASMailbox for every value(UserName and DeviceId), when this get an error, stop it and go for the next value.
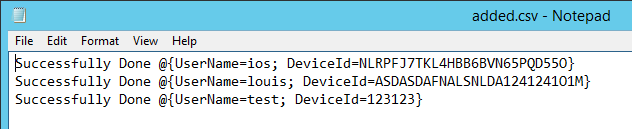
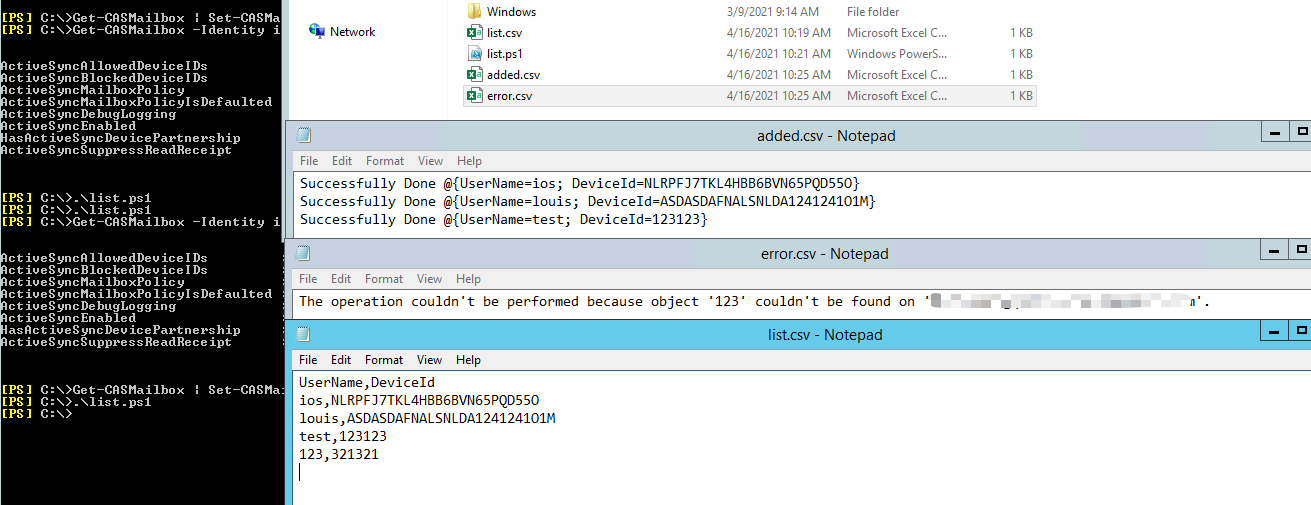
Write-Output "Successfully Done $_" | Out-File "C:\added.csv" -Append
##Write the message if the above cmdlets are correctly done.
}
catch [System.Exception]
{
Write-Output "$_" | Out-File "c:\error.csv" -Append
##When the Set-CASMailbox cmdlet run into an error(system exception), write down the erorr message and export all these to a csv file.
}
Finally
{
}}
And I think you could begin with a test 3 users.csv file but not to modify the script to do this.
Also note to run the script with Exchange Management Shell(Admin). CD Driver:\Ps1Path and .\Name.ps1
Best regards,
Lou
If the response is helpful, please click "Accept Answer" and upvote it.
Note: Please follow the steps in our documentation to enable e-mail notifications if you want to receive the related email notification for this thread.