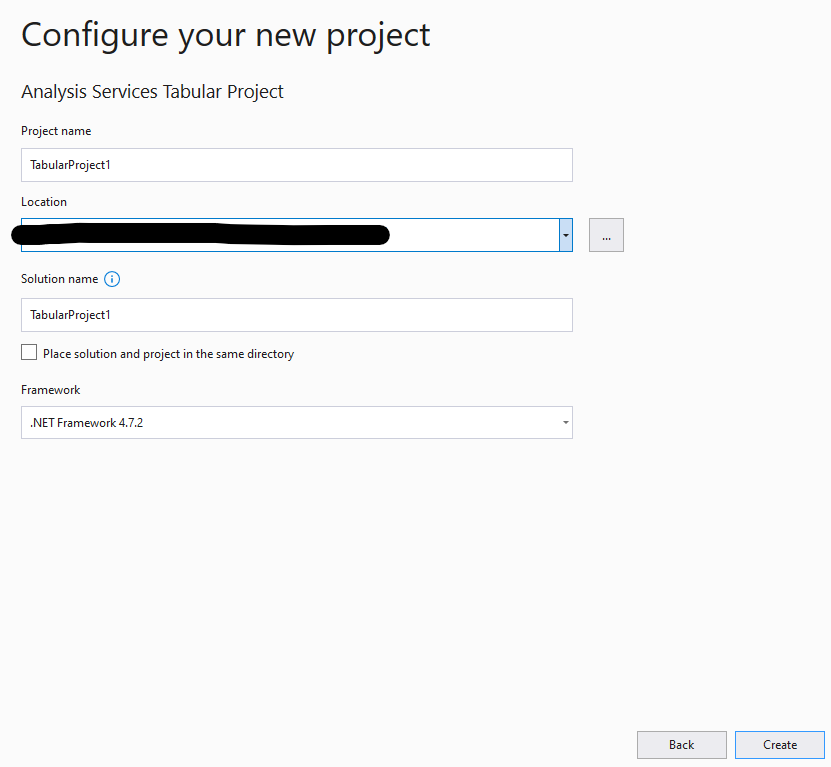
I think there may be 2 different conversations going on here so I'd like to break up the discussion. Lets start with your SSAS project. When you create the project (and solution) it'll generate (by default) a solution folder and then under that a project folder. This allows you to have potentially many SSAS projects (or anything else) in the same solution. This structure is by and large fixed and you shouldn't have to mess with it. Your screenshots are cut off but the structure will basically be:
You really don't want to mess with anything other the project folder as the project system is ultimately responsible for that. You can add folders under here of course and you could technically put your project folder in a subfolder but you'll have to remove and add the project back to the solution (or manually edit the .sln file) to fix the path. In general this isn't useful. You can have virtual folders in a solution that don't reside on disk and that is a great way to organize larger solutions.
Now to the second part, source control. You are using the term branch here but I'm not sure what context you're using. If you're using Git then a branch is a copy of code and has nothing to do with the file structure. If a branch is a folder to you then that is already covered under my earlier comments. I'm going to assume a branch, in your context, is just a folder.
To add your solution to source control you need to decide what you're going to use. Git (and the provider Github) are built into VS and the most common but there are other kinds. Unfortunately similarities between providers are rare so without knowing what you intend to use it is hard to tell you what to do.
We'll assume you want to use Git and that you're using either Github or Azure DevOps. In both of these cases you need a repository. A repository is a snapshot of your code. You must have a repository to do anything. How you set up your repo varies quite a bit but a getting started version would have a single solution per repository. Unfortunately until 2022 Preview 4 (I believe) you cannot easily do this in VS directly. If you're using Github then go to Github to your profile and then use the top right button to create a new repository. Call it whatever you want but it should be simple and descriptive and will be part of the URL so don't do anything crazy. If you're using Azure DevOps then you'll do something similar but going through your DevOp UI. Git is a file-based system so it literally only cares about files and their differences. It doesn't support folders (directly) nor does it particularly care about the structure or content of your repository.
After you create the repo on the server you need to clone it locally. This can be done from the command line or via the VS UI. In VS go to the Start WIndow and on the right side is a Clone option. Click that and it'll prompt for the URL. If your VS account is hooked up to Github or Azure DevOps then there are options to browse from there. ALternatively take the URL to your repo and paste it into the URL box. The location is the base path to your repo and the defacto standard is that the repo is cloned into a folder of the same name at that location. The default is %userprofile%\source\repos but it absolutely doesn't matter. Nothing outside the repo directory is relevant.
After you'd selected your repo and cloned then a local copy of your repo is now on your machine. From this point on that directory structure is tied to Git. Now you need to get your existing solution into the repo. Using File Explorer just drag and drop the entire solution folder into your new repo directory. Git is based upon file differences so if you reload VS and open your solution it'll figure out it is hooked up to Git. In the Git window you can see all your changes.
At this point you want to push your changes to your repo. This is 2 step process. Commit saves the changes locally and push moves them to the remote server. In the Git window you will see your changes, enter a commit message in the box at the top and then click the dropdown next to the Commit All button. This pops up the additional options and my recommendation is to always use Commit All and Push. This does the commit and push in one step. Click that and everything should be uploaded to Github/Azure DevOps. You can switch to the browser to confirm. If anything fails then you'll get an error in the Output window.
' cx='32' cy='32' r='32' /%3E%3Ctext x='50%25' y='55%25' dominant-baseline='middle' text-anchor='middle' fill='%23FFF' %3EO%3C/text%3E%3C/svg%3E)


' cx='32' cy='32' r='32' /%3E%3Ctext x='50%25' y='55%25' dominant-baseline='middle' text-anchor='middle' fill='%23FFF' %3EMT%3C/text%3E%3C/svg%3E)