' cx='32' cy='32' r='32' /%3E%3Ctext x='50%25' y='55%25' dominant-baseline='middle' text-anchor='middle' fill='%23FFF' %3EBB%3C/text%3E%3C/svg%3E)

2,856 questions

' cx='32' cy='32' r='32' /%3E%3Ctext x='50%25' y='55%25' dominant-baseline='middle' text-anchor='middle' fill='%23FFF' %3EHL%3C/text%3E%3C/svg%3E)
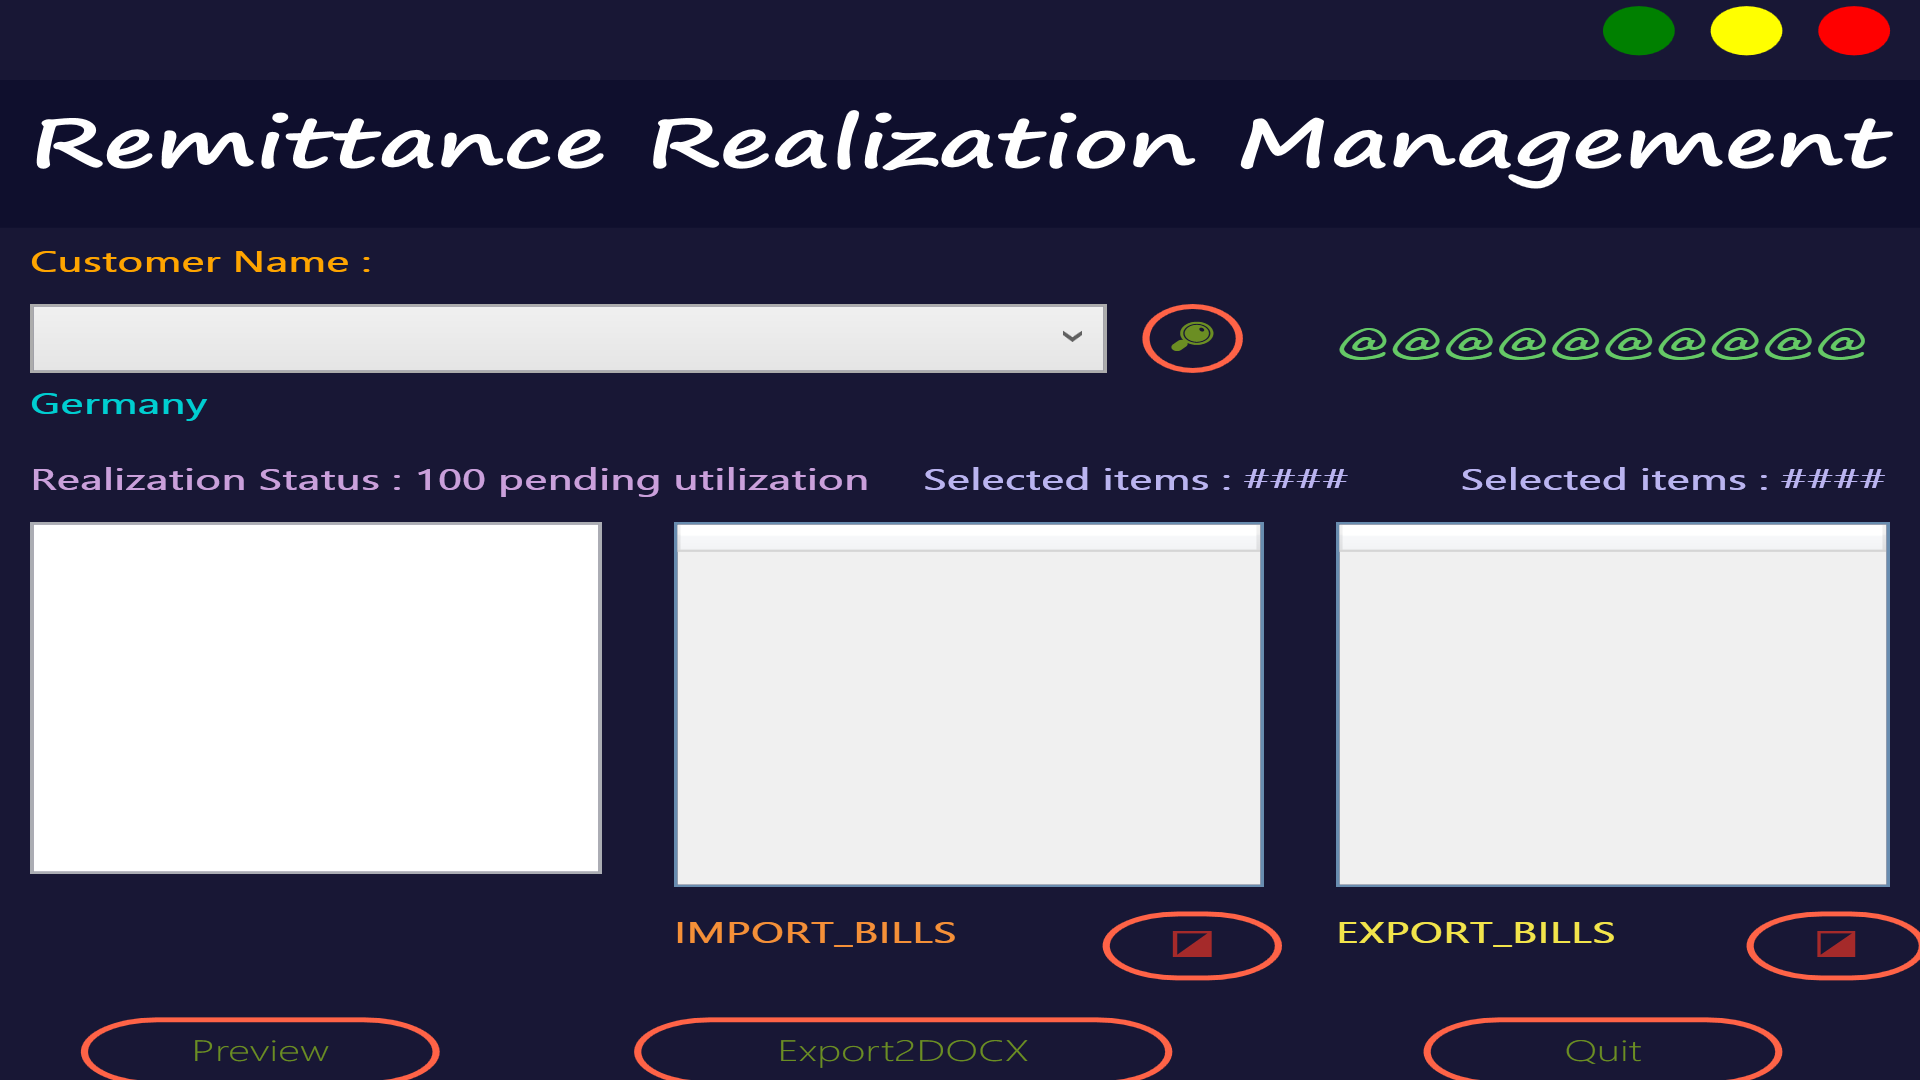
If you want to stretch your entire UI. Then ViewBox control is extremely helpful. You could set Stretch according to your needs.
<Viewbox Stretch="Fill" >
        <Border CornerRadius="5" Background="#181735" BorderBrush="Gray" BorderThickness="0.3">
             <!-- your code -->
        </Border>
    </Viewbox>
Update:
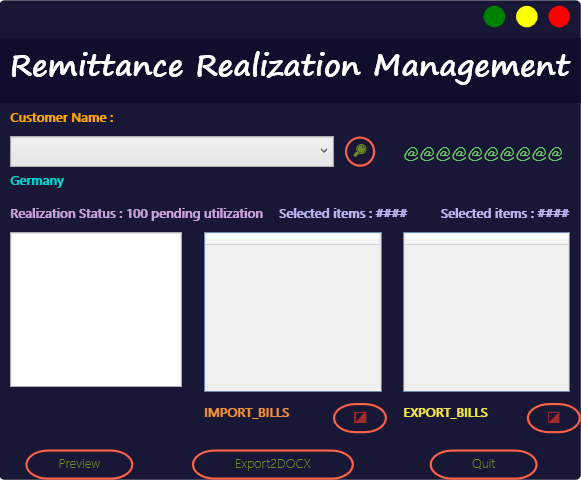
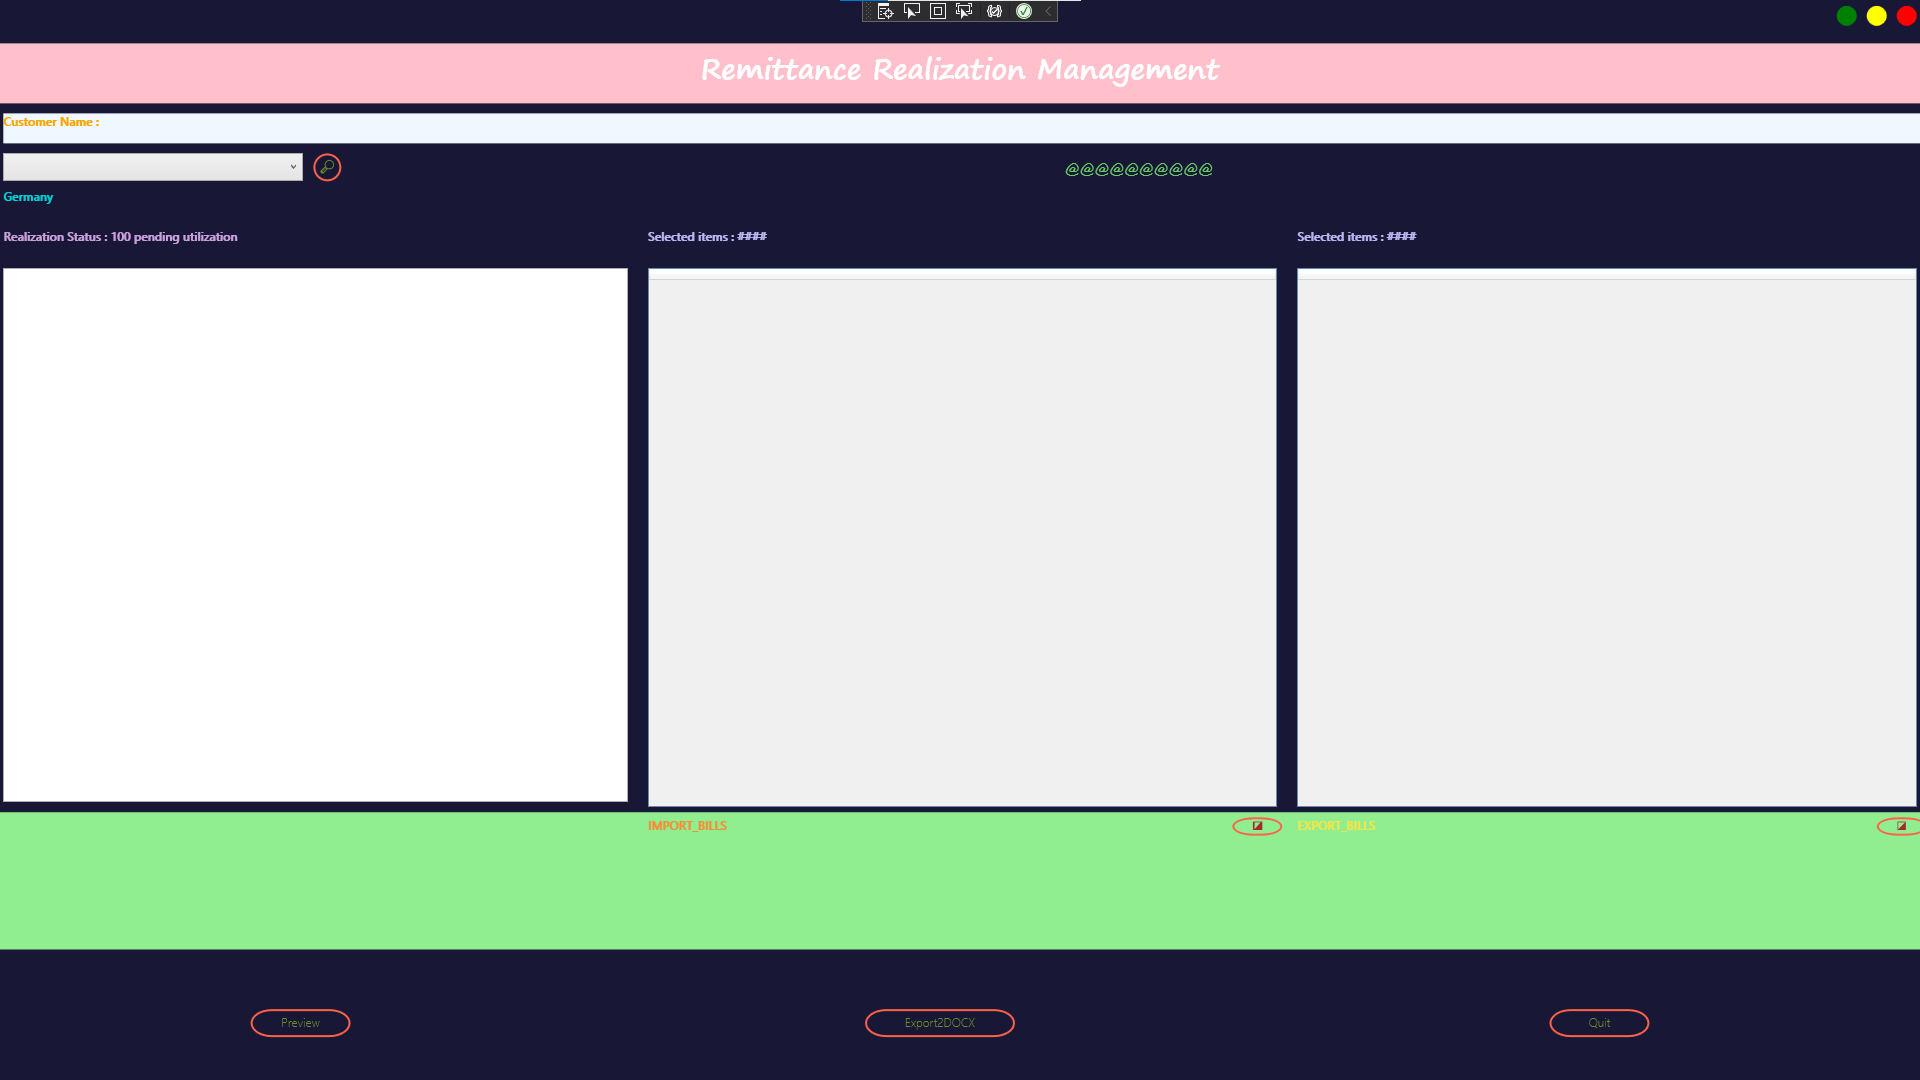
Modify the StackPanel to a Grid, and remove the heights of the ListView and DataGrid. Do you want a result graph or something? You can modify the height of more child controls to fit maximized.
<Border CornerRadius="5"	Background="#181735" BorderBrush="Gray" BorderThickness="0.3">
    <Grid>
        <Grid.RowDefinitions>
            <RowDefinition Height="40"/>
            <RowDefinition Height="75"/>
            <RowDefinition Height="35"/>
            <RowDefinition Height="45"/>
            <RowDefinition Height="35"/>
            <RowDefinition Height="40"/>
            <RowDefinition Height="4*"/>
            <RowDefinition Height="*"/>
            <RowDefinition Height="*"/>
        </Grid.RowDefinitions>
        <!-- First row : Housing the close, maximize & minimize buttons -->
        <StackPanel Orientation="Horizontal" HorizontalAlignment="Right"
			VerticalAlignment="Center">
            ...
        </StackPanel>
        <!-- Second row : Showing the title of the application in a textblock, center aligned -->
        <Grid Grid.Row="1">
            ...
        </Grid>
        <!-- Third row -->
        <TextBlock Grid.Row="2" Background="AliceBlue"
			Text="Customer Name :"
			FontWeight="DemiBold"
			Foreground="Orange"
			Margin="10 5 0 0"
			FontFamily="Segoe UI Historic"
			FontSize="12"
			TextAlignment="Left" />
        <Grid Grid.Row="3">
            ...
        </Grid>
        <!-- Fifth row -->
        <TextBlock Grid.Row="4"
			Text="Germany"
			FontWeight="DemiBold"
			Foreground="DarkTurquoise"
			Margin="10 0 2 10"
			FontFamily="Segoe UI Historic"
			FontSize="12"
			TextAlignment="Left" />
        <Grid Grid.Row="5">
            ...
        </Grid>
        <!-- Seventh row : the listview & both gridview's should stretch both horizontally & vertically when maximied -->
        <Grid Grid.Row="6">
            <Grid.ColumnDefinitions>
                <ColumnDefinition
					Width="*" />
                <ColumnDefinition
					Width="*" />
                <ColumnDefinition
					Width="*" />
                <ColumnDefinition
					Width="*" />
                <ColumnDefinition
					Width="*" />
                <ColumnDefinition
					Width="*" />
            </Grid.ColumnDefinitions>
            <ListView
				Margin="10,5,10,10"
				Name="ListView1"
				HorizontalAlignment="Stretch"
				VerticalAlignment="Stretch"
				Grid.Column="0"
				Grid.ColumnSpan="2" />
            <DataGrid
				Grid.Column="2"
				Grid.ColumnSpan="2"
				HorizontalAlignment="Stretch"
				Margin="10,5,5,5"
				Name="billsGrid"
				VerticalAlignment="Stretch" />
            <DataGrid
				Grid.Column="4"
				Grid.ColumnSpan="2"
				HorizontalAlignment="Stretch"
				Margin="15,5,10,5"
				Name="adjGrid"
				VerticalAlignment="Stretch" />
        </Grid>
        <!-- Eight row : the first textblock should be aligned with the starting of the first gridview & the first button
	should be aligned with the ending of the first gridview & same logic with the second textblock & button -->
        <Grid Grid.Row="7" Background="LightGreen" >
           ...
        </Grid>
        <!-- Ninth row : the buttons should be anchored to the bottom, their size should be fixed upon maximied -->
        <Grid Grid.Row="8">
            <Grid.ColumnDefinitions>
                <ColumnDefinition
					Width="*" />
                <ColumnDefinition
					Width="*" />
                <ColumnDefinition
					Width="*" />
            </Grid.ColumnDefinitions>
            <Button
				Margin="10 10 40 0"
				Grid.Column="0"
				Content="Preview"
				FontSize="12"
				VerticalAlignment="Center"
				HorizontalAlignment="Center"
				Height="28"
				Width="100" />
            <Button
				Margin="0 10 40 0"
				Grid.Column="1"
				Content="Export2DOCX"
				FontSize="12"
				VerticalAlignment="Center"
				HorizontalAlignment="Center"
				Height="28"
				Width="150" />
            <Button Margin="30 10 40 0"
				Grid.Column="2"
				Content="Quit"
				FontSize="12"
				VerticalAlignment="Center"
				HorizontalAlignment="Center"
				Height="28"
				Width="100"
				x:Name="button1"
				Click="button1_Click" />
        </Grid>
    </Grid>
</Border>
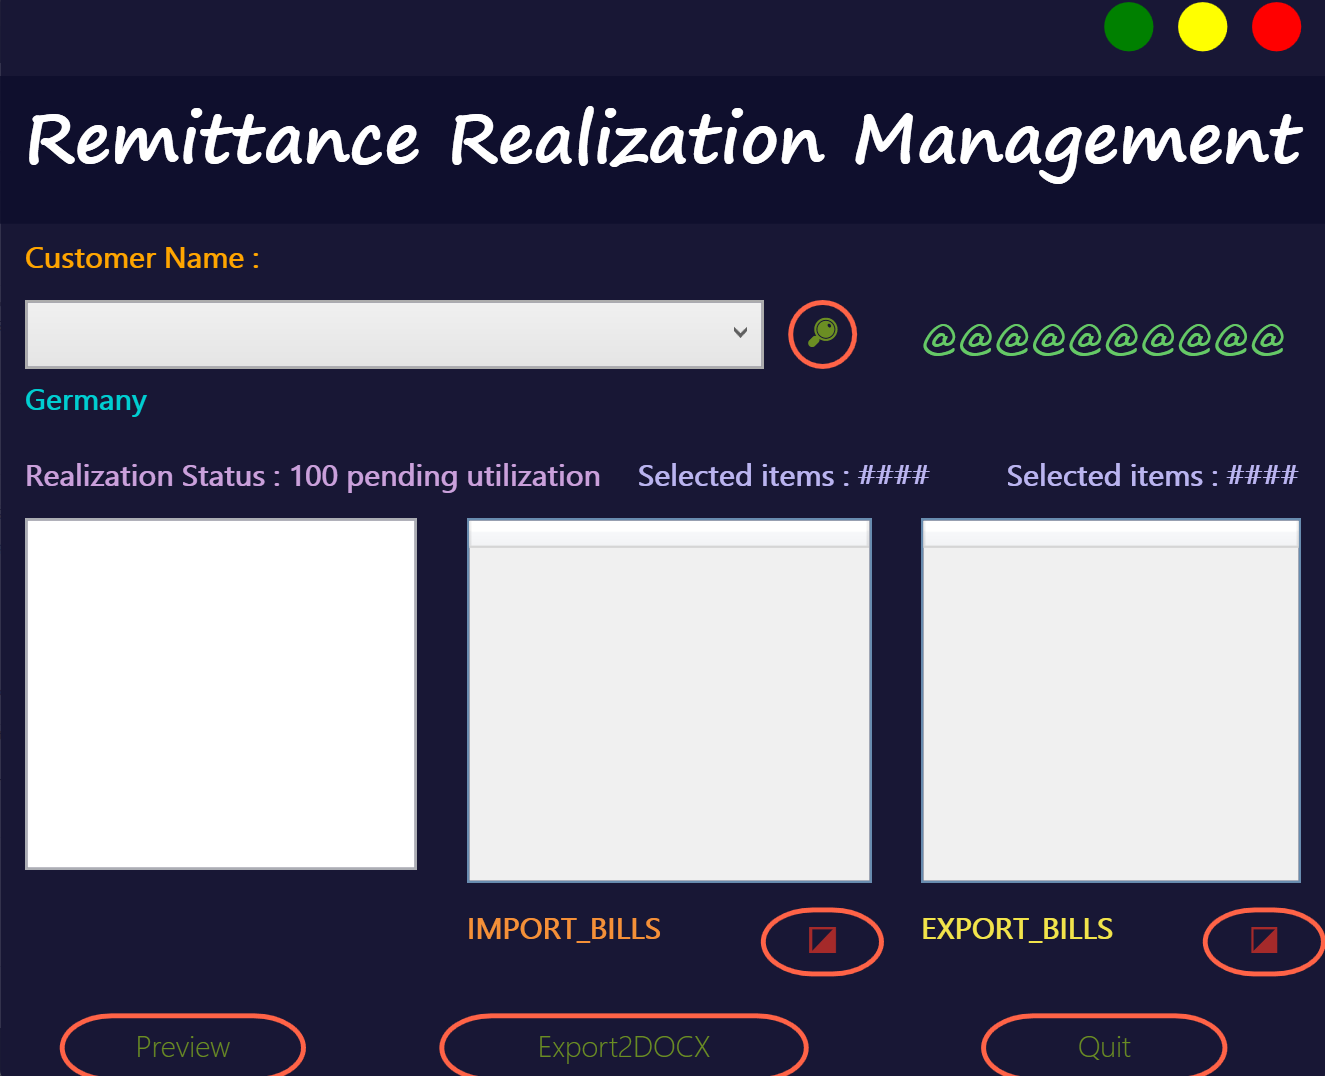
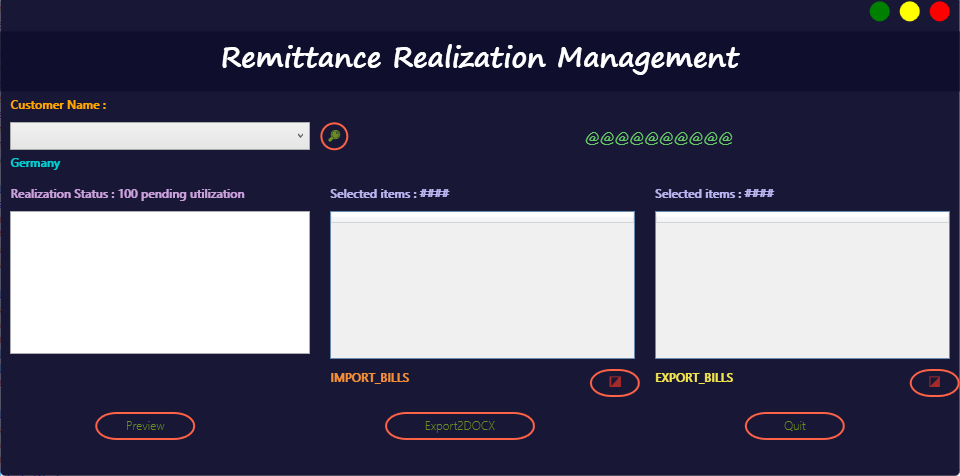
The reseult:
If the answer is the right solution, please click Accept Answer and kindly upvote it. If you have extra questions about this answer, please click Comment.
Note: Please follow the steps in our documentation to enable e-mail notifications if you want to receive the related email notification for this thread.