How to use the Employee onboarding template for employee onboarding

Karl Rolfe 1 Reputation point
2022-04-21T06:51:13.307+00:00

I don't understand how to use the Employee onboarding template. I can install it but how does it help me onboard individual employees?
I want to have a list of required documents the new employee must read and acknowledge that they have read them.
So, in the list, I create an entry for each of the documents and share the list with the new employee. They go through, read the documents, tick the box to say they have completed the reading and fill in the date. All good.
But when my next new employee comes along and I send them to the list the required readings are all still filled in from the previous employee. Do I need to create a new list for every new employee starting? Or am I expected to clear the list of responses after each new employee? I think I am missing something fundamental here. The link to the documentation is here:

https://support.microsoft.com/en-gb/office/list-templates-in-microsoft-365-62f0e4cf-d55d-4f89-906f-4a34e036ded1

SharePoint
SharePoint
A group of Microsoft Products and technologies used for sharing and managing content, knowledge, and applications.
9,737 questions
{count} votes

3 answers

Sort by: Most helpful
  1. Yi Lu_MSFT 17,461 Reputation points
    2022-04-26T05:57:41.283+00:00

    Hi @Karl Rolfe
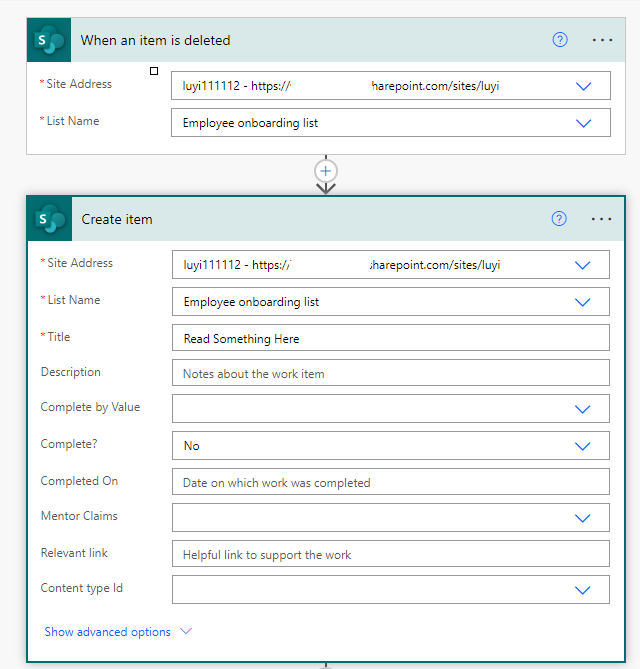
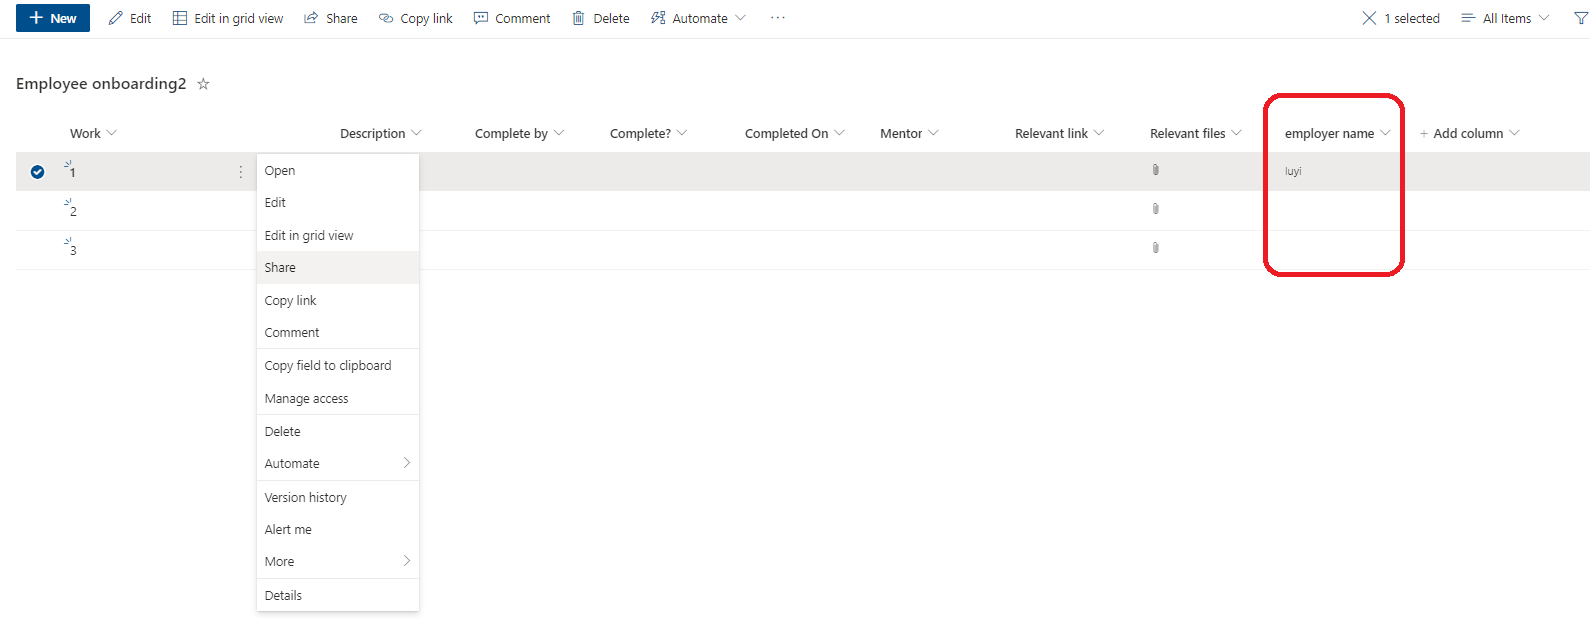
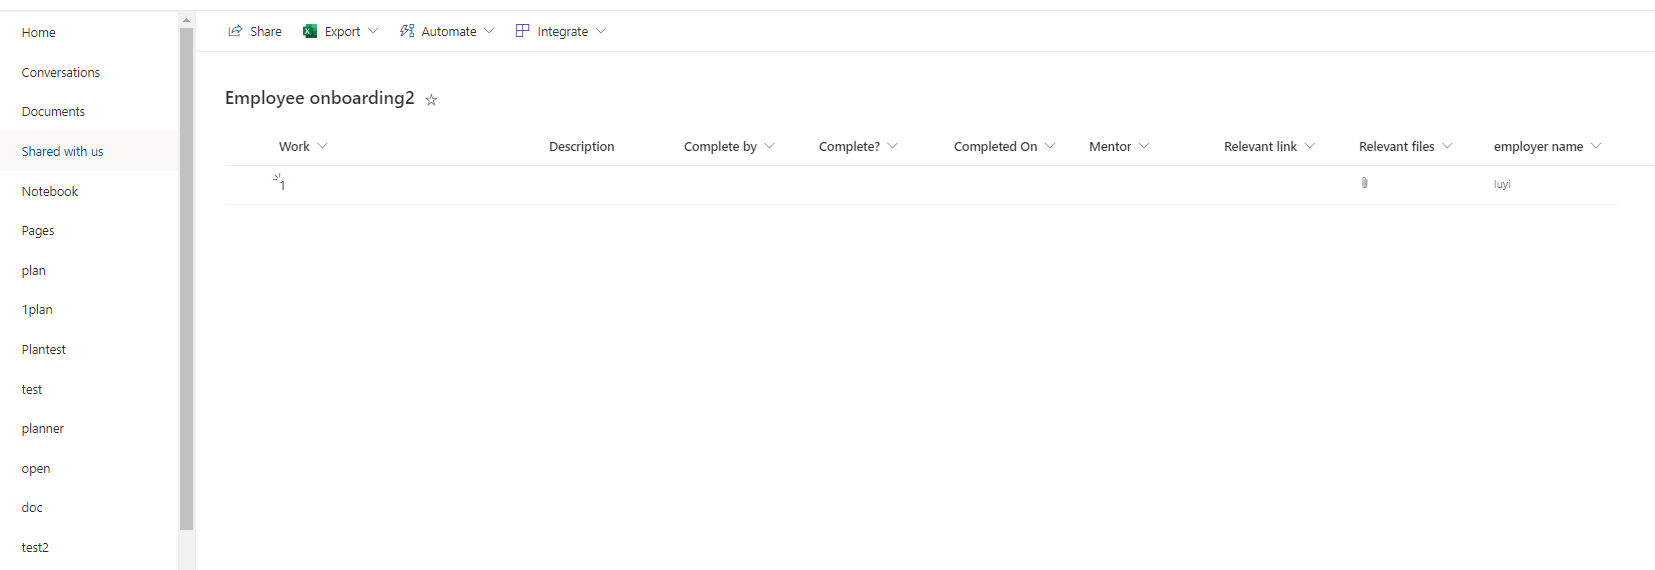
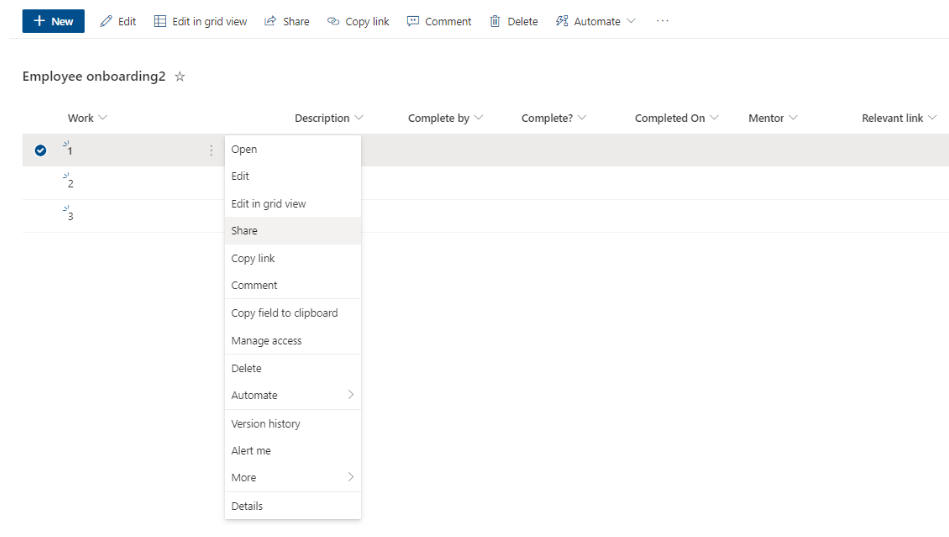
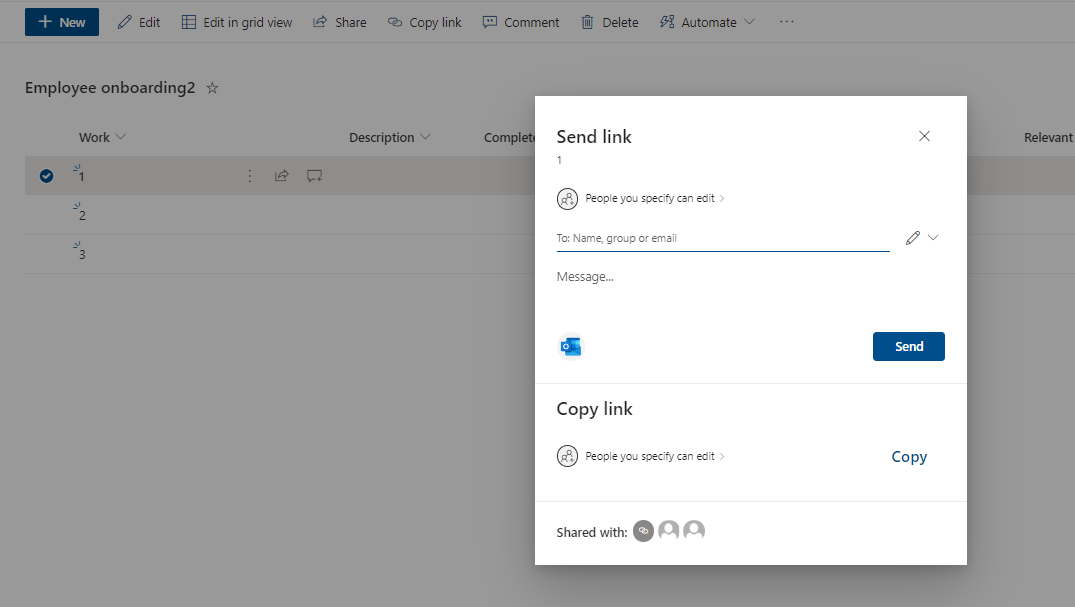
    In this case, you could create more items and attach the same document to these items at the same time, the result is like this:

    196406-image.png

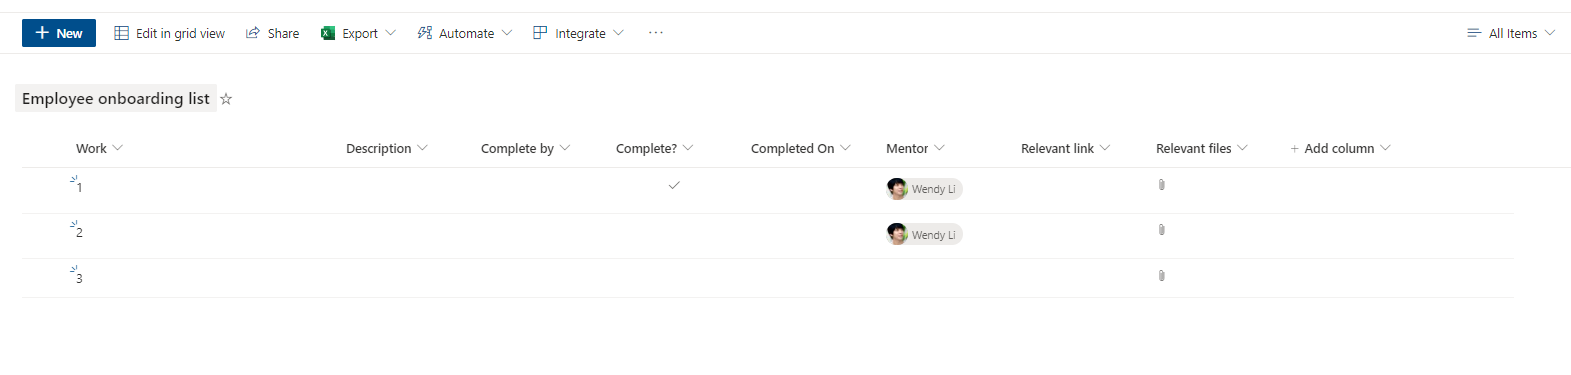
    Every item is for one new employee.


    If the answer is helpful, please click "Accept Answer" and kindly upvote it. If you have extra questions about this answer, please click "Comment".

    Note: Please follow the steps in our documentation to enable e-mail notifications if you want to receive the related email notification for this thread.


  2. Yi Lu_MSFT 17,461 Reputation points
    2022-04-26T09:40:21.177+00:00

    Hi @Karl Rolfe
    If you want to save only one item in your list, you could use Power Automate to achieve your goal:

    196486-image.png

    196535-image.png

    In my case, I get the attach file from my site, you could choose different path as you want. As a result, once we delete the item in this list, it will create a new item with the attachment automatically.

    What's more, the item could also be deleted automatically, just login M365 admin center > Data lifecycle management, create a label and set the retention time as you want (for example I select 7 days):

    196497-image.png

    196437-image.png

    As a result, the item will be deleted 7 days later, at the same time, a new item with attachment will be created automatically.


    If the answer is helpful, please click "Accept Answer" and kindly upvote it. If you have extra questions about this answer, please click "Comment".

    Note: Please follow the steps in our documentation to enable e-mail notifications if you want to receive the related email notification for this thread.


  3. Yi Lu_MSFT 17,461 Reputation points
    2022-05-05T04:13:28.16+00:00

    Hi @Karl Rolfe
    If there are several documnets you need to attach on each item, you could try to complete it using powershell, in this method you could save time. The code shown below is about adding multiple attachments to the list item, before running it we need to add all files from a given folder to SharePoint Online.

    #Set Variables  
    $SiteURL = "https://crescent.sharepoint.com/sites/pmo"  
    $ListName = "Projects"  
    $ItemID ="2"  
    $FolderPath = "C:\Temp\Docs"  
       
    #Connect to PnP Online  
    Connect-PnPOnline -Url $SiteURL -Interactive  
       
    #Get the List Item  
    $ListItem  = Get-PnPListItem -List $ListName -Id $ItemID  
       
    #Function to Add all files as a attachment to list item  
    Function Add-AttachmentsFromFolder($ListItem, $FolderPath)  
    {  
        #Get All existing attachments from list item  
        $AttachmentFiles = Get-PnPProperty -ClientObject $ListItem -Property "AttachmentFiles"  
       
        #Get the File and Add to List Item Attachment  
        ForEach ($File in  (Get-ChildItem $FolderPath -File))  
        {  
            $AttachmentFile = $AttachmentFiles | Where { ($_.FileName -eq $File.Name) }  
            If($AttachmentFile -eq $Null)  
            {  
                $AttachmentInfo = New-Object -TypeName Microsoft.SharePoint.Client.AttachmentCreationInformation  
                $AttachmentInfo.FileName =  $File.Name  
                $AttachmentInfo.ContentStream = $File.OpenRead()  
                $AttchedFile = $ListItem.AttachmentFiles.Add($AttachmentInfo)  
                Invoke-PnPQuery  
                Write-host -f Green "Added Attachment File:"$File.FullName  
            }  
            Else  
            {  
                write-host -f Yellow "Attachment '$($File.Name)' Exists already!"  
            }  
        }  
    }  
    #Call the function to add all attachments from folder  
    Add-AttachmentsFromFolder $ListItem $FolderPath  
    

    Note: you need to change the parameter as you need.

    As the characters exceed the count allowed in comment, I convert the comment to an answer.


    If the answer is helpful, please click "Accept Answer" and kindly upvote it. If you have extra questions about this answer, please click "Comment".

    Note: Please follow the steps in our documentation to enable e-mail notifications if you want to receive the related email notification for this thread.

    0 comments No comments