Step-by-Step: Migrate your classic Cloud Services to ARM
Hello Folks,
Ever since we came up with the Azure Resource Manager model one question that keeps coming back is “how do i migrate my running Cloud Services based environment to the ARM model?”
Great question. So far we did not have a great answer. Now, we have. Take a look at this video that covers the new migration feature to help you move your IaaS resources from Classic to Azure Resource Manager without ANY downtime
There are three migration scopes that primarily targeted
- compute
- network
- storage.
And it supports 3 scenarios:
Migration of virtual machines (not in a virtual network)
Migration of virtual machines (in a virtual network)
Storage accounts migration
And the whole process is in 3 major steps. Prepare , Check and Commit/Abort
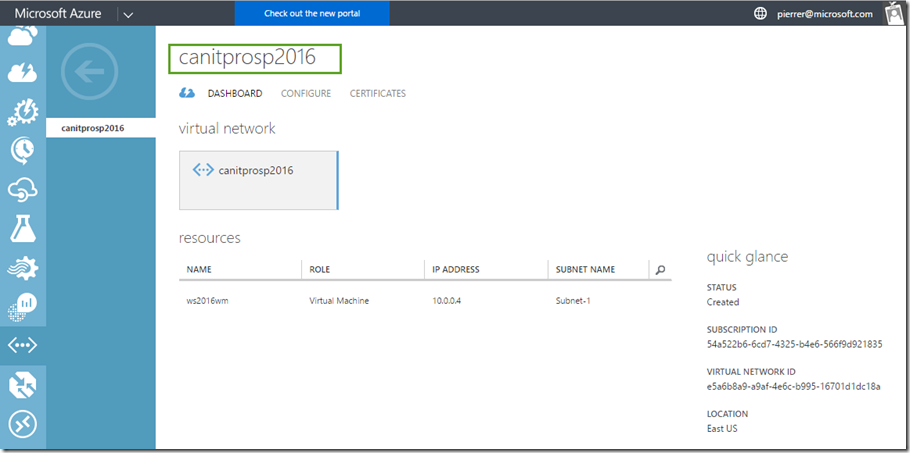
In this article we will migrate a Cloud Service that has 1 VM running in a Vnet.
Step 1 – Setup your PowerShell environment
Preparing your IaaS resources simulates the transformation from classic to Resource Manager resources and shows this side by side for you to visualize. so we will perform this step using PowerShell. Has always ensure that you are running the latest version of the Azure module.
You will need to setup your environment for both classic and ARM models.
1- Sign in to your account for the Resource Manager model.
 #Sign in to your account for the Resource Manager model.
Login-AzureRmAccount
2- Set your Azure subscription for the current session. in my case i only have one subscription associated with my account so it’s easy and i set it using the following command:
 #Set your Azure subscription for the current session
$subID=Get-AzureRmSubscription|Select-AzureRmSubscription
if you have multiple subscriptions, use the following:
 #Get the available subscriptions by using the following command
Get-AzureRMSubscription | Sort SubscriptionName | Select SubscriptionName

#Set your Azure subscription for the current session. Replace everything within the quotes with the correct names.
$subscr="subscription name"
Get-AzureRmSubscription –SubscriptionName $subscr | Select-AzureRmSubscription
3- Registration is a one time step but it needs to be done once before attempting migration. If you see the following error message “BadRequest : Subscription is not registered for migration” it means you have not registered.
So, once we will register, using the following command:
 #Register with the migration resource provider.
Register-AzureRmResourceProvider -ProviderNamespace Microsoft.ClassicInfrastructureMigrate
Note that it will take a little while for the process to complete. Make sure that RegistrationState is Registered before you proceed. You can check by using the next command:
 #check the registration
Get-AzureRmResourceProvider -ProviderNamespace Microsoft.ClassicInfrastructureMigrate
4- You now need to sign in to your account for the classic model so the migration process has access to both Classic and ARM models
 #sign in the classic model
Add-AzureAccount
5- you need to set your subscription again. use the same process to set that subscription as we did before
You are now ready to Prepare your environment.
Step 2 – Prepare your environment
1- I will prepare the virtual network i need to migrate by using the following command. (the different scenarios will have different set of command.)
 #Prepare the virtual network for migration
$vnetName = "canitprosp2016"
Move-AzureVirtualNetwork -Prepare -VirtualNetworkName $vnetName
The name “canitprosp2016” is the name of the vnet in my environment
Again, this will take some time while the migration provider is analysing the vnet to check that the virtual network does not contains web/worker roles or VMs with unsupported configurations, you will get a validation error message if it finds such a situation.
in my case I got OperationStatus=Succeeded so i’m good to continue.
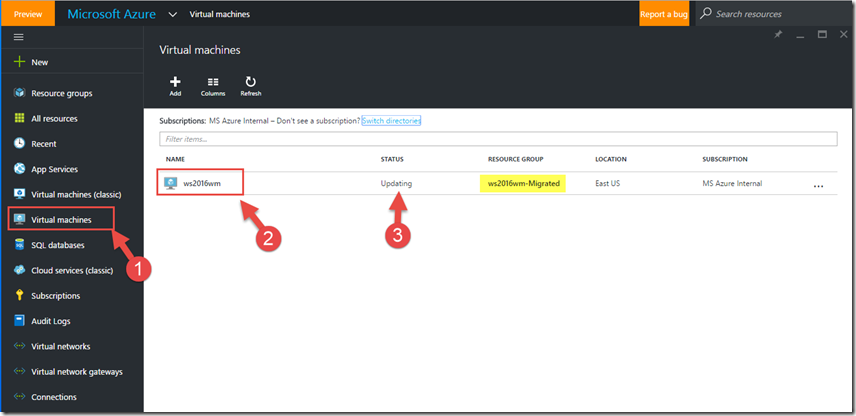
At this point, we need to check the configuration for the prepared VM using PowerShell or the Azure portal. In the portal, under the Virtual Machines (1) menu, the VM that is in our vnet is now showing in a “ws2016wm-Migrated” Resource Group.
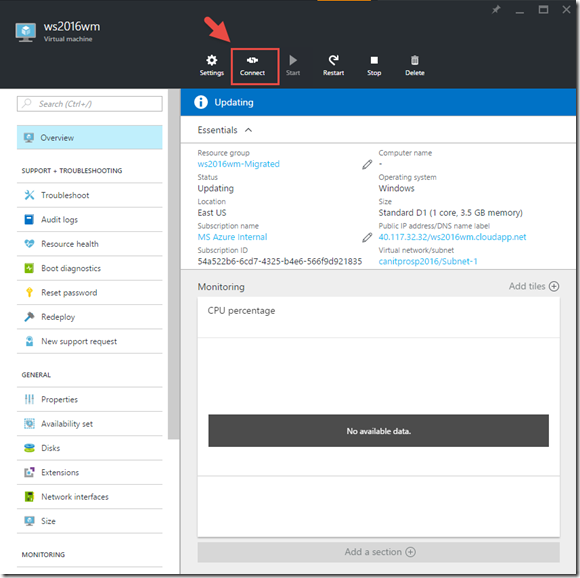
Check all the settings to see that all is OK. You can even RDP in the machine to validate that all your workloads are functioning properly.
Step 3 – Commit or Abort the migration
If you are not ready for migration, or if something need to be tested further, you want go back to the old state. For that we use the following command
 #abort and roll back the preparation
Move-AzureVirtualNetwork -Abort -VirtualNetworkName $vnetName
If the prepared configuration looks good, you can move forward and commit the resources by using the following command.
 #Commit the migration
Move-AzureVirtualNetwork -Commit -VirtualNetworkName $vnetName
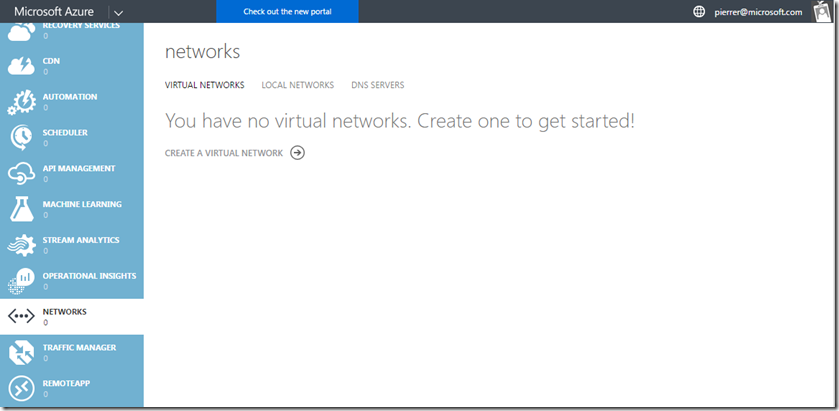
in my case everything looked good, therefore i ran the commit and now my Vnet and the VMs in it, have been migrated to the ARM model and no longer shows up in the classic model.
This was the first scenario for Classic to ARM migration. I'll look at other scenarios in the next post.
Cheers!
Pierre Roman
@pierreroman
Comments
- Anonymous
July 05, 2016
Be aware that there is a step 4 needed as you also need to migrate the storage account using Move-AzureStorageAccount. Strangely enough, after having run Move-AzureVirtualNetwork as described above, you are now left with a running ARM VM, connected to an ARM VNET but running from a Classic Storage Account. Hence the need for a Step 4.- Anonymous
August 10, 2016
Hey Julius,you can run your VMs from that classic storage account. but should you choose to migrate your storage, check out https://blogs.technet.microsoft.com/canitpro/2016/07/27/step-by-step-migrate-your-classic-cloud-services-to-arm-storage-migration/
- Anonymous
- Anonymous
July 06, 2016
Hi Roman, It's really useful articles posted by you.We have migrated our Azure successfully using this articles.Thanks again keep writing.


