Email Phishing Protection Guide - Part 2: Train Users with Office 365 Attack Simulator
The Email Phishing Protection Guide is a multi-part blog series written to walk you through the setup of many security focused features you may already own in Microsoft Windows, Microsoft Office 365, and Microsoft Azure. By implementing some or all of these items, an organization will increase their security posture against phishing email attacks designed to steal user identities. This guide is written for system administrators with skills ranging from beginner to expert.
Email Phishing Protection Guide Index: Introduction: Email Phishing Protection Guide - Enhancing Your Organization's Security Posture Part 1: Customize the Office 365 Logon Portal Part 2: Training Users with the Office 365 Attack Simulator Part 3: Deploy Multi Factor Authentication (MFA) Part 4: Deploy Windows Hello Part 5: Define Country and Region Logon Restrictions for Office 365 and Azure Services Part 6: Deploy Outlook Plug-in to Report Suspicious Emails Part 7: Deploy ATP Anti-Phishing Policies Part 8: Deploy ATP Safe Link Policies Part 9: Deploy ATP Safe Attachment Policies Part 10: Deploy and Enforce Smart Screen for Microsoft Edge, Microsoft Internet Explorer and Google Chrome Part 11: Monitor Phishing and SPAM Attacks in Office 365 Part 12: Discover Who is Attacking Your Office 365 User Identities Part 13: Update Your User Identity Password Strategy Part 14: Prevent Brute Force and Spray Attacks in Office 365 Part 15: Implement the Microsoft Azure AD Password Protection Service (for On-Premises too!) Part 16: Disable Office 365 Legacy Email Authentication Protocols Part 17: Control Application Consent Registrations in Microsoft Office 365 and Microsoft Azure Part 18: Increase Security with Microsoft Secure Score Part 19: Email Phishing Protection Security Checklist Part 20: Recommended Security and Anti-Phishing Training from Microsoft Ignite 2018
Part 2: Training Users with the Office 365 Attack Simulator
This is the second part in a blog series of steps about how you can use many features within Microsoft Office 365 to protect your users and environment from the constant onslaught of identity phishing attacks. In this blog we will continue to focus on what I call the Human Firewall and how to train it - adding another lock an attacker will need to overcome. Even with the best technology and network defenses in place, there is no strategy that will provide 100% cyber security for your network. At the end of the day the user can be the weakest link and therefore must be trained to help identify and avoid threats that may make it past even the most robust cyber security environment.
With an organization's users often being the last line of defense, they must constantly be trained to recognize and report threats when seen. When a phishing email makes its way into the network, it should never be the first time a user has seen such a well-crafted email. Rather, the user must be well trained to recognize the real from the fake emails. In March 2018, Microsoft released the Office 365 Attack Simulator Tool. At launch, the tool provided several great tools to simulate phishing attacks, launch brute force password attacks as well as to launch password spray attacks. In this blog I focus on the phishing attack simulator part of the tool.
As a way to keep the user environment constantly trained and to quickly identify suspicious email, be sure to include this tool in your cyber security awareness training program. This tool should not be used once, but on a regular basis to a rotating group of users. In this blog, I provide a series of steps to setup and create your first email phishing attack, along with where to find a large number of examples to use.
Once you have tested and feel comfortable using the phishing attack simulator, you will then want to design several simulations you can launch on a routine basis. The more thought you put into the design and the more real they appear to users, the better the user training will be and the stronger the Human Firewall will become. For ideas to use for developing your own phishing campaigns, I wrote a separate blog series with ten or more examples located here.
To setup a simulated phishing campaign using the Office 365 Attack Simulator, follow the steps below:
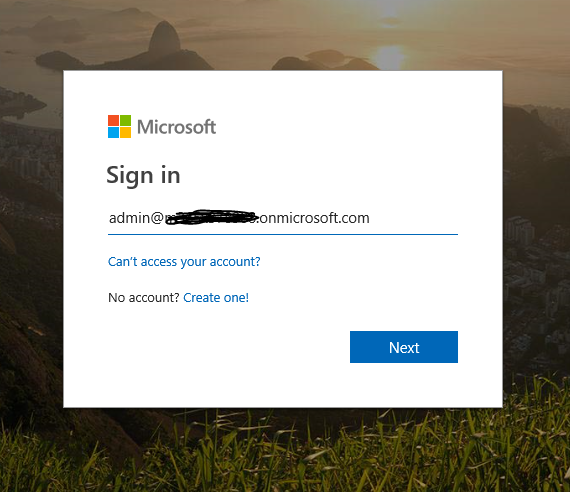
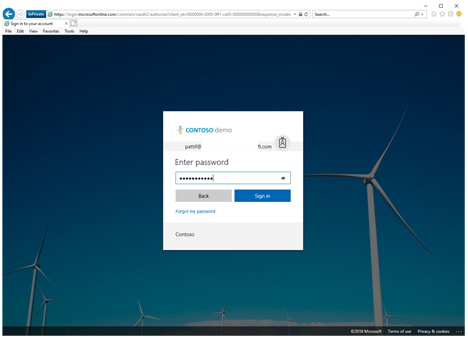
- Login to https://portal.office.com with your global administrator account. Remember to customize this portal as highlighted in Part 1 of this blog series.
- Click on the Security and Compliance option

- Within the Security & Compliance portal, expand Threat Management. Then select Attack Simulator.
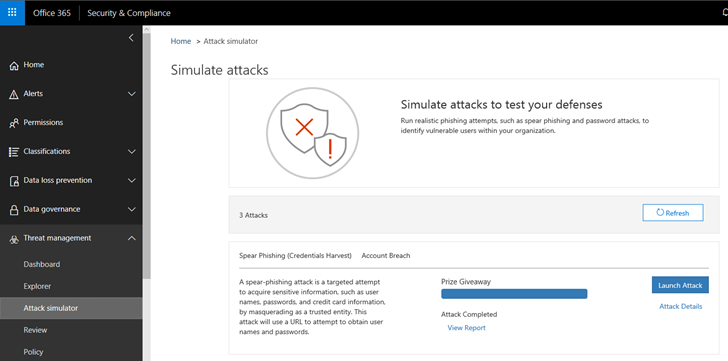
- You may see a warning in the middle of the screen above that says, "You must enable Multi-Factor Authentication (MFA) to schedule or terminate attacks." As the warning indicates, the account you are logged in with must have MFA enabled before you can setup and launch a simulated phishing attack. If you need to set this up, follow the steps in Part 3 of this blog series.

- Assuming you do not see the warning above, let's define our first phishing attack simulation. Click on the Launch Attack option below.

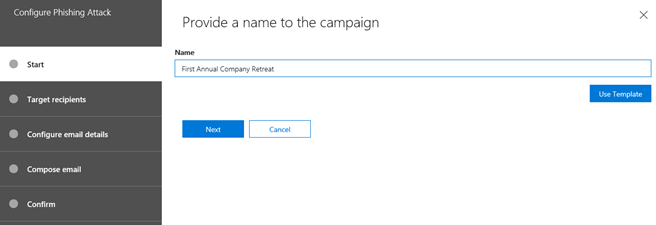
- Start by naming your new phishing simulation campaign. For example, "First Annual Company Retreat."
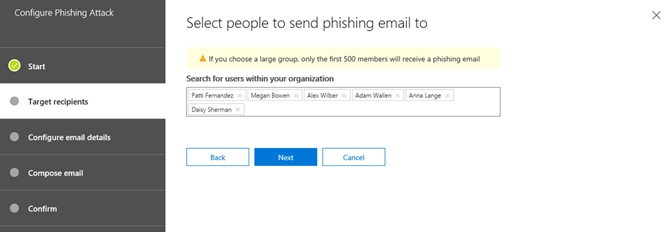
- Next, address the phishing simulation to several TEST accounts. The accounts shown below are fictitious as part of a demonstration environment I am using. I do not recommend using real user accounts to test with. Click Next when ready.
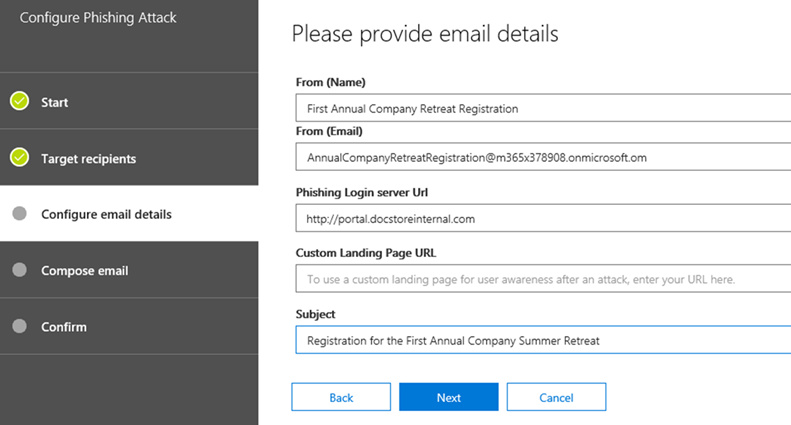
- Define the parameters shown. As your first test, use the information provided in the fields below.
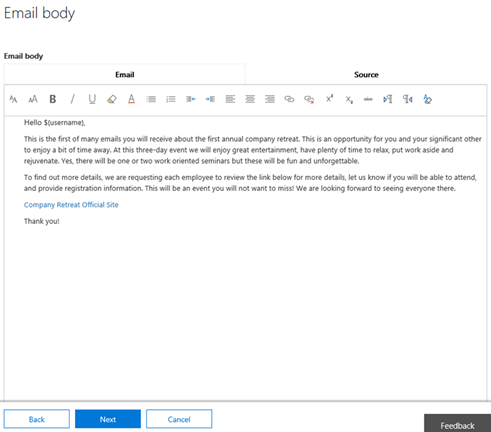
- Define the body of the email below. This example can be copied from the blog examples I wrote in a blog series here.
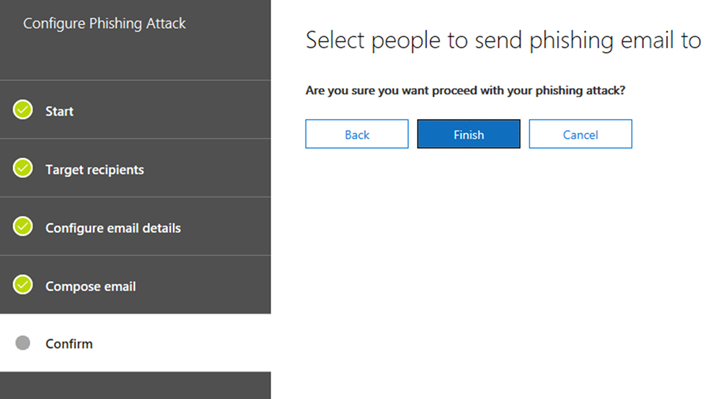
- With the parameters chosen, select Finish to launch the attack.
- To test the phishing simulation, open an In-Private session in your web browser and logon to https://portal.office.com as the test recipient user account.

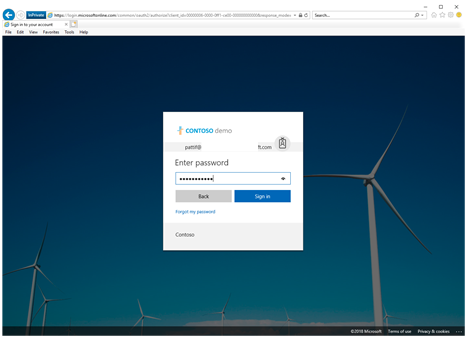
12. Make sure the phishing email was received. Then, click on the link and logon to the simulated phishing site.

13. Once complete with a logon to the simulated phishing site as the test user, the screen below is seen indicating this was part of a phishing simulation. This site is customizable so an organization can design their own page with links to required training.
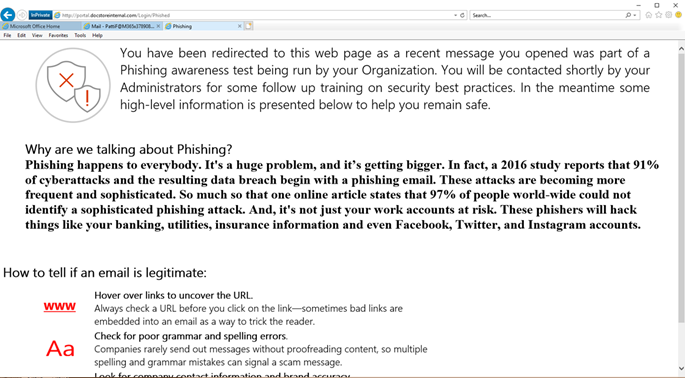
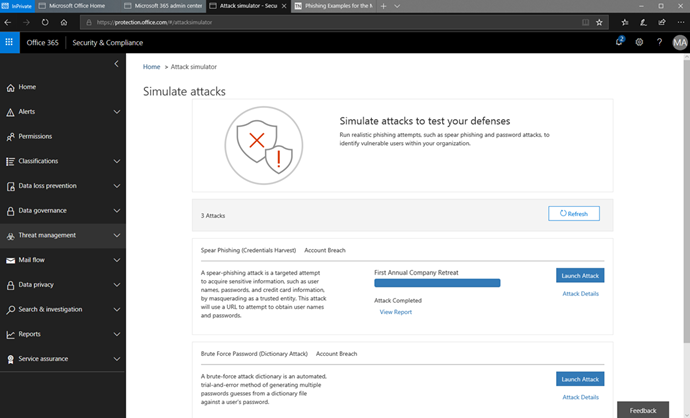
14. With the phishing simulation completed, we can now look at the results of the test. Back in the Attack Simulator, the attack is listed as Completed with a new option to View Report.
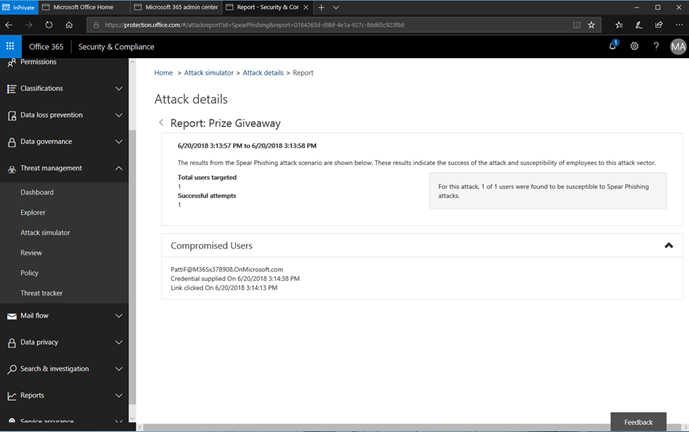
15. Here, we can see exactly which recipients clicked on the link and that they entered their credentials, indicating a successfully phished user. Having a list of users may be used to indicate how much of a real problem this is in your environment and how detrimental this type of phishing attack could have been if real. It also can help with justification to design, fund, and launch a periodic phishing awareness campaign.
Conclusion:
Training all users in your organization to be skeptical of emails in their Inbox needs to be part of every cyber security awareness training. The Office 365 Attack Simulator is a great tool to use to help increase user awareness about phishing emails and help to fortify the Human Firewall.