Email Phishing Protection Guide - Part 3: Enable Multi Factor Authentication (MFA)
The Email Phishing Protection Guide is a multi-part blog series written to walk you through the setup of many security focused features you may already own in Microsoft Windows, Microsoft Office 365, and Microsoft Azure. By implementing some or all of these items, an organization will increase their security posture against phishing email attacks designed to steal user identities. This guide is written for system administrators with skills ranging from beginner to expert.
Email Phishing Protection Guide Index: Introduction: Email Phishing Protection Guide - Enhancing Your Organization's Security Posture Part 1: Customize the Office 365 Logon Portal Part 2: Training Users with the Office 365 Attack Simulator Part 3: Deploy Multi Factor Authentication (MFA) Part 4: Deploy Windows Hello Part 5: Define Country and Region Logon Restrictions for Office 365 and Azure Services Part 6: Deploy Outlook Plug-in to Report Suspicious Emails Part 7: Deploy ATP Anti-Phishing Policies Part 8: Deploy ATP Safe Link Policies Part 9: Deploy ATP Safe Attachment Policies Part 10: Deploy and Enforce Smart Screen for Microsoft Edge, Microsoft Internet Explorer and Google Chrome Part 11: Monitor Phishing and SPAM Attacks in Office 365 Part 12: Discover Who is Attacking Your Office 365 User Identities Part 13: Update Your User Identity Password Strategy Part 14: Prevent Brute Force and Spray Attacks in Office 365 Part 15: Implement the Microsoft Azure AD Password Protection Service (for On-Premises too!) Part 16: Disable Office 365 Legacy Email Authentication Protocols Part 17: Control Application Consent Registrations in Microsoft Office 365 and Microsoft Azure Part 18: Increase Security with Microsoft Secure Score Part 19: Email Phishing Protection Security Checklist Part 20: Recommended Security and Anti-Phishing Training from Microsoft Ignite 2018
Part 3: Deploy Multi Factor Authentication (MFA)
This blog series highlights and explains how to setup the many features in Microsoft Office 365 to protect your users and environment from the constant onslaught of identity email phishing attacks. This is part three of the blog series where I will continue to focus on what I call the Human Firewall and start to look at technology you can enable to provide further protection to your environment. Let's now look to setup another lock in your organization to keep the attackers out.
Enabling Multi-Factor Authentication (MFA) can be one of the quickest and most impactful ways to protect the identities of your users. This feature has been available for all Office 365 users since February 2014 (announcement), but I find it concerning to discover system administrators have not enabled it for their users. I hear comments that MFA makes accessing accounts difficult for users, it is too complicated, there is user training involved, or those who question its effectiveness. I need to stress the threat of identity theft for all user identities is very real and the primary goal of most email phishing attacks. The attackers do not care how small or large an organization is or what cloud provider is being used, a stolen user identity to access vital information is invaluable. Consider the recent security reports from Microsoft, Verizon, and Cisco that all indicate the scale and growing threat of email phishing attacks.
When setup properly, MFA is hardly noticeable to users in any organization. Certainly, you don't want to have an MFA prompt every time a user checks email on a smartphone or logs into https://portal.office.com from a company owned device that is either in an office or joined to Azure Active Directory (AAD). But, you do want to have a user prompted for MFA where it makes sense such as when logging on to Office 365 services from a Bring Your Own Device (BYOD) like a tablet or a home computer. An organization's system administrator or security team has no idea what condition BYOD devices are in and what malware may be on them, requiring the need for an increase in identity protection. The goal is to protect the data and user identity on trusted and untrusted devices and implementing MFA is one of the strongest locks available. For more information on planning for MFA in Office 365, please review this link.
Considering the Human Firewall element of identity protection after reviewing Part 1 and Part 2 in this blog series, what happens when a phishing email does arrive in the Inbox of a user? The phishing email could be very well crafted to trick even the most skeptical and well trained eyes. Consider now that the user clicks on the URL in the phishing email and enters his or her credentials. Without MFA enabled, the attacker has achieved the initial goal of acquiring credentials and will start to work his/her way through the profile and move on to other credential harvesting methods from the inside. But with MFA enabled, at logon to the Office 365 portal using the stolen credentials the attacker will be challenged for the additional account verification. Depending on how MFA was setup, this could be with a temporary access code sent to the user's cell phone or a phone call, a smart card, a biometric device, etc. With MFA, the attacker would be prevented from accessing the user's data and causing a major security breach in your organization.
Consider that while many phishing emails are sent in a blanket approach, many are now using an attack method called spear phishing. This is a targeted phishing campaign at, for example, the leadership team of an organization who may have financial authority to approve wire transfers or access to sensitive data. Or, as another example, it could be spear phishing emails targeted at the technical team with administrator access. It doesn't take much effort to search public social media sites to figure out who is part of a leadership or technical team at most organizations. That attackers are smart, motivated, and should never be underestimated.
Take an immediate step to help secure your organization by enabling MFA for anyone with the Global Administrator role in Office 365. Then push to enable MFA for the leadership team who are often heavily targeted by phishing emails. Finally, deploy MFA to all user accounts. There is a new baseline protection policy now in preview (July 2018) in Office 365 that can be set to force MFA for anyone with the Global Administrator access. The same policy can be extended for groups in your organization such as for the leadership team. Remember to carefully plan your deployment of MFA as well as a well-thought out communications and cyber security awareness training plan for your organization.
How to Enable Multi-Factor Authentication on an Account in Office 365
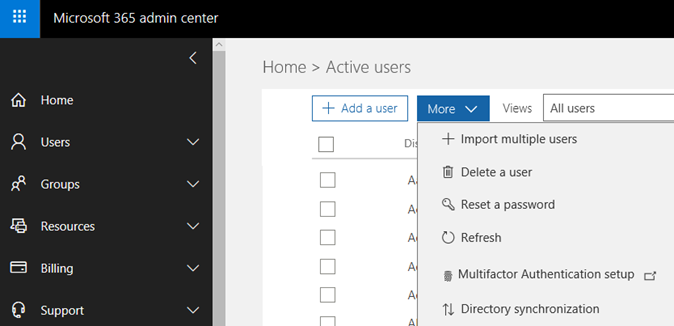
- Logon to https://portal.office.com with a Global Administrator account. Select Users. Then select the More option. Next, click on the Multifactor Authentication setup.
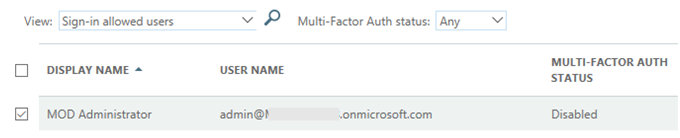
- In the Multi-Factor Authentication page, locate your Global Administrator account and place a check mark next to the name to enable the account for MFA.
- A warning about enabling Multi Factor Authentication will appear. When ready, select the Enable Multi-Factor Auth option to continue.

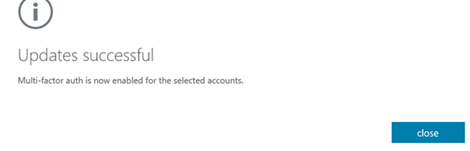
- A confirmation screen will then appear.
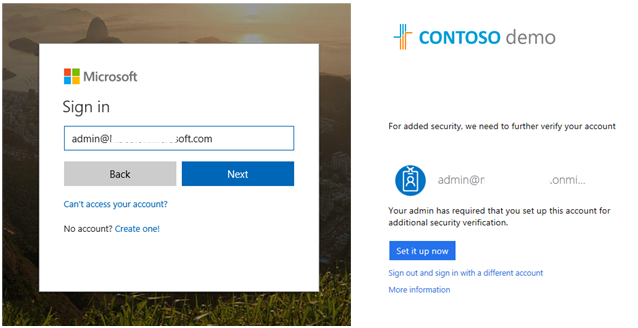
- Sign out of the account, close the browser, and then sign back in again. This time, you will be prompted to setup MFA for the account.
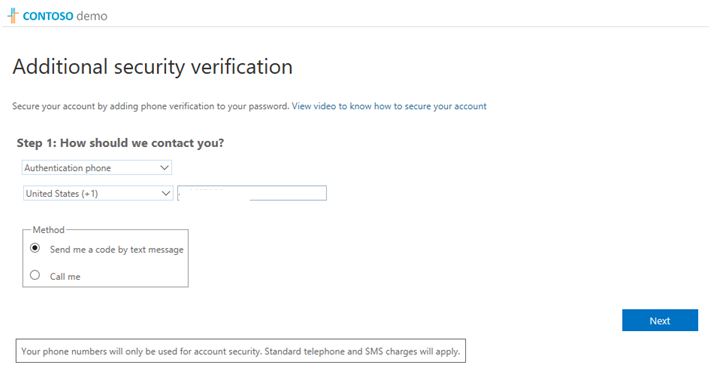
- Select how the service should contact you for MFA challenge.
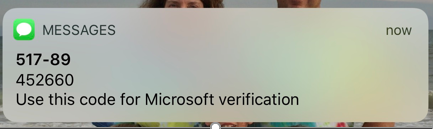
- If you chose the text authentication method, a code will then be sent to your device to use.
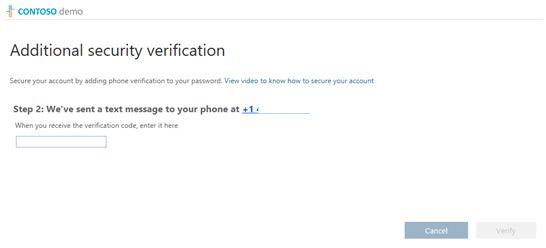
- Enter the code into the next screen to complete the authentication.
- The setup for MFA is now complete.
Conclusion: In this blog I reviewed how important it is to enable MFA on accounts in Office 365 to secure user identities. I also walked through the very quick and simple setup of MFA on accounts. Remember to plan the implementation according to guidance provided by Microsoft including testing and communicating the change with users in the organization.