Part 3: Create a Virtual Shared Storage Solution in the Hyper-V Lab
Introduction
In order to configure a Windows Failover Cluster inside a Windows 2008 R2 Hyper-V based virtual lab environment you must first prepare a shared storage solution that can be leveraged by the members of the Windows Failover Cluster. While a separate virtual hard disk (VHD) can be attached to a stand-alone server inside a Hyper-V environment, it cannot be attached to more than one virtual server image; hence, a virtual hard disk cannot be used to fulfill a Windows Failover Cluster's requirement for shared storage. Fortunately, you can use Windows Storage Server to create a virtual iSCSI storage solution to support WSFC.
To complete this exercise you will need to download the Microsoft iSCSI Software Target 3.3 software at: https://www.microsoft.com/download/en/details.aspx?id=19867
Install the iSCSI Software Target 3.3 Software
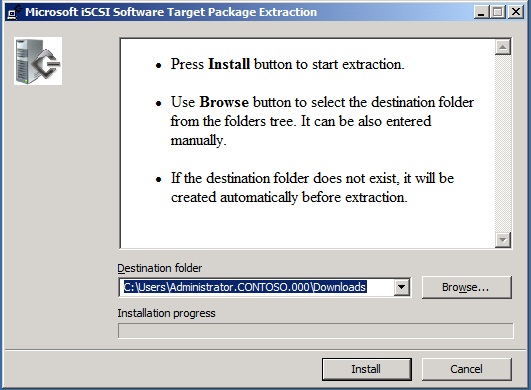
First, copy the Microsoft iSCSI Software Target 3.3 installer (MSI) file to iSCSI-01
Make sure to log on to iSCSI-01 using the domain administrator credentials CONTOSO\Administrator; not the local Administrator credentials
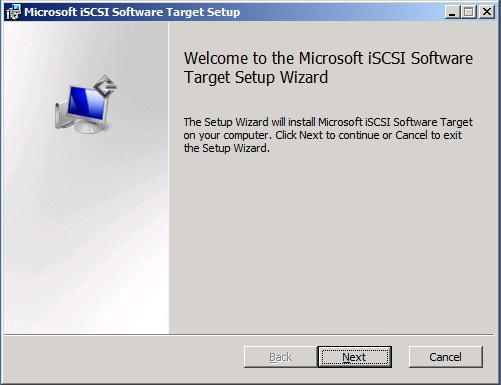
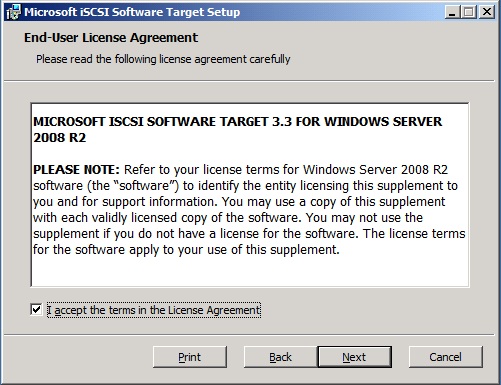
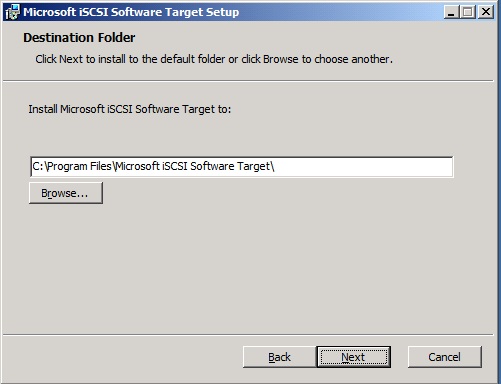
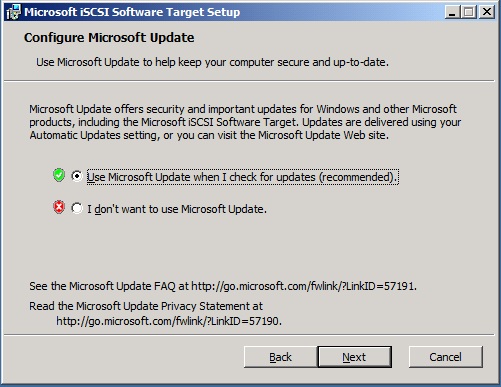
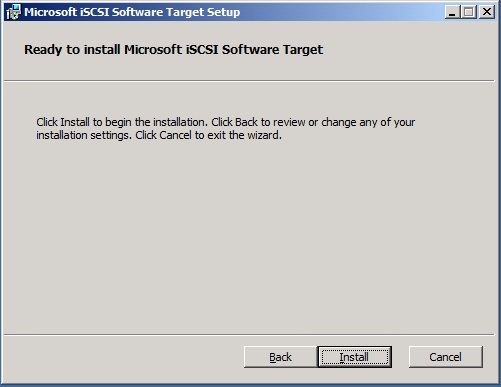
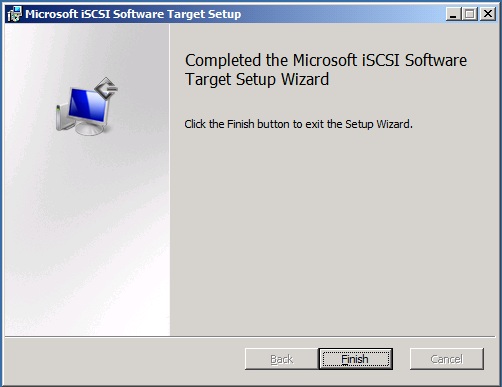
Run the install file iSCSITarget_Public.MSI according to the following steps:
Configure the iSCSI Target Shared Storage Device
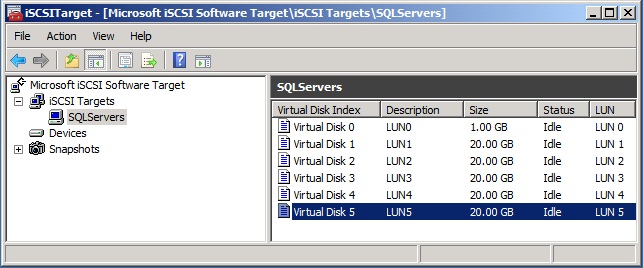
To facilitate the the creation of a Windows Server Failover Cluster (WSFC) that will be used to support the creation of a SQL Server Failover Cluster, the iSCSI Target needs to be created with the following devices (LUNs or VHD files):
- A 1GB LUN to provide for a Cluster Witness volume (Quorum)
- A 20GB LUN to provide a storage volume dedicated to SQL Server Data Files (*.mdf and *.ndf)
- A 20GB LUN to provide a storage volume dedicated to SQL Server Transaction Log Files (*.ldf)
- A 20GB LUN to provide a storage volume dedicated to SQL Server TempDb Data Files
- A 20GB LUN to provide a storage volume dedicated to SQL Server TempDb Transaction Log Files
- A 20BG LUN to provide a storage volume dedicated to SQL Server Backup (*.bak) files
These 6 Devices will be used by 2 initiators: SQLNode01 and SQLNode02
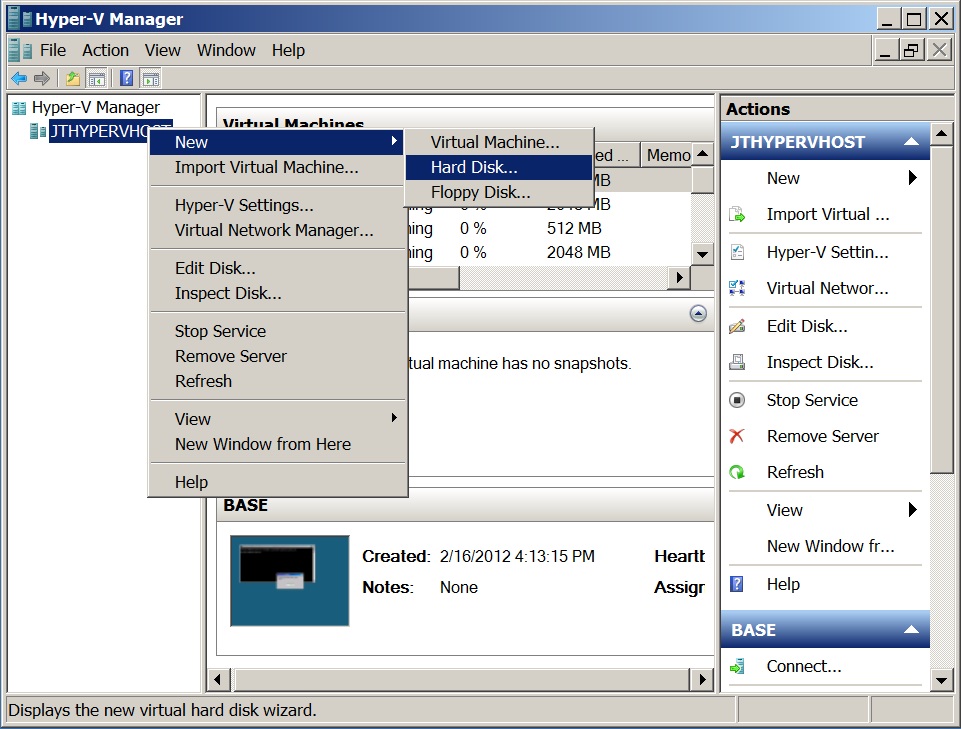
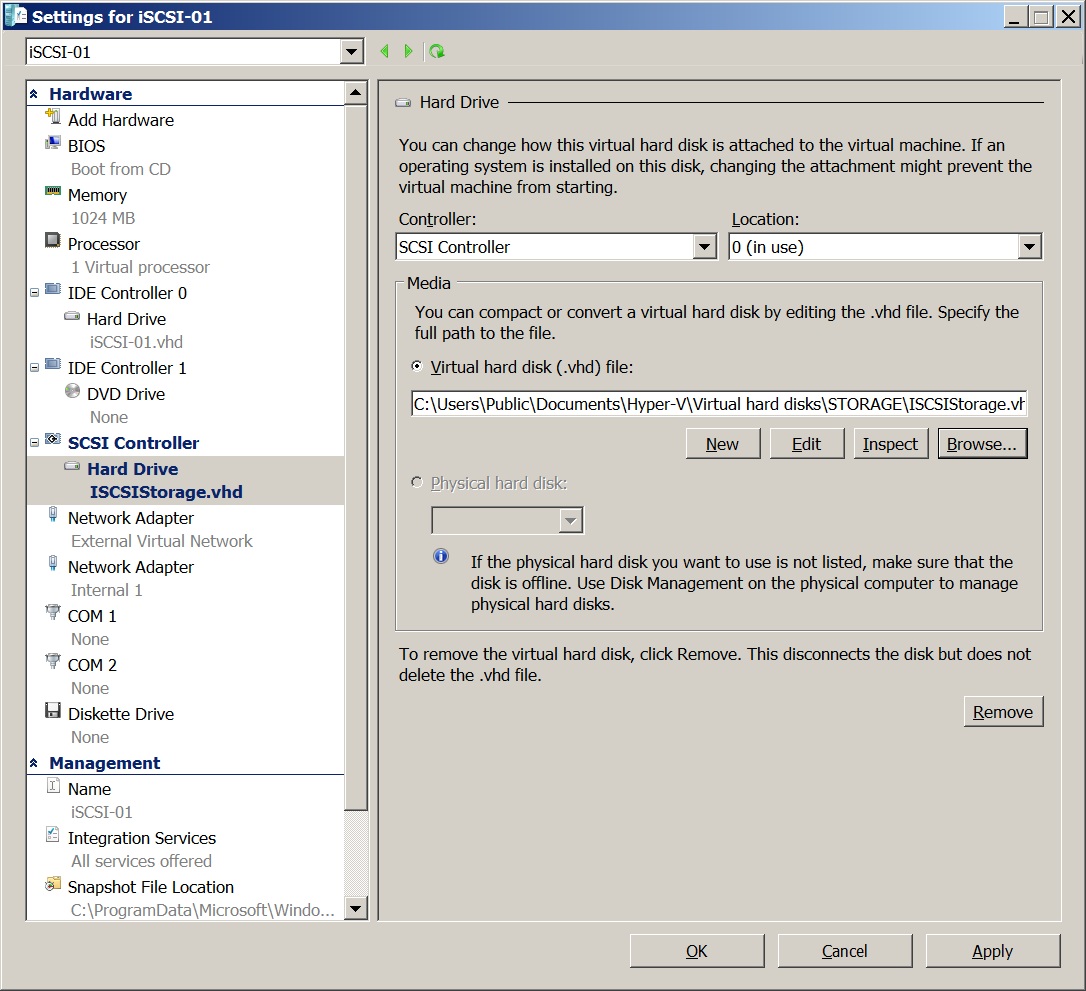
Create a New Virtual Hard Disk for the iSCSI Target Server
Since the VHD file used to host the iSCSI-01 server instance isn't large enough to host the 102GB of data used by the LUNs described above, use the Hyper-V Manager to create a new 105GB fixed-size Virtual Hard Disk (VHD) file named iSCSIStorage.vhd. .
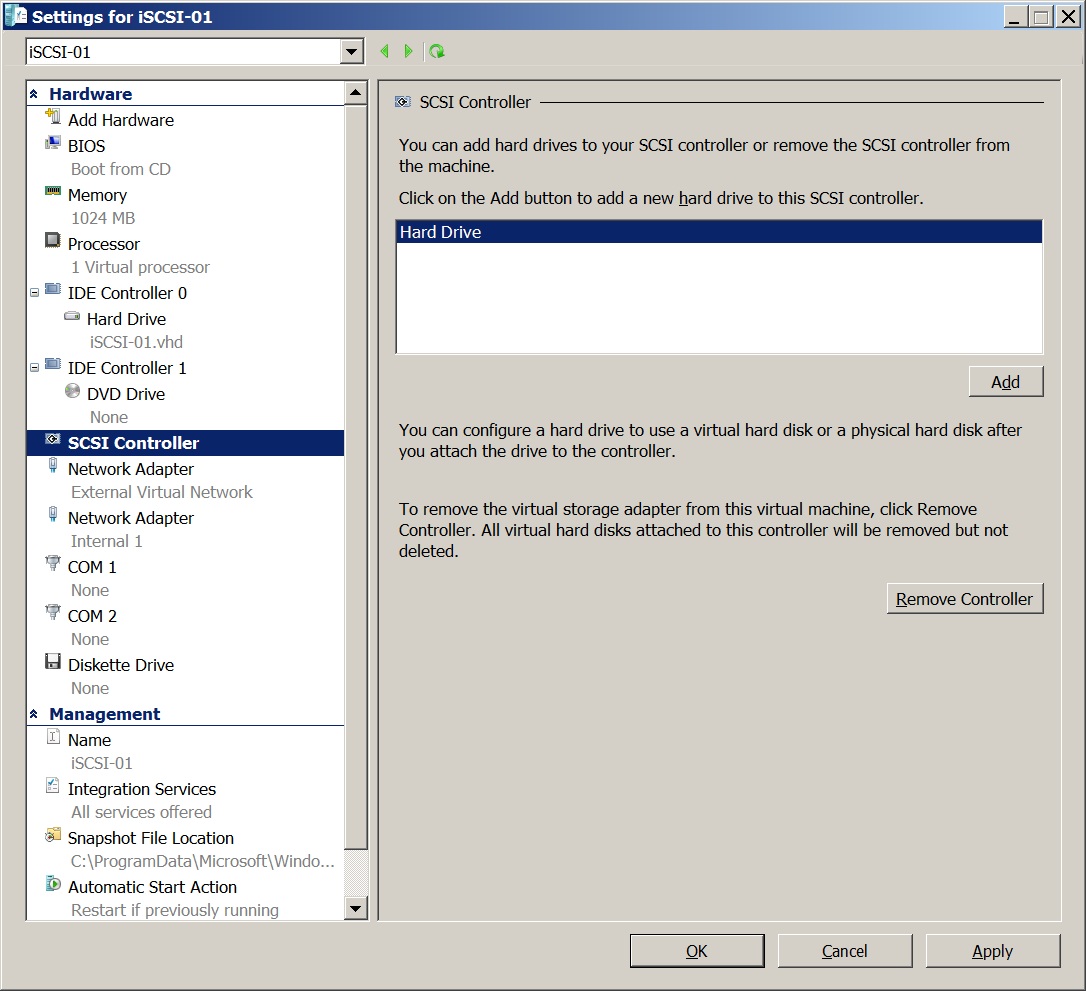
Then use the Hyper-V Manager to add a new SCSI Controller to the iSCSI-01 Virtual Machine.
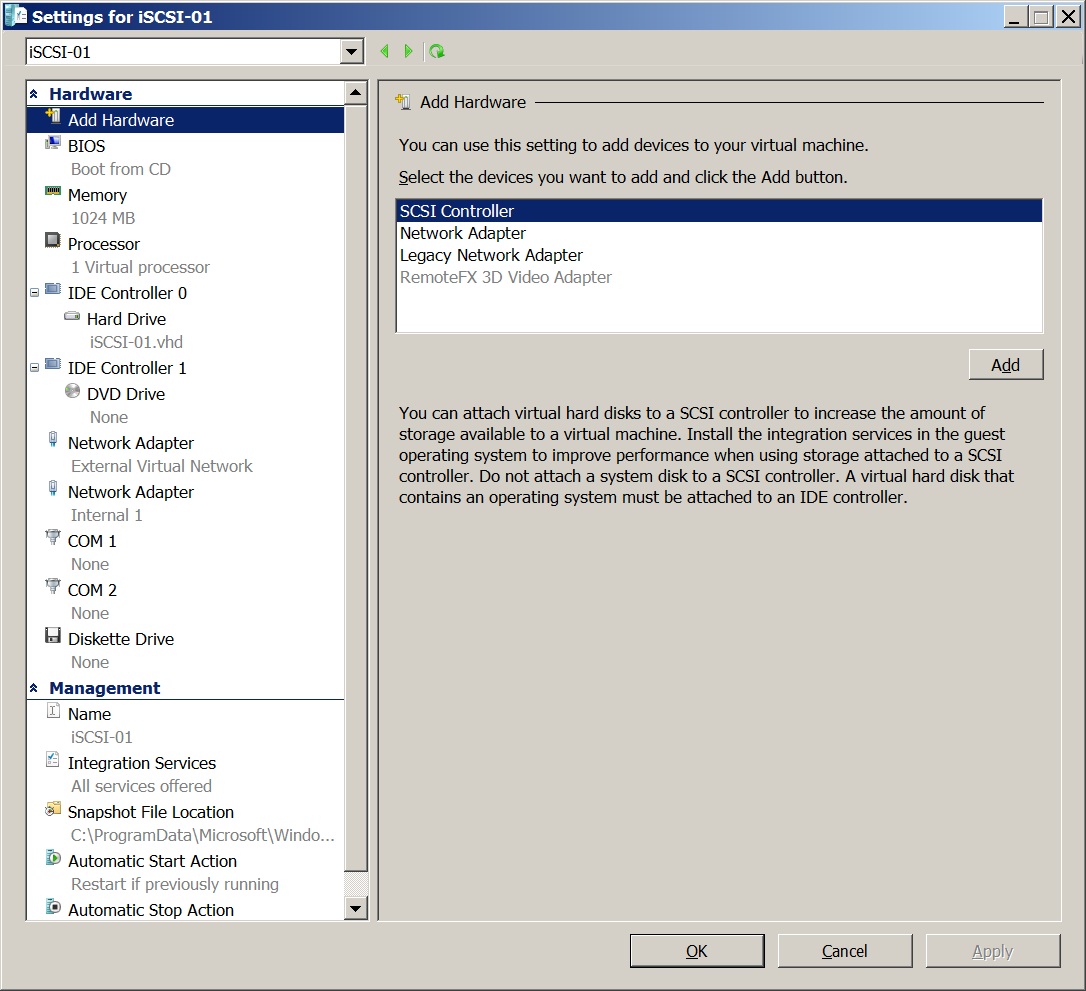
Next, click the Add button to attach the new VHD file to the newly created SCSI Controller....
...And then click the Browse button to navigate to, and specify the newly created VHD named iSCSIStorage.vhd
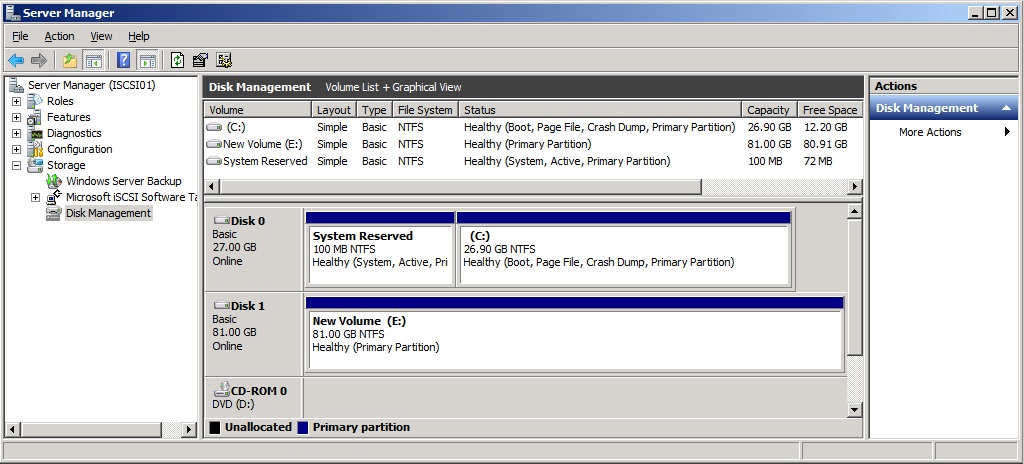
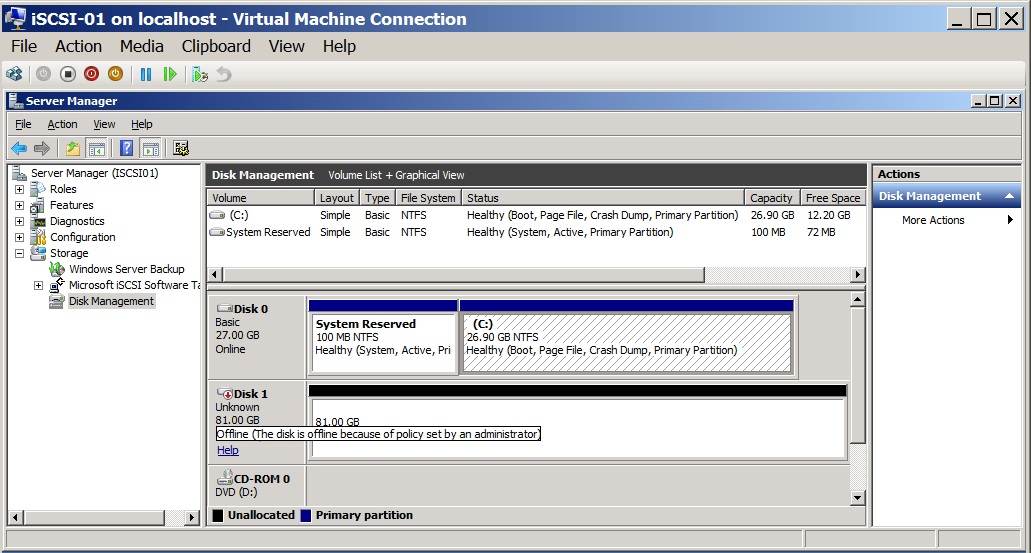
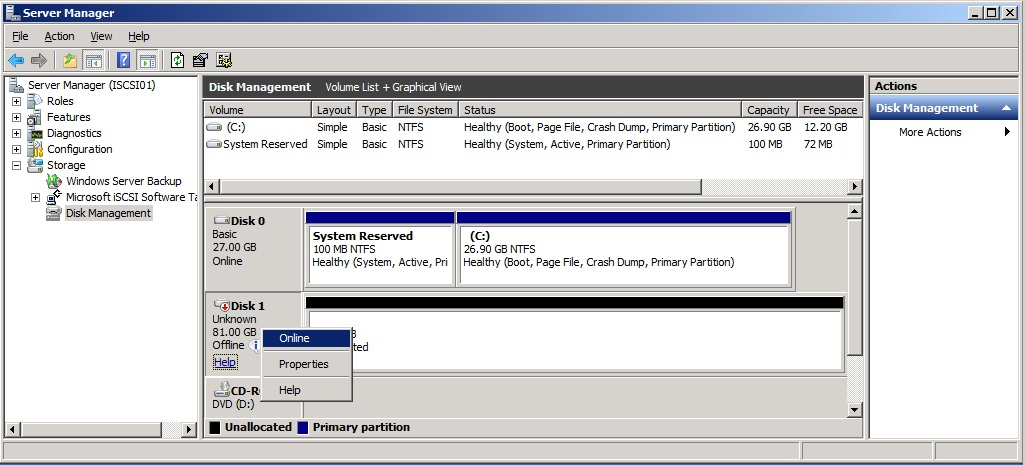
Start the iSCSI-01 server, launch the Server Manager, and then use the Disk Management plug-in to expose the new volume to the server.
Right-click Disk 1, and select Online from the action menu.

Next, right-click Disk 1 again, and select Initialize Disk, choosing the MBR (Master Boot Record) partition style.
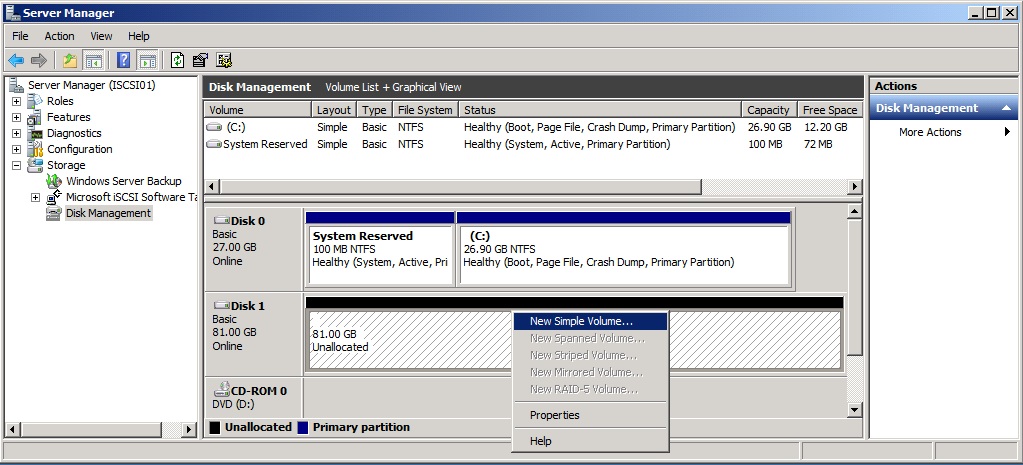
Finally, right-click the new partition and select Activate from the action menu. The disk is now ready for use.
Configure the iSCSI Target
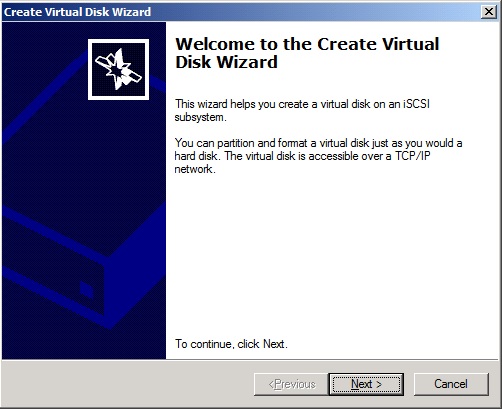
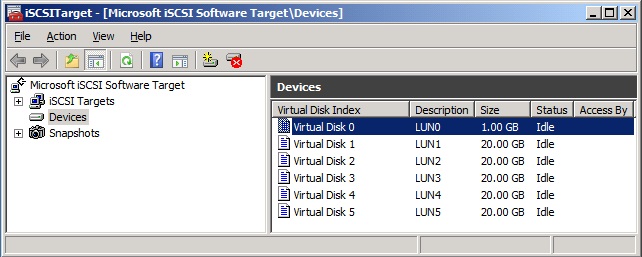
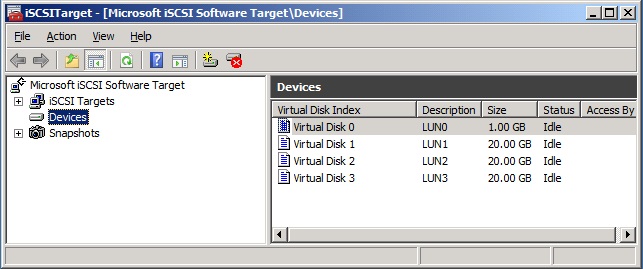
First create the 6 devices: one 1GB VHD for the Cluster Witness volume, and five 20GB VHDs for the data, transaction log, and backup volumes.
Start the iSCSITarget Manager, right-click the Devices node, and then select Create Virtual Disk from the action menu.
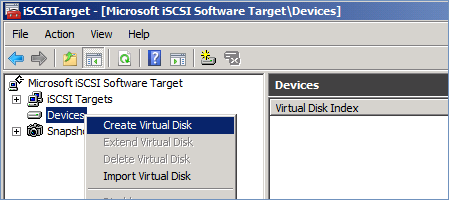
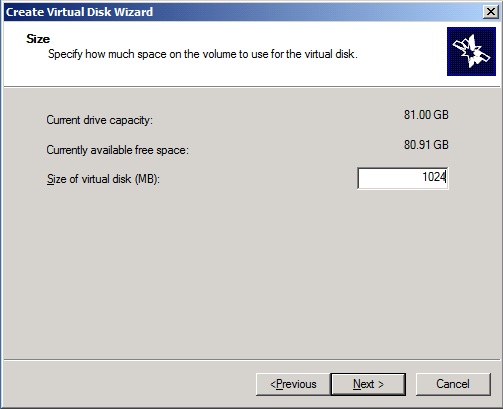
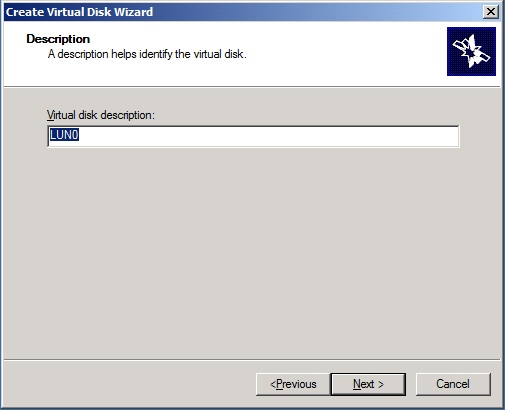
Using the wizard, create the first device with the file at E:\LUN0.VHD, specifying 1024MB for its size, LUN0 for its description, and configuring no target access.
Create the remaining devices at E:\LUN1.VHD through E:\LUN6.VHD, entering 20480MB as their size, and again configuring no target access. When done you'll have 6 new devices.
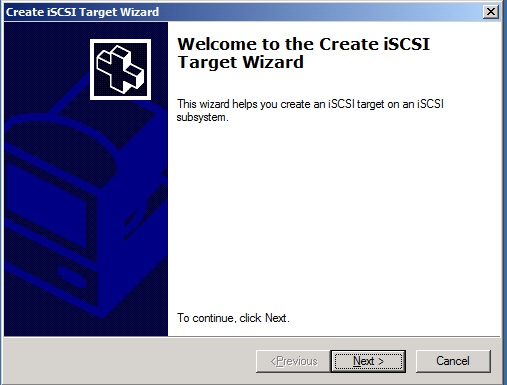
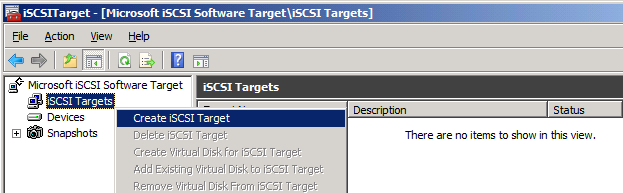
Next, to create a new iSCSI Target, right-click the iSCSI Target node and then choose Create iSCSI Target from the action menu. This will invoke the Create iSCSI Target Wizard.
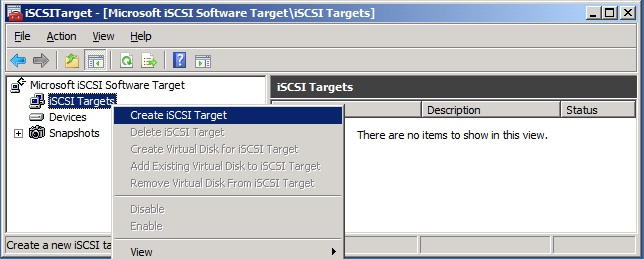
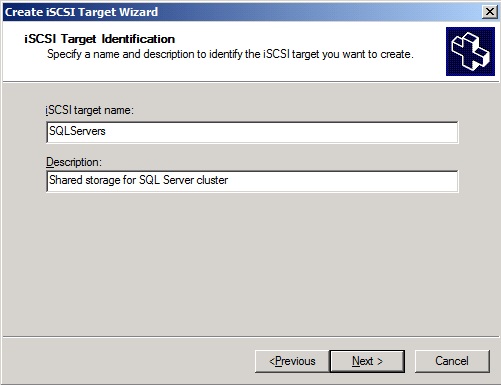
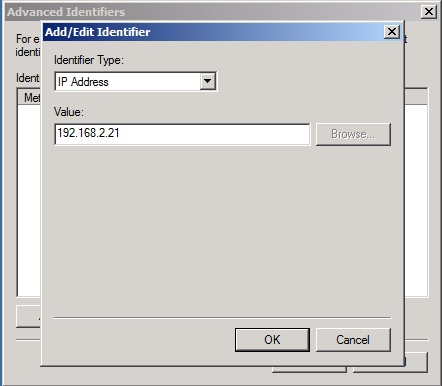
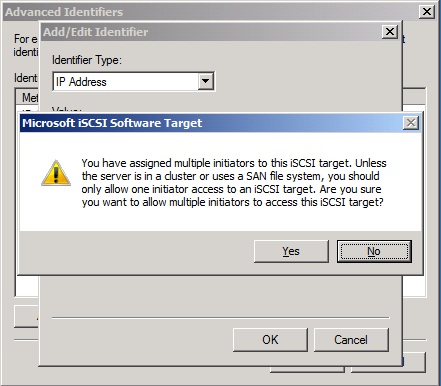
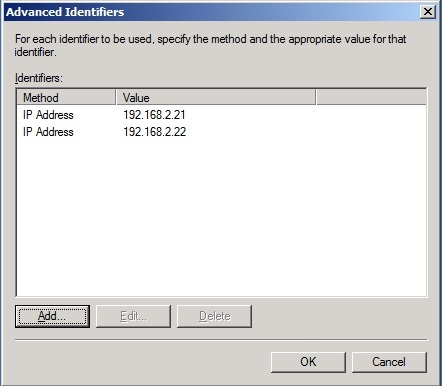
Use the Create iSCSI Target Wizard to create one target named SQLServers that is exposed to two initiators (the SQL Servers in the Cluster)
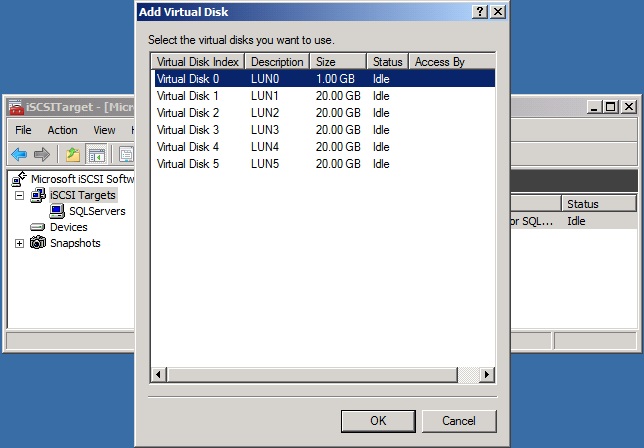
After the target is created, use the option to add existing virtual disks to the iSCSI Target
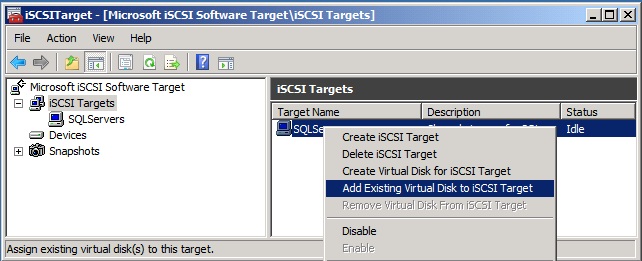
One at a time, add all 6 LUNs (VHDs) you created earlier.
When complete, the iSCSI Target Manager looks like this...


