Note
Access to this page requires authorization. You can try signing in or changing directories.
Access to this page requires authorization. You can try changing directories.
In Dynamics CRM 2011, we have a header in Contact entity showing the most important fields. By default, we have E-mail, Preferred Method or Contact and Owner.
Have you ever thought of having a dashboard type header to identify the customer, say adding the customer profile picture, name, email, phone number, subscribed services/products etc.
In this article, I will show you how to develop a customer overview dashboard silverlight web resource. Since this is for demo purpose, I didn't leverage the CRM SDK to retrieve the necessary fields and display them into this silverlight gadget. Let's begin!!
First, Open Visual Studio 2010, select the silverlight application project
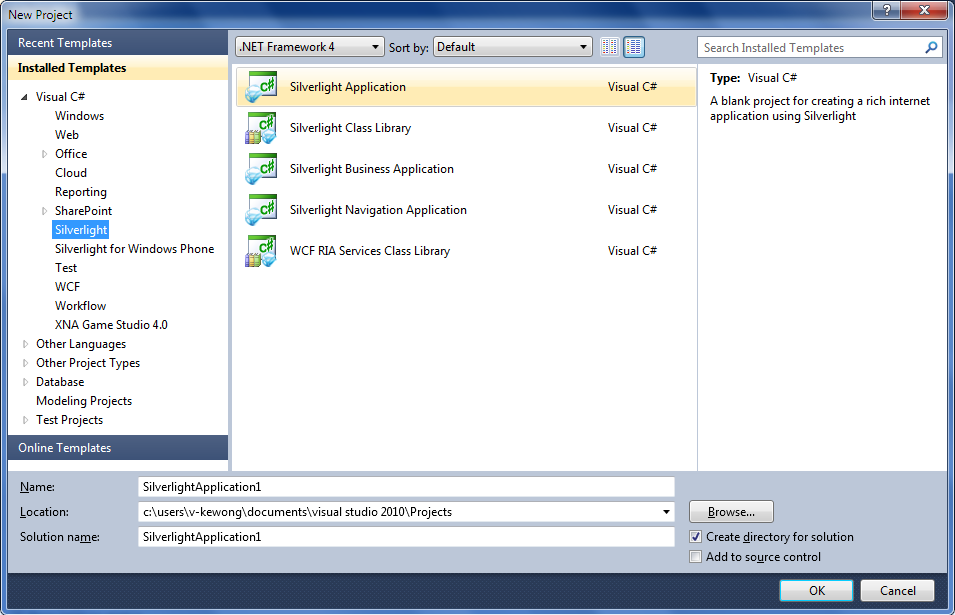
Drag the Tab Control into the Canva, resize the tab control into an appropriate width, in my case, is 800px.
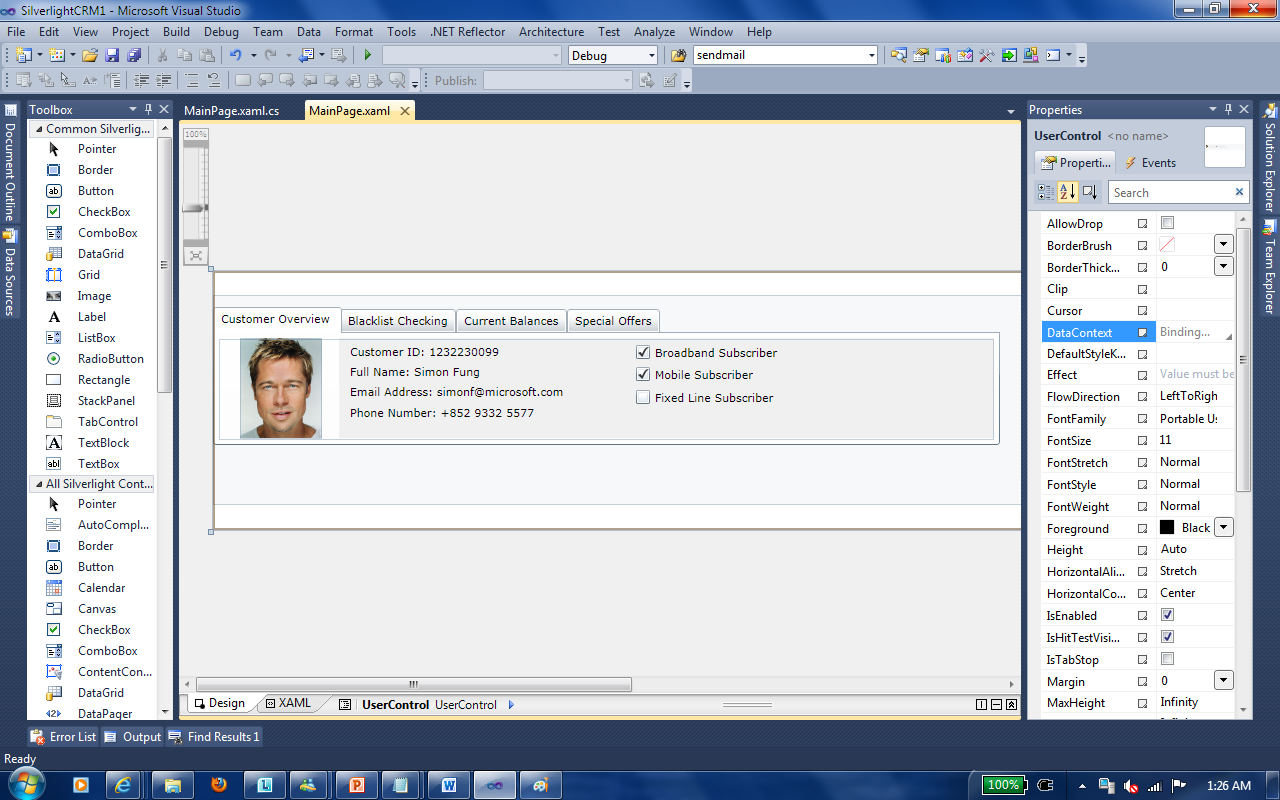
After that, you can develop your own layout and feature by using standard .NET Programming and leveraging the CRM 2011 SDK.
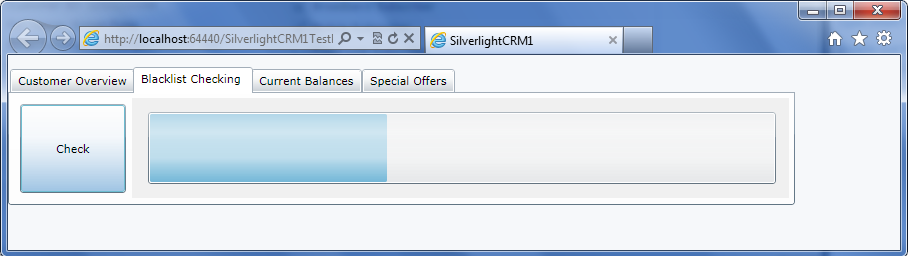
In my case, as this is just for demo purpose, I hardcode most of the personal info into this gadget. One of the requirement from my customer is that, they want to have a custom button to call an external webservice to do the blacklist checking for the particular customer. In this demo, I have added a custom button and a little animated progress bar to simulate the web service call process.
After you build the project, you will find that there is a .xap file under the sub folder "ClientBin" of your .web project. This is the file we need to upload to the CRM
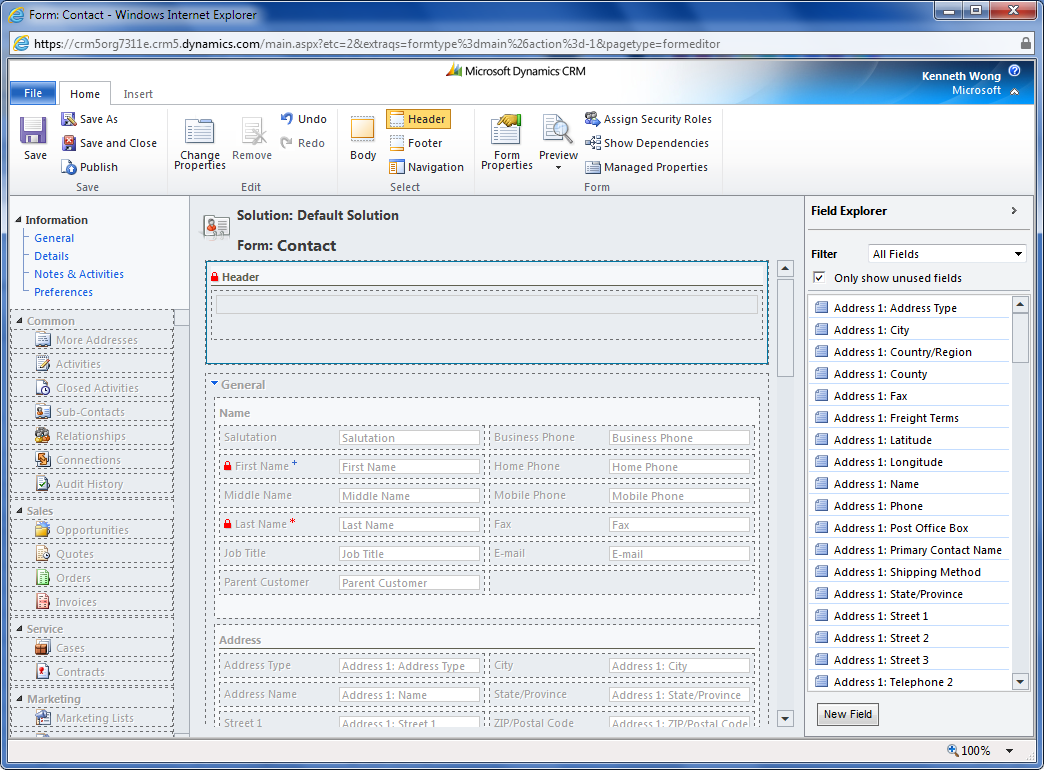
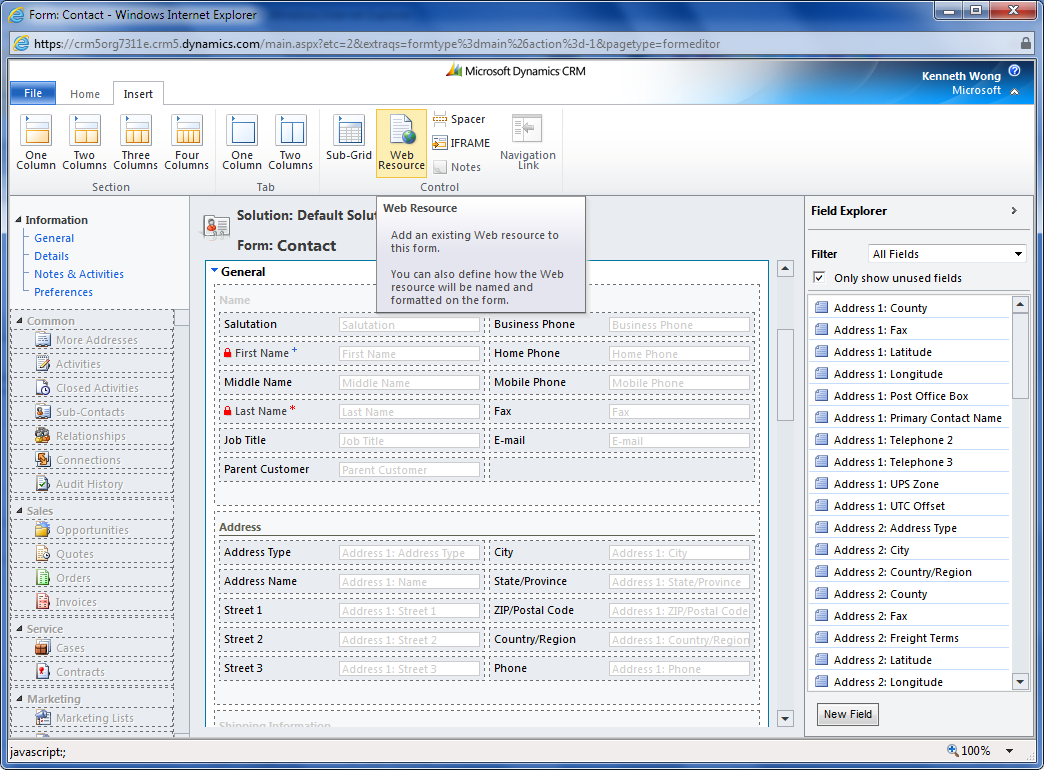
In CRM, open up one of the existed contact record or create a new contact record. In the top menu bar, click customize -> click Form

Click Header to edit the Header Section, Click change properties and change the column settings from 3 column into 1 column, then remove the default 3 fields. You will see the empty section in the Header
Then click Insert -> web resource
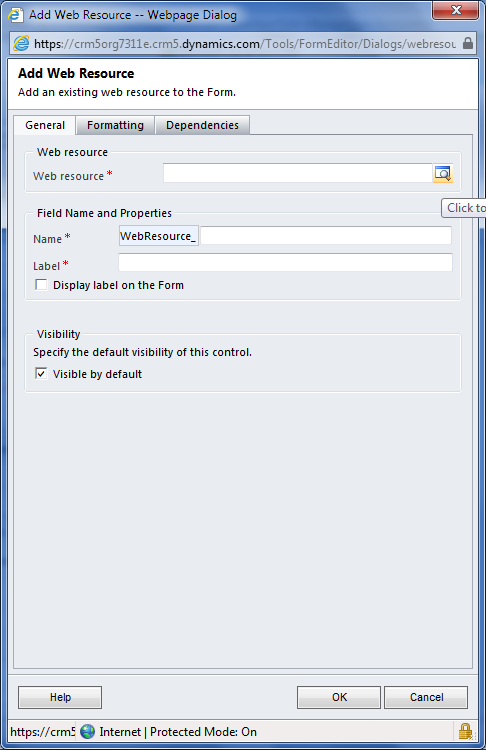
Under the General Tab, click the find button of the Web Resource
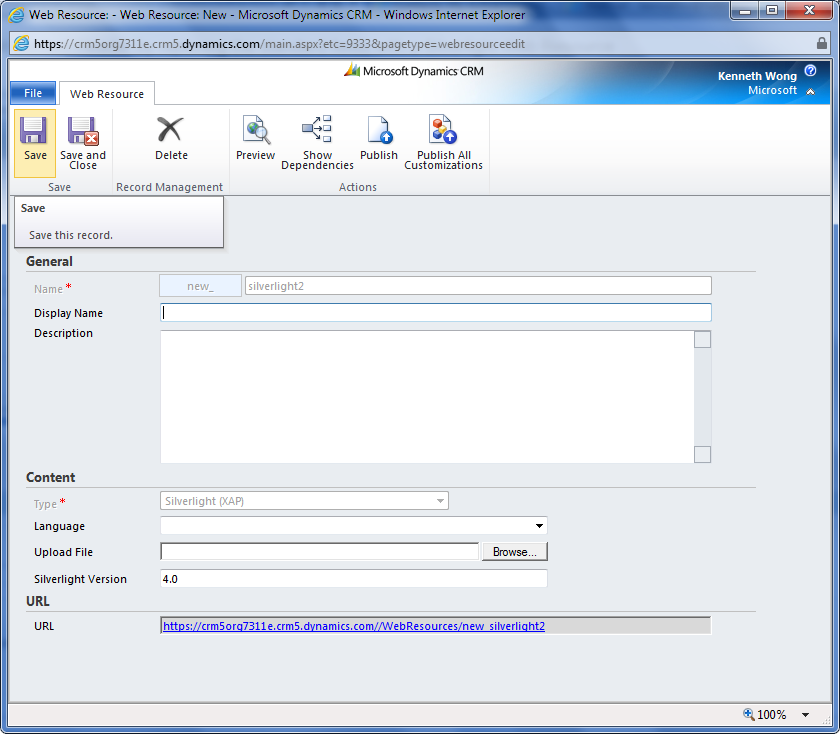
Click the new Button

Fill in the required fields and choose the .xap you have just developed and press save
Then in the Add Web Resource form, fill in the necessary fields such as name, label and press OK

You are almost there. Click Save and then Publish

Go back to the Contact page and press F5 (refresh the page)

Enjoy