Migration tips from IaaS to Web App for Containers on Azure
Web App for Containers is a very good service to migrate from IaaS world to the fully-managed container world. Without considering about the infrastructure, the PaaS platform provide Scaling feature and DevOps related tips like Continuous Deployment, Blue Green Deploy and Monitoring. This service is very good for a user who uses IaaS with OSS stack. It is very simple. If you need to handle complex situation, you might need to go orchestrator like Azure Container Service. However, if you don't need it, Simply you just want to use docker to pack your IaaS.
I noticed that this use case could be like a crossroad. Someone who familiar with WebApps but not for container might use this. Also, someone who is good at container but not WebApp might be interested this solution. If you are someone like them, you might like this post.
Tips 1. Make sure your container doesn't exit.
My colleague said that "Hey, I create a docker image from a docker image for local development environment. It works on my Mac, however, once deployed on the Web App for Containers, It doesn't seem to work. Why". You can check if your docker image doesn't exit after docker run. For example, if you start Nginx as a back ground process on the docker image and execute docker run, then the docker container start nginx daemon internarlly then exit it. You might specify startup.sh script on the Dockerfile. However, if the startup.sh script should not be finished. If it finish, docker run finish as well. It might happen on your Web App for Containers. Then you can't find a good log on the Web App logs. You can test it on your PC like this.
 docker run -d -p 80:80 docker_image_name
docker ps
If your docker process can't find, then your docker container finished on the Web App for Container. The solution is try to stop the shell script like this. You can add this line on your startup.sh
tail -f /dev/null
Then the shell stop on the line, so the docker container keeps alive. But why it worked on locally? This time the case was like this. They start /bin/bash at the end of the startup.sh and they run the docker image like this.
docker -itd docker_image_name -p 80:80
-it means interactive mode. At the end of the startup.sh exec the /bin/bash. It starts bash. Which means the container keep on running until you exit from the container. However, if you deploy it to WebApp for Containers, it runs it without -itd option. This tips is very common tips for container users. However, someone new to container might trapped.
Tips 2. How to specify the port number?
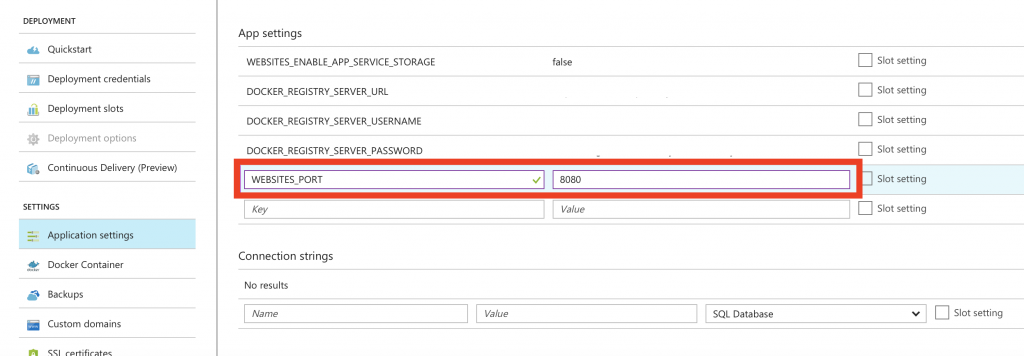
When you open the Azure Portal, you can't find where to specify the PORT. docker run command have -p option. How the Web App for Container decide the port number? The answer is, the port number is automatically detected for you. However once it doesn't work, you can specify the port number on the App Settings on the portal.
For more detail, Please refer https://docs.microsoft.com/en-us/azure/app-service/containers/app-service-linux-faq
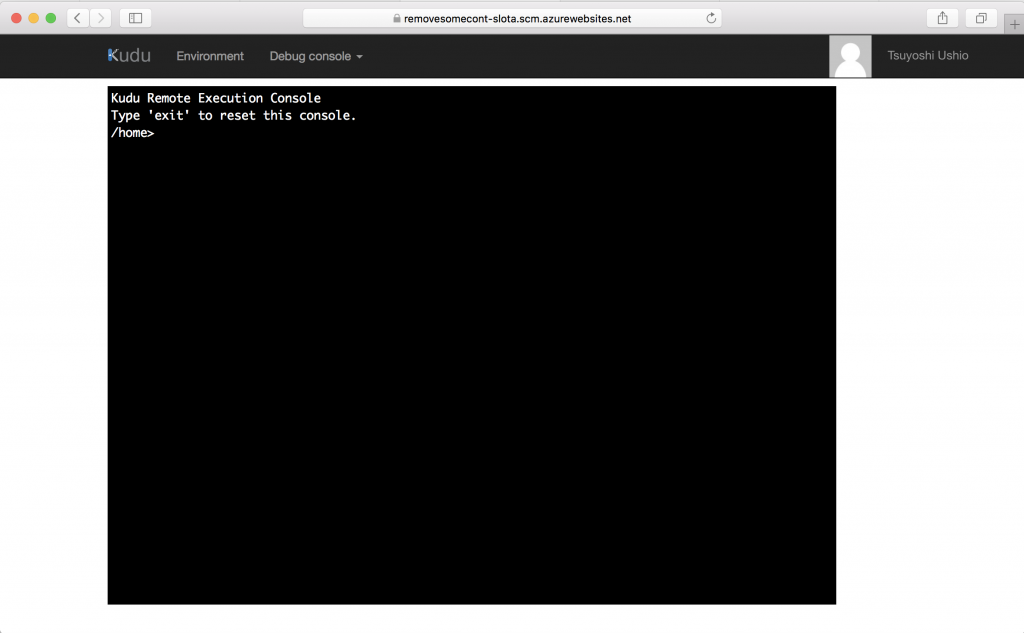
The image is like this. The port number should be the port number inside of the container. Web App for Container will generate random port number as the port number outside of the container. Also it is exposed to the server. The Load Balancer dispatch the request (http/https) to the random port number. It is also route into the nginx which reside on the container. You can see the acutualy docker run command on the portal. See Advanced Tools. You can find the log from the Bash script on the Advanced Tools called Kudu.
Tips 3. Chrome for Mac users
If you use Mac, I recommend to use chrome not safari. If you use safari and open the Kudu, you might can't type a letters. Chrome works fine.
Tips 4. When it deploy container to the Web App for Containers?
We can configure the docker image to deploy howerver, when it happens. The first time your configure it, it automatically deployed to the Web App. If you update the image on the registory, when it will be upgraded?
I have two answers.
When you stop the server then start the server, the web app will get the new image form the registry. If you just restart the server, it won't fetch the new image from the registry.
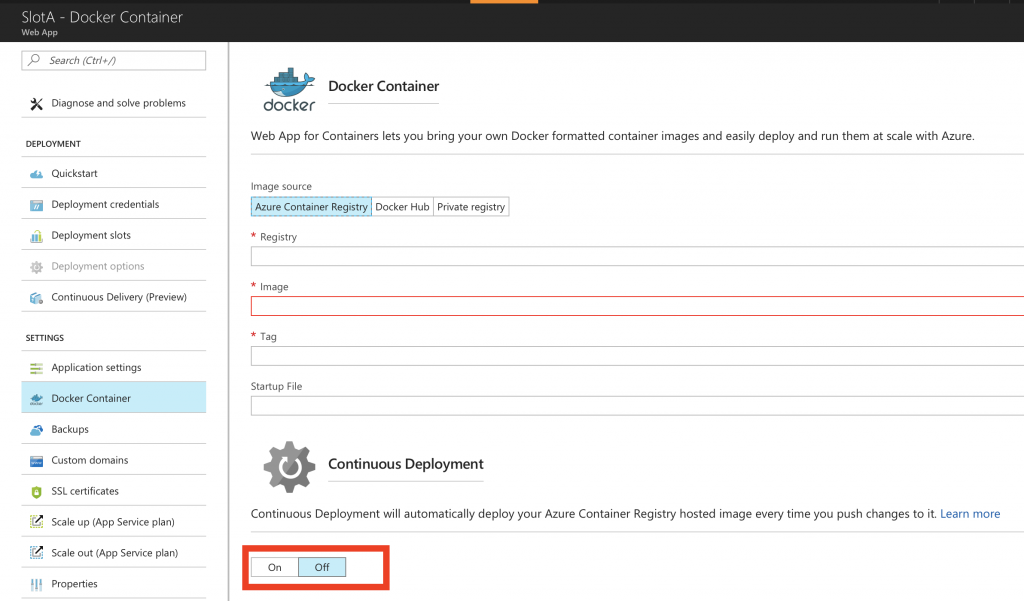
However, once you specify the Continuous Deployment, if the registry has been changed, it will automatically deployed.
But what if you want to control the deployment timing? I'll answer on the CI/CD section.
Tips 5. Debugging the container
At the first time, old container user like me, might feel that the Web App for Container is very hard to debug. Because we can't use docker exec or docker logs to the Web App for Containers. Then how to debug the container?
As I said, you can use the Advanced tool (kudu). However, you might want to see it on your local PC. Then you can use Azure CLI. The tool written by python, you can install on your PC, you can use docker image, also, you can use it on the Azure Portal console.
If you keep on watching the Web App for Containers log, you can use this command.
az webapp log tail --name your_web_app_name -g your_resource_group_name
Also, if you want to watch some logs of the middleware, you can use this technique. Just link to the stdout/stderr. Then you can see the output on the command. This is the example of the Nginx log.
 # forward request and error logs to docker log collector
 RUN ln -sf /dev/stdout /var/log/nginx/access.log \
         && ln -sf /dev/stderr /var/log/nginx/error.log
Tips 6. Use SSH for debugging
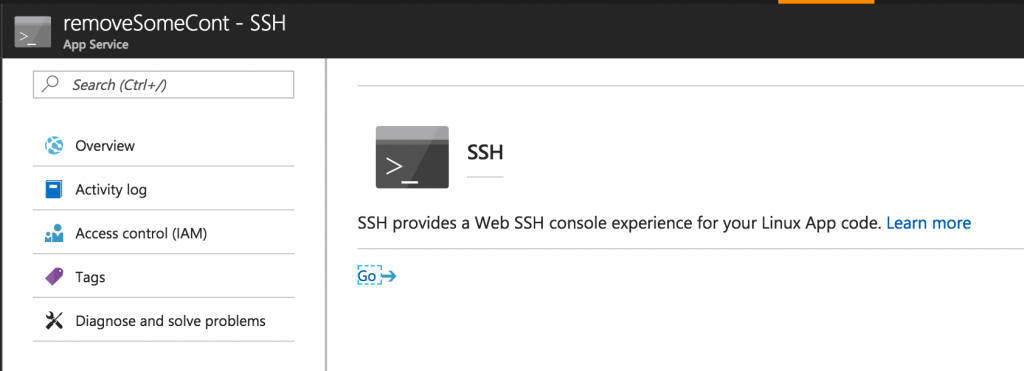
Someone who comes from Docker world, enabling ssh.d on the container is the wrong practice. However, Web App for Container world, it is a best practice. You might surprise it. The reason why is if you add ssh.d can be a security hole. However, on the Web App for Container world, you can only ssh to the container from the Web App Server and Only one port is allow to expose. Now you can ssh from the Portal also, you can even execute sudo command on the container. It is very helpful to debug it. To enable it, you can refer this document.
Tips 7. Keep Docker image small
Some people comes from IaaS world to Container, you might choose a base docker image like CentOS or Ubuntu. I don't recommend it. Because it's size is too big.
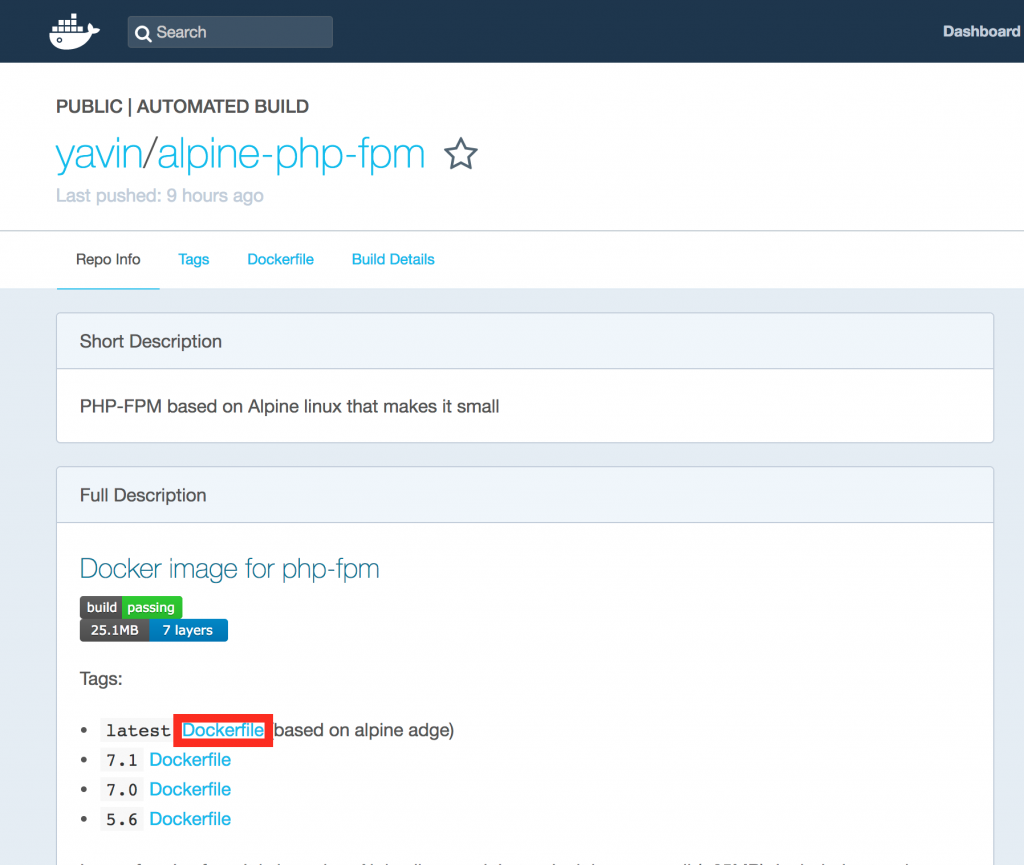
My customer's image was 1.8GB with CentOS base image. Instead, I use Alpine based image with 279MB. Also, I decompose the parts and make it simple then it becomes around 108MB. The image size matters. It consume a lot of time to build/deploy it. So I recommend to create a simple small image using container optimized image like alpine. Docker official image like nginx, php is already optimized. You can refer and learn from the Dockerfile of these images if you want to customize it. Also, docker image should be small service with single responsibility. You can't run a lot of daemons on single docker container. decompose it. It will help to simplify and easy to maintain your Dockerfile.
If you build/push your docker image locally, you might find it consume a lot of disk space. you can clean up via this command. It will remove all unused containers, volumes, and images.
$ docker system prune -a
Tips 7. 403 fobbiden on Nginx
You might encounter, 403 forbidden if you just move config files from the current environment. for example, You might see this log.
"/usr/share/nginx/html/abc/app/index.html" is forbidden (13: Permission denied), client: 172.19.0.1, server: *.xxxx.jp, request: "GET / HTTP/1
Web App for Containers 's domain is your_web_app_name.azurewebsites.net . If you leave the configuration on your nginx.conf, the requested server_name does not much the server_name. It causes 403.
 server {

     listen              80;

    server_name         *.xxxxx.jp;
Tips 8. SSL/TLS is configured
If you configure SSL on your nginx on your container, just remove it. The Web App for Containers look after it. Serverside SSL certificate is already installed on the Web App for Containers. You don't need to buy it.
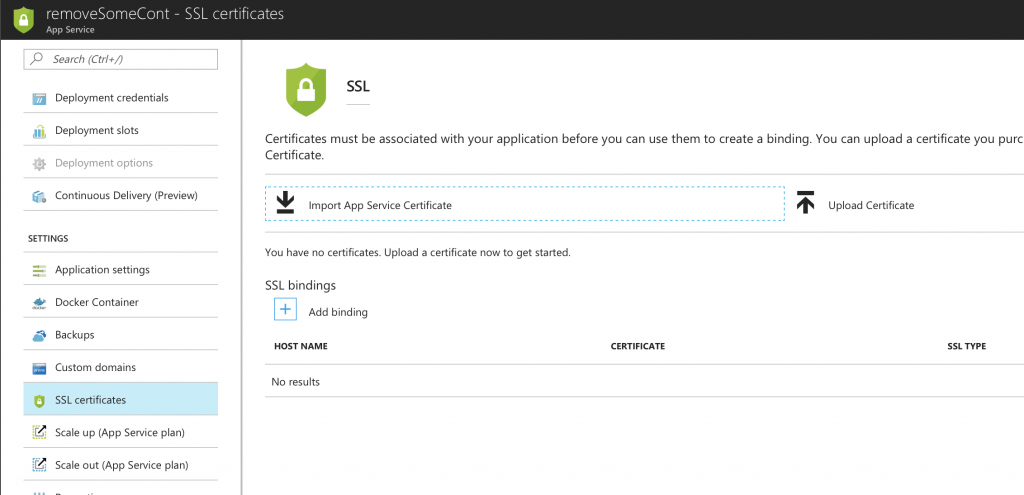
Also, even if you specify "WEBSITES_PORT = 443", you can't route SSL to your container directory. The load balancer do the SSL offloading. The load balancer pass your request as a plain http request to the container. If you want to specify, your own serverside certificate, you can do it. If so, don't forget to configure the Custom Domain. Also, if you want to use client certificate, you can refer this article.
Tips 9. Blue Green Deployment with VSTS
If you use Azure, I recommend to use Visual Studio Team Services for enabling Continuous Integration / Continuous Delivery (CI/CD). Especially if you have a lot of manual process to build/deploy, this service helps you very well. I really love it. Visual Studio Team Service (VSTS) sounds like Visual Studio specific tool. However, it is totally great tool for open source docker guy as well. My customer who is running Ruby with Container, they deployed their apps to the GCP platform by the VSTS. Because it is very easy to configure and very good speed without configuring build agent. If you use Jenkins, you need to create a Build machine in somewhere. However, if you use VSTS, you don't need it. Also, VSTS include Git repository and Kanban with great Release management feature. One of the very good point is the integration with Azure. If you packed your app into container, you can create CI/CD pipeline very easily with decent control.
Once you create a Dockerfile and push into the git of the VSTS, you can configure build definition with Docker very easily. You can create a build pipeline to enable build docker file and push to your registry in a few minutes. All you need is just choose the subscription and registry. It was deadly easy! You can use "Hosted Linux" as an agent. VSTS automatically launch Linux VM with VSTS agent with docker.
Build Pipeline
You can choose a lot of build pipeline templates
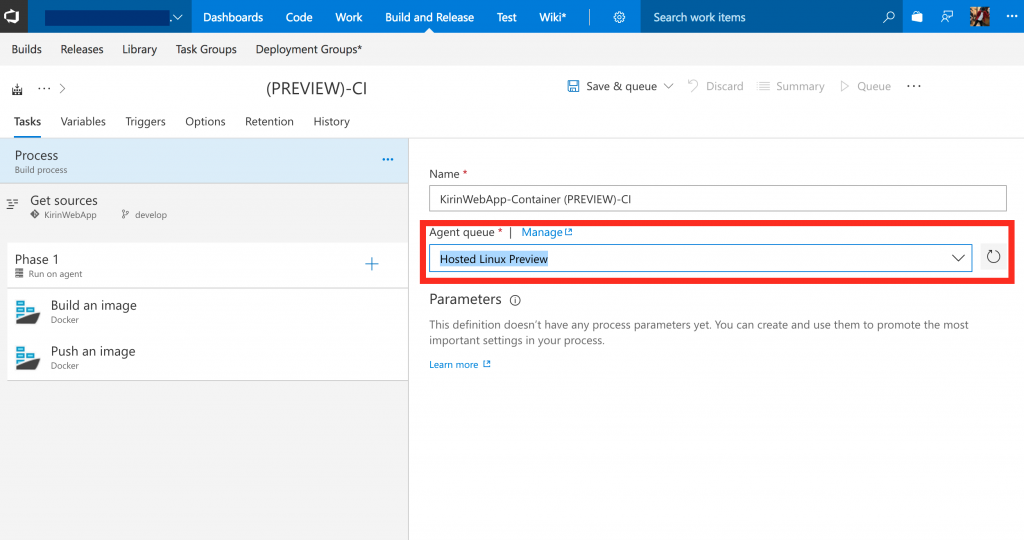
If you try docker, please choose Hosted Linux Preview for Agent
Then choose the environment of yours.
Adding Subscription (Optional)
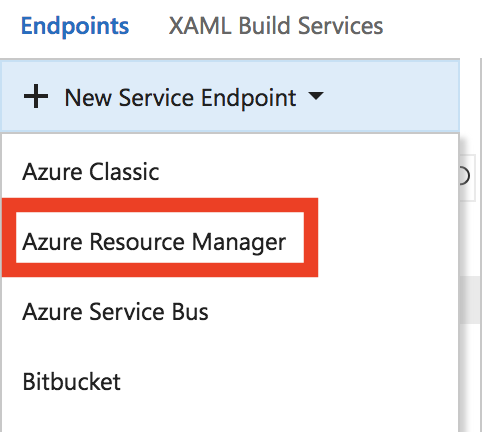
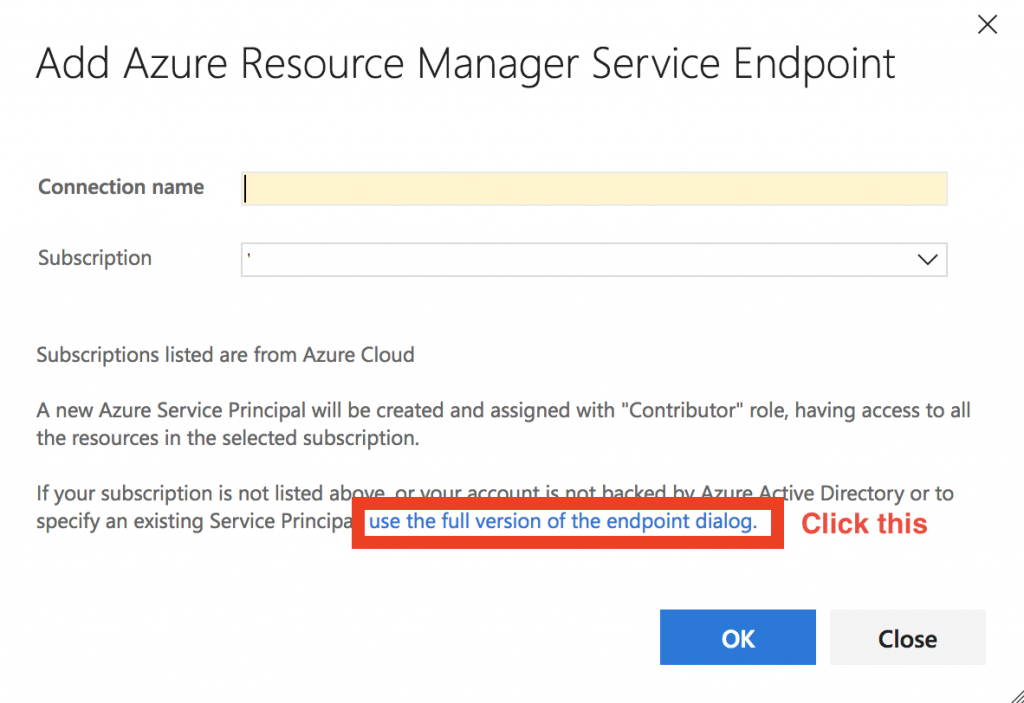
If you need to access other subscriptions, you can configure new endpoint. just click "Manage" link the next to the Azure subscription. All need to know is Service Principal. If you use your own subscription, you don't need this operation.
On the target subscription, you can try this command.
az ad sp create-for-rbac --name {appId} --password "{strong password}"
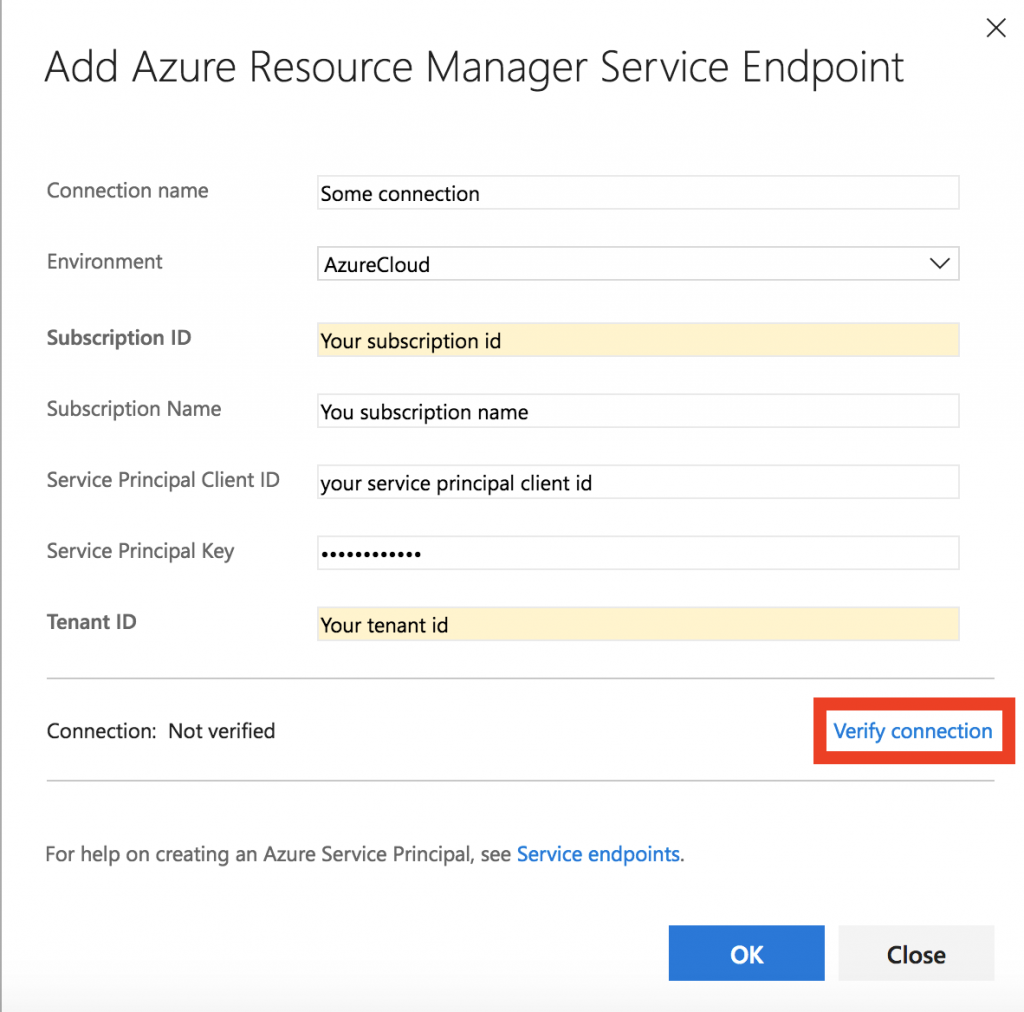
Then you'll get the service principal. App(Client) ID, Password, Tenant Id, Subscription ID (You can see on your Azure Portal). Then fill this form. You can test the configuration with the "Verify connection" link.
Release Pipeline
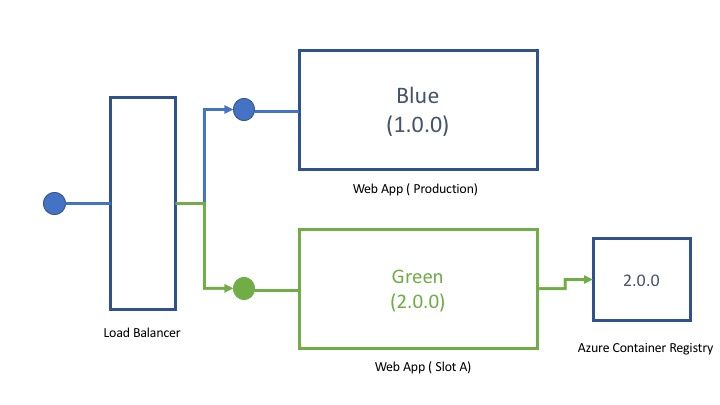
Also, I come up with how to handle the blue green deployment using Web App for Containers and VSTS. One of the difficulty is we can't decide the timing of the deployment. However, If we have a deployment slot for blue green deployment (Web App can use Blue Green Deployment using Deployment slot), when the Web App pull the images?
I want to control it. However, if we configure continuous deployment, it always update the latest image. One of the simple idea is like this. On the release, you just create a pipeline Stop WebApp -> Start WebApp -> Manual Intervention -> Swap Slots. Stop/Start Web App cause a pull new image from your registry. You don't need to enable the continuous deployment option. Then You can enable blue green deployment quite easily.
Conclusion
I just share nine tips for Web App for Containers. I hope this post helps. :)
Resource
- Introduction to Azure Web App for Containers
- /en-us/azure/app-service/containers/app-service-linux-faq
- Azure CLI 2.0
- How To Configure TLS Mutual Authentication for Web App
- A DevOps hackfest helps xenodata lab migrate from GCP to Azure and enable automated deployment
- SSH support for Azure Web App for Containers
- Create an Azure service principal with Azure CLI 2.0

