Note
Access to this page requires authorization. You can try signing in or changing directories.
Access to this page requires authorization. You can try changing directories.
If you are new with .NET Core 1.1, please take a look at the post .NET Core 1.1 – Where to Start first.
I am assuming you already have an ASP.NET MVC application created and build. If you don't have, please check the following post: NET Core 1.1 – Creating an ASP.NET Core using the .NET CLI for details about how to create an ASP.NET Core MVC application.
The idea of this post is to show you how to publish your application.
The first thing that we have to do is figure out what are the options that the .NET CLI offers to us. You can do that running the following command:
dotnet publish -h
As result, we have the following options to publish our application:

Based on this output, let me show an example about how to publish your application:
dotnet publish -c release
The output expected is:

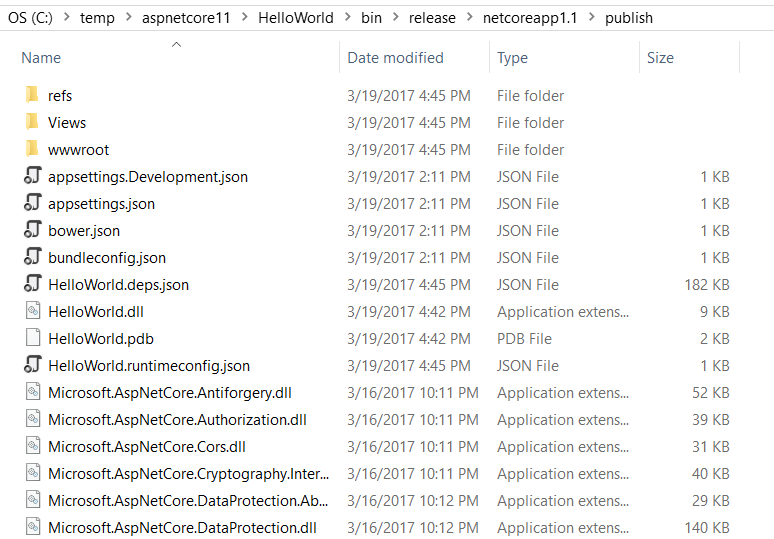
As I am using Windows, the output was generated to the runtime Win10-x64, as you can see here:
If you want to use IIS to host your application, all you have to do is to create a IIS Virtual Directory and copy the publish content to the virtual directory, in my case, I am using c:\inetpub\wwwroot\HelloWorld. The application pool used by this application does not need to be a managed code, i.e., for the .NET CLR version you can choose "No manage code" option.
As we published using the framework-dependent deployment, it is important to notice that you need to have the runtime installed on the machine that you published your application.
That happens because, by default, is the dotnet.exe that runs your application, as you can check in the web.config:

The following picture shows you that IIS is acting as a reverse-proxy calling dotnet.exe to run the ASP.NET application:

I hope you enjoyed.