The New Social Selling Assistant in Dynamics 365
The new Social Selling assistant is a new digital assistant that helps you leverage your social networks to sell more. It recommends personalized actions for you, like which posts to share, based on machine learning. No need to spend hours to spot relevant content or crawl through hundreds of updates anymore.
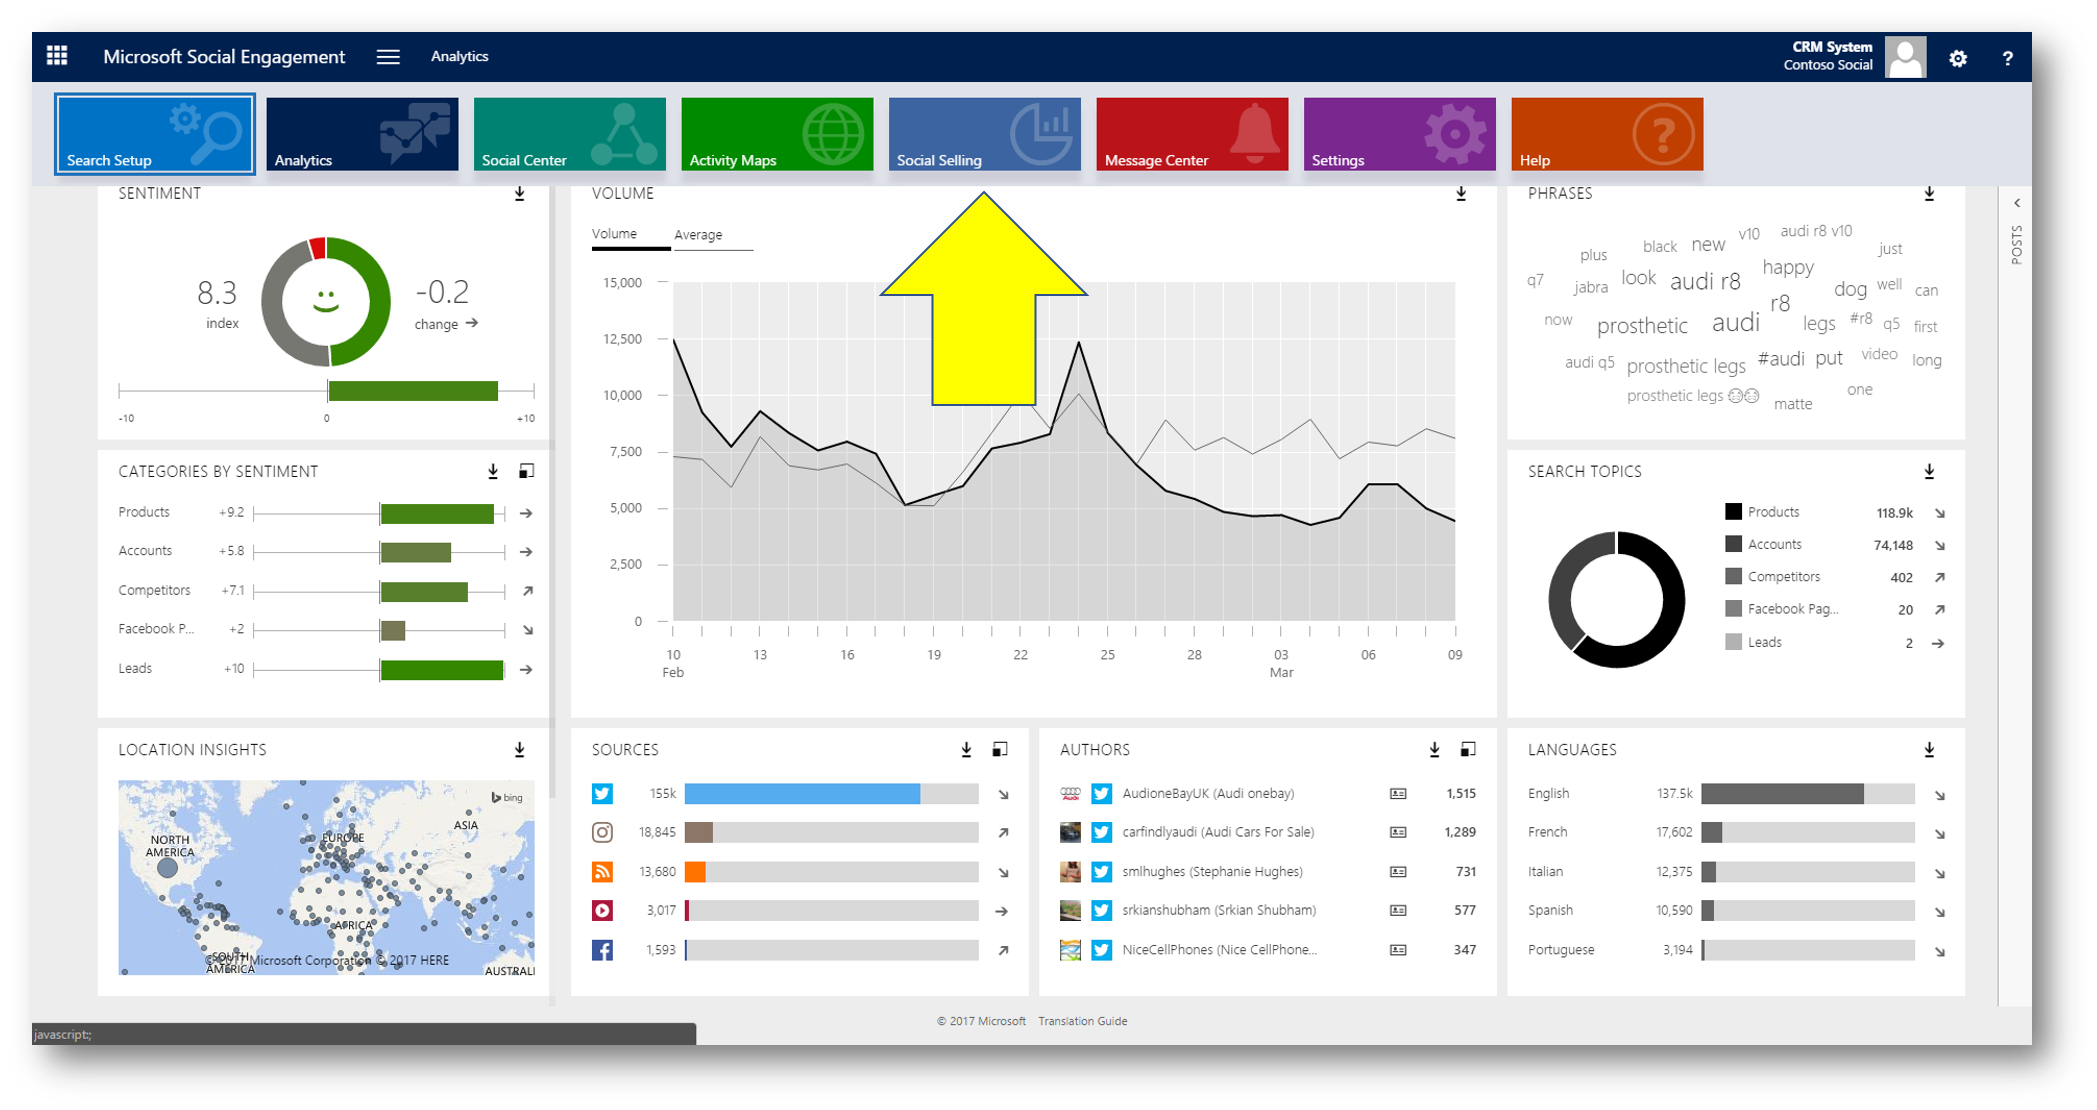
The capabilities of the Social Selling Assistant are based on Microsoft Social Engagement (MSE) which is part of the Dynamics 365 (online) Plan 1 and the Sales, Customer Service, Field Service, Project Service Automation apps.
You can work with Social Selling in MSE and you can connect Social Selling to Microsoft Dynamics 365 Customer Engagement via an App you download from Dynamics Marketplace. Once you’ve installed the app from Dynamics Marketplace you have a new dashboard in Microsoft Dynamics 365 Customer Engagement – called the Social Selling Assistant dashboard.

Connect Social Selling Assistant to Dynamics 365 Customer Engagement
The data in the Social Selling Assistant comes from Microsoft Social Engagement. To access this data from within Dynamics 365 (Customer Engagement), you need to connect the two services. Read more here.
Please note you must ensure that your Dynamics 365 domain is added to the list of allowed domains in Microsoft Social Engagement.
In MSE navigate to Settings -> Connections -> Allowed Domains and add the domain of your Dynamics 365 instance, eg https://dkdynamics.crm4.dynamics.com (replace dkdynamics.crm4 with your domain)

Install the Social Selling Assistant app from AppSource
Before you can start working with the app, you need to install it from AppSource in Dynamics 365.
In Dynamics 365 navigate to Settings -> Dynamics Marketplace.
In the AppSource dialog, search for "Social Selling Assistant"
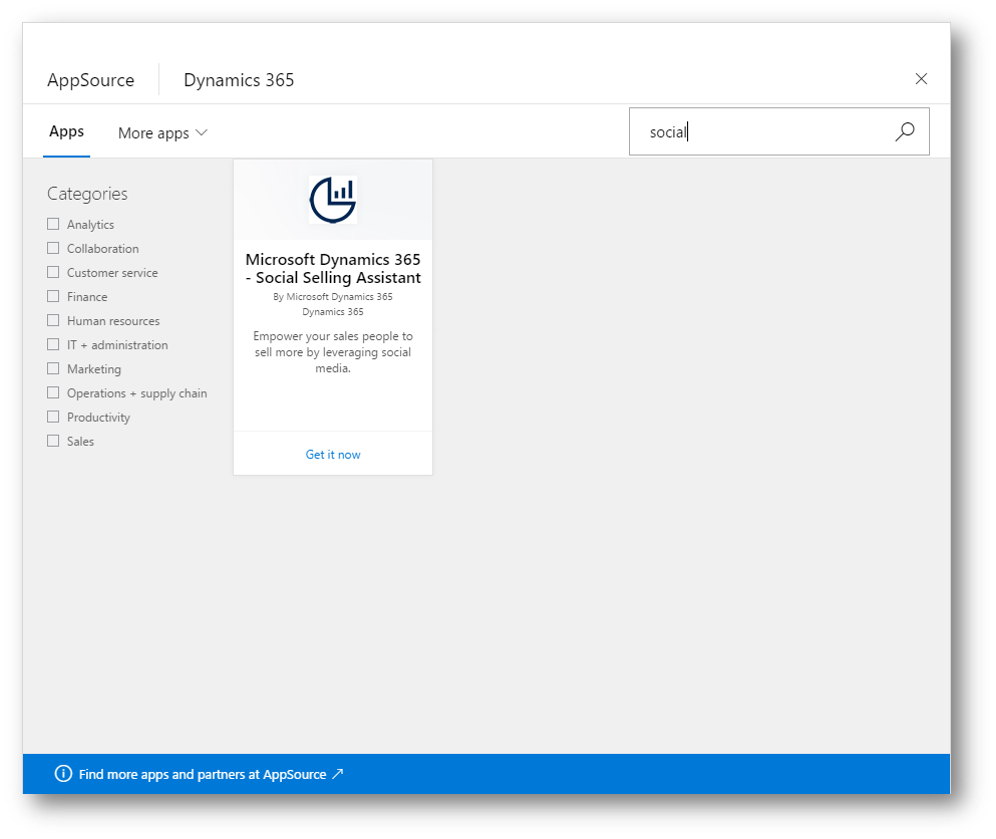
Click Get it now to start the installation, accept the disclaimer and follow the dialog guiding you through the installation.


Access the Social Selling Assistant
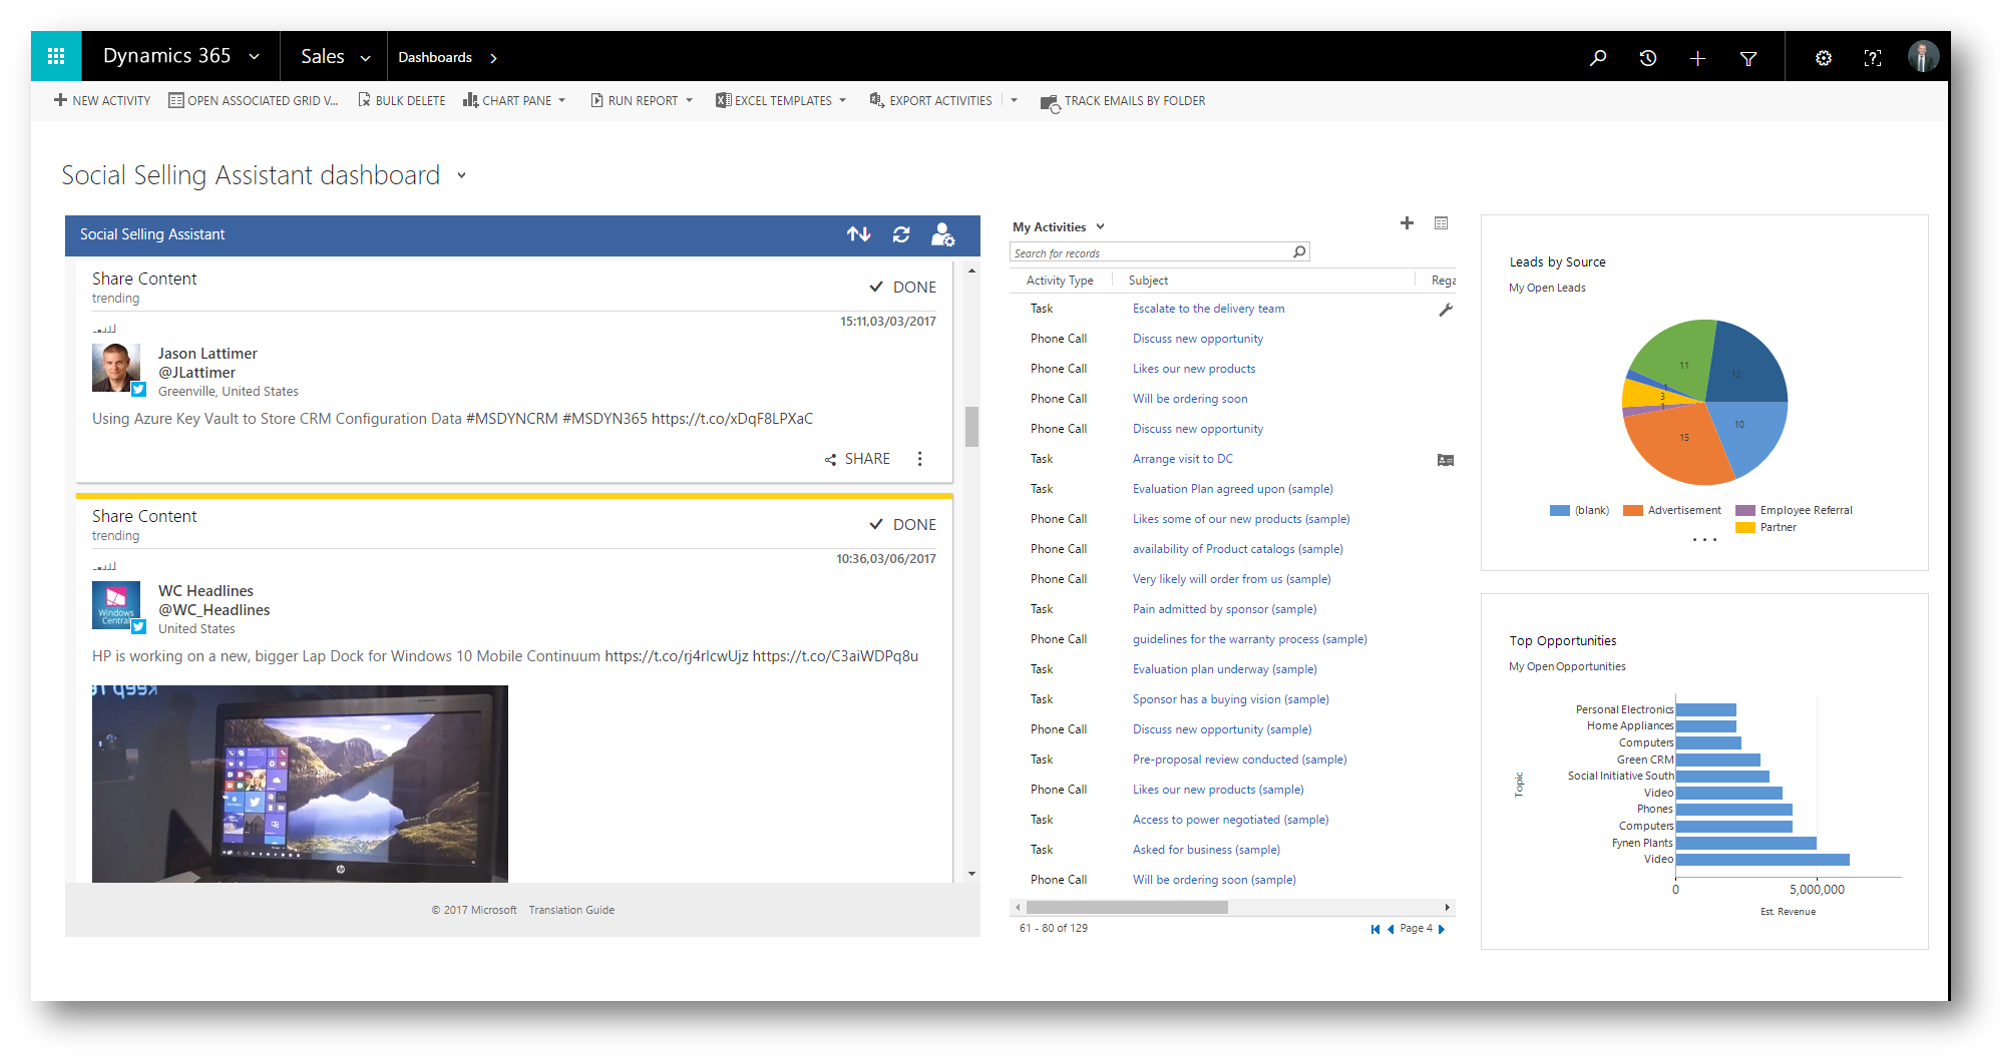
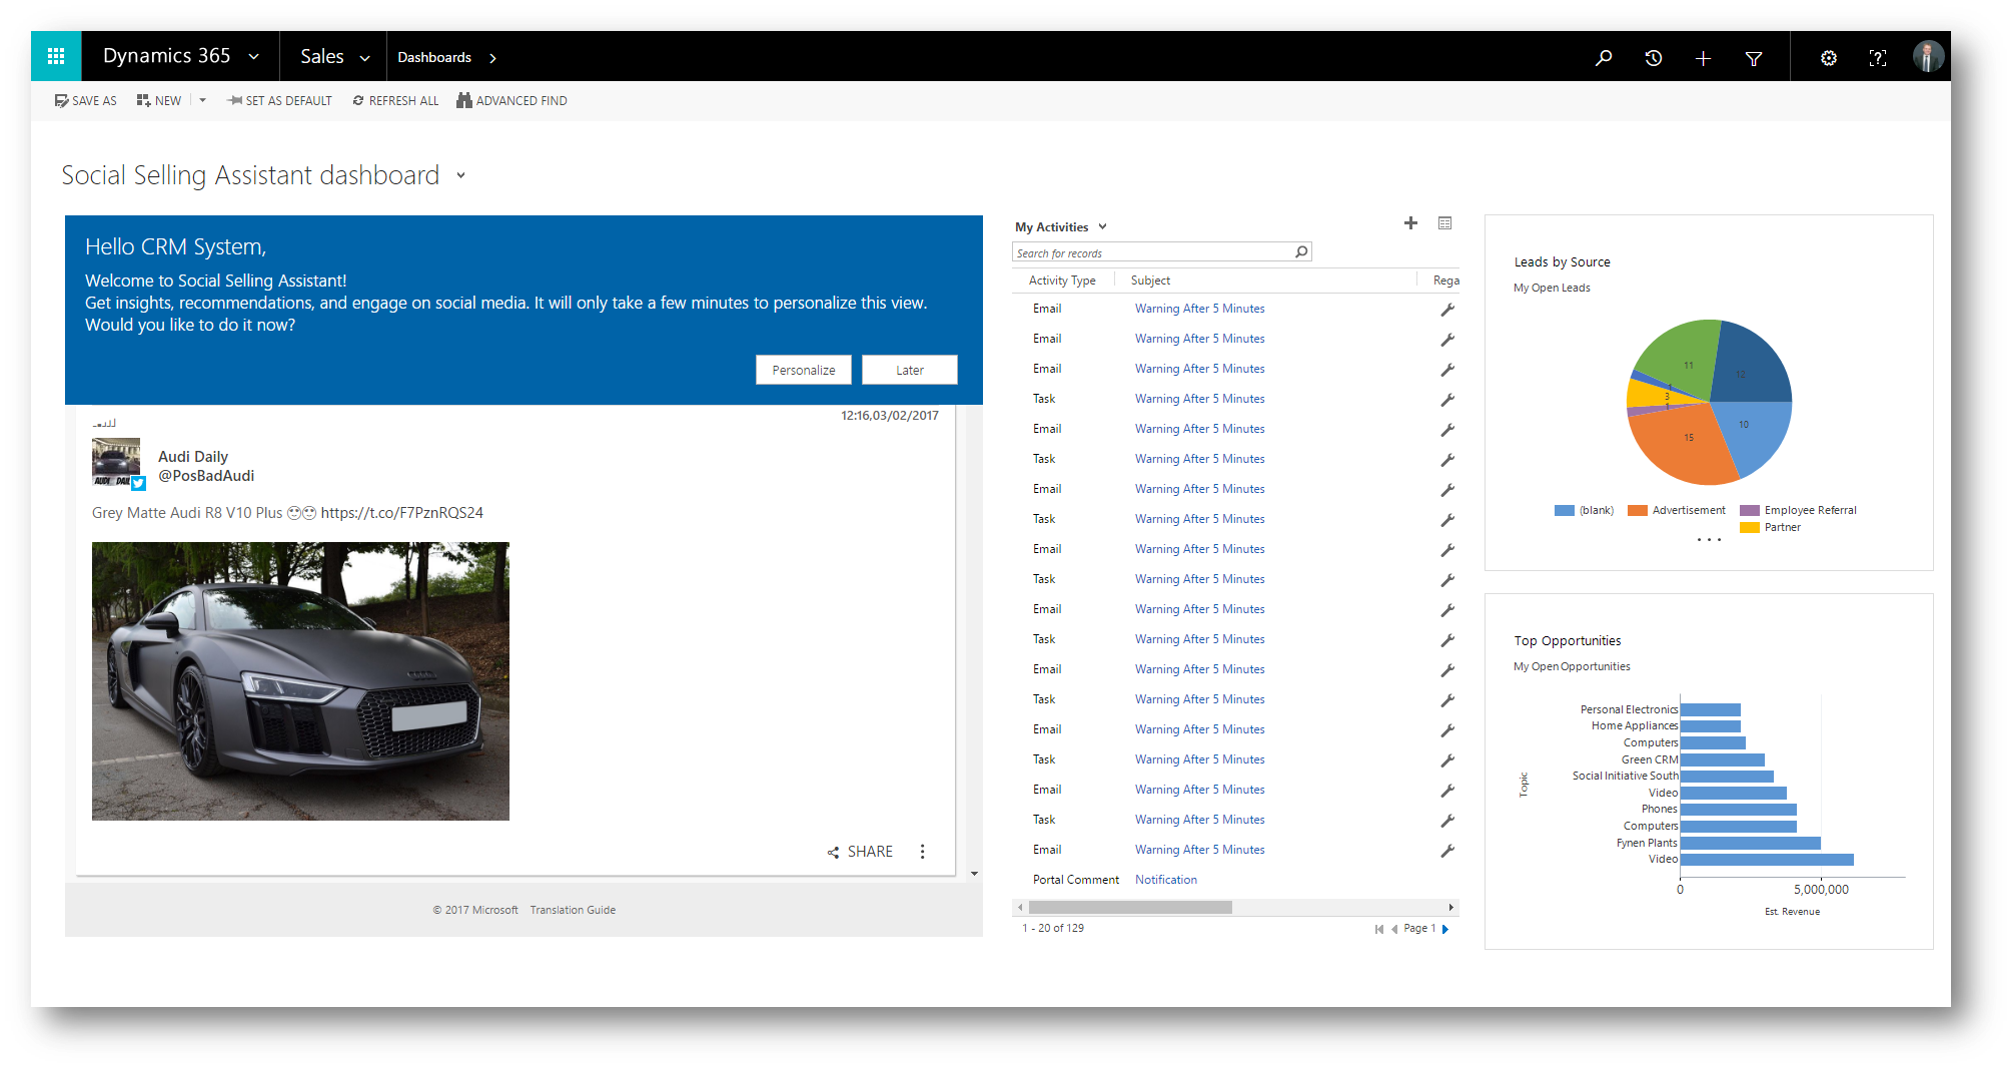
When you install the app, the system configures a new dashboard in Dynamics 365 - the "Social Selling Assistant dashboard"
In Dynamics 365, navigate to Sales -> Dashboards -> expanddashboard drop-down list -> Social Selling Assistant dashboard
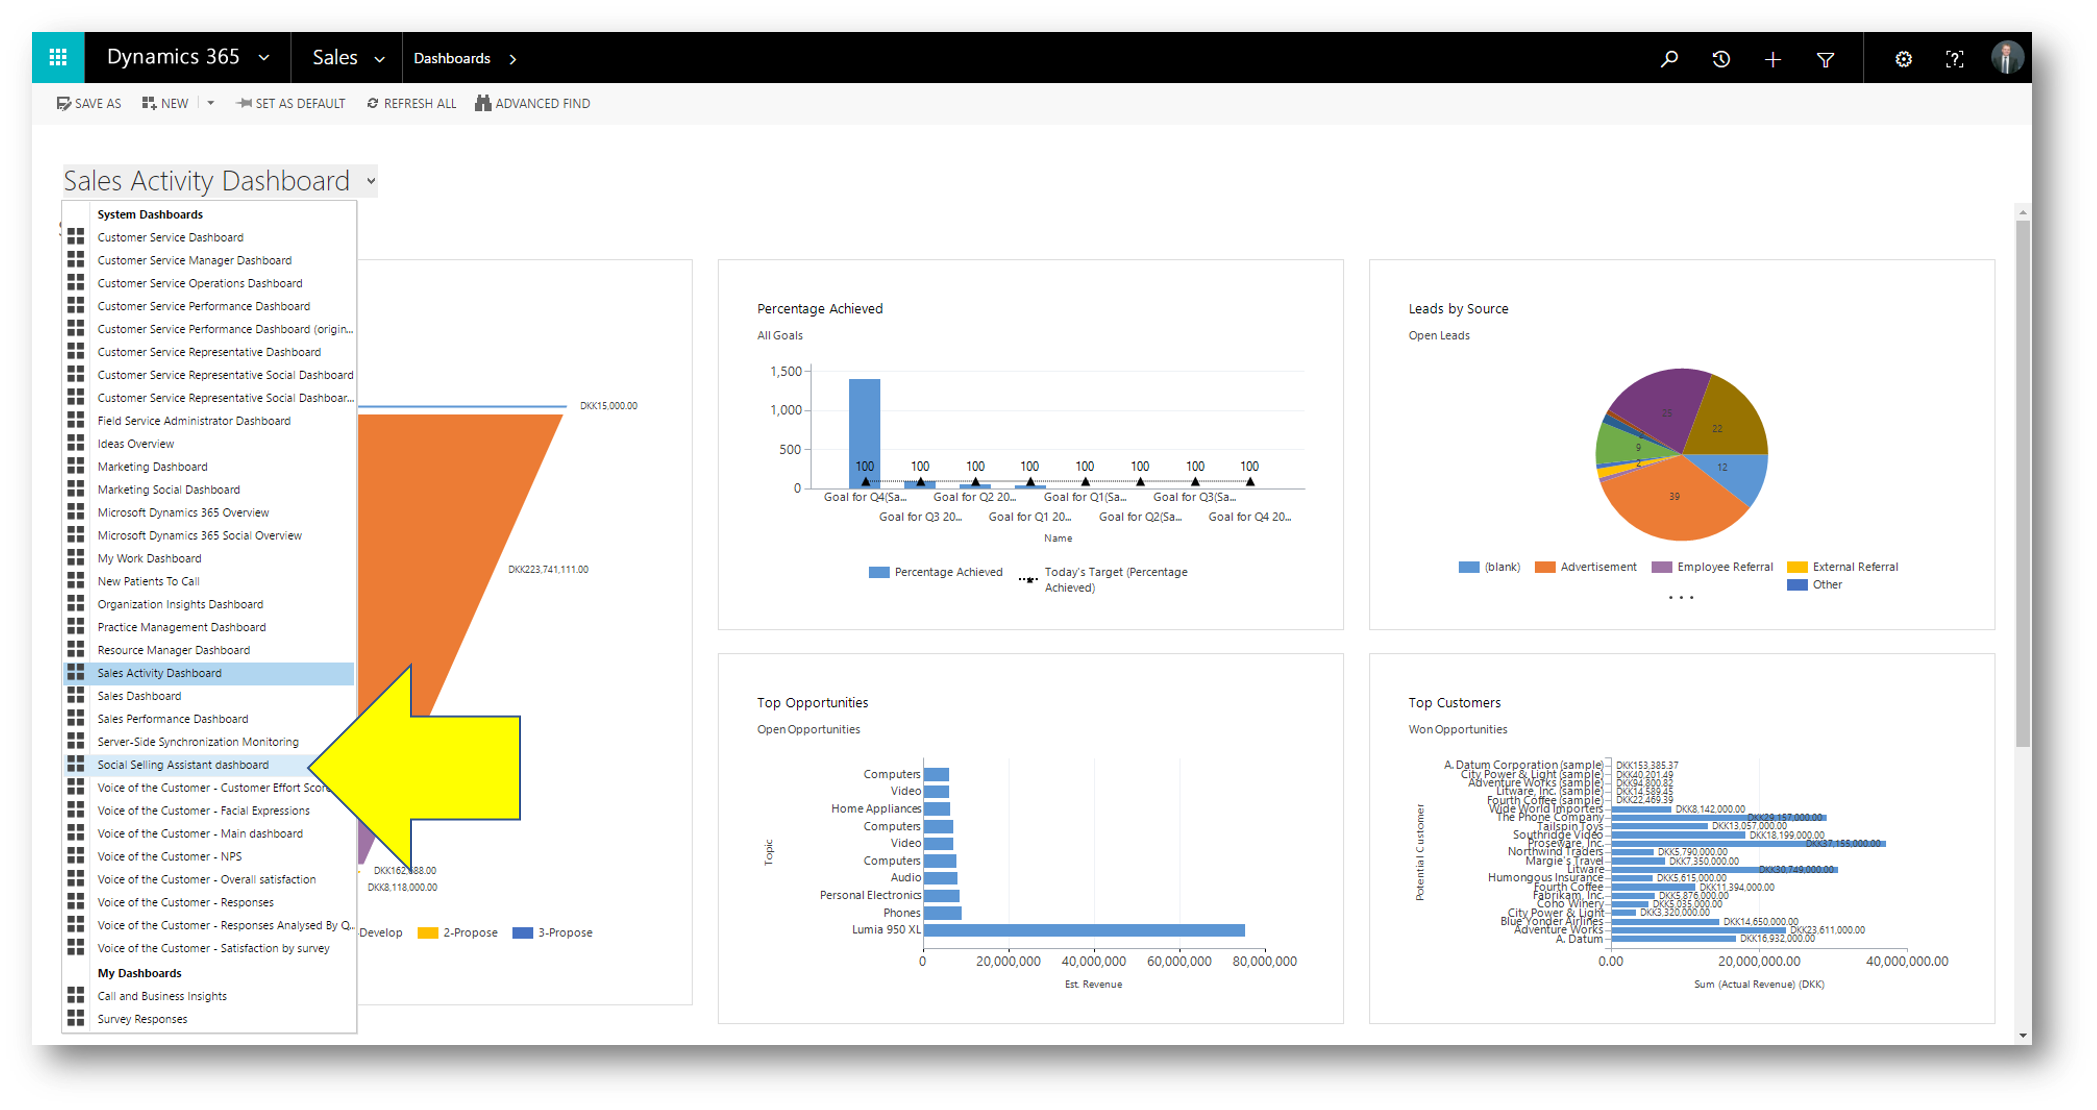
The Social Selling Assistant is surfaced in the left part of the dashboard
Personalization
When using the Social Selling Assistant for the first time you will get recommendations for all available search topics in your Microsoft Social Engagement.
To personalize the experience, I recommend each user to select specific topics that are of interest to them. Additionally, users must add their social profiles to be able to share content recommendations on their networks. Read more here.
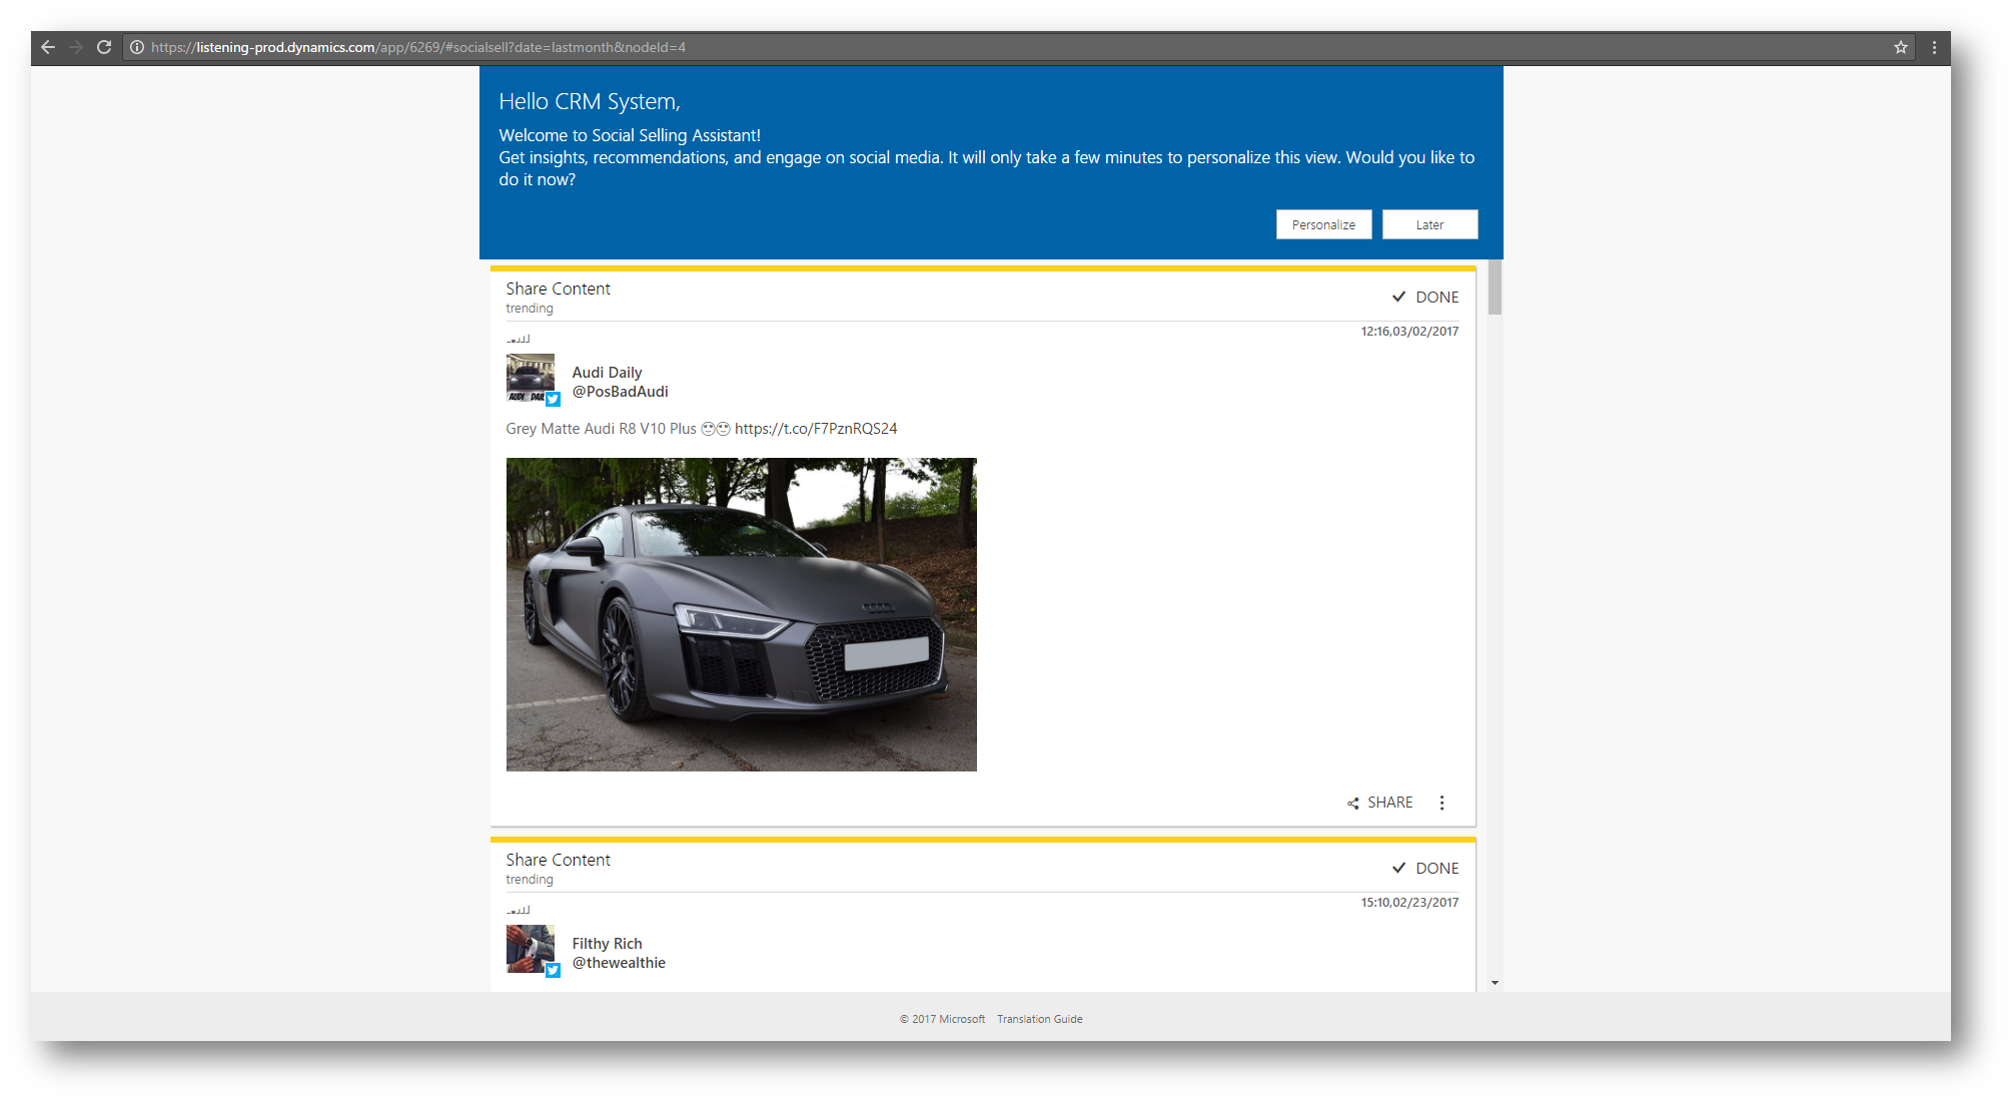
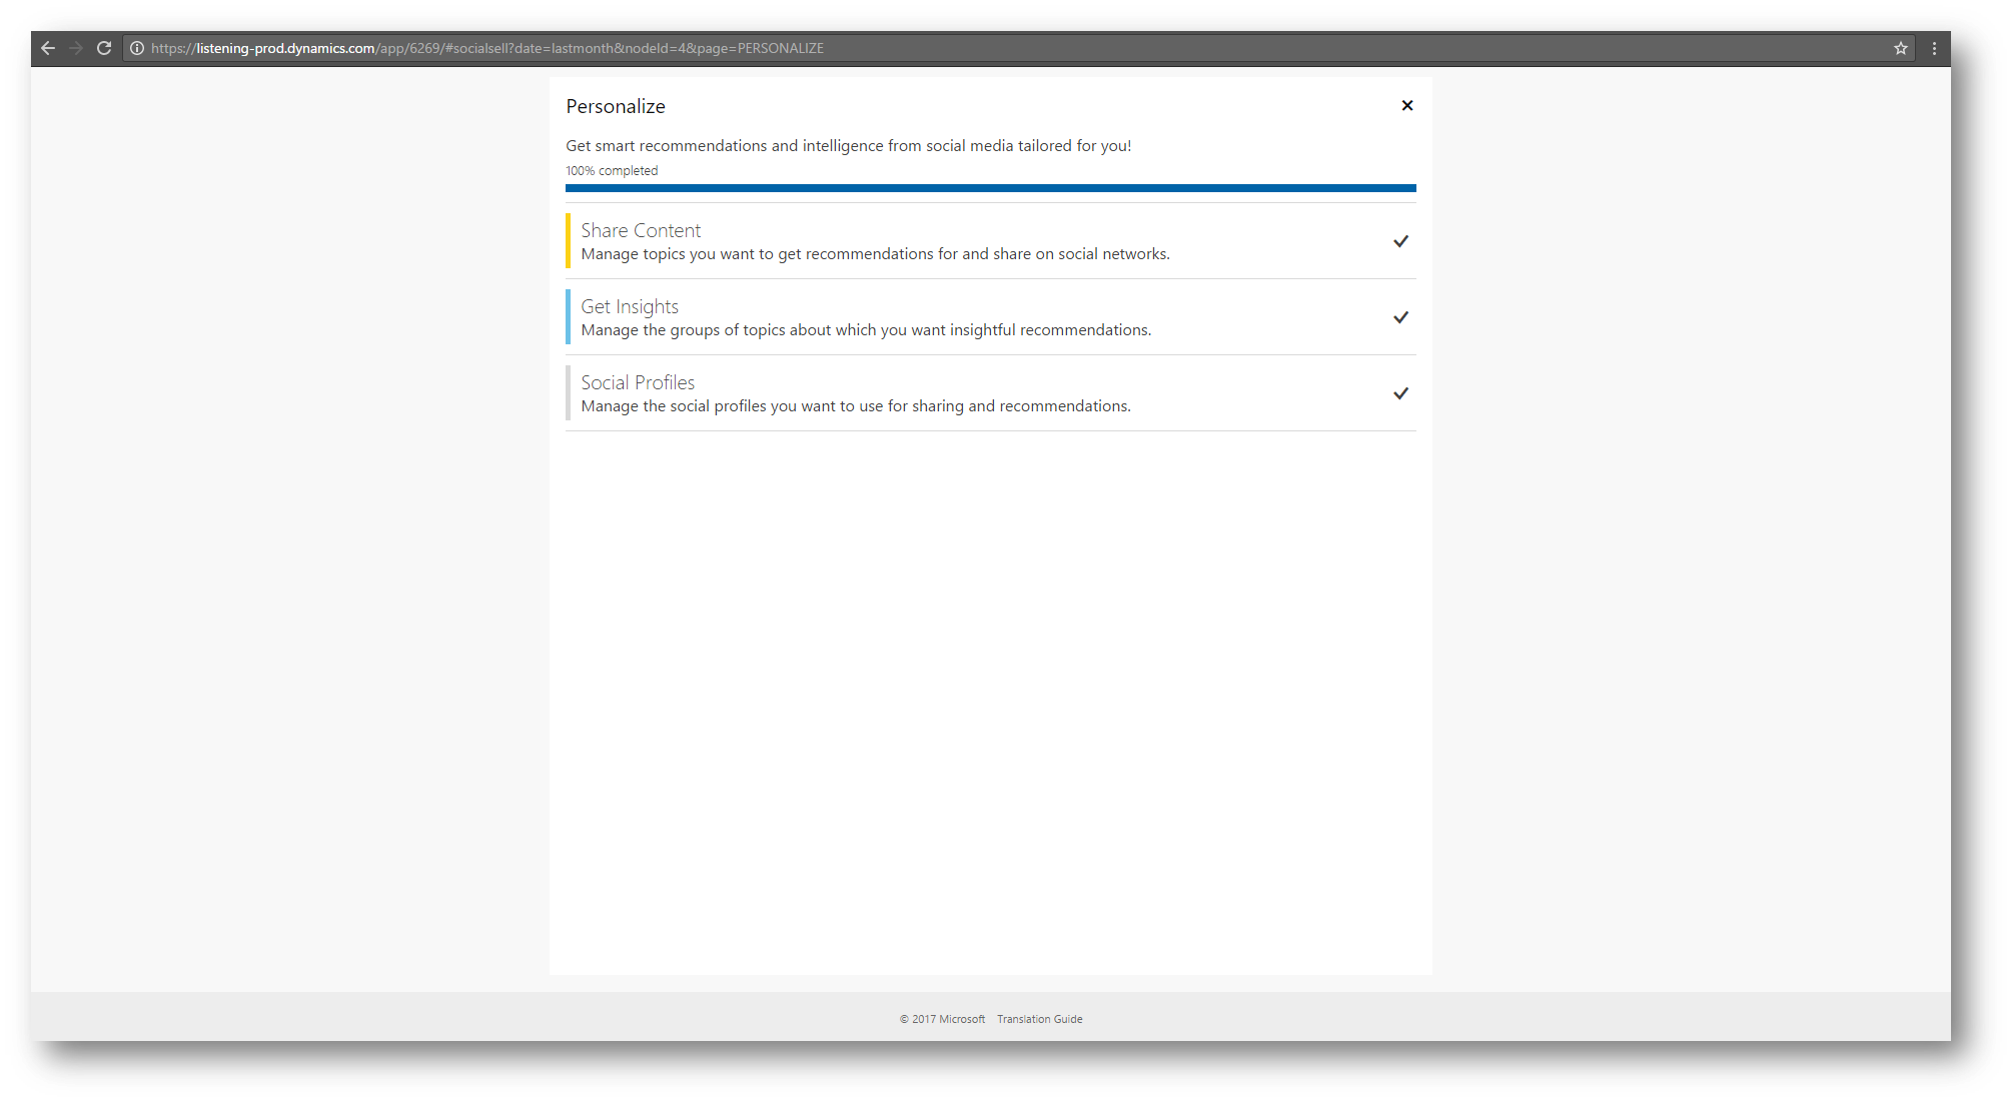
So to personalize my Social Selling Assistant I navigate to MSE -> Social Selling and then click the Personalize button in the blue welcome dialog at the top of the Social Selling Assistant
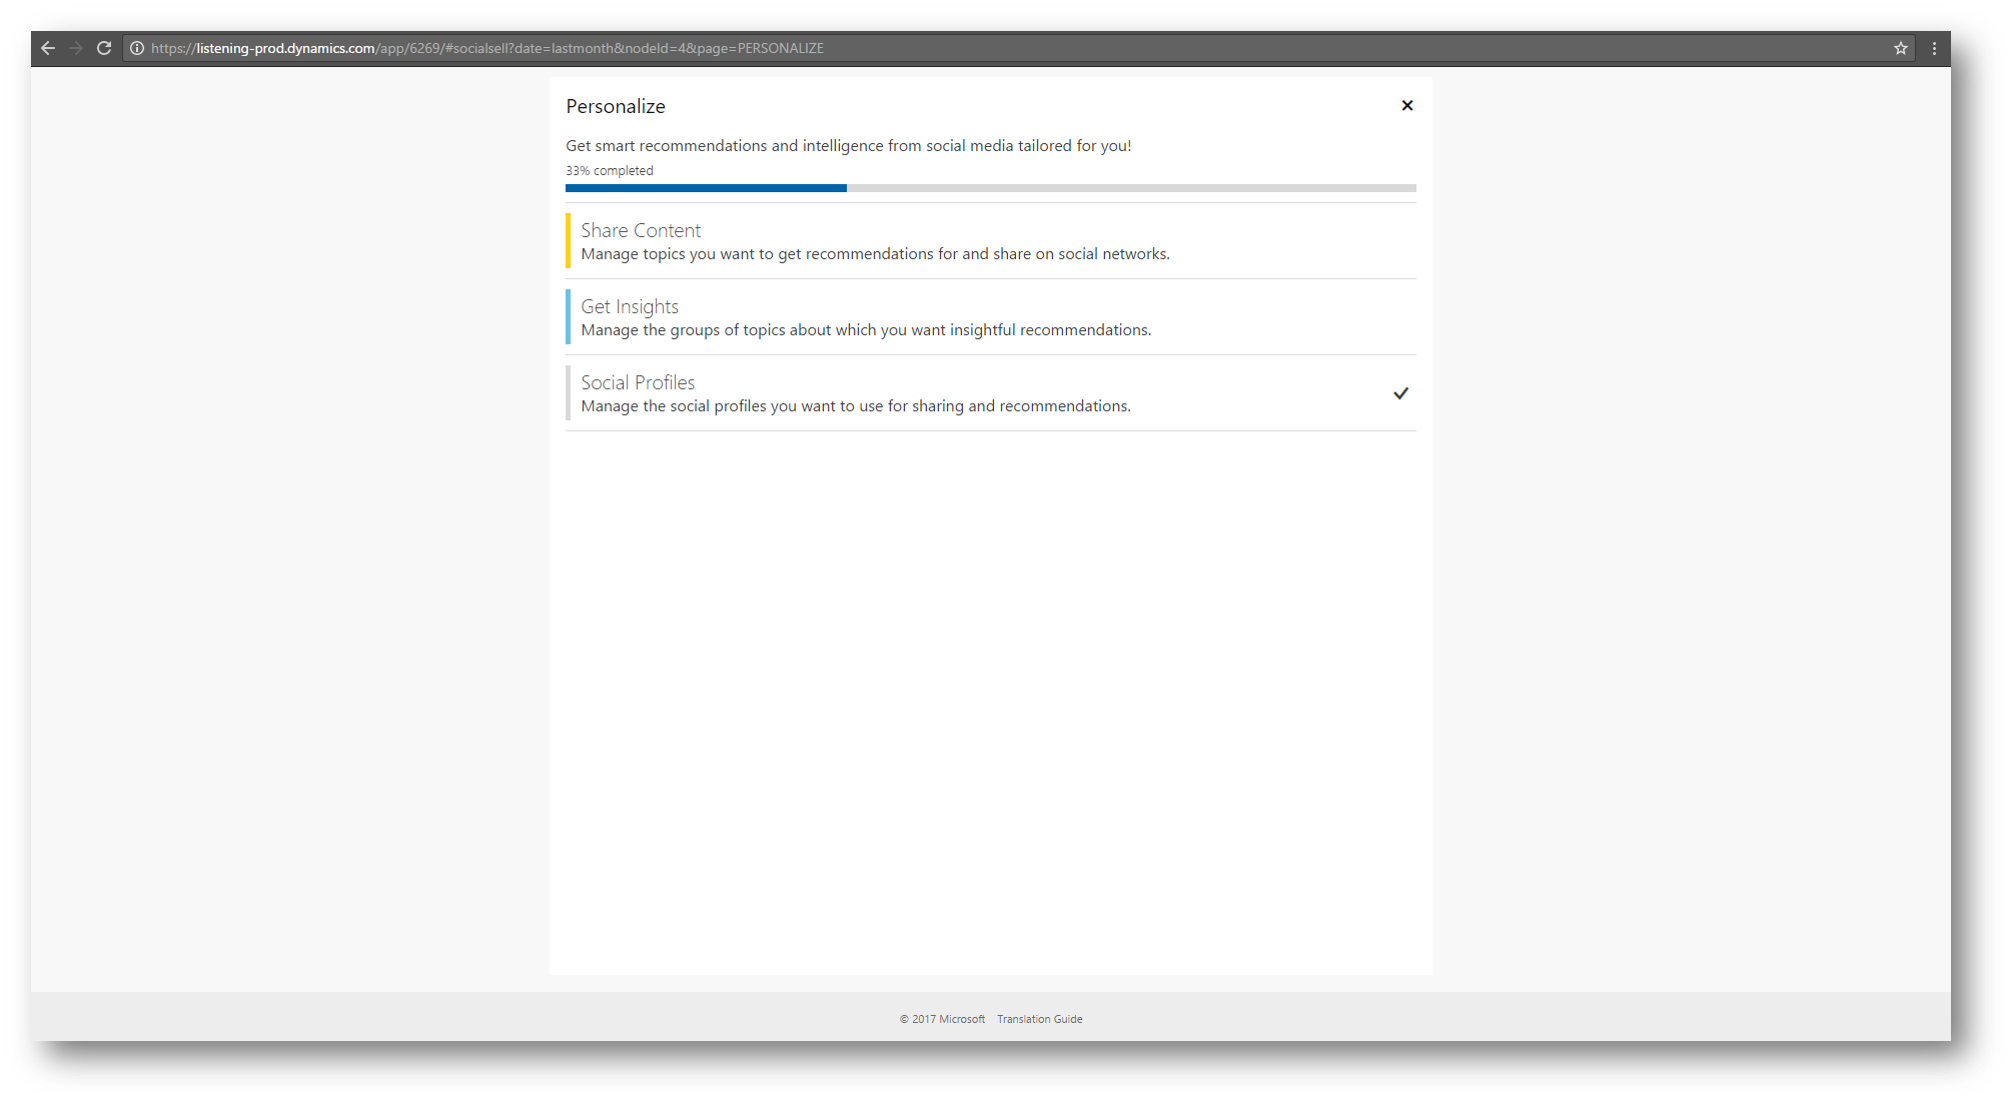
I complete the three steps Share Content, Get Insights, and Social Profiles
In the below screen shot the Social Profiles needed for engaging on Twitter, Facebook and Instagram is already added, which is why the progress shows 33%
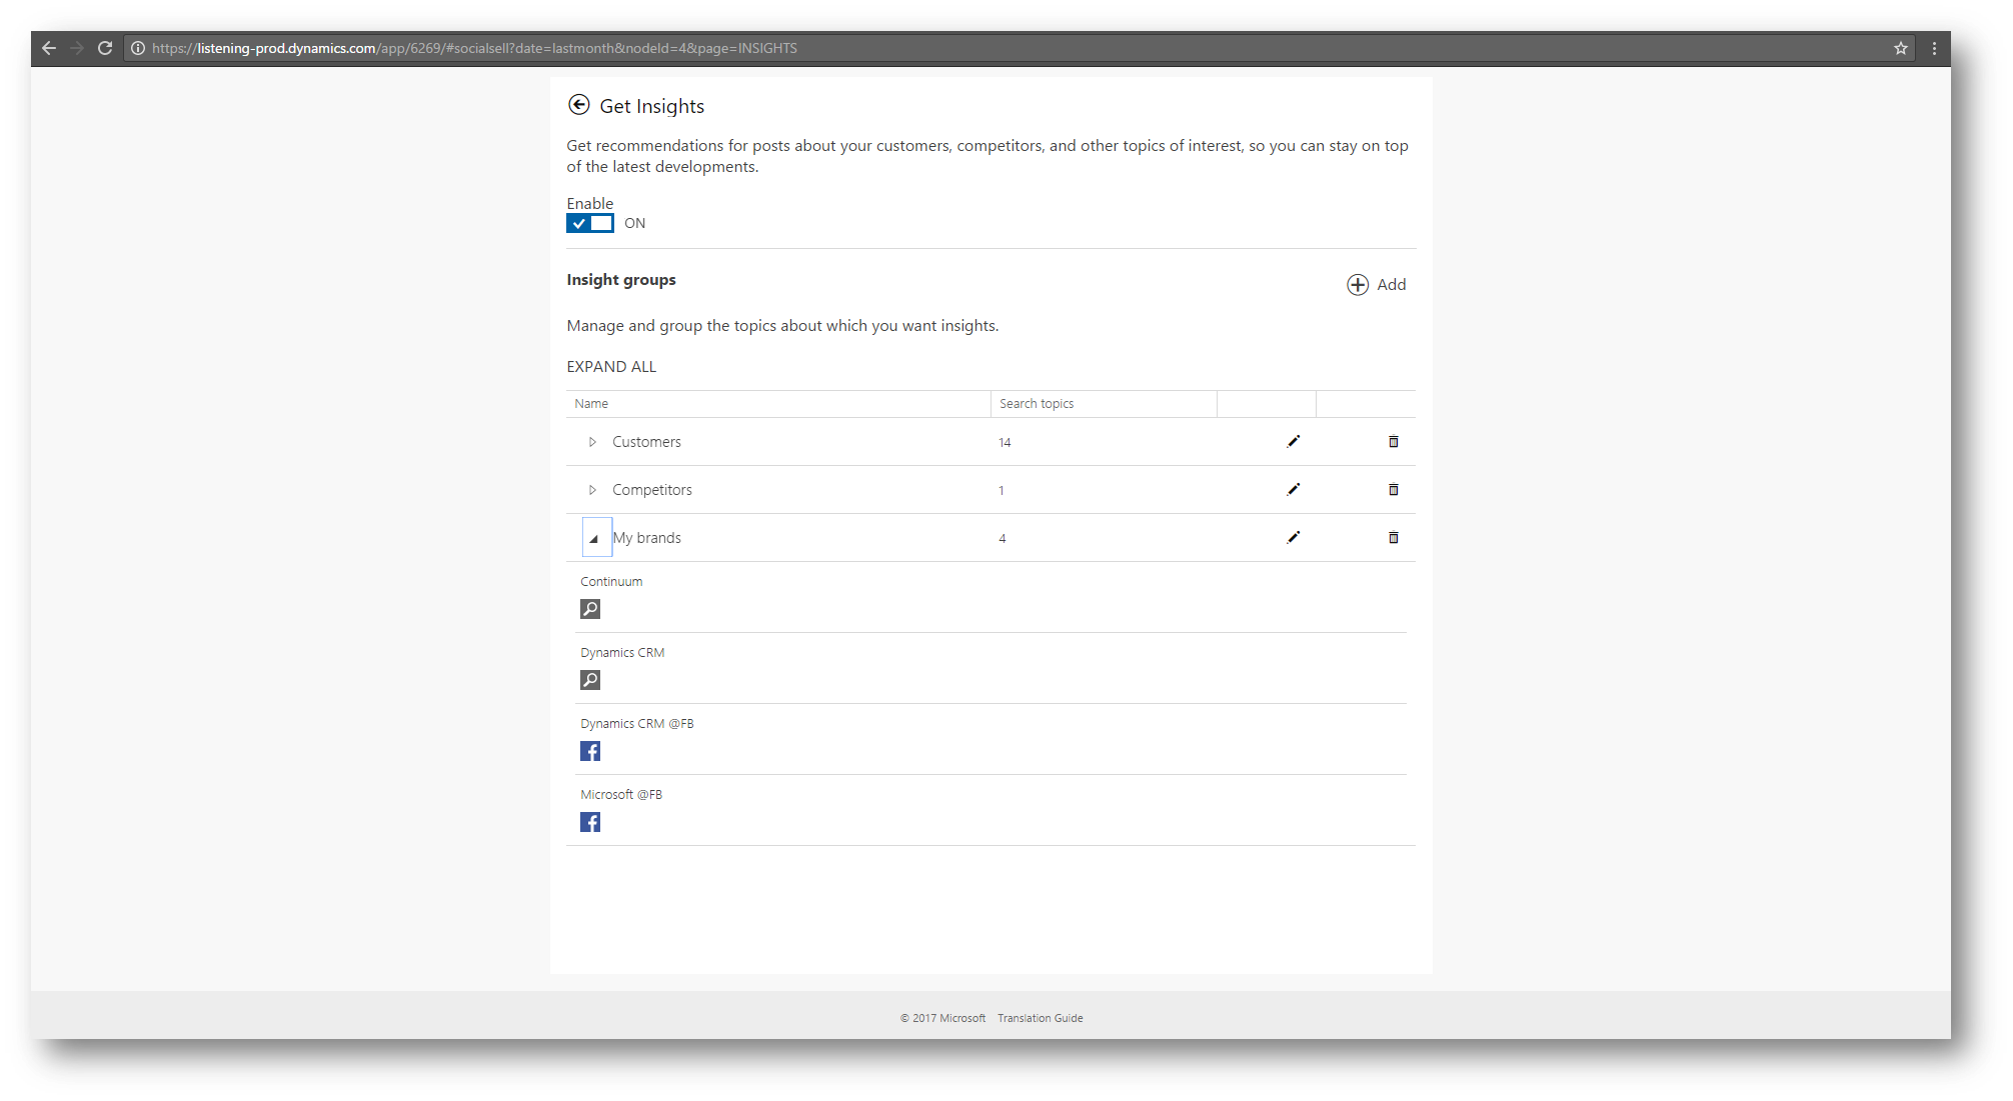
I finish specifying what type of content I want to share, and how I'll group my search topics in Customers, Competitors, and My Brands.
In the below screenshot below I've picked four of my search topics to be included in the group "My Brands" (and 14 of my search topics to be included in the group Customers aso)
After personalizing the Social Selling Assistant for my individual use case, I can start using it to discover and share posts that are of interest for my audience

Using the Social Selling Assistant
In the list of posts in the Social Selling Assistant I can do a handful of things. Remember - the goal of the assistant is I spend five minutes a day leveraging social networks to sell more - sharing content, extending my reach.
In the below screenshot notice the three commands in the blue bar at the top (sort, refresh, personalize), and the commands in the post (done, share, and more). I'll cover those below.
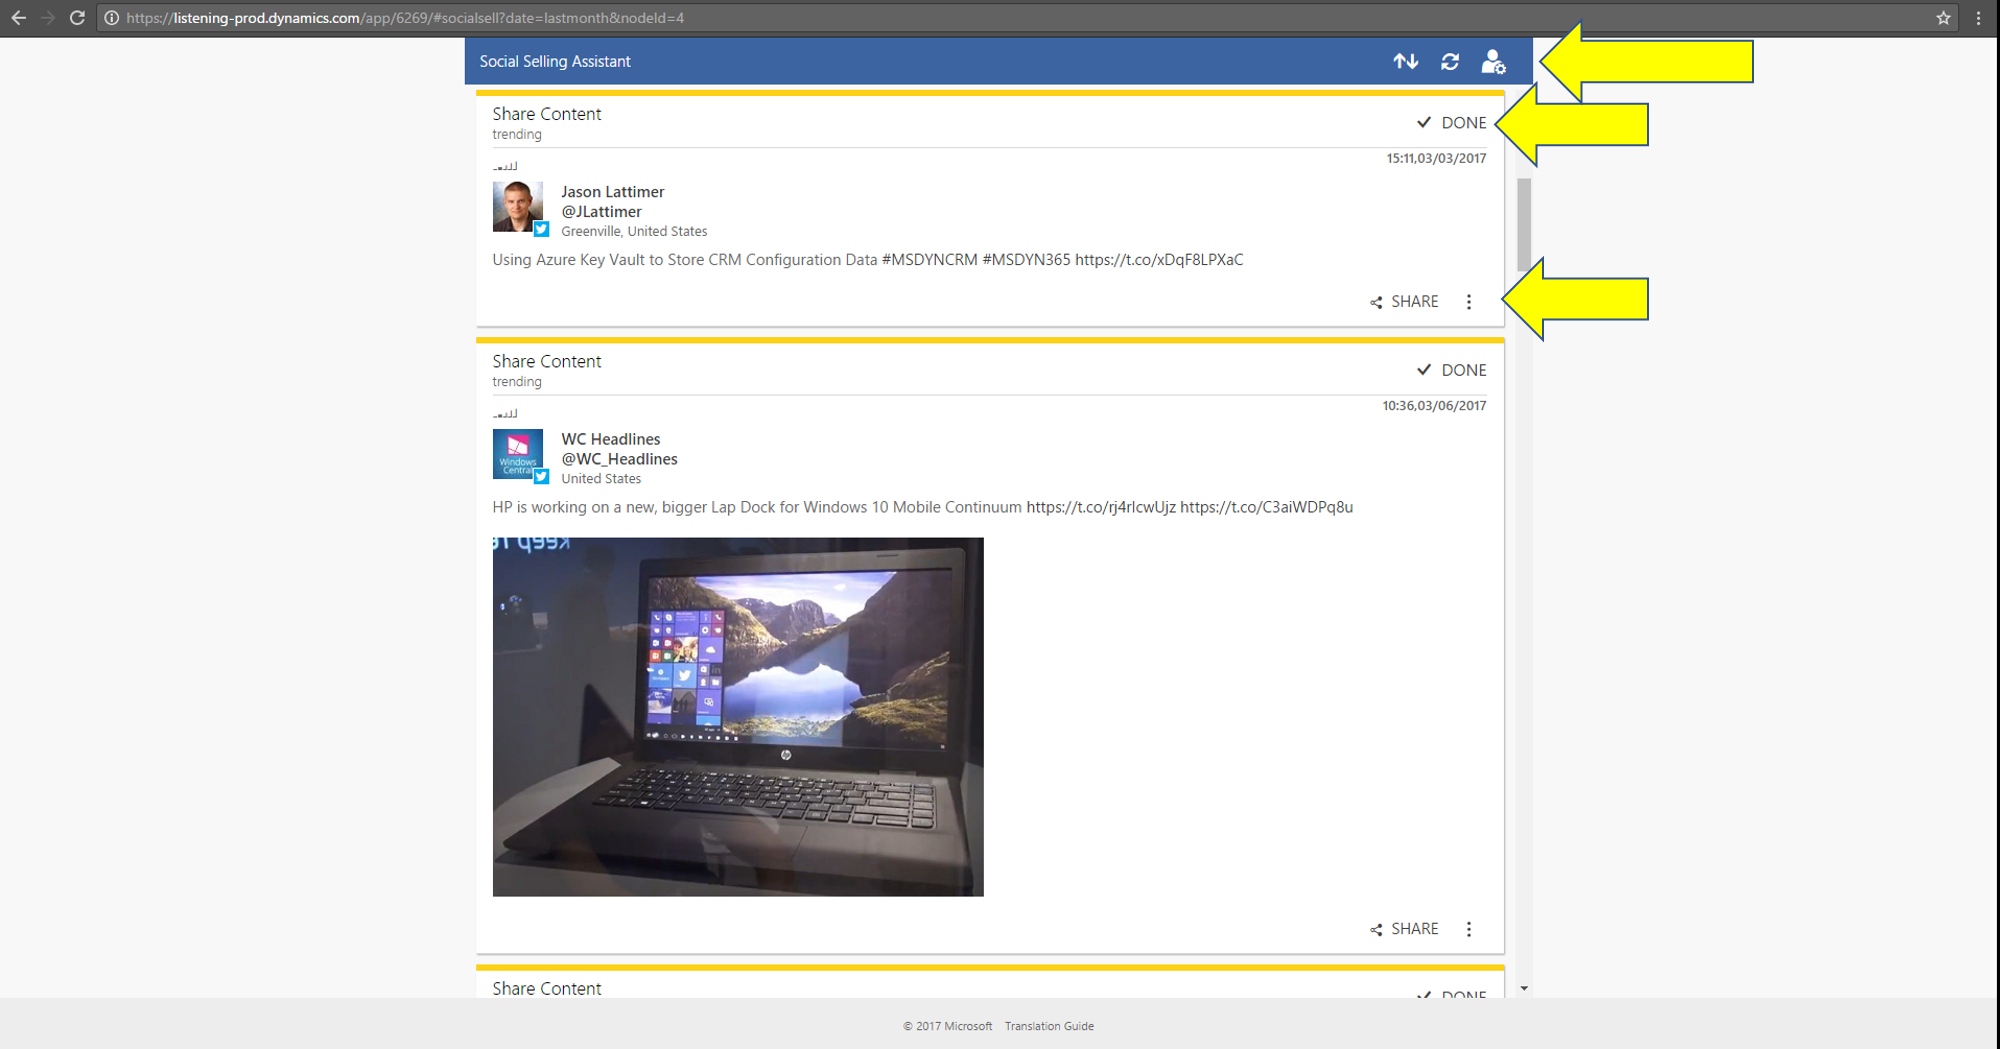
Commands in post
For each post in the list I can dismiss (DONE), SHARE and a couple of other thing (MORE)
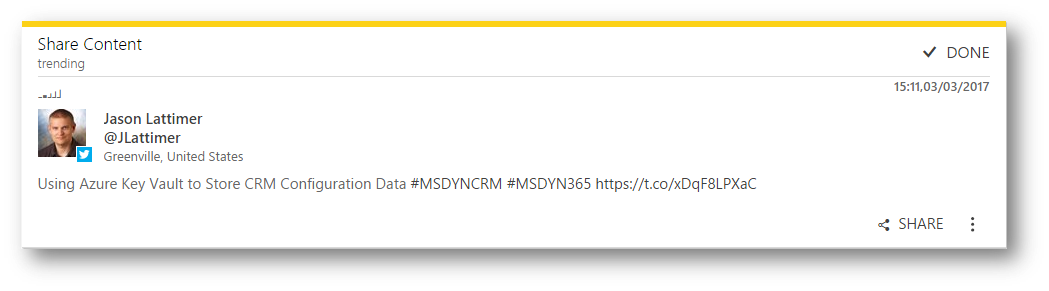
I can click SHARE to choose from my social profiles and share the link to the selected post
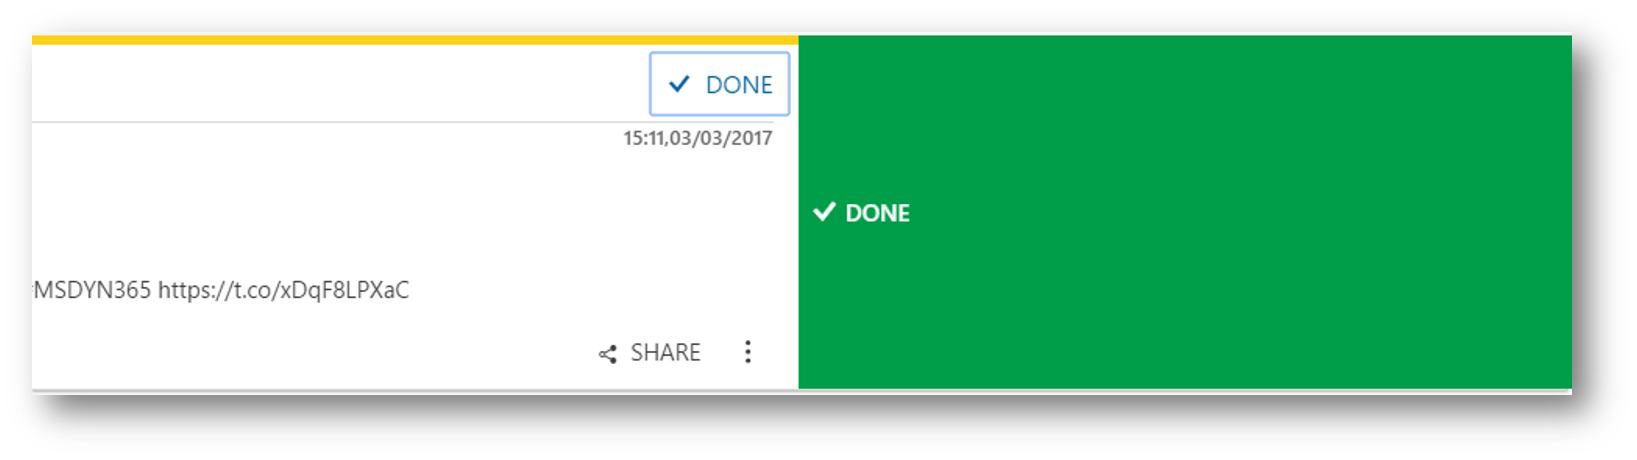
I can click DONE to remove the post from list in the Social Selling Assistant (the remove is visualized by a green swipe from the right)
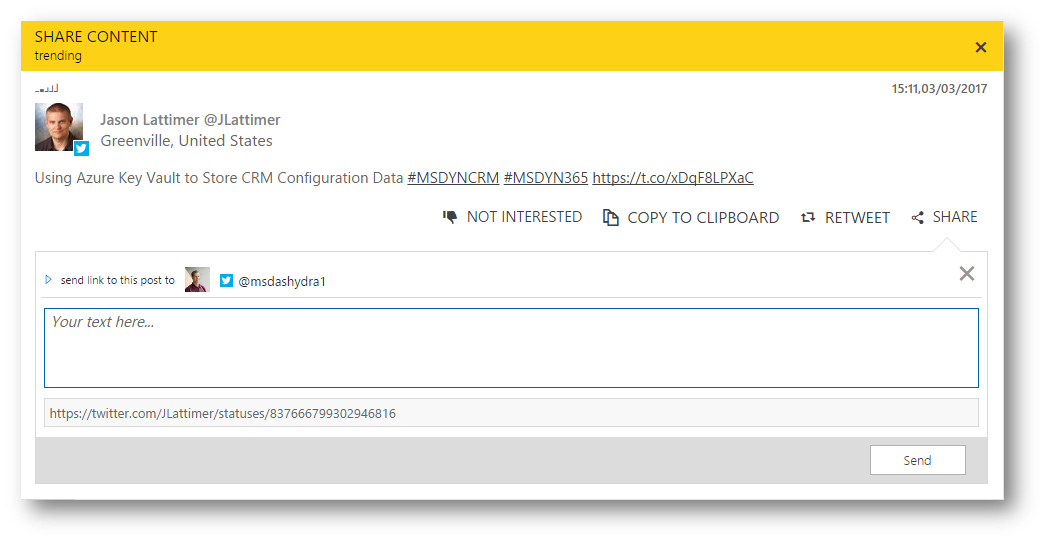
I can click the MORE icon (the three vertical dots in the lower right corner of a post) for more options to work with this post.
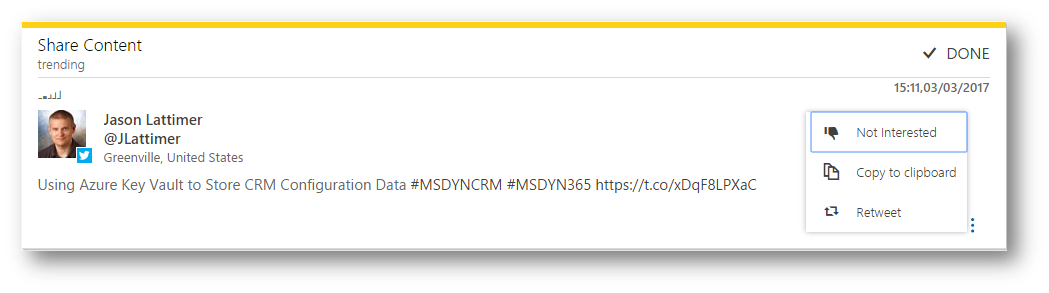
In the More menu I can
- click Not interested to indicate to the machine learning algorithm that the recommended content wasn’t relevant for me. This sends a signal to the recommendation model to improve recommendations over time
- Click Copy to clipboard if I want to work with the source of the post
- Click Retweet to retweet to Twitter
Commands in the blue top bar
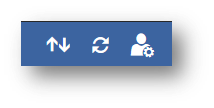
- Click the Sort icon to sort posts by recommendation type* or chronological order.
- Click the Refresh icon to get the latest recommendations
- Click Personalize icon to change your personalization settings
* check out the post "Using Promoted posts to amplify specific messages on social media" - link - to learn more about how you can use Recommendation Types, eg Promoted posts, in the Social Selling Assistant
I hope you will enjoy the new social selling assistant from our brilliant Microsoft Social Engagement team, whether you prefer to work with it MSE or in Dynamics 365 as a dashboard.