Deploying Azure Project To The Cloud
In this post I’ll explain the steps required to host a cloud service in the cloud…
Step 1: Creating the project on Azure Services Developer Portal
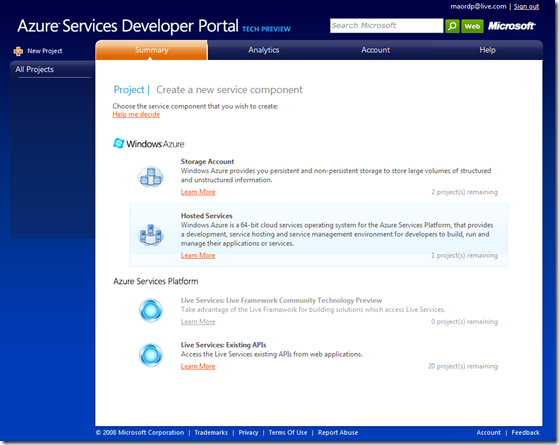
In order to host the asp.net cloud application I created in the previous post, I should login into Windows Azure Services Developer Portal. Because I created cloud service, I have to choose a new Hosted Service Project.
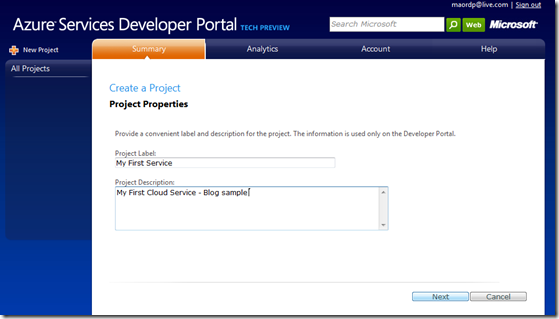
I’ll give a label and description to the service:
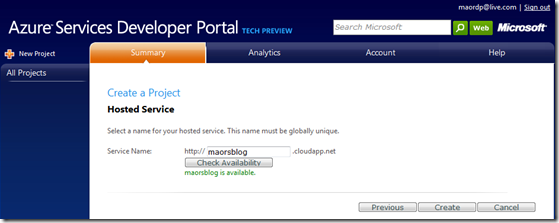
And give it a name…
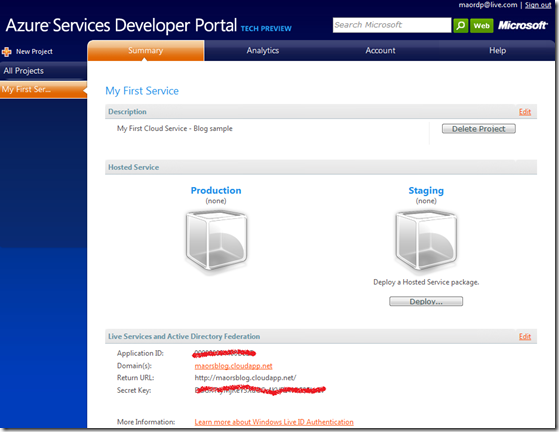
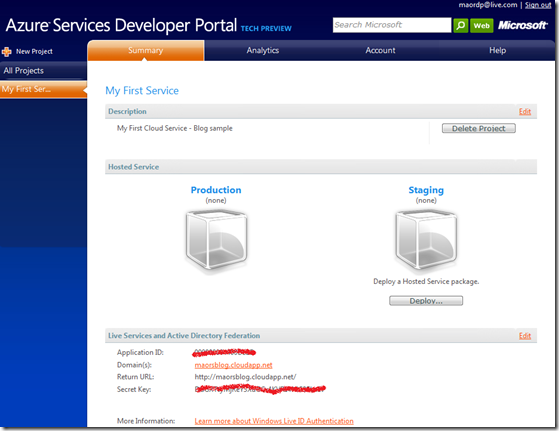
Finally, we have a project.
Note: the Application ID will be needed in order to package and publish the application from Visual Studio.
Step 2: Deploying from Visual Studio to the Cloud
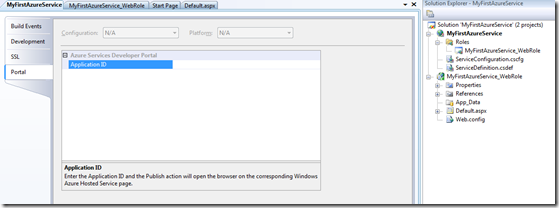
In Visual Studio we have to open the properties window of the cloud service. There is a tab called Portal.
To make sure the correct web page on the Azure portal is opened, we should paste the Application ID from the previous step.
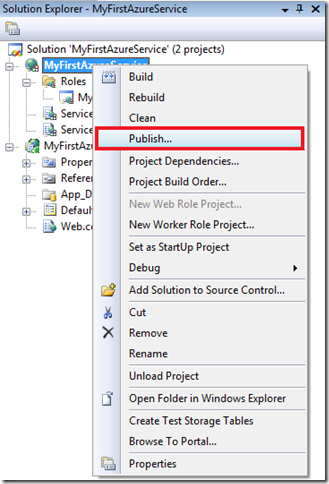
Now, we can publish it to the cloud!
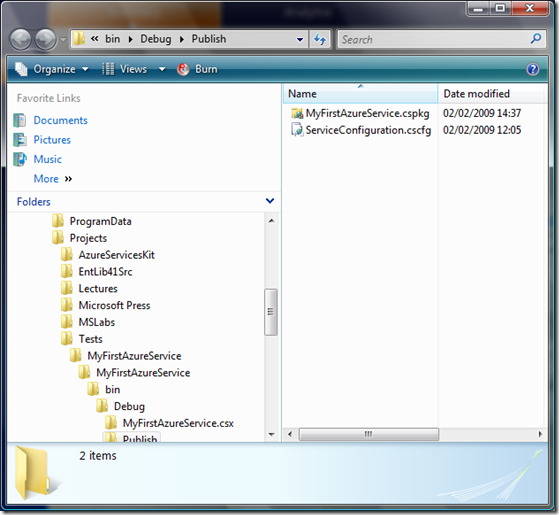
Choosing the Publish action opens up the folder in which the application has been packaged and opens up the browser with the application properties page.
Selecting the Deploy button will open the Deployment page – there we can locate both the package file (.cspkg) and the configuration settings file (.cscfg).
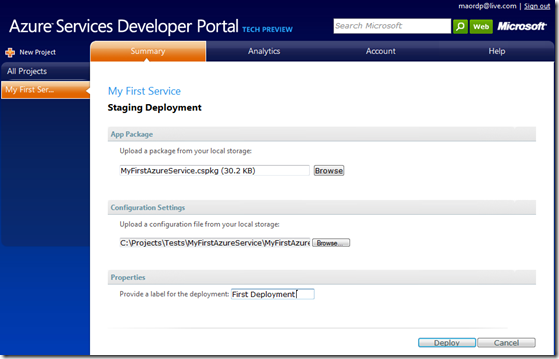
After clicking Deploy – the application deployed to the cloud and initialized.
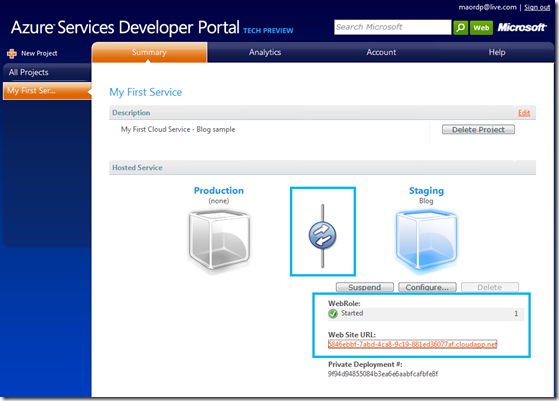
Now we can test it on a staging environment by clicking the Web Site URL. When the application is ready to be published to production just press the switch icon to move from staging to production.
You can navigate to the cloud app: https://maorsblog.cloudapp.net/Default.aspx
Enjoy!
