(Part 1) – Impinj Speedway and BizTalk RFID: Hands On
As the next (much delayed) post in a hands-on series, I’m going to walk through the process of creating an end to end solution with BizTalk RFID and the Impinj Speedway reader. The primary steps covered are:
Setting up the reader (from the shipping box to the network)
Performing native firmware updates
Connectivity and configuration with Biztalk RFID
Building a basic business logic and reporting interface
Setting up the reader (from the shipping box to the network)
Every RFID reader is a little different in terms of power, network and antenna, so being familiar with the specifics of the readers you employ in your solutions is vitally important. While Biztalk RFID does an excellent job of abstracting away many of the software and management related details, all the software in the world won't help if you can't turn the reader on! :)
From the Impinj web site:
All Purpose, High Performance Tag Reading
The Speedway reader provides superior system performance in all RFID environments, especially when paired with Impinj reader antennas and Monza tag chips.
Some of the key features include:
- Monostatic antenna arrangement (1 antenna per read point)
- Directional sensing capability—using standard UHF Gen 2 tags
- An LLRP standard network interface (using the Octane 3.0 version of reader firmware)
Obtaining Documentation
The key document for working with the Speedway Reader is the Octane 3.2 User Guide (IPJ-R1000).
Connecting the Serial Connection
When setting up a reader for the first time, or performing low-level debugging a serial connection is invaluable. If your PC or laptop does not have a built-in serial port, I would highly recommend purchasing a USB-to-serial adapter such as this one. Note that most big-box retailers or computer stores will carry a similar product in stock. In addition to the physical connection, you'll need a terminal adapter program. Note that since Hyperterminal is not a part of Windows Vista, you likely don't have a built-in one available. I like a number of different (freeware) products, such as TeraTerm Pro. After downloading and installing Tera Term Pro, start the application.

Select the appropriate COM port (if using a USB-to-serial converter see the manufacturer documentation for details), and click OK. Built-in COM ports are usually COM1. Click on Setup, then Serial port to configure the serial port settings.
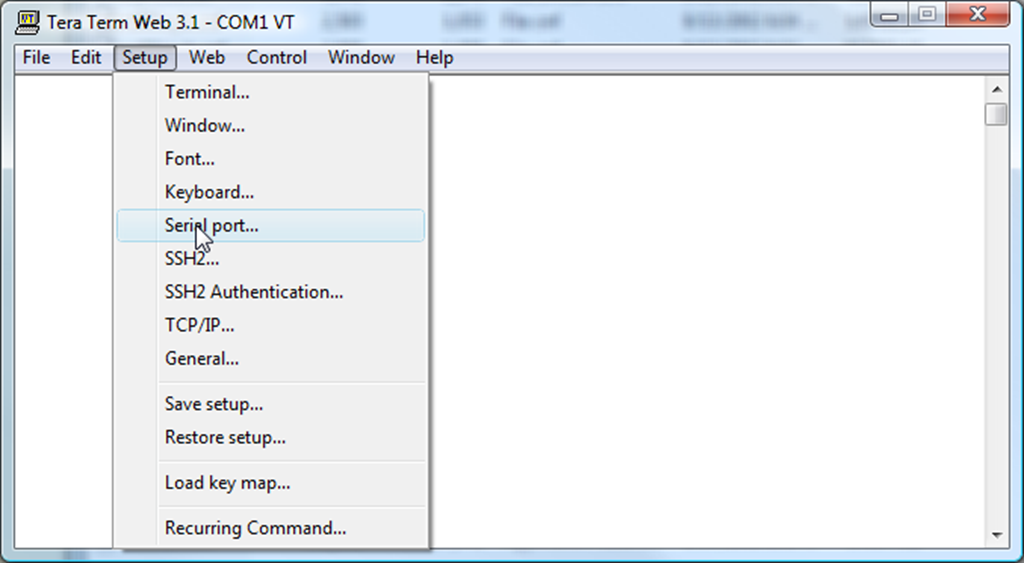
The serial communication settings for the Impinj Speedway are 115200 8N1 (or, 115200 baud rate, 8 bit data, none parity, 1 bit stop, none flow control).

Powering the Reader
If we can’t successfully power the reader, this is going to be a very short blog post. The Speedway readers use a 24 VDC @ 2.5 A transformer “brick” with an industrial connector that securely fastens to the Speedway reader. As of the time this article was written, the adapter is a CUI Inc Switching Adapter.
- Connect an Ethernet cable between an available network hub, and the 10/100 Base-T port on the Speedway reader.
- Connect a serial cable between the SERIAL port (not the GPIO port) on the Speedway Reader and your computer’s serial port.
- Connect an antenna to one of the available antenna ports (ANT1 – ANT4).
- Plug one end of the transformer into an available power outlet, and the other into the +24 VDC port on the Speedway reader.
After powering the reader, the bootup information similar to the following should stream over the serial port:
kPOST
/
Complete+
Detected: 48F4400P0VT0 (0-B,1-T) Flash
OTP Version: 2
Serial Number: 370 08 08 0176
Hardware Revision: 030-02.0001
Impinj Powered RFID Reader Rev: E
…
DHCPDISCOVER on ixp0 to 255.255.255.255 port 67 interval 4
DHCPOFFER from 157.56.24.1
DHCPREQUEST on ixp0 to 255.255.255.255 port 67
DHCPACK from 157.56.24.1
bound to 157.56.26.220 -- renewal in 6736 seconds.
done.
mDNSResponder (Engineering Build) (Feb 25 2008 15:57:02) [498]: starting
Starting Apple Darwin Multicast DNS / DNS Service Discovery daemon: mdnsd.
Starting system log daemon: syslogd.
ntpdate -u -b -s
Starting NTP server: ntpd.
Cleaning: /tmp /var/lock /var/run.
Upgrade Agent Version: $Id: upgrade_agent v3.0.1 Built on: Mon Feb 25 15:56:55 2
008 $
Starting OpenBSD Secure Shell server: sshd.
Speedway-One login:
Version: $Id: modem_ctrl v3.0.1 Built on: Mon Feb 25 15:55:50 2008 $
If the reader is configured to use DHCP to obtain an IP address, a DHCP status message like the one highlighted in red above should be visible. If not, you’ll need to log into the machine to either obtain the static IP address or configure the reader to use DHCP.
Note: Impinj readers support a very useful and handy discovery feature, that is also supported by Biztalk RFID. The intent of this article is to demonstrate an “always works” technique for cases wherein discovery doesn’t work.
Using the Serial Interface
The Speedway readers all support a rich serial/telnet interface that allows configuration of virtually all aspects of the device. While all of these features are accessible through Biztalk RFID, it's vital in troubleshooting scenarios to be able to isolate portions of the system (from the power supply on up), which is why I'm talking about them in this article. All of the Speedway commands are documented in their Octane 3.2 User Guide (IPJ-R1000) , but a couple of useful commands are shown below. Note: Octane refers to the Speedway’s firmware.
To log into the device via the serial console (or a telnet session), hit <Enter> to bring up the login prompt, and enter the default username (root) and password (impinj).
Version: $Id: modem_ctrl v3.0.1 Built on: Mon Feb 25 15:55:50 2008 $
Speedway-One login: root
Password:
>
Once logged into the device, you may use the following commands:
| Command | Process |
| Displaying the current network configuration (results are for a reader with DHCP enabled) | > show network summary Status=0,'Success' ipAddressMode=dynamic ipAddress=10.10.26.220 ipMask=255.255.255.0 gatewayAddress=10.10.26.1 broadcastAddress=10.10.26.255 hostname=Speedway-One llaStatus=enabled |
| Configuring the device to use DHCP | > config network ip dynamic Status=0,'Success' |
| Configuring the device to use a static IP address (in this case IP = 10.10.10.100, gateway address is 10.10.10.1). | > config network static 10.10.10.100 10.10.10.1 |
| Rebooting the reader | > reboot Status=0,'Success' |
| Set the reader back to factory defaults. | > config image factory > reboot |
Scanning Tags
I always recommend checking for tag scans with the lowest number of moving parts (i.e. if tag reads aren't showing up in a report there are many potential sources of failure - tag, antenna, reader, network, middleware, database and the report itself). To scan tags using the “native” interface to the reader:
- Open an Internet Explorer window and browse to the IP address of the reader.
- Log in with the username and password (defaults are username root and password impinj).
- In the navigation bar at the top of the screen, click on the RFIDemo tab (note: you will need Java installed on your machine).

- Click on Operation, then Start. Wave some tags in front of any connected antennae.


Performing Native Firmware Updates
Occasionally it may be necessary to perform firmware updates using the vendor native interface. A specific example of this is a reader which has a version of firmware which is not supported by the vendor's Biztalk RFID provider (usually in the case of older firmware versions). If Biztalk RFID can't connect to the reader, it's not in a good position to perform firmware updates :). Firmware updates are available from the Impinj web site, but you first need to register as a customer here. There's a manual approval process involved, so it's good to register as a partner as soon as you order your Impinj equipment (though approval usually only takes a day or two).
From the support portal, browse to Content, then search in Reader & Reader Antenna. In the list of available content should be files such as Speedway_Octane_3_2_1_Fw, containing the Speedway firmware. Download this file to your computer, and extract it contents into an available directory. The firmware file should have a .upg extension.
- Open an Internet Explorer window and browse to the IP address of the reader.
- Log in with the username and password (defaults are username root and password impinj).
- Browse to the Configuration screen, then Firmware.
- In the Image File section, click on the Browse button to select the .upg file, then Apply to upgrade the device’s firmware.
As the firmware update proceeds, the Upgrade Status box will refresh.


After the firmware image is updated, you will need to manually reboot the reader in order for the update to take effect. Click the reboot button at the bottom of the screen (under the Firmware Upgrade box).