View the results of OMS Automation jobs
Summary: Learn how to view the results of scheduled OMS Automation jobs in this step-by-step blog post.
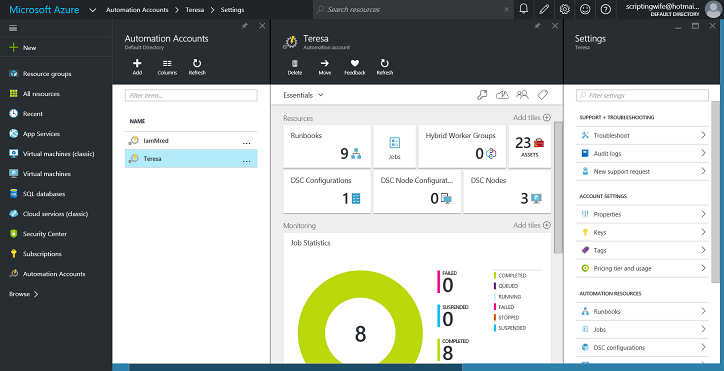
Good morning everyone, Ed Wilson here, and today I want to talk about how to view the results of scheduled Microsoft Operations Management Suite Automation jobs. First, I need to get to the Automation portal. I can do this directly from my OMS console. After I am in the Automation portal, I click my automation account. This takes me to the automation account pane for my account. This is shown here:
From this pane, I can expand Essentials, which shows the resource group, location, account, and subscription name of the automation account. Most of the time, I already know this information, so to reclaim screen space, I collapse this information by clicking the up arrow beside the word, Essentials.
In my overview pane, I can see the number of resources that I have: runbooks, assets, DSC configurations, and management nodes. I can also see a job log.
The job log shows failed and successful automation jobs
The Job Statistics tile has cool graph that shows a quick overview of the number of successful and failed automation jobs. If I click the big graph in the center, it shows me details for jobs. This is shown here:
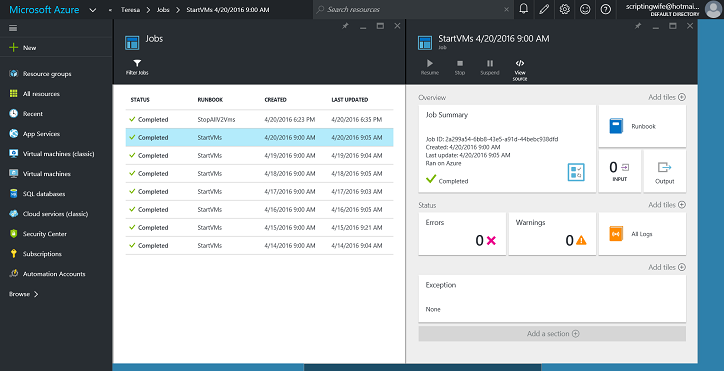
Now, I can click a job in the list to see tiles that provide an overview for the job. Tiles show a summary, the number of errors, the number of warnings, input for a job, and output to the job. If I want to, I can look at all logs for the job. An overview for a selected job is shown here:
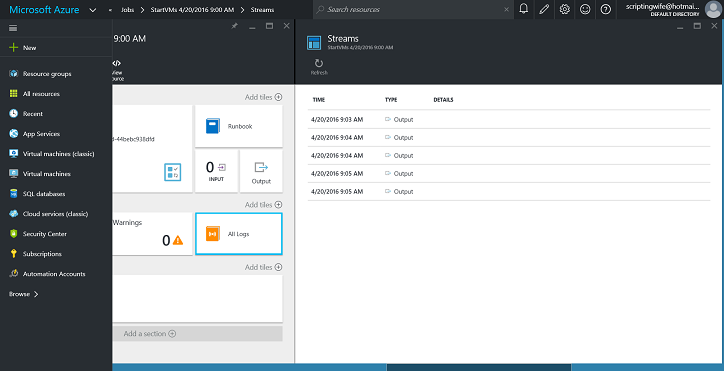
The detailed logs from the job are shown here:
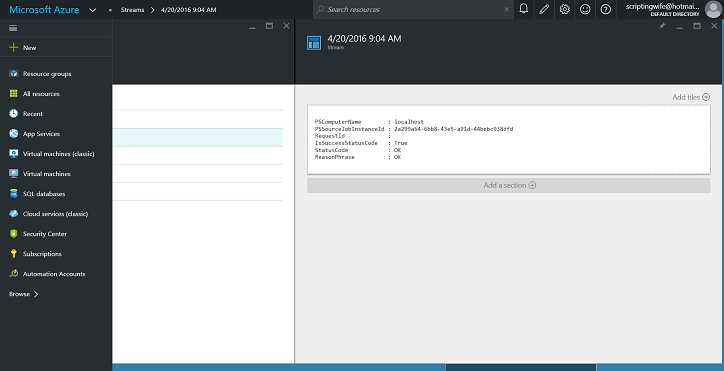
Here the log contains the output from each step that makes up the job. A sample task output is shown here:
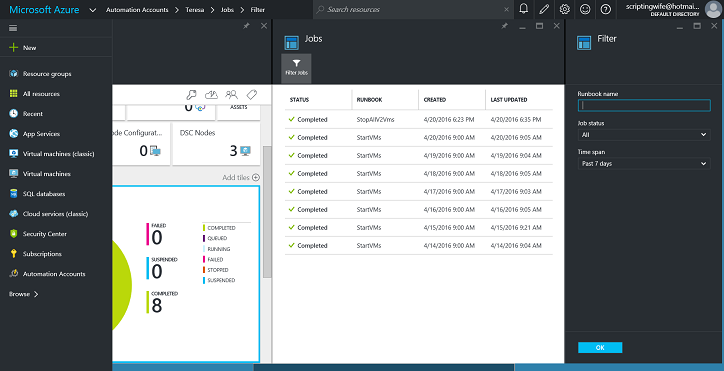
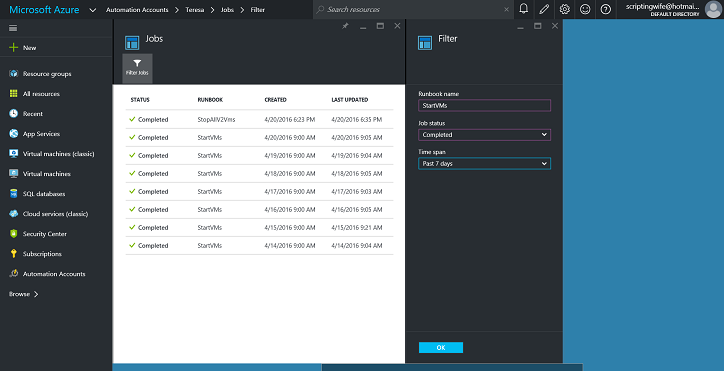
A more powerful approach to check on the status of automation jobs is to filter the output by a specific job. If I have a job that runs often, the job log can be quite extensive. The job filter tool is available from the Jobs pane when I select Filter Jobs. The job filter tool appears here:
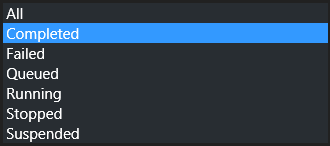
What makes this tool powerful is that I can filter by job status. The Job status selections is shown here:
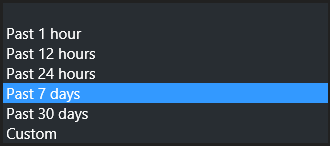
To further refine my filter, I can also choose to modify the Time span as well. This is shown here:
Cool, so I can easily check up on the status of my jobs that I scheduled and ran via automation.
You can get a free Microsoft Operations Management Suite (#MSOMS) subscription so that you can test the new alerting features. You can also get a free subscription for Microsoft Azure.
That is all I have for you today. Join me on Monday when I’ll talk about more cool OMS stuff.
I invite you to follow me on Twitter and the Microsoft OMS Facebook site. If you want to learn more about Windows PowerShell, visit the Hey, Scripting Guy Blog. If you have any questions, send email to me at scripter@microsoft.com. I wish you a wonderful day, and I’ll see you tomorrow.
Ed Wilson
Microsoft Operations Management Team
