Updated April 2nd 2009 - How to add a Company Picture to a Report
UPDATED April 2nd 2009: Several people have reported to me that the first solution I posted for “How to use the Picture stored in Company Information table:” did not work for them. So I have now updated the section on how to use the picture stored in the Company Information table. The picture is now added in a slightly different way.
/Claus
******
There are several ways to do this. Either you use the existing Picture which is stored in table 79 Company Information or you can embed the image into the Report itself, or you can link to the picture externally. In this scenario I will be looking at how to use the picture already in the database and and how to embed the picture into the report itself.
How to embed the Picture:
1. For us to be able to embed the picture into a report we need to have the Company Picture as a file. I have exported the company picture to c:\temp\CompanyPicture.bmp
2. Ok, now let us add this to Report 111. Design Report 111
3. Select "View/Layout" to go into Visual Studio.

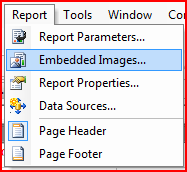
4. Select the Report and choose "Report/Embedded Images"
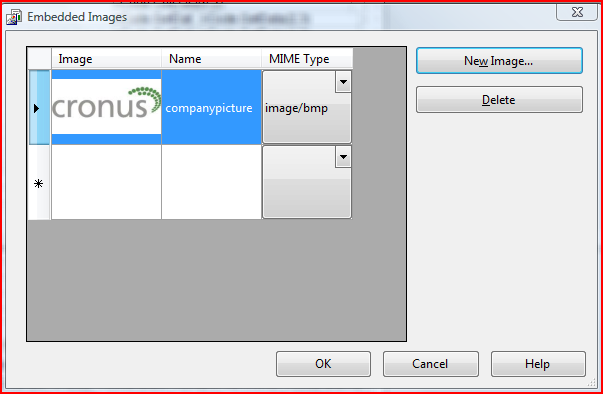
5. Select "New Image..." and select your company picture, in my case c:\temp\CompanyPicture.bmp
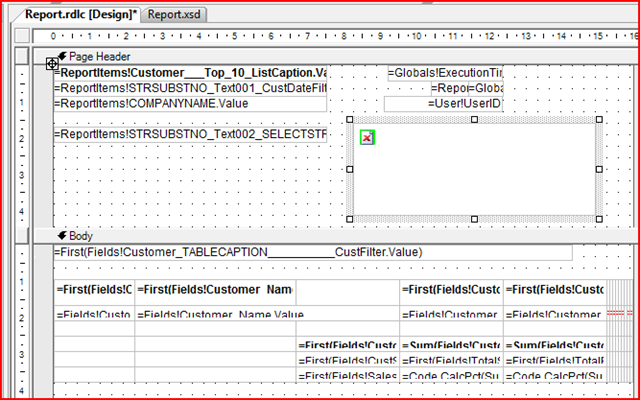
6. With that completed open the Toolbox and add a Image control to the Report.
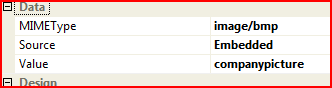
7. With the Image Control added we need to the set correct properties for this control. Set Source=Embedded, Value=companypicutre and MIMEType=image/bmp
9. Save and import RDLC changes, and then compile report in Classic client.
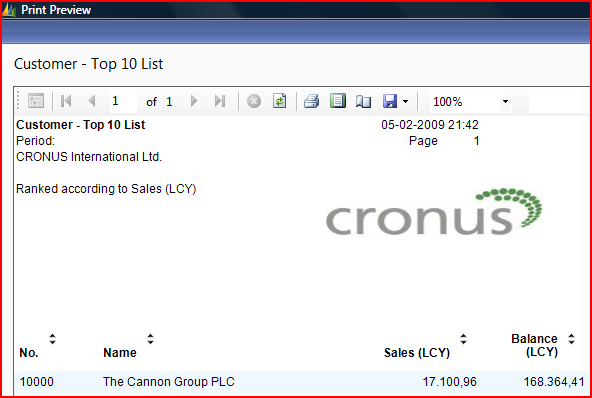
10. Run "dynamicsnav:////runreport?report=111" to open up report 111. And as you can see below company picture is displayed.

We have no looked at how to embed the Company Picture into the report. Now let us have a look on how to use the Company Picture already in the database.
How to use the Picture stored in Company Information table:
1. Deleted the above embedded Company Picture, if you followed the steps above.
2. Design report 111
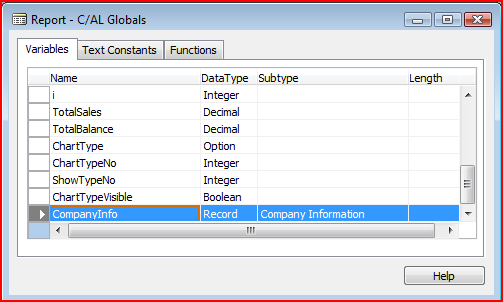
3. Now we need to have a Variable with is references to the Company Information Table. Lets create a new called CompanyInfo
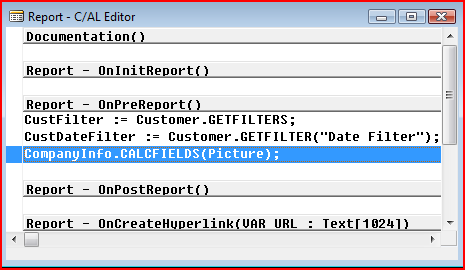
4. Exit C/AL Globals and ad the following code to the "OnPreReport()" trigger: CompanyInfo.CALCFIELDS(Picture);
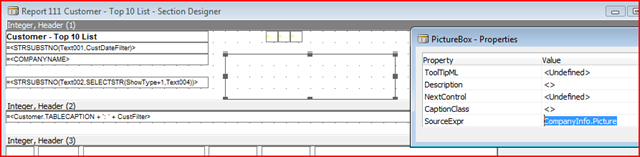
5. Now we should add a Picture Box on the Sections with SourceExpr: CompanyInfo.Picture. We need to do this to have the element available for us in Visual Studio.
6. It is now time to open Visual Studio. Select "View/Layout"
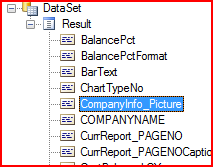
7. Notice that we now have an new entry in the DataSet
8. Now lets add this to the report. We need to add the Company Picture first as a TextBox to the body of the report. This will enable us to use it in the Page Header. We add this TextBox in top of the Body.

9. We give the TextBox the following properties:
Value: “ =Convert.ToBase64String(Fields!CompanyInfo_Picture.Value)”
Name: “CompanyPicture”
Visibility Hidden: “True”
Color: “Red”
10. Now add the following code to the Report properties.
Shared PictureData as Object
Public Function GetPicture() as Object
Return PictureData
End Function
Public Function SetPicture(NewData as Object)
if NewData>""
PictureData = NewData
end if
End Function

11. Now let us add the Image control just as we did for the embedded scenario. Open the Toolbox and add a Image control to the Report.
12. With the Image Control added we need to the set correct properties for this control.
Value: “ =Convert.FromBase64String(Code.GetPicture()) ”
Source: “Database”
MIMEType: “image/bmp”
13. Add textbox to Page Header. Note! This textbox has to be placed above the Picture control just added
Value: “ =Code.SetPicture(ReportItems!CompanyPicture.Value) ”
Visibility Hidden: “True”
Color: “Red

14. Save and import RDLC changes, and then compile report in Classic client.
15. Run "dynamicsnav:////runreport?report=111" to open up report 111. And as you can see below company picture is displayed.
Thanks,
Claus Lundstrøm, Program Manager, Microsoft Dynamics NAV
Comments
Anonymous
February 13, 2009
Hi Claus, I'm a newbie of Nav 2009 (really of Nav!) I followed your interesting tutorials, but I have a question concerning picture stored in CompanyInfo table. When I run my report I can see the picture, but if I click the "layout print button" the image won't be visible and I see only a little icon (missing image). Could you please explain me how can I resolve the problem? Thanx in advance CeccoAnonymous
February 18, 2009
Hi Is it possible to use images of other formats than BMP? BMP does'nt support the image resolution we require for optimal print quality on our papers. I really did expect NAV 2009 to address this. Thank you in advanceAnonymous
February 19, 2009
As embedded image you can add Jpg, Png, Gif and Bmp. But in company information (Datbase) Nav 2009 accept only bitmap. Bye CeccoAnonymous
February 23, 2009
The comment has been removedAnonymous
March 06, 2009
The comment has been removedAnonymous
April 01, 2009
mohana_cse06, could you please use the E-mail function in top of this blog. Then I will get in contact with you. Regards, Claus