Note
Access to this page requires authorization. You can try signing in or changing directories.
Access to this page requires authorization. You can try changing directories.
The purpose of writing this blog is to get you familiarized with the very benefits of Azure Datawarehouse Utility which is still a preview feature. The utility can be downloaded at the below link
/en-us/azure/sql-data-warehouse/sql-data-warehouse-migrate-migration-utility
Once you have installed the utility you will find the below shortcut created on your desktop

Root path : C:\Program Files (x86)\Data Warehouse Migration Utility
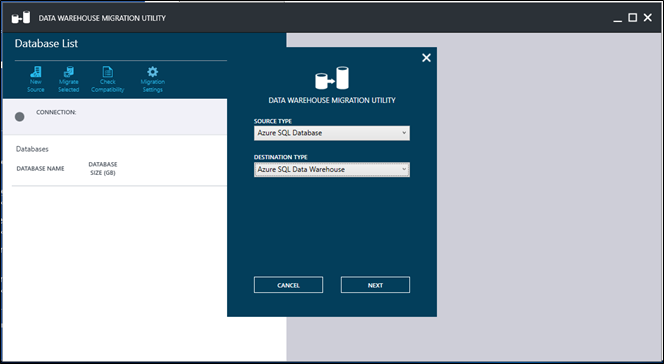
Step 1: Enter the source and destination
The utility allows you to select from either of the below sources

For the purpose of this blog we shall be using Azure SQL Database.
Step 2 : Enter the credentials to connect to the Azure SQL Database -> source 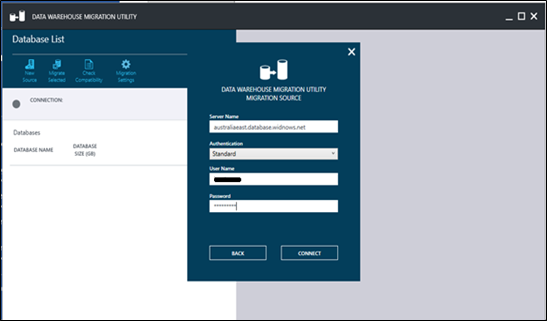
Step3 : Select the database which you wish to migrate 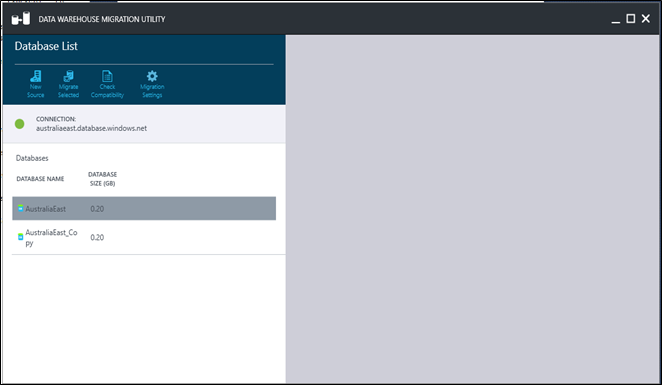
Step 4: Select the objects you wish to migrate from the database 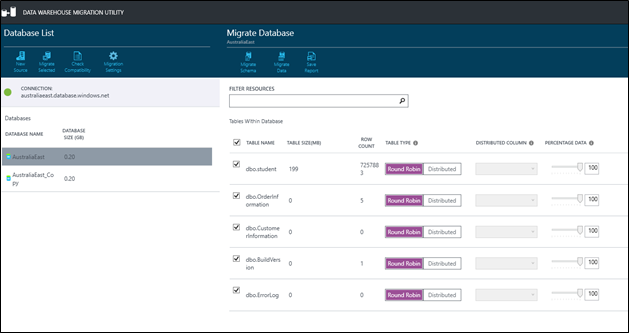
Step 5A: Migrating Schema
When you select migrating schema you are navigated to the scripts page as follows

You can either run the script where you will be prompted to enter the destination server credentials or save the script in the form of .sql file

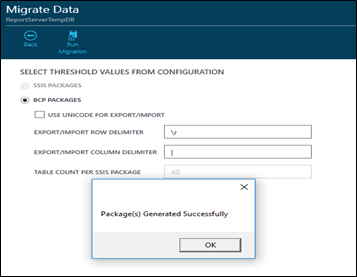
Step 5B : Migrating Data
When you select migrate data option you are directed to the following page

A package gets created as follows

You are prompted to enter the destination details as follows

If all the details are enter correctly the wizard completes as follows
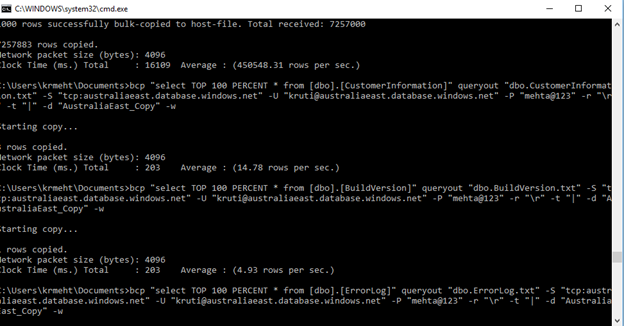
Step 6: Running .bat file
A windows batch file is created at the location mentioned as follows

Upon execution of the above file the below screen flashes