Localization in SSRS reports
Localization is SSRS reports:
Localization means displaying the content in several languages which will help the user across the globe to access the content. As the reports being one of the important tools and are used in various ways as per the requirement of the user, the localization of report plays major role. It is a normal requirement for any project accessed around the world
Why localization:
Localization is the process of customizing your application for given culture and locale. To display any content of the project in multiple languages, it is not practical to develop the same project in multiple languages. In the same way to make the report available in different locales, it is not a best way to develop different .rdl files. By using localization we can make a single .rdl file available across different locales.
How to localize the report:
Microsoft has not provided a way to add .resx(resource file) to the report project. The way around is to use custom assembly which can be used across multiple projects. Follow the following steps to create a custom assembly
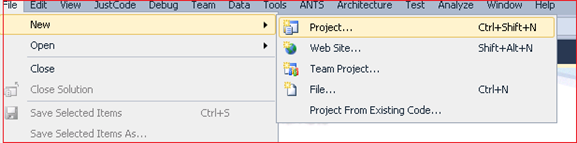
- Start the Visual Studio, select File-->New-->Project
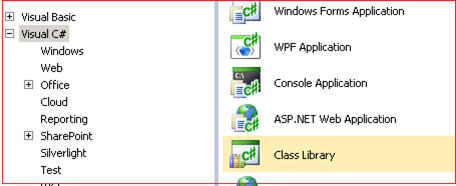
- Select appropriate language(My case visual C#), select Class Library and give the name in the text box and click on OK button
- To add .resx file to the solution, right click on the project and add a new item and select Resource file
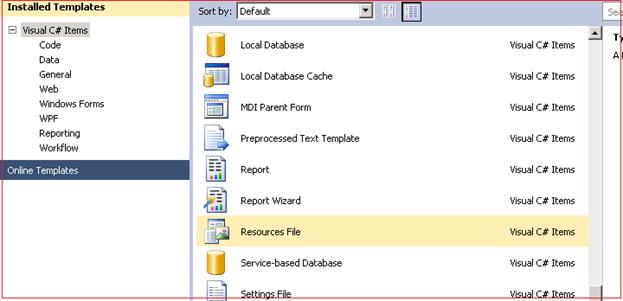
Add the required resources in the .resx file in Name – value pair model.
- Add the following method to the class file so that the user can access these resources from outside.
public static class LocalizedValue { Public static string GetString(string resourceName, string culture) { CultureInfo cultureInfo = new CultureInfo(culture); return ClassLibrary1.Resource1.ResourceManager.GetString(resourceName, cultureInfo); } } |
Build the project and get the dll from bin folder.
Our dll is ready. Use the following steps to use the dll in the report designer
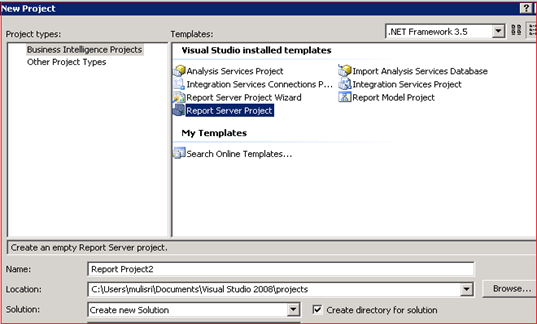
- Open visual studio for reports(SQL Server Business Intelligent Development Studio). Click on File-->New-->Project
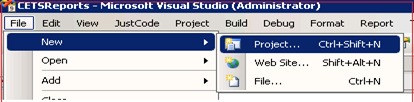
- Select “Report Server Project” and give the proper name and click on OK
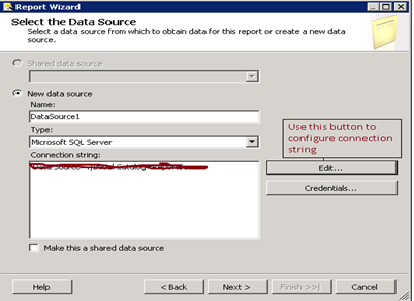
- Right click on Report folder, select “Add new report”. Enter appropriate values in the report wizard. For connection string, click on “Edit” button and select the appropriate details.Finally click on finish to create the report.
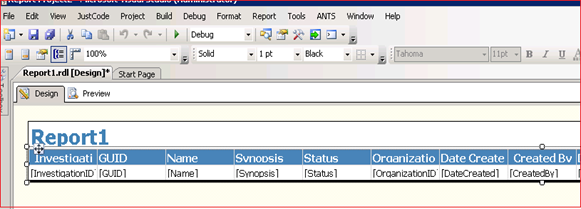
Click on “Next” and in the next step, select the query and finish the other steps. We can write the query by using query builder also. Select appropriate columns to be displayed in the reports. It may look something as follows
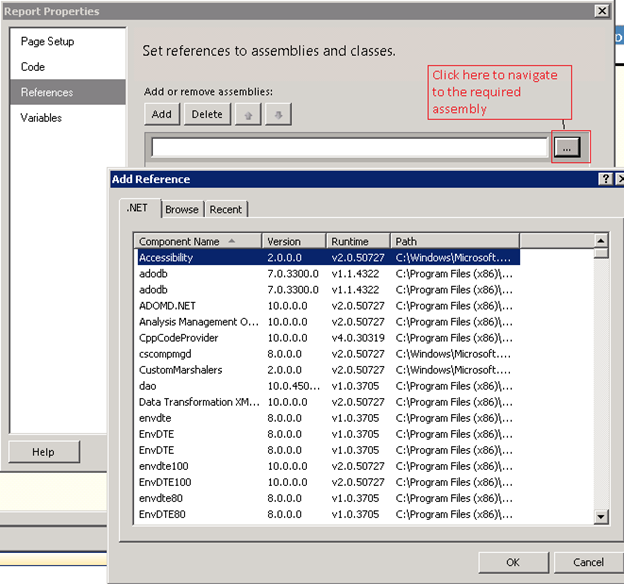
Now the localization part requires to be added. First navigate to “Report Properties” and add the as show below
Finally the last step is to use the function in the assembly. To do this, right click on the textbox and select “Expression”, the following window will we displayed. We have to write the code there
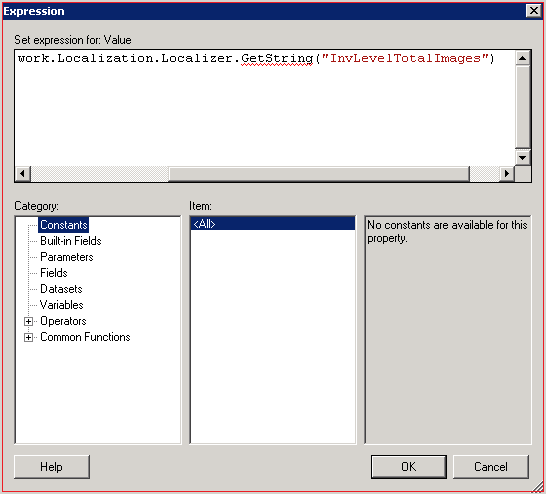
This expression calls the GetString method with the name of the resource which will return the value of the resource as per the current locale
Problem you may face
The most common issue the developer may face is, Inspite of adding the new resource to .resex file it will not be show in the report. The reason for this is the dll is not updated in the location specified in the references of the report. We have to build the new dll and copy that dll to the location which is referenced in the report properties