Note
Access to this page requires authorization. You can try signing in or changing directories.
Access to this page requires authorization. You can try changing directories.
Installing the System Center 2012 R2 Configuration Manager Client on Linux – Part 1
This two part blog series outlines how to install the ConfigMgr 2012 R2 Client on Linux. In this example, I will be using Ubuntu 12.4 x64 LTS.
Part 1 outlines how to create the Ubuntu VM within Hyper-V and join the machine to the ConfigMgr domain.
*This also outlines how to troubleshoot issues when trying to join domains that end in '.local'
Part 2 outlines how to install the ConfigMgr 2012 R2 client, and additional information on how to manage the machine once the client has
been installed.
NOTE: Joining the Linux machine to your AD Domain is NOT required to install the ConfigMgr client.
Benefits of joining a Linux machine to a Widows domain include logging in with domain credentials, accessing shared network directories, inventory machines in AD. The list of supported Linux/UNIX operating systems can be found here - https://technet.microsoft.com/en-us/library/gg682077.aspx#BKMK_SupConfigLnUClientReq
Create the Ubuntu 12.4 x64 LTS Virtual Machine in Hyper-V
- Download the ISO at https://www.ubuntu.com/download/desktop
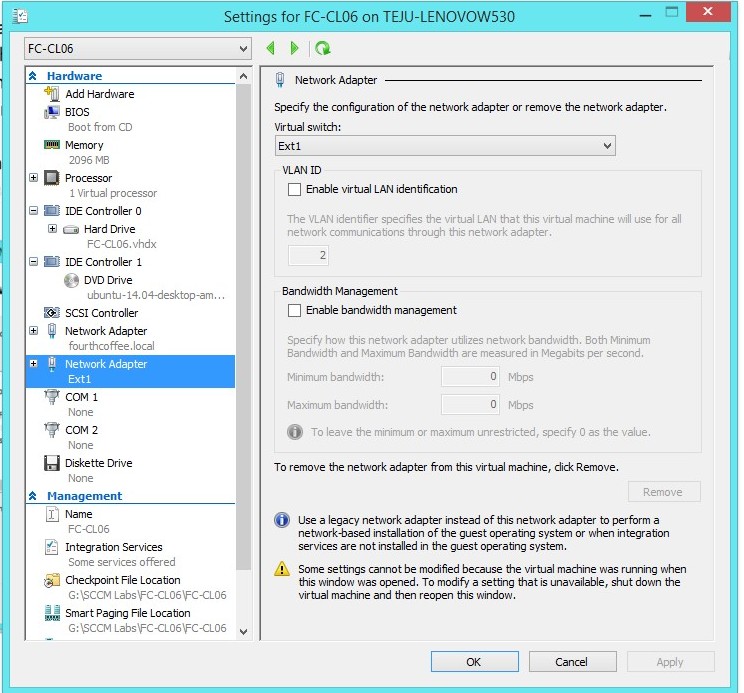
- Create the VM in Hyper-V as you would for any other Operating System. I connected the Ubuntu VM to my internal Virtual Network Switch ‘fourthcoffee.local’, which is the network that all my domain machines reside on
Also connected the Ubuntu VM to my external Virtual Network Switch, Ext1, which allows for my virtual machines to have internet access.
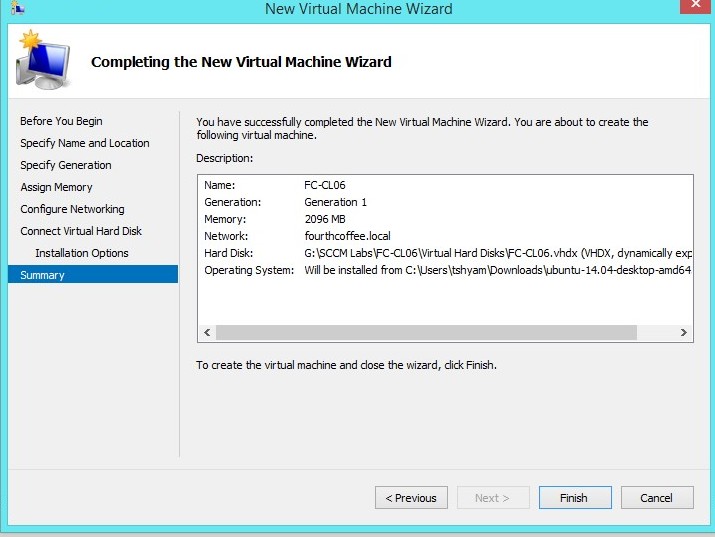
3. When the Ubuntu VM powers on, it will take you through pre-install steps. Enter the information as it applies in your environment and begin the install.
Join the Ubuntu Machine to a Windows Domain
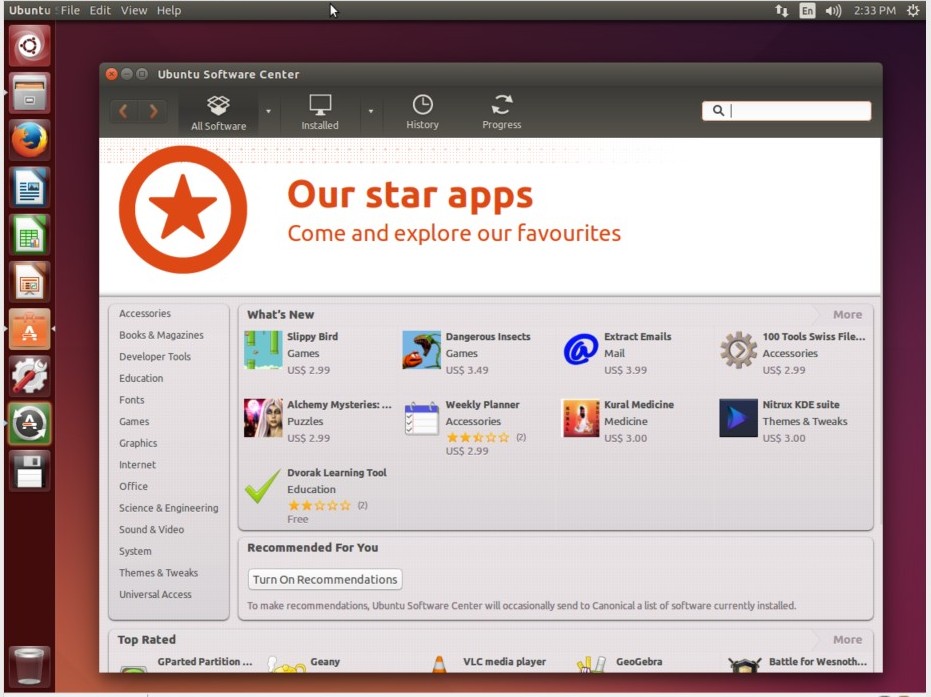
4. Once you are in the OS, you will want to install a program called ‘Synaptic Package Manager.’ This is a package management tool that will allow you to install, upgrade and remove packages easily within the OS.
Synaptic Package Manager can be installed via the Ubuntu Software Center

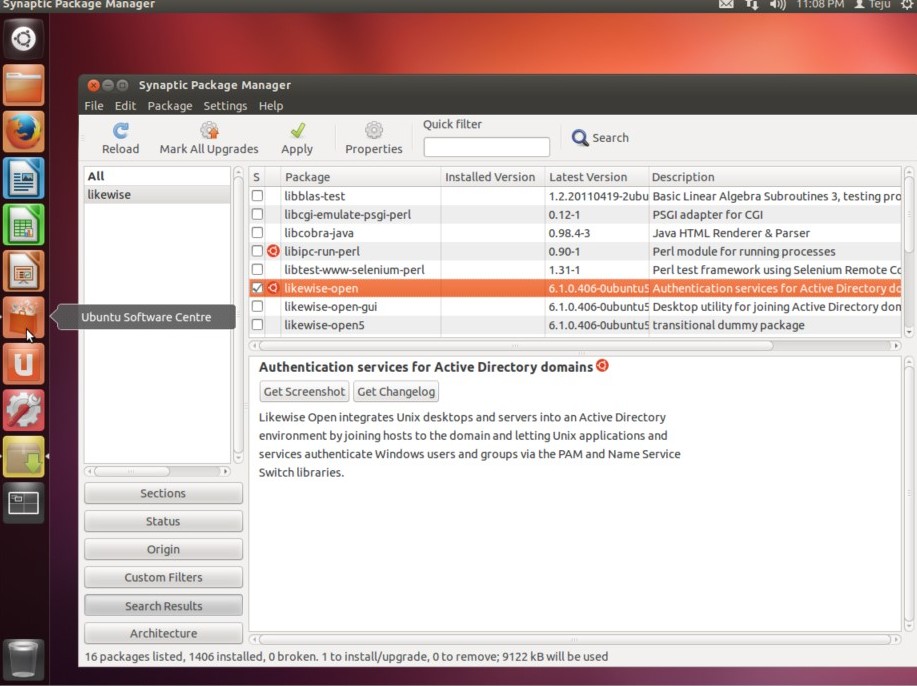
5. Once Synaptic Program Manager is installed, we can join this Ubuntu VM to our domain using a program called Likewise. Open up Synaptic Package Manager & search for Likewise. Choose to install the packages called 'likewise-open’ & ‘likewise-open-gui’
6. When both package are installed, click on Dash Home (icon on top left of desktop) & search for Active Directory. You should see the following

7. Open up the Active Directory Likewise program and enter the Computer Name, Domain, and OU you want the Ubuntu machine join. You will be prompted for administrative credentials
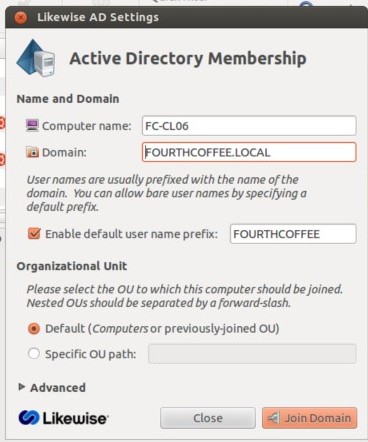
Troubleshooting Tip: If you are attempting to join a domain that ends in ‘.local,’ you may see the following errors –
“ Error: Lsass Error [ code 0x00000043 ]
Network name not found.. Failure to lookup a domain name ending in ".local" may
be the result of configuring the local system's hostname resolution
( or
equivalent
) to use Multi-cast DNS. Please refer to the Likewise manual at
https://www.likewise.com/resources/documentation_library/manuals/open/likewise-open-guide.html#ConfigNsswitch
for more
information.”
OR
“Error:
DNS_ERROR_BAD_PACKET [ code 0x0000251e ]
A bad packet was received from a DNS server. Potentially the requested address
does
notexist** .”
When attempting to join an Ubuntu Desktop workstation to a domain, you may need to edit the file /etc/nsswitch.conf if the domain ends in ‘.local’
In order to edit the file, follow these steps
- Open up Terminal
- Type sudo gedit /etc/nsswitch.conf
- This will open up the file
- Locate the line
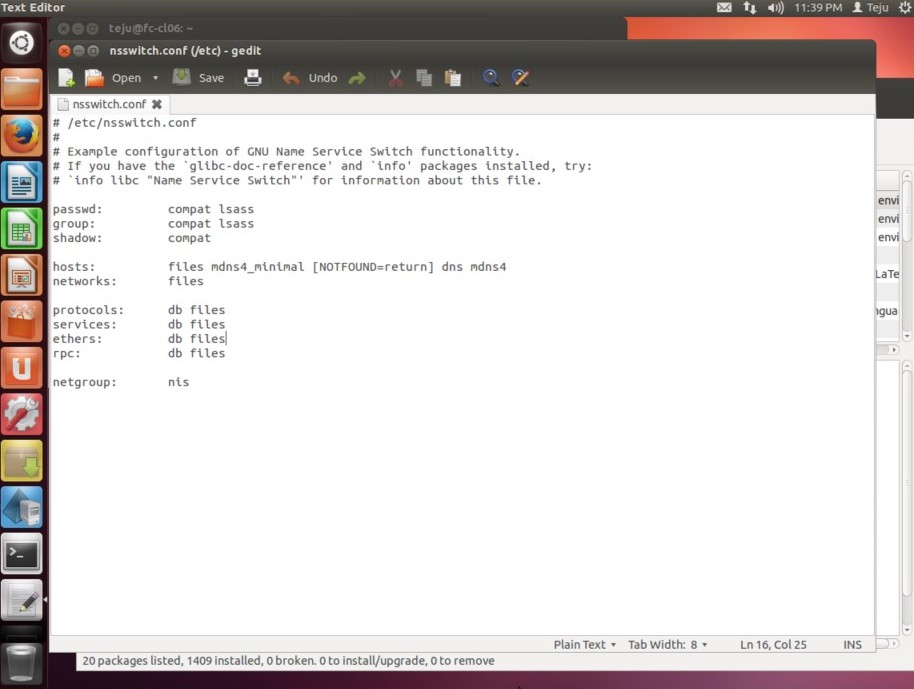
hosts: files mdns4_minimal [NOTFOUND=return] dns mdns4
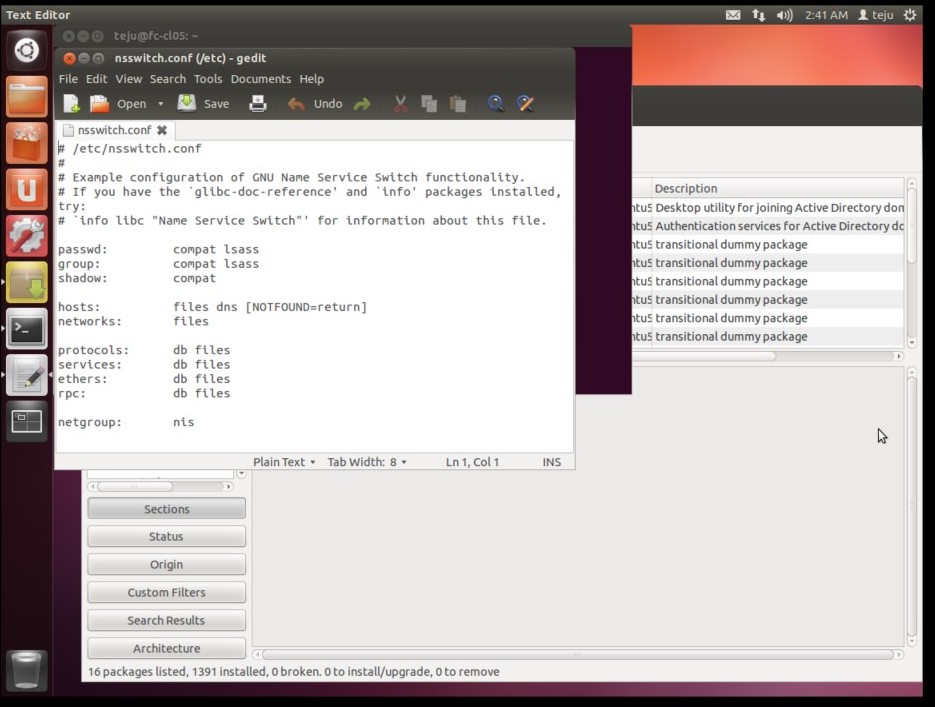
c. Change the above line to hosts: files dns [NOTFOUND=return]
d. Restart networking by entering sudo /etc/init.d/networking restart
If you have any problems with editing this file with gedit, you can also use Nano. To do so, follow these steps:
Open up Terminal
Type sudo nano /etc/nsswitch.conf
- This will open up the file within Terminal
- Locate the line hosts: files mdns4_minimal [NOTFOUND=return] dns mdns4
Change the above line to hosts: files dns [NOTFOUND=return]
To save the change, hit Ctrl+O & then hit Ctrl+X to exit
Restart networking by entering sudo /etc/init.d/networking restart
Original File:
Edited File:
8. After successfully editing the file, open Active Directory Likewise again and you should successfully be able to join the domain
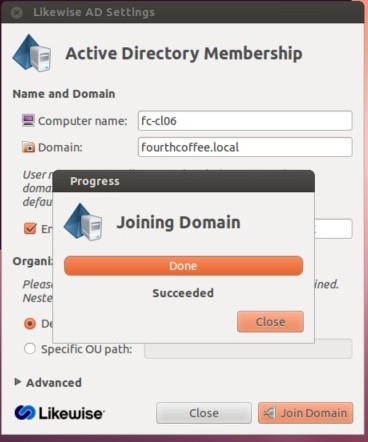
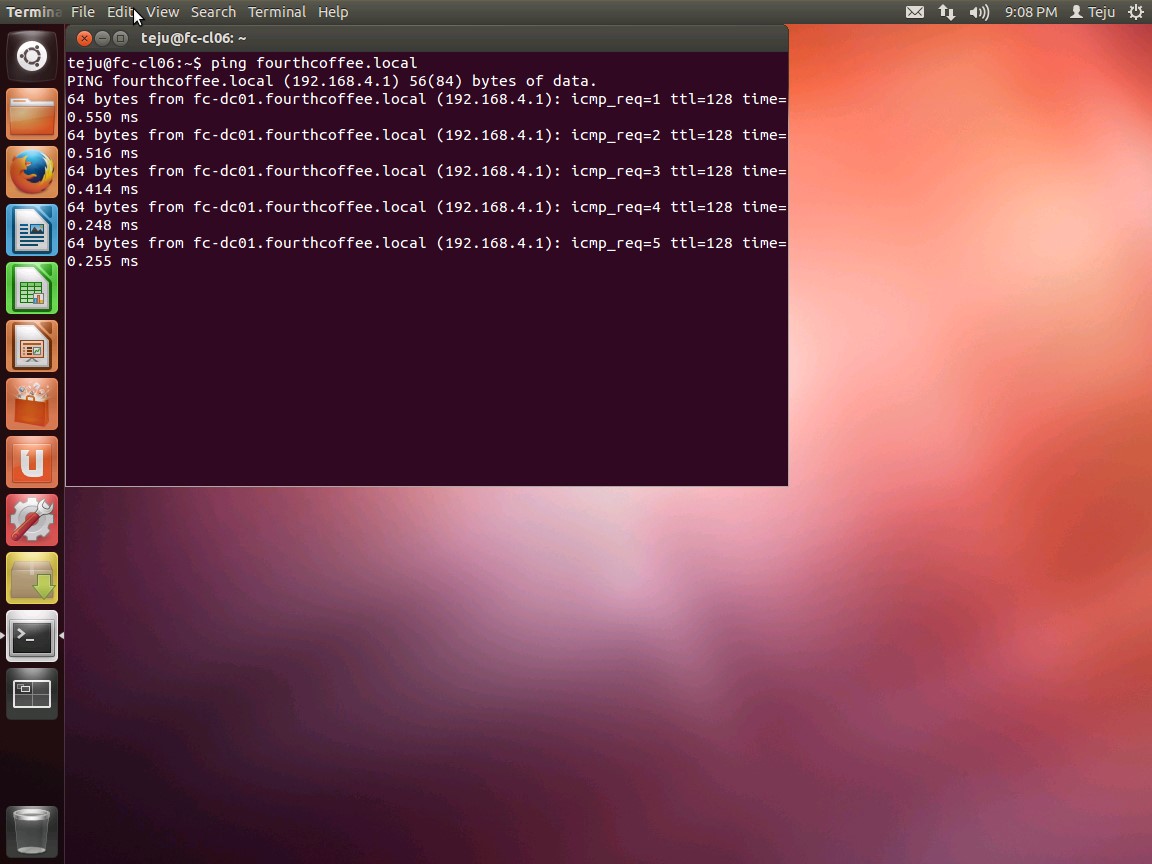
You can verify the successful join by pinging the domain from Terminal & verifying the computer account in AD
9. If you want to give an AD Domain Users sudo rights, follow these steps:
- Open up Terminal
- Type sudo gedit /etc/sudoers
- Locate the following line
#Members of the admin group may gain root privileges
%admin ALL=(ALL) ALL
4. Add one of the following:
Yourdomain\\username ALL=(ALL) ALL
--gives specified user sudo rights
Yourdomain\\domain^admins ALL=(ALL)ALL
--gives the domain admin group sudo rights
Yourdomain\\domain^users ALL=(ALL) ALL
--gives the domain users group sudo rights
NOTE – You can give any AD group sudo rights. Just make sure you use the ‘^’ in place for any space in a group name
10. Now, we can add the option to allow us to directly logon under a domain account
- Open up Terminal
- Type sudo gedit /etc/lightdm/lightdm.conf
- Add this to the file
Greeter-show-manual-login=true
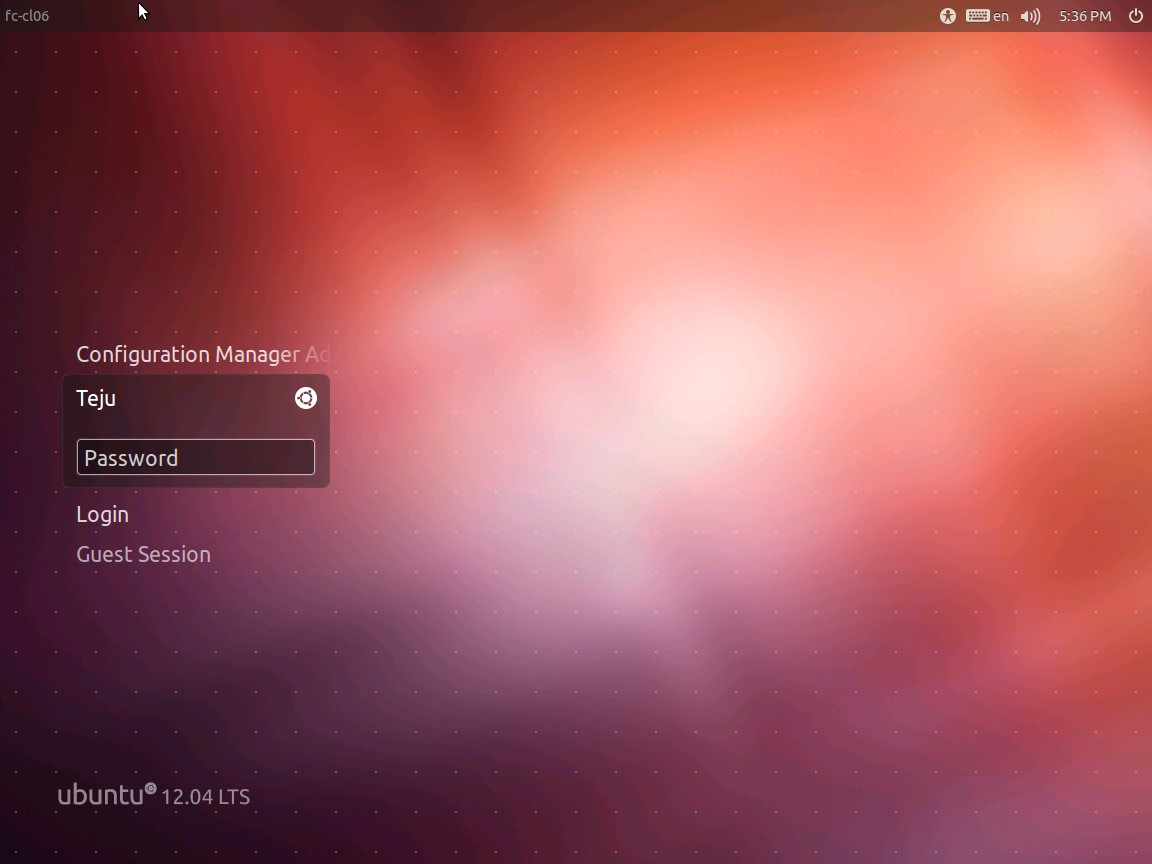
The next time you reboot, you can login with your domain account. You will see two additional logon options – ‘Login’ and ‘Guest Session.’ If you successfully domain joined the machine, you will be able to log into this machine with Windows domain credentials
In the example below, I am logging on with a user named ‘ConfigMgr,’ which is a Windows Domain User account

11. Now that we have joined the Ubuntu machine to the Windows domain, we will go through installing the ConfigMgr 2012 R2 client for Linux. Again, joining to the Windows domain is NOT required to get the Linux client installed.
In the next blog post, we will go through installing the ConfigMgr 2012 R2 client for Linux
-Teju Shyamsundar