All you need to know to create a Windows 8 App! - Part 3
One more blog post in this Windows 8 App development series, this time focusing on Sharing content. Keeping the same approach as the previous blog posts I'll use the solution from blog post 1 and 2. If you haven't done the other blog posts yet you might want to take a look at them.
- Create a Windows 8 App based on the Visual Studio 2012 Templates
- Extending Windows 8 functionalities
- Search
- Share
- User Data
- Local Data
- Roaming Data
- Tiles
- Notifications
- App Bar
- Integration with Windows Azure Mobile Services
- Tables
- Authentication
- Push Notifications
In order to use Windows 8 Share capabilities you must understand that there are two ways of integrating Share capabilities in your App. Your App can be a Share Target or a Share Source. In this specific example I'll focus on the Share Source since it is what makes more sense in the context of our Windows Store App. If you want to learn more about integrating Share with your App behond the context of this blog series you should check out the following links:
The objective of this blog post is to integrate Share in our App in a way that will allow us to share SampleDataItem's as text to other Apps that are configured as Share Target. In order to do so we will use the DataTransfer namespace that contains all the methods needed to share: text, link, HTML, image or files.
First of all just open the ItemDetailPage.xaml.cs file since this is the page that will have the content we want to share. Just add the following code to the LoadState method.This code will allow you know everytime the Share charm is tapped in the context of this page. As you might see dataTransferManager is a global variable so you must declare it in the beginning of the class declaration instead of inside this specific method.

You must remove the event handler when you exit this page and this is done in the SaveState method. Just copy the following code to the SaveState method and you won't have issues with this anymore.

The next step is to implement the method OnDataRequested that will be fired when the Share charm is tapped by the user. This is a very simple method that will do one of two things: Provide content to the Share Target App or display an error message for the user.
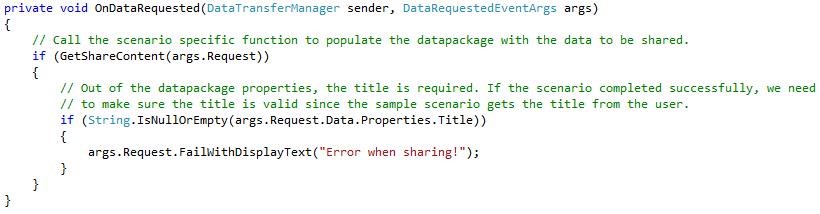
If you look closely to the method above you will see that the work of providing content to the Target App is done through a method called GetShareContent which receives the request as an argument. This method is where all the real work is done and the way it may be implemented is the following. In order to share text there are two things that you must provide which are the Title and the Text. As you may see I also provide the description but this is an optional field. So basically what I've done was to use the DataPackage in order to send the information to the Share Target App. Pretty easy!

Remember that this code is the implementation for the method to share text. If you wish to share images, links, HTML or files you must look at the links I posted before in order to get more information on this.
With this you should be able to share the content of every SampleDataItem individually to the Share Target App you select. You are now able to see something like this...
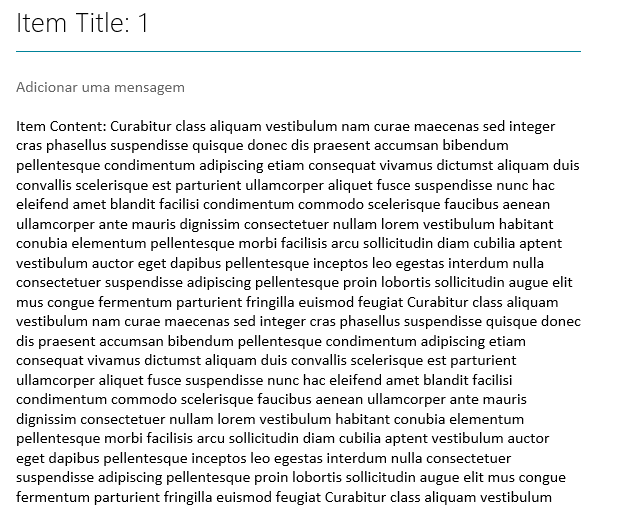
This might be the usefull in most cases but for more complex scenarios you should explore other solutions and for that I recommend that you look at the links I posted in the beginning and choose the one that fits your purpose best. Hope this post is usefull to you and remember this is another great feature that will give greatness to your App.
See you in the next post where I will show you how to handle User Data...