Setup Scenarios for SharePoint Foundation 2010: Server Farm
For overall context and prerequisites, please see the introduction to this series
This is the most configurable and complex scenario. SQL Express is NOT installed. It is assumed that you have a SQL Server available that is separate from your SharePoint Foundation server. Setup will create 2 databases on the SQL Server, so the credentials you’re running setup with will need the rights to do this. In this scenario, your SharePoint server becomes a web front-end. Below is the main installation screen:
Click Server Farm
You’ll be asked what type of server you want to set up:
If you were to click the Stand-alone radio button here (don’t), you’d be in this scenario instead.
Click the Complete radio button, then click the Data Location tab:
Choose the directory that should contain the index files, then click Install Now
Installation will begin and progress is displayed:
Installation will finish with the dialog below:
Leave the “Run the SharePoint Products Configuration Wizard now” box checked. Click Close.
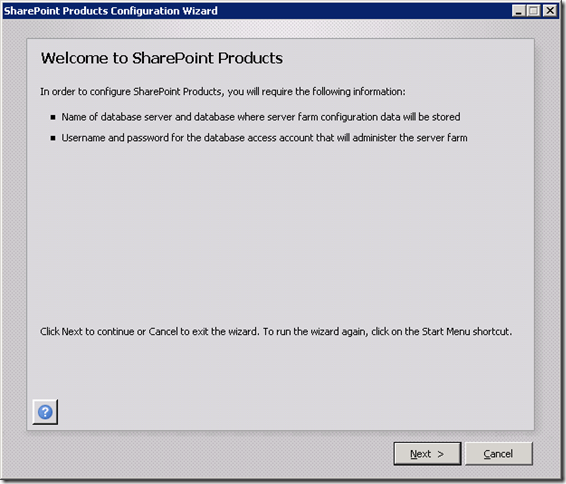
The Welcome to SharePoint Products dialog comes up:
Click Next
You’re warned that the services listed in the dialog box will be stopped and restarted:
Click Yes
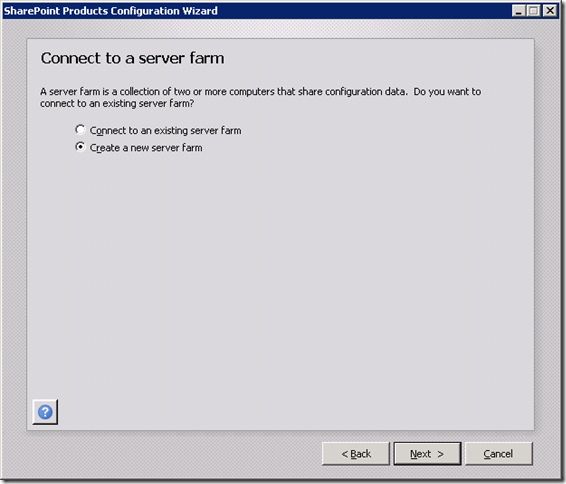
You’ll be asked if you want to create a new farm or connect to an existing one:
Choose Create a new server farm, then click Next. If you were adding a web front end to an existing farm, you’d choose connect to an existing farm.
The Database Settings dialog comes up:
Fill out the database server and database name, then enter the account information that should be used to connect to the database server. The server will always use this account to connect to the database once the farm is operational. Click Next.
You’ll be asked to specify a passphrase for the farm:
Fill in a passphrase. Don’t lose the passphrase as you will need it in the future to join other servers to this farm. Click Next.
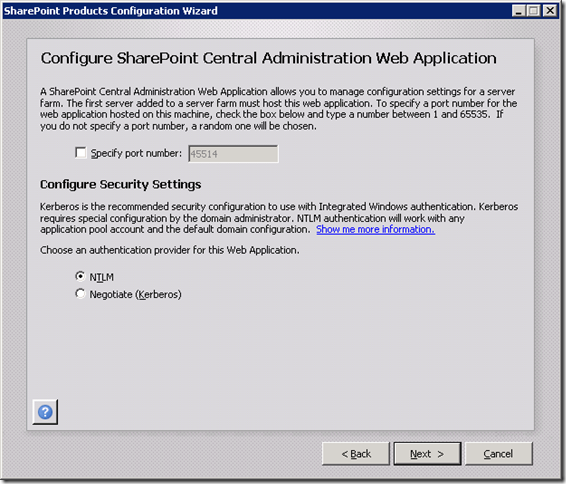
You’ll be asked to specify a port for the central administration site and the type of authentication to use. If you don’t specify a central administration port, one will be selected for you:
Set the port for the Central Administration site if you like, or accept the default. Choose the appropriate authentication method for your environment, then click Next.
You see a summary of the settings that were entered in the previous few dialogs:
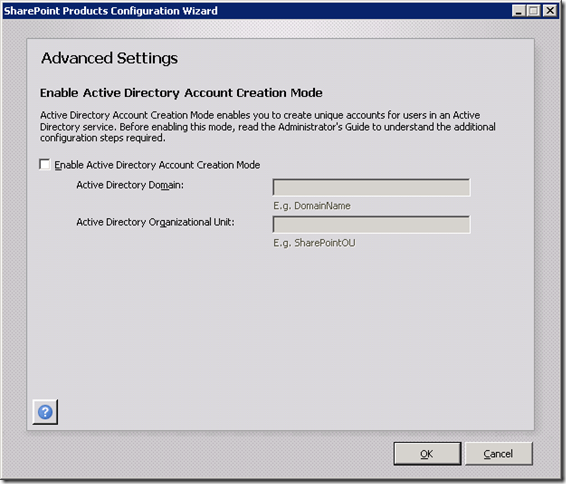
Click on Advanced Settings, you’ll see this dialog come up:
Leave the defaults unless you know what you’re doing. Click OK.
You’ll return to the Completing the SharePoint Products Configuration Wizard (shown previously). Click Next.
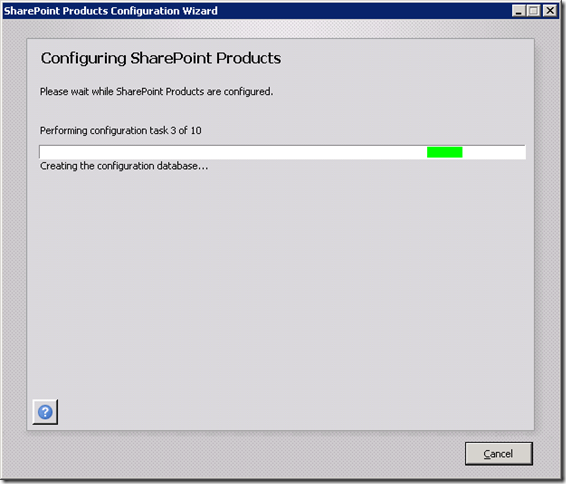
The configuration progress screen displays:
After configuration finished, the summary dialog is displayed:
A Central Administration site has been created for you. However, unlike other 2 scenarios, a Team Site Collection is NOT created for you on the root URL.
Click Finish
The Central Administration site is opened in the browser.
On your database server, 2 databases were created: SharePoint_Config and SharePoint_AdminContent_{GUID}.
On your local server, a WSS directory has been added to the inetpub\wwwroot directory. The virtual directory for the central administration site points to the sub-folder within the WSS directory.
Comments
Anonymous
August 29, 2013
Excellent Instructions!!!Anonymous
February 16, 2014
Hi tim I installed a windows server 2012 and then Installed sharepoint foundation 2013 . this is my first time to try sharepoint . now I want to configur it . when I select connect to exisiting server I don't know what the server name is that I must enter ? or if Iwant to select create a new server what is the server name to enter and then what is the user name and password ? I'm loggin to my windows server with administrator account now . please help me how can I create a username and server name to create a new server farm and how to connect to it with sharepoint foundation ? Great thanks Best regards : Raha


