Microsoft Dynamics CRM 2011 - Adding a New Custom Ribbon Button
One of the best new features of CRM 2011 has to be "The Ribbon". CRM 2011 Ribbon is customizable. We can add custom buttons, add events to buttons, hide/unhide buttons, enable/disable buttons, add button groups, etc.
A custom ribbon button could be used in following scenarios:
- There is a requirement for some user interactivity.
- If there is a requirement to display additional information about a record by simply clicking a button
- If there is a requirement to execute business logic for a record by simply clicking a button
In this blog I will show how to add a new custom ribbon button to a custom entity form.
I will add a custom ribbon button labelled "Revenue" on one of my custom entity form. The custom entity is called "Movie". This entity has movie records. After adding, when we open any movie record, the button will be displayed on the ribbon. This button is supposed to calculate and display the revenue for the movie. In this blog I will only show how to add a ribbon button.
The ribbon customization is inside the entity form xml. I will create an unmanaged solution to which I will add the "Movie" entity. I will export this solution, add the ribbon button code, import the solution and publish the changes. The movie record will then display the new ribbon button.
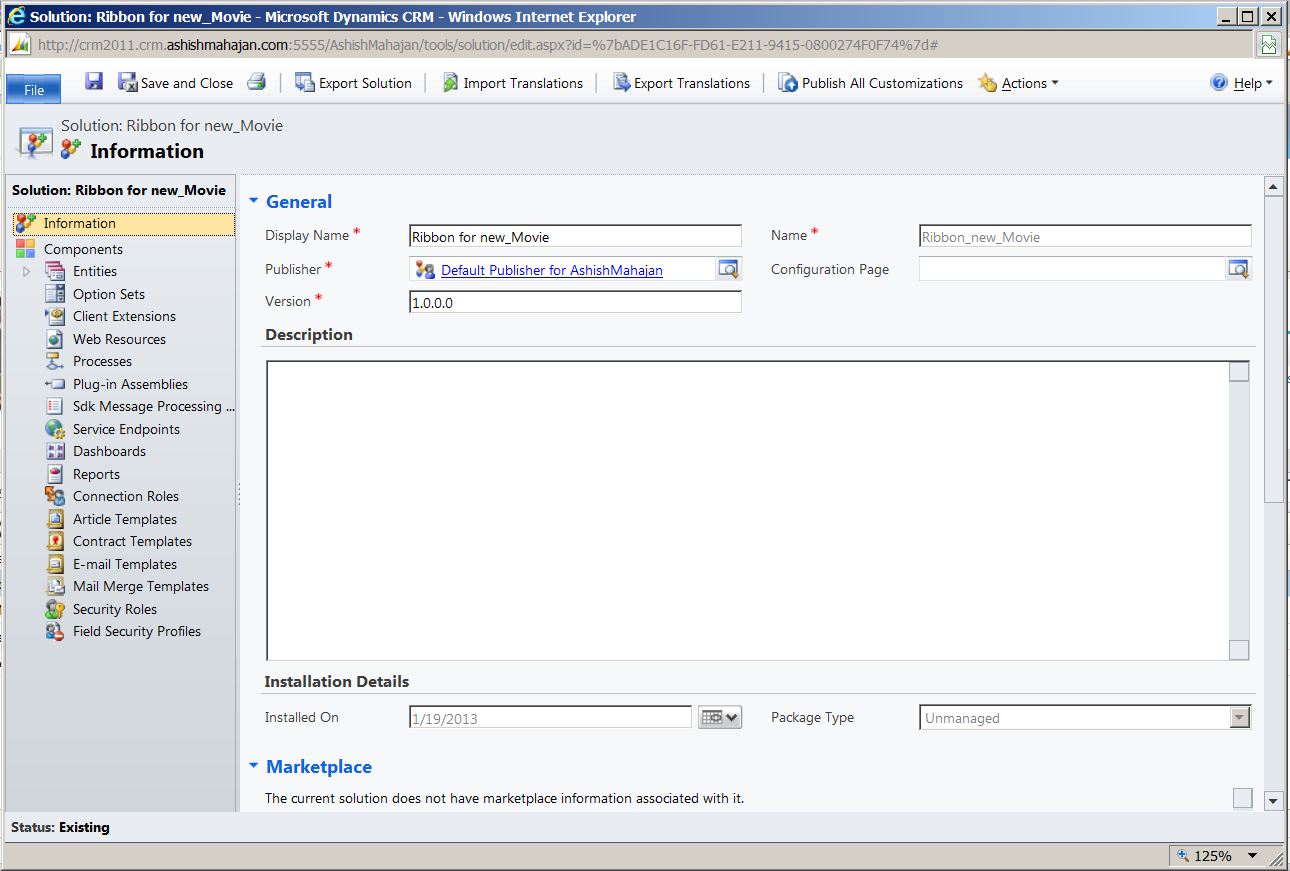
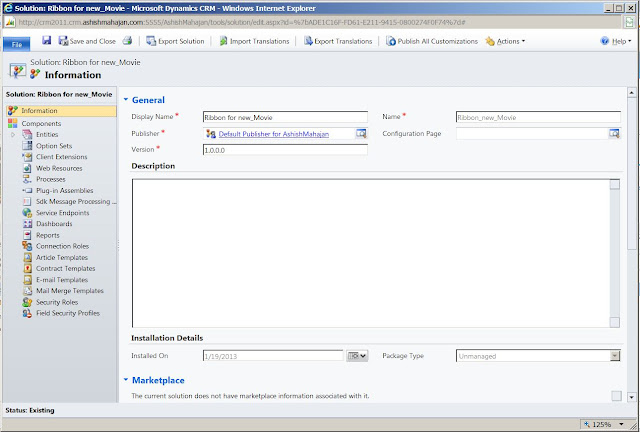
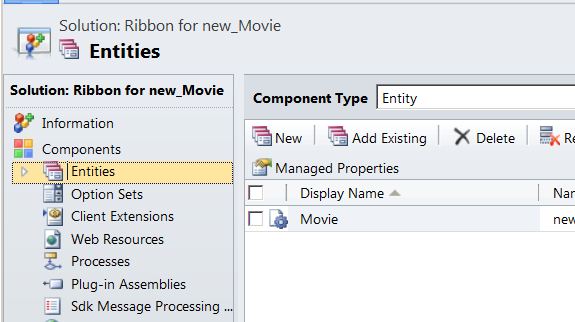
- I will create a new unmanaged solution called "Ribbon_new_Movie".
http://2.bp.blogspot.com/-V-fZPBtW7WM/UPpc01hGEBI/AAAAAAAAApA/Q3dkpsUHzH0/s640/Unmanaged+Solution.JPG |
Unmanaged Solution |
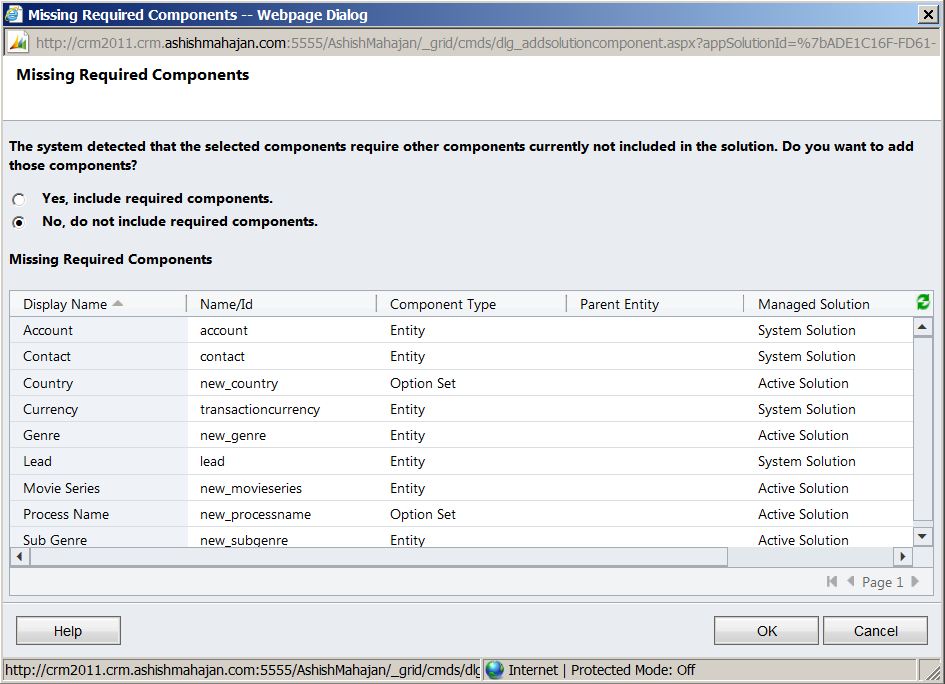
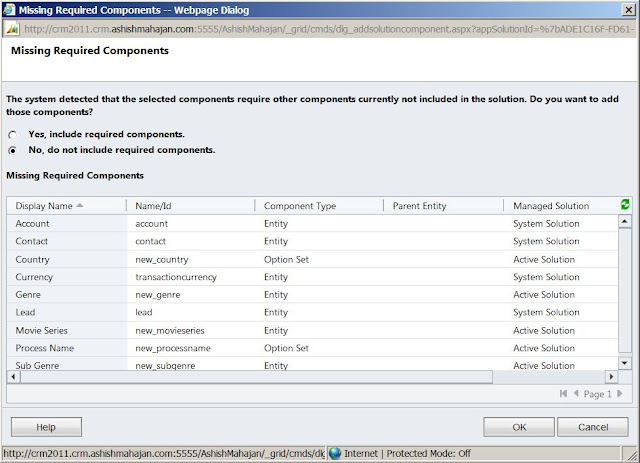
2) In this solution add the existing entity "Movie". Select "No" at "Missing Required Components" screen. We are only interested in the required entity "Movie".
http://3.bp.blogspot.com/-6SvrvSNjr1U/UPsrM2McDxI/AAAAAAAAAro/0LyVnqwkjdc/s640/Include+Required+Components.JPG |
Select "No" to Missing Required Components |
http://1.bp.blogspot.com/-1sjnxDE5zb8/UPpenMOdPaI/AAAAAAAAApo/B0amjef2rng/s1600/Add+Movie+Entity+to+the+Unmanaged+Solution.JPG |
Add "Movie" Entity to the Unmanaged Solution |
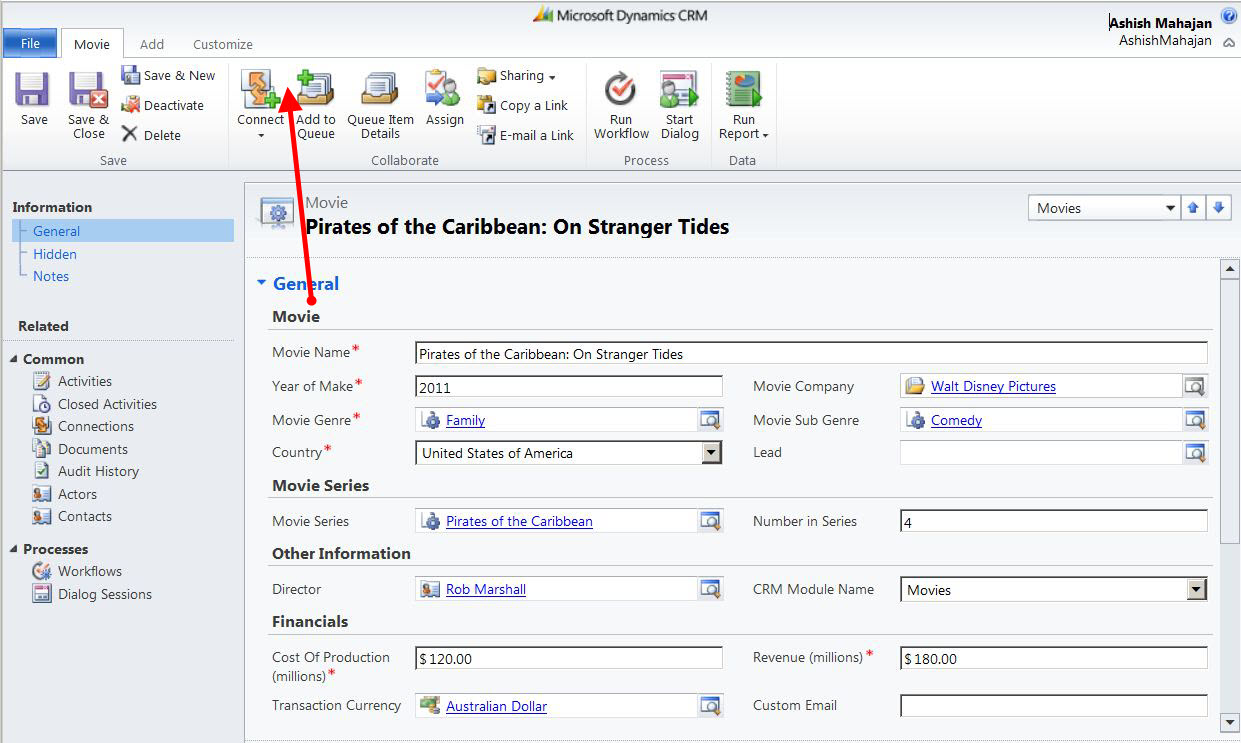
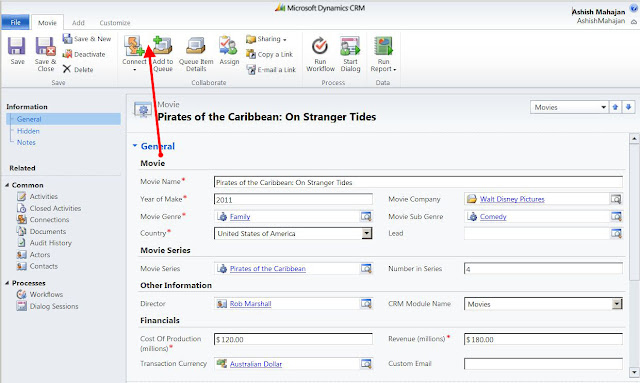
3) Below is the "Movie" entity record form, before I add a new custom ribbon button. The red arrow is pointing to the place where the new ribbon button will be displayed.
http://1.bp.blogspot.com/-tKjNbPOzeAs/UPpp3D6BN9I/AAAAAAAAArI/tqvrvWNlvUw/s640/Entity+Movie+Record.JPG |
Entity "Movie" Record |
4) I will go to my Solutions and select unmanaged solution "Ribbon_new_Movie" to export. Click on the "Export" button.
http://4.bp.blogspot.com/-AtqcmgKyZ3I/UPstIfNJBVI/AAAAAAAAAsI/8H7QklAKXv0/s1600/Select+the+Solution+to+Export.JPG |
Select the Solution "Ribbon_new_Movie" to Export |
5) The solution export process will take you through various screens. I will display all the screens below. Make your selection as per what I have done below. At the end you will be asked to save your solution. I have saved the solution by its default name.
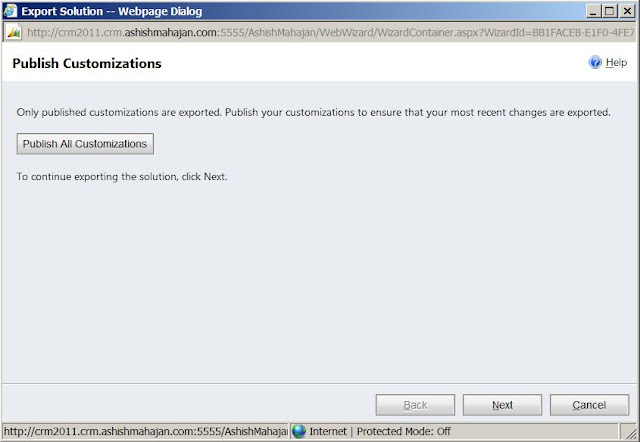
In below screen, I don't need to publish changes. So click "Next".
http://1.bp.blogspot.com/-MUMLC5IzjDk/UPsvEzXa5FI/AAAAAAAAAso/Pnc4LuwjcBw/s640/Export+Solution+Screen+1.JPG |
Export Solution Screen 1 |
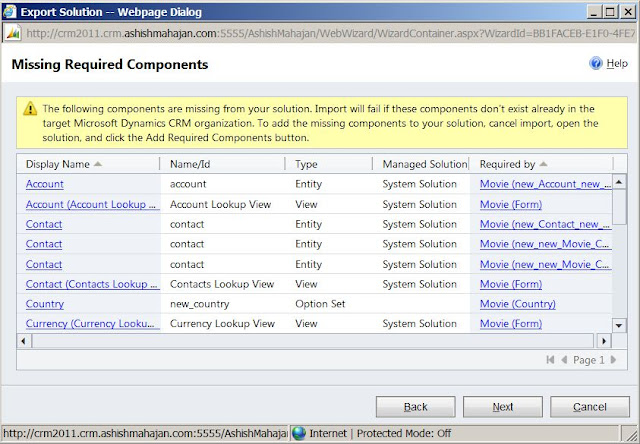
I don't need any related components. Ignore the warning and click "Next".
http://1.bp.blogspot.com/-3UWbp0hZsCs/UPsve8dRC-I/AAAAAAAAAsw/X7LGp2jNqVY/s640/Export+Solution+Screen+2.JPG |
Export Solution Screen 2 |
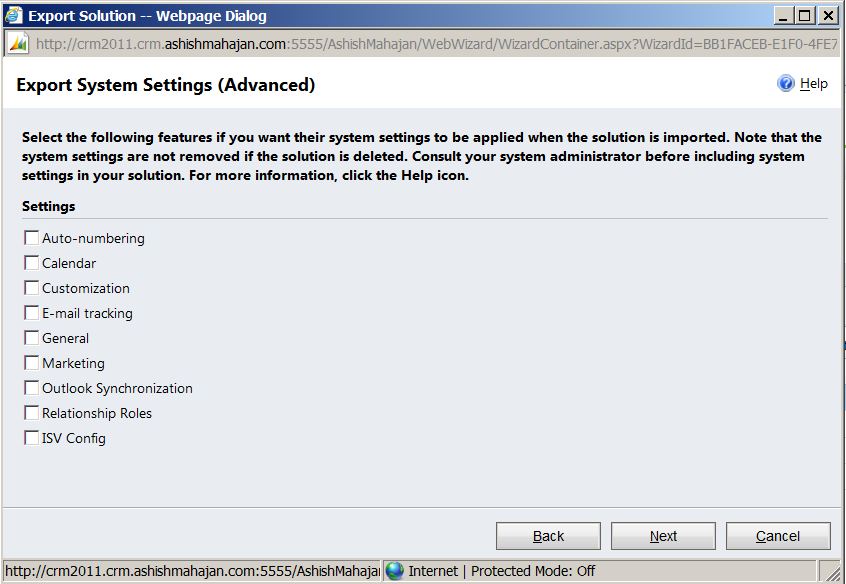
Don't select any advanced settings below as we don't need any. Click "Next".
http://4.bp.blogspot.com/-6K4m-xPR_bU/UPswSn4WdFI/AAAAAAAAAs8/N6wpEvgjE-M/s640/Export+Solution+Screen+3.JPG |
Export Solution Screen 3 |
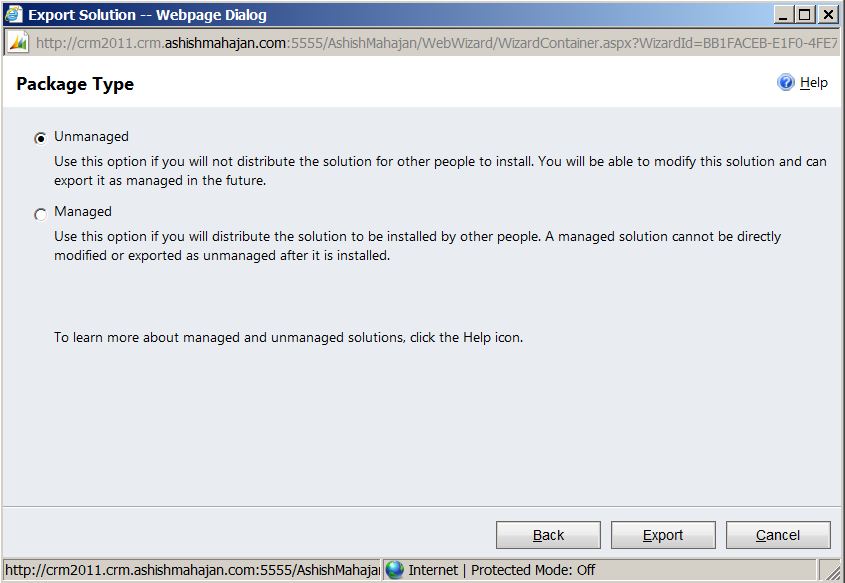
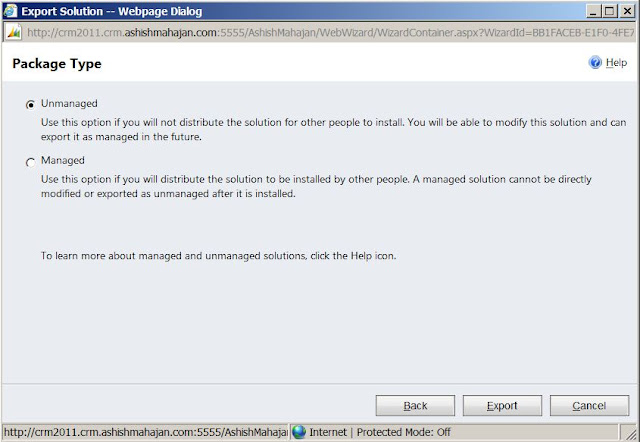
Since I am not interested in a managed solution, so I will keep the default "Unmanaged" selection. Click "Next".
http://1.bp.blogspot.com/-pPqzulReVcA/UPsyht0uwPI/AAAAAAAAAtw/JVcvp_Sb46w/s640/Export+Solution+Screen+4.JPG |
Export Solution Screen 4 |
I will save the solution by the default name in one of my folders. The solution is saved as a zip file.
http://1.bp.blogspot.com/-1cnsujn7FJE/UPs-ZlYq1oI/AAAAAAAAAuQ/BzS1TaQXv4c/s640/Export+Solution+Screen+5.JPG |
Export Solution Screen 5 |
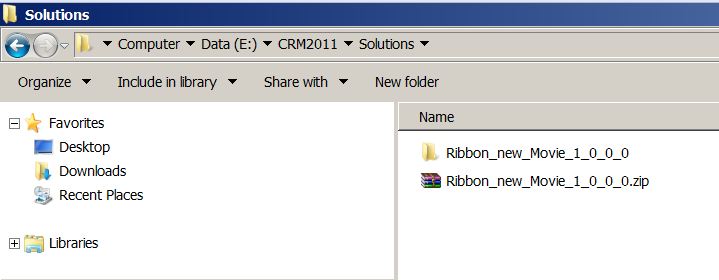
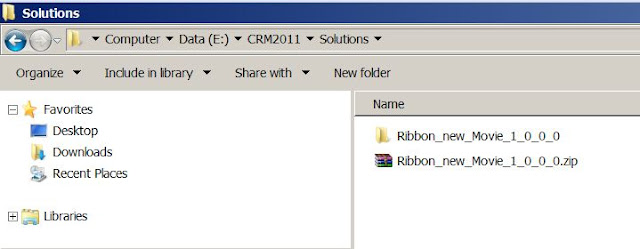
6) I will unzip the solution file in the same location.
http://3.bp.blogspot.com/-G-0CtStuiBA/UPtBkV_5DiI/AAAAAAAAAuw/wpWpmy2zwE0/s640/Unzip+File+Location.JPG |
Solution File Unzipped |
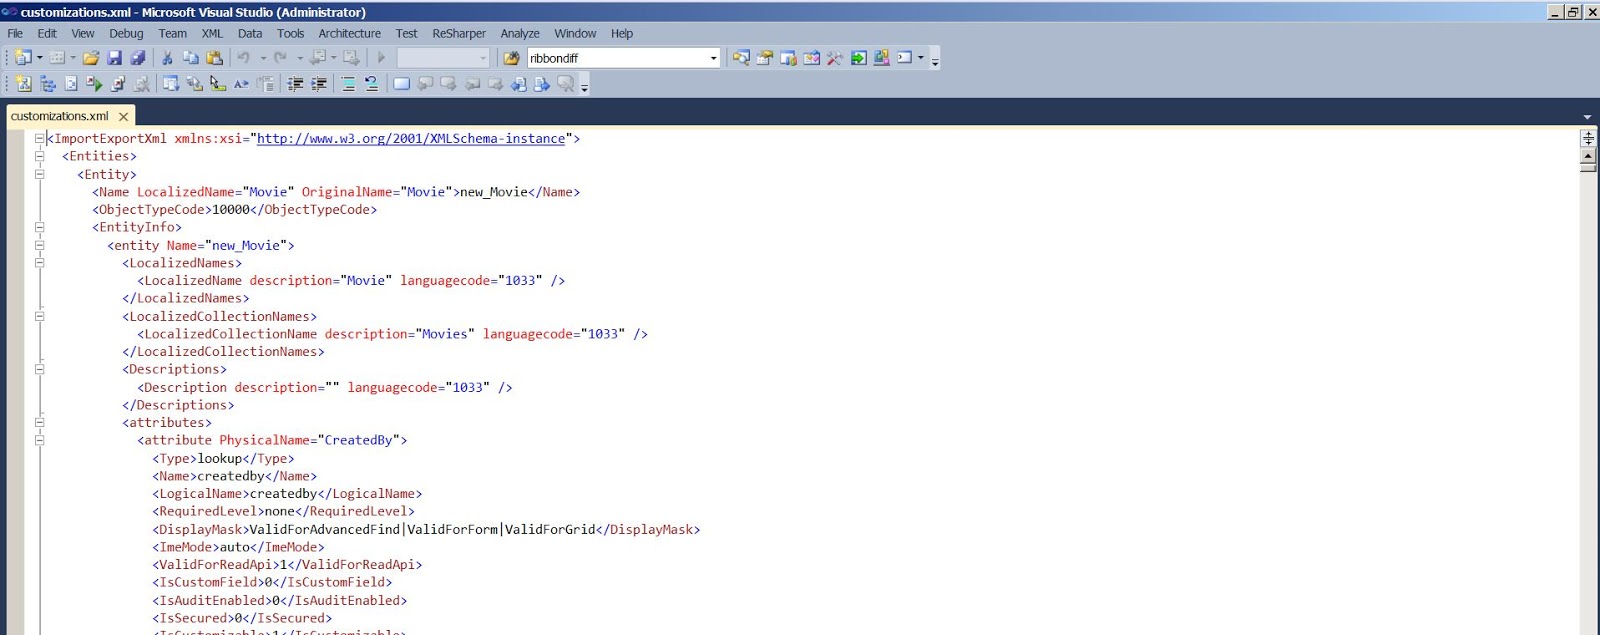
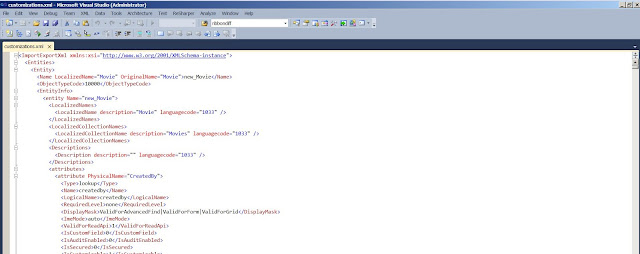
7) There are 3 files. We are interested in "customizations.xml". This XML file contains the code where we will add our custom ribbon button code.
You can open and modify this XML file in Visual Studio OR any XML editor OR any notepad of your choice. I am editing this in Visual Studio 2010 IDE.
http://4.bp.blogspot.com/-tl4OTBTsOPU/UPtC7mOCIAI/AAAAAAAAAvQ/RAzPViDgj1Q/s640/Visual+Studio+2012+IDE.JPG |
"customizations.xml" in Visual Studio 2012 |
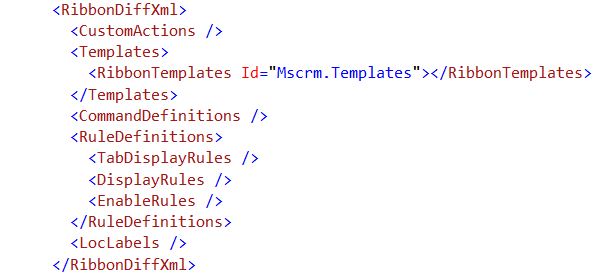
8) This file contains XML for the "Movie" entity form. This form code contains a section where we can enhance and customize the ribbon. Search for the markup in the code <RibbonDiffXml>. The code section between <RibbonDiffXml> and </RibbonDiffXml> is where we can customize the Ribbon.
If we open this section without any previous customizations done, it will look like:
http://2.bp.blogspot.com/-0urs7mjrhRQ/UPtZBH2mi7I/AAAAAAAAAvw/nAjbiqkBgFk/s1600/RibbonDiffXML.JPG |
RibbonDiffXml Code |
The RibbonDiffXml is named as such because any code added here is the Ribbon Difference on top of the out of the box Ribbon. It has various markups like CustomActions, Templates, CommandDefinitions, RuleDefinitions, LocLabels and RibbonNotSupported.
<CustomActions>: We can define our custom buttons.
<Templates>: Define a ribbon template.
<CommandDefinitions>: We can define the rules ID and action web resources.
<RuleDefinitions>: We can define the actual rules to enable/disable or hide/unhide buttons.
<LocLabels>: Can contain the LocLabel elements.
<RibbonNotSupported>: Indicates that the entity does not support the ribbon.
9) I will add the code for a new custom ribbon button. The final code between the RibbonDiffXml markup will look something like:
http://1.bp.blogspot.com/-XNSOKVgch9E/UPuaL-YYSTI/AAAAAAAAAww/kBQ44gsgqq8/s1600/Final+Code+after+Adding+a+Custom+Ribbon+Button.JPG |
Final Code after Adding a Custom Ribbon Button |
I have defined a custom action. In this I define where to display the button. I have defined the location of the button as Location = "Mscrm.Form.new_movie.MainTab.Collaborate.Controls._children". This means the custom button will be displayed on the main tab of the form and within the "Collaborate" group.
I have defined the actual button inside the "CommandUIDefinition" markup. Inside button I have defined various attributes. One of them is Command = "Mscrm.HomepageGrid.new_movie.MovieRevenue.Command". In command we can define the display rules and actions around the button. For this blog I have just defined a placeholder value and not defining any actual rule. This means the custom button will be displayed and active at all times but will do nothing when clicked.
The "LabelText" defines the button display name. The text in "ToolTipTitle" and "ToolTipDescription" will be displayed when you take your mouse over the button. They describe what the button does.
Inside "Image16by16" and "Image32by32" we can define the image icons for the button. In CRM there is a folder "_imgs" inside the CRM installation directory. In my case the location of "_imgs" is the default location at "C:\Program Files\Microsoft Dynamics CRM\CRMWeb\imgs". This folder contains icon images used by CRM. You can either select any image from there or use your own custom image. I have selected already present icon images "InvoicePaid_16" and "InvoicePaid_32".
I have also defined a placeholder for rules inside "CommandDefinitions" and "CommandDefinition". The Id="Mscrm.HomepageGrid.new_movie.MovieRevenue.Command" has the same value which I had defined in button as Command = "Mscrm.HomepageGrid.new_movie.MovieRevenue.Command". This way we can bind the rules and actions to the button. For this blog I have just created placeholder and not creating any rules and actions. I have created this placeholder to show where we can enhance the button functionality. I will write blogs in the future to show how to enable/disable, hide/unhide and fire JScript on a custom ribbon button.
10) After changing the XML in the file "customizations.xml" now we have to import it back. Include this "customizations.xml" file from unzipped location back to the zipped file. We can open the zipped file, drag and drop the changed file back in.
Now import this changed zip file back into CRM.
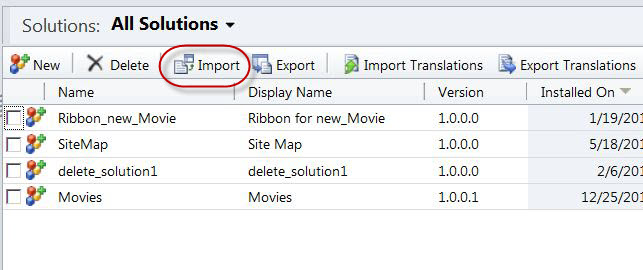
Go to CRM Solutions and click Import.
http://1.bp.blogspot.com/-Bp01UdI7qpI/UPurbfiVHYI/AAAAAAAAAxQ/7nYlD4mERxA/s1600/Import+Solution.JPG |
Import the Solution |
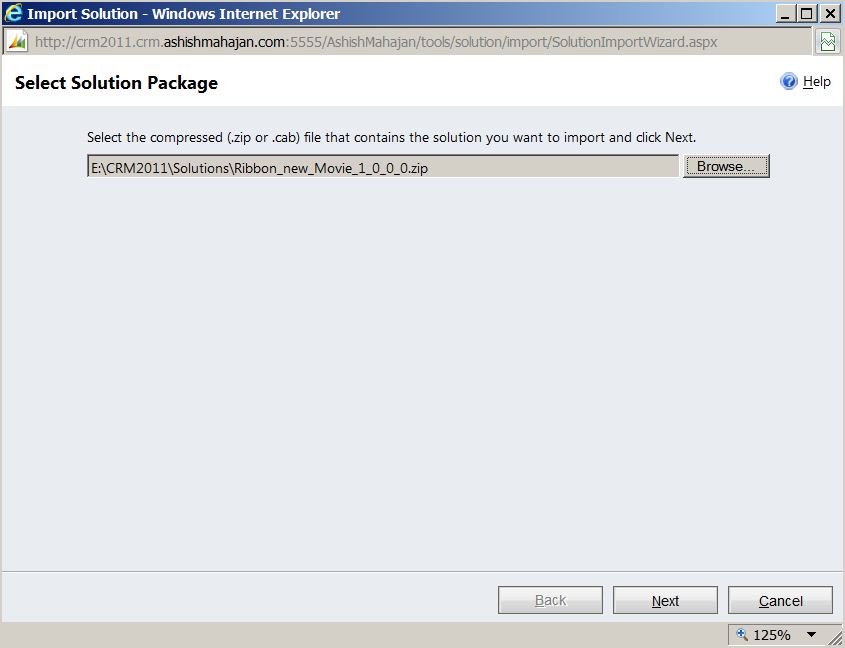
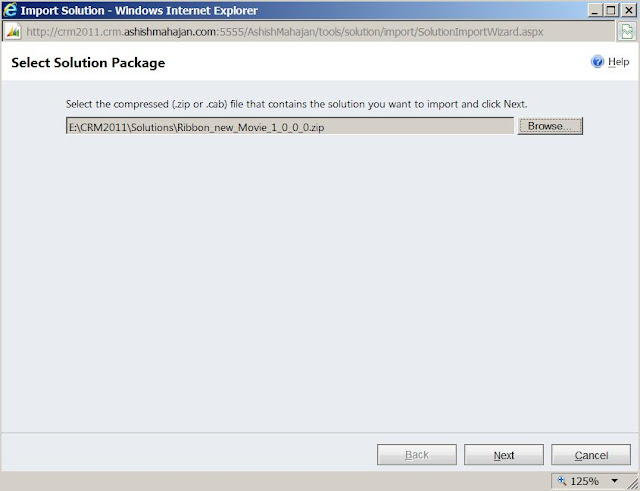
I have pasted the screenshots for every screen in the import process. Select the unmanaged zip file to import
http://3.bp.blogspot.com/-VwRaHJ9_Se4/UPu1R7yGBUI/AAAAAAAAAxw/PFpBAL3PRCs/s640/Import+Solution+Screen+1.JPG |
Import Solution Screen 1 |
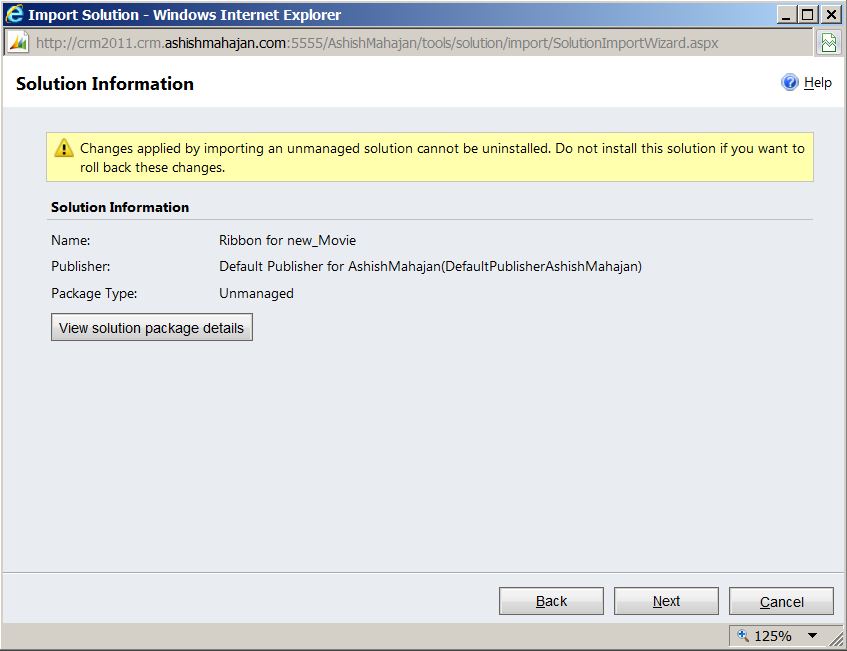
Ignore the warning. This warning indicates we cannot uninstall this solution. Since there is no such requirement, so we can ignore this warning. Click "Next".
http://3.bp.blogspot.com/-BWVhRElltUo/UPu1m8F3l6I/AAAAAAAAAx4/HfdTvSW2xXk/s640/Import+Solution+Screen+2.JPG |
Import Solution Screen 2 |
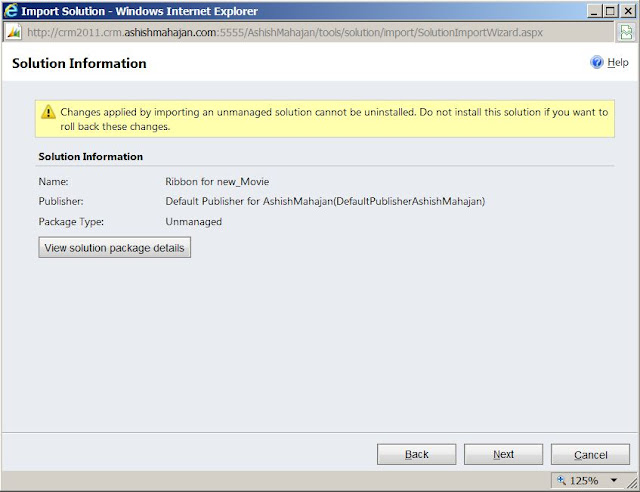
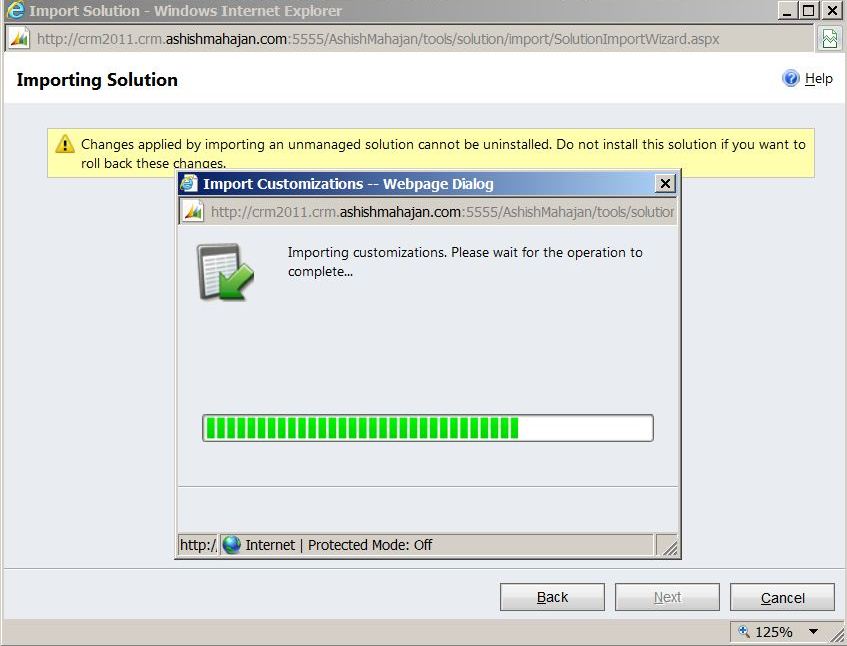
This will start the import process.
http://4.bp.blogspot.com/-_uXvdtSnsxM/UPu26w8cpQI/AAAAAAAAAyg/TvkakNm7YPg/s640/Import+Solution+Screen+3.JPG |
Import Solution Screen 3 |
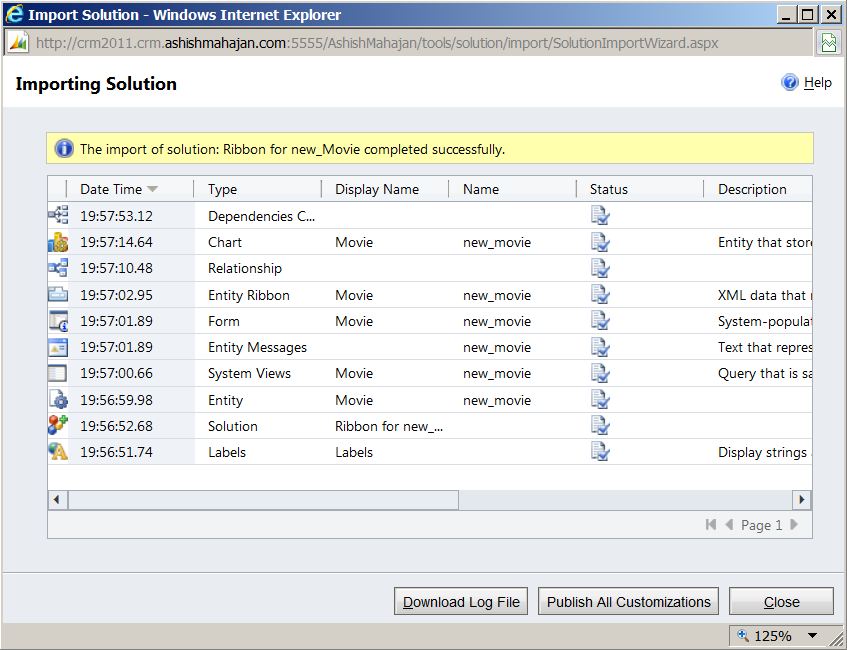
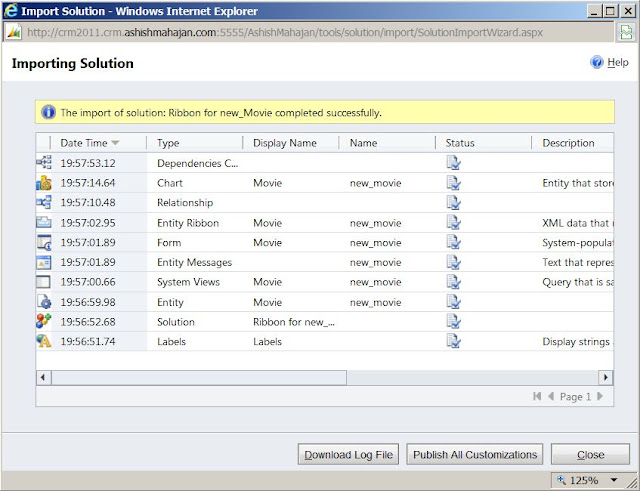
This screen shows us that the solution import process has been completed successfully.
http://3.bp.blogspot.com/-OtSsr6Y8RFI/UPu3VibKHBI/AAAAAAAAAyw/-F-7zyxV-NU/s640/Import+Solution+Screen+4.JPG |
Import Solution Screen 4 |
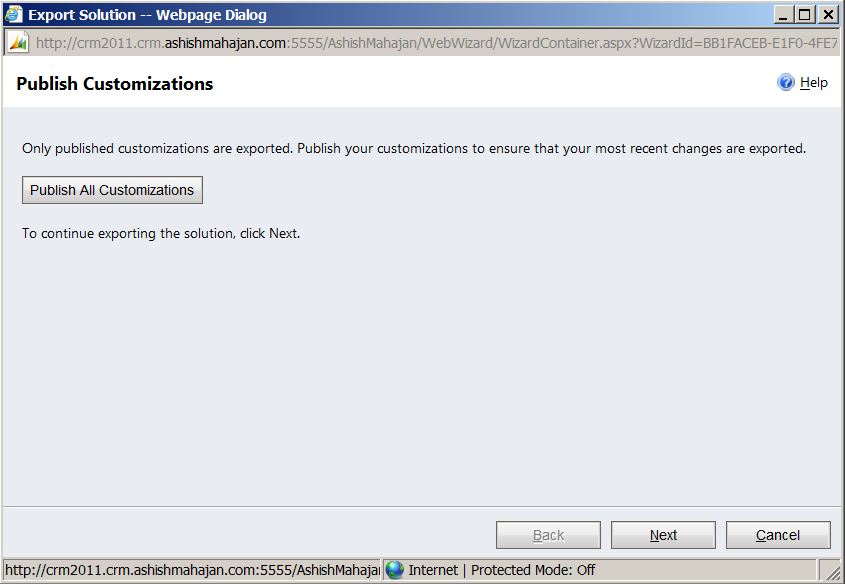
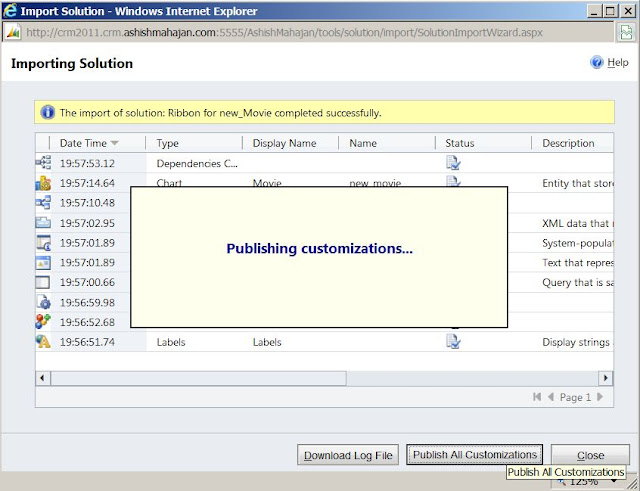
Click "Publish All Customizations". This will publish all the changes which I did on the "Movie" entity form.
http://2.bp.blogspot.com/-eq38MdAfgKw/UPu35o2VhjI/AAAAAAAAAy4/cjko01JLPnE/s640/Import+Solution+Screen+5.JPG |
Import Solution Screen 5 |
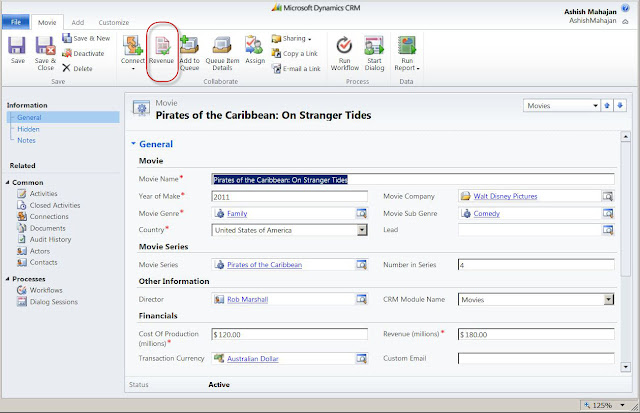
11) When I open the "Movie" entity form, the new custom button "Revenue" appears where I had intended it to be.
http://4.bp.blogspot.com/-ixrzxOouKFA/UPu5ygJO5PI/AAAAAAAAAzo/r1AlBnVCvco/s640/New+Custom+Ribbon+Button+Added+1.JPG |
New Custom Ribbon Button "Revenue" Added |
If I take my mouse over this button I can see the text values I added for "ToolTipTitle" and "ToolTipDescription" in the XML file.
http://2.bp.blogspot.com/-nGls3cnOG9s/UPu7LLtJMlI/AAAAAAAAA0I/N7Fn4-7r4xc/s1600/New+Custom+Ribbon+Button+Added+2.jpg |
New Custom Ribbon Button "Revenue" |
I hope this blog about 'Microsoft Dynamics CRM 2011 - Adding a new Custom Ribbon Button' was informative. Please feel free to leave your comments.