Configuring a Two Node Windows Server 2008 R2 Failover Cluster on Hyper V using iSCSI
The prerequisites for creating a cluster would be two machines running Windows Server 2008 R2 connected to a domain.
In this case, I have set up two Virtual Machines using Hyper V. They are named SQL2008A and SQL2008B (I intend to set up a SQL Server 2008 cluster on these machines, hence the naming convention). These machines are connected to a domain. Machine dc is the domain controller.
In addition to the machines SQL2008A and SQL2008B, we would also require a separate machine which would host the Shared Drive. We can use the Domain Controller too, to host the Shared Drive. We have hosted the Shared Drive on the machine DC for our example.
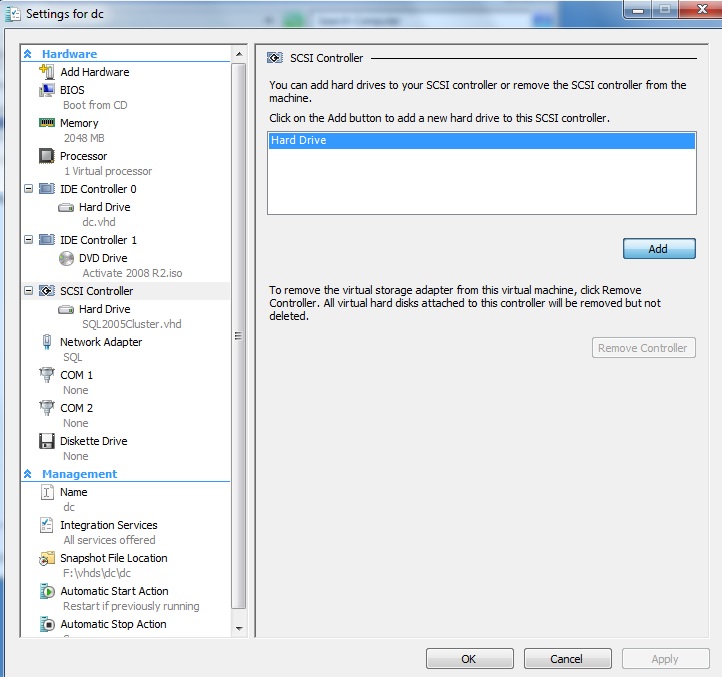
Very first, we would go to the Settings of the machine which would be hosting the Shared iSCSI drive, which in our case is the DC (the Domain Controller)

A new window with the Settings for the machine would open. Remember, we are making use of iSCSI here. So we would select the SCSI Controller and on the right hand side click on Hard Drive and then click on Add.
You would then be prompted for the vhd file. You can either browse one or create a new one by clicking new.
Here, since I don't have a vhd that was previously created, I clicked on New.

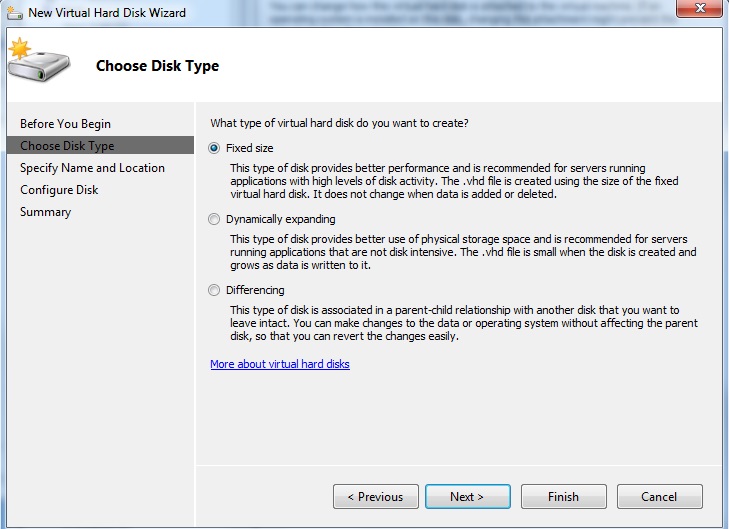
We are presented with the three types of disks. We can select one of them. I am going to select Fixed size as it is known to provide better performance.
You may then provide an appropriate name for the vhd path and a path for the same.

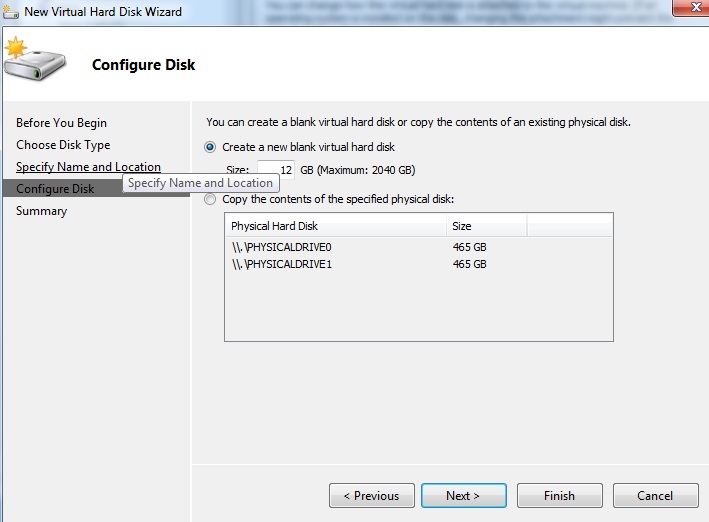
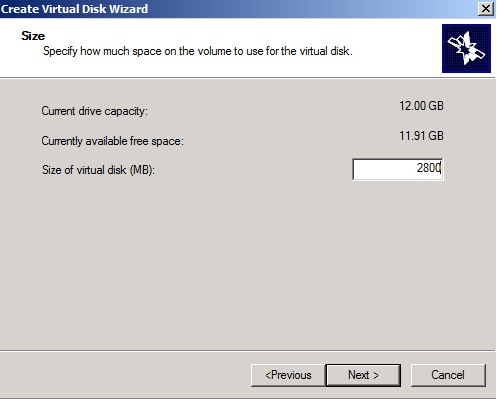
Click on Next and you would be prompted for the size of the vhd. This would eventually be the size of the Shared Drive(s). Keep in mind that we may have to provide approximately 2.5 to 3 GB for the Quorum for the cluster.
I am selecting 12 Gb as I am aware that this is a testing lab for a SQL Server 2008 clustered instance and not going to host a large number of databases.
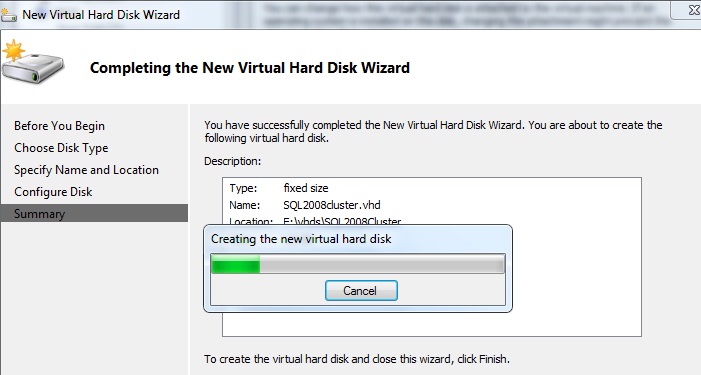
Click Next and Click Finish. Creation of the disk may take a while.
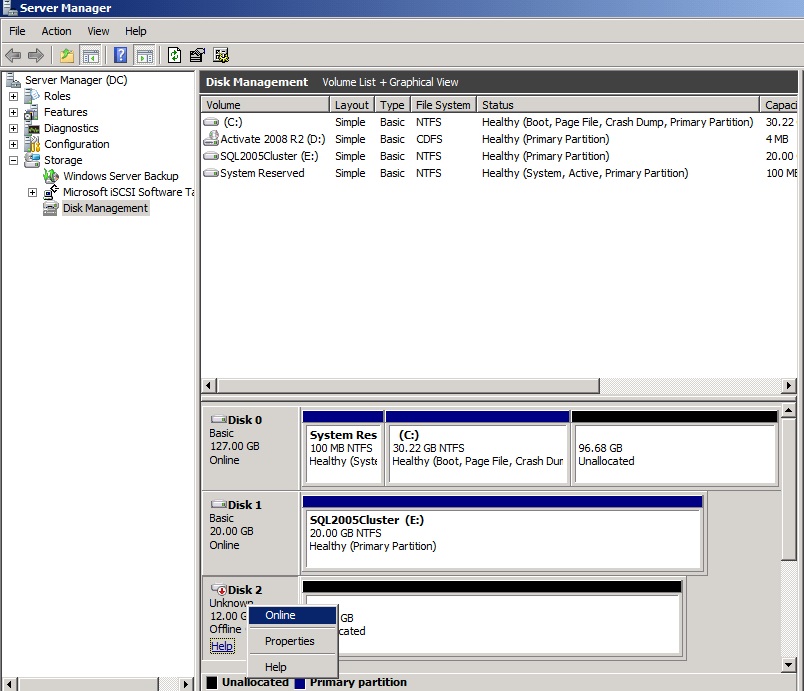
Once the disk is created, go to the server manager and bring the disk online.
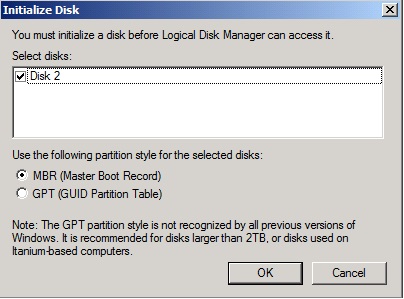
Initialize it.

I would not make any change. MBR should be good.
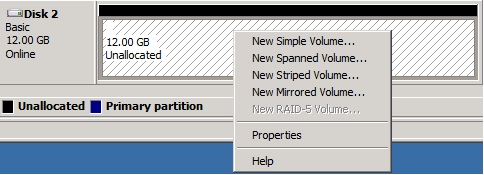
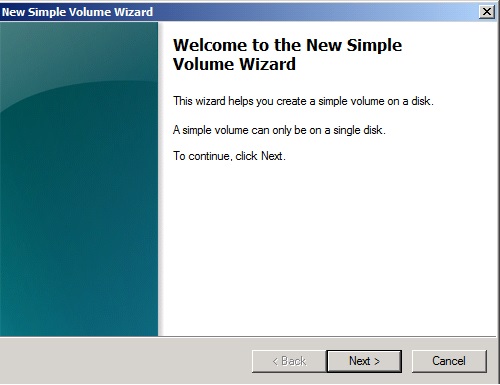
I would then create a New Simple Volume.
Also, we would require the iSCSI Target software to point to the Nodes which would connect to the Shared Drive.
While Windows Server 2008 R2 comes with iSCSI Initiator, we would have to install iSCSI Target Software.
The iSCSI Software Target can be downloaded from the link http://www.microsoft.com/en-in/download/details.aspx?id=19867
This is how the interface of the iSCSI target software would look like.
(I have already added virtual devices for one of the clusters. The Virtual Disk(s) 0, 1 and 2 which we see here belong to the existing cluster.)

We would need to create new iSCSI Targets.
For this we would need to get an important piece of information from the Nodes which would be part of the cluster i.e SQL2008A and SQL2008B.
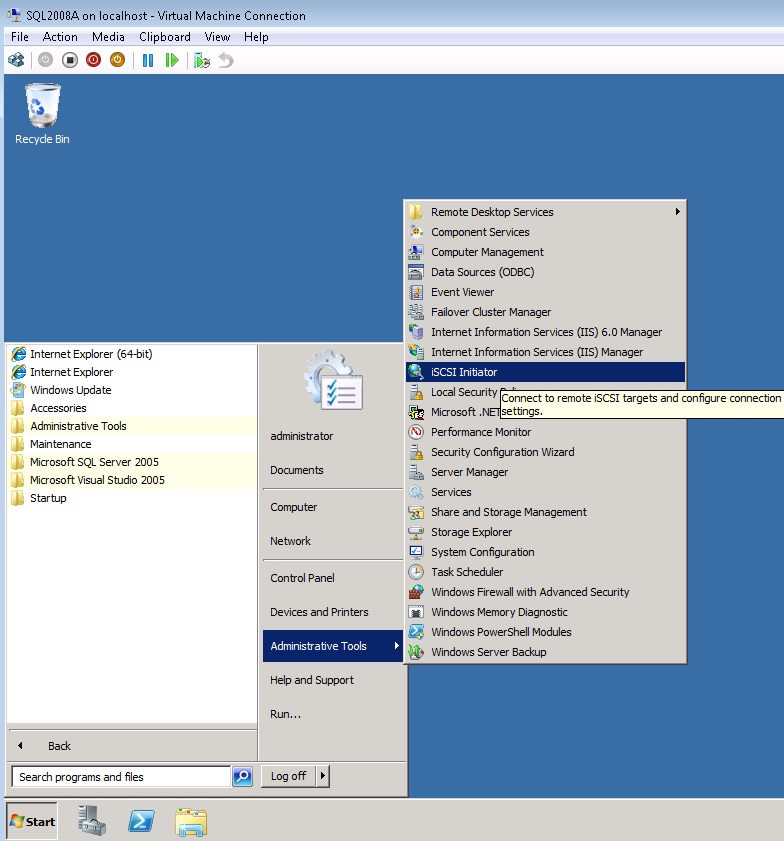
Click on Start >> Administrative Tools >> iSCSI Initiator.
We would get the page iSCSI Initiator Properties like as follows :
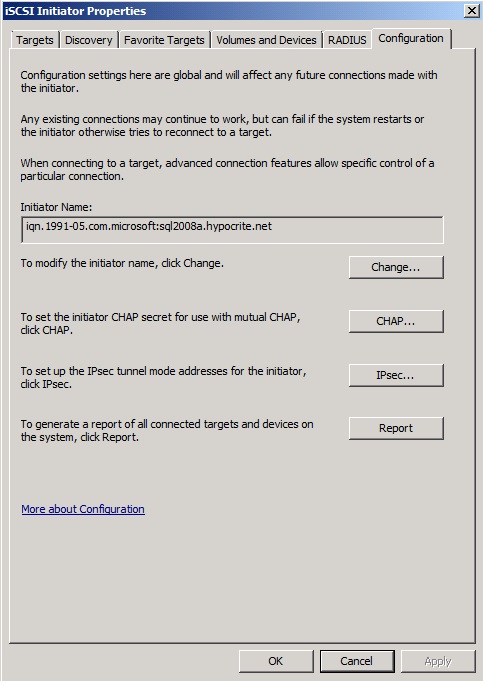
In the Configuration Tab, we would find the Initiator Name. This is the important piece of information we need.
Now go back to the Machine hosting the iSCSI Shared drive (in our case the DC).
In the iSCSI Software Target Window, right click on the iSCSI Targets and click on "Create iSCSI Target.

Create iSCSI Target Wizard would open. Click Next. Enter the iSCSI Target Name and the description.

Once you click on Next, you would be prompted for the IQN identifier. Over here we would need to enter the Initiator Name that we had obtained from the machine SQL2008A i.e. the machine that would be part of the cluster.

Click on Next.
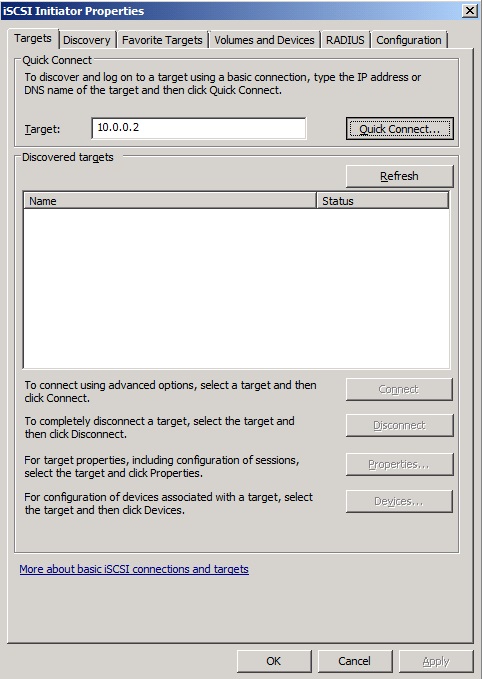
Now let's go back to the machine SQL2008A. Click on the Targets Tab in the iSCSI Initiator Properties.
You may enter the IP Address or the name of the Machine which is hosting the iSCSI Shared Drive. Then Click on "Quick Connect"
Click on Refresh and you would see that target is connected to the DC.
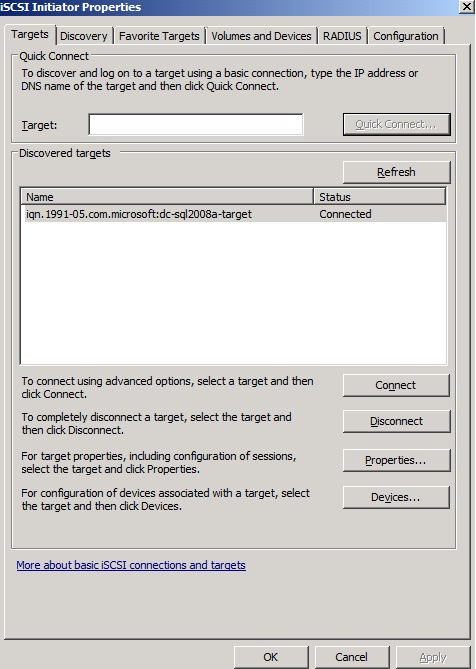
Perform the same set of steps with the machine SQL2008B. And the connection should be visible like as below

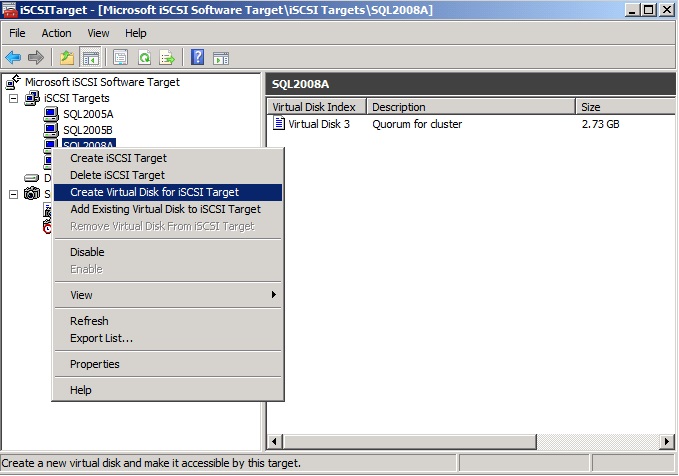
Now go back to the DC (Machine hosting the iSCSI Shared Drive). In the iSCSI Target Software, Right click on the target SQL2008A and click on Create Virtual Disk for iSCSI Target.
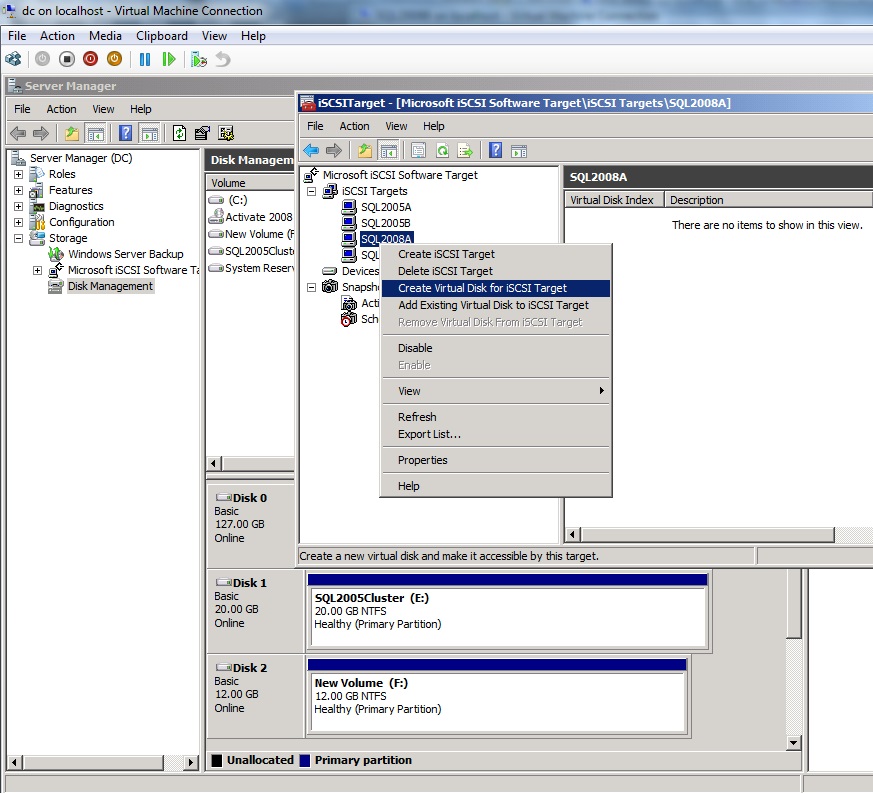
Once this is done, you would get a Create Virtual Disk Wizard. The hosted iSCSI Shared drive appears as the F Drive on the DC. Now we would have to create separate vhds on this F Drive. Each vhd that would be created within the F drive on the DC would appear to the iSCSI targets as a separate disk drive. Now, I am configuring the first vhd as Quorum.vhd which would correspondingly be visible to the Targets as Quorum drive.
Please refer to the following TechNet Article for more information on how to configure the Quorum : http://technet.microsoft.com/en-us/library/cc770620%28v=ws.10%29.aspx

The Quorum would not require a huge space, you can assign space as per your requirements.

Providing the description
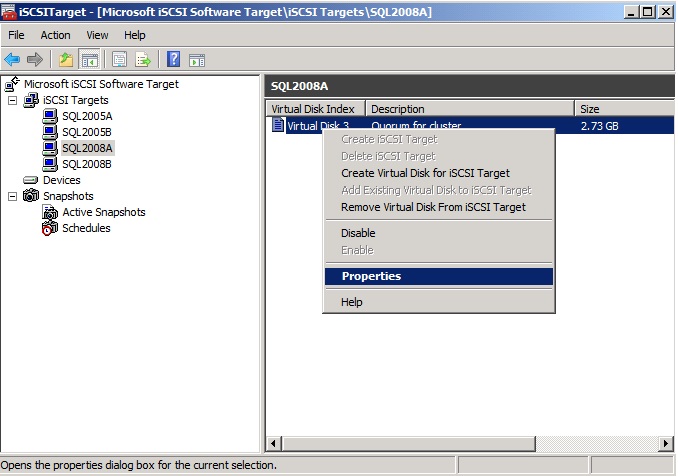
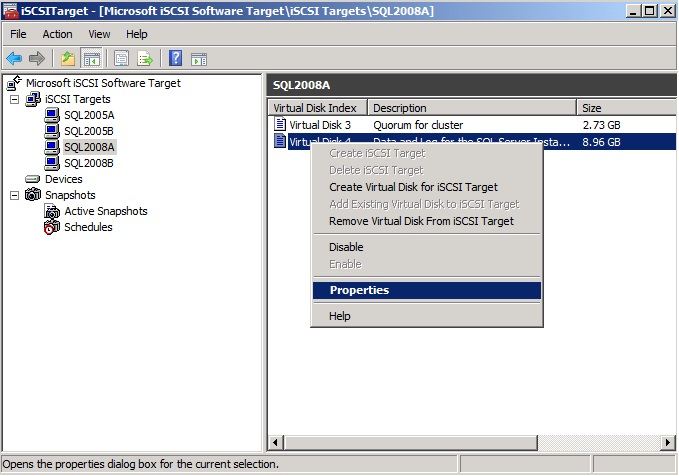
Once this is done, the Quorum would then be visible in the iSCSI software Target console on the Right hand Side. Observe, the Virtual Disk Index is 3. Virtual Disks 0,1 and 2 were for the previous cluster consisting of the nodes SQL2005A and SQL2005B.
Right click on the Virtual Disk and click on Properties.
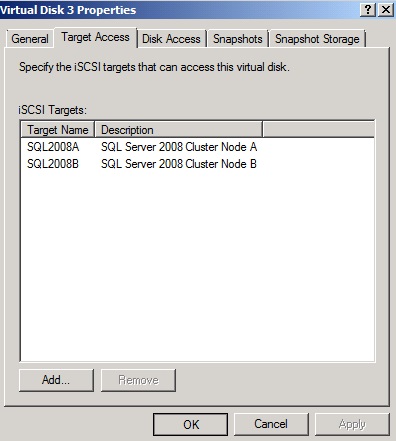
In the Properties Window, click on the 'Target Access' Tab. We see just one of the target nodes as the possible owners of the Quorum drive.
Click on Add and a new window with all the available Targets for this machine (hosting iSCSI Shared disk drive) would open.
Select the node carefully. In our case, it would be SQL2008B.

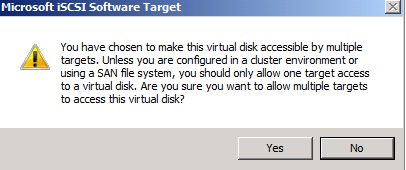
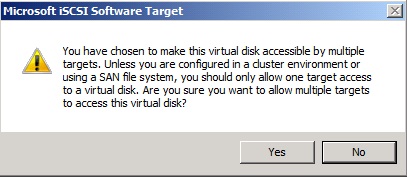
Once you click on OK, we would see the below dialogue box seeking confirmation for allowing the virtual disk to be accessible by multiple targets.
Click on Yes.
You would then see that the target SQL2008B is listed as the possible owners. Click on OK.
Now let's create another drive for the cluster. I intend to use this drive for the Databases and the corresponding log files for the SQL Server instance. The procedure to add a new drive would be similar. Right click on the target SQL2008A. Click on Create Virtual Disk for iSCSI Target.
I select the F drive again, we still have a substantial amount of space left on the F drive. I create the vhd as DL.vhd to indicate (Data and logs).
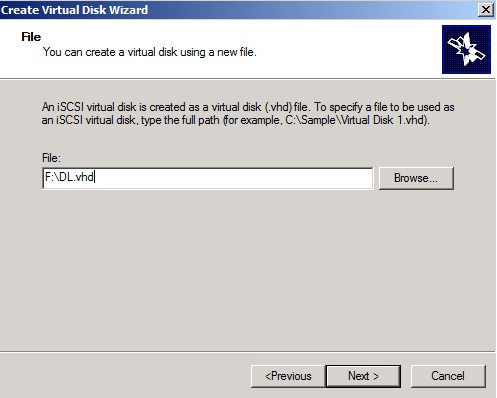
The goal would be to try and use most of the space available on the drive to ensure that we don't waste any disk space.

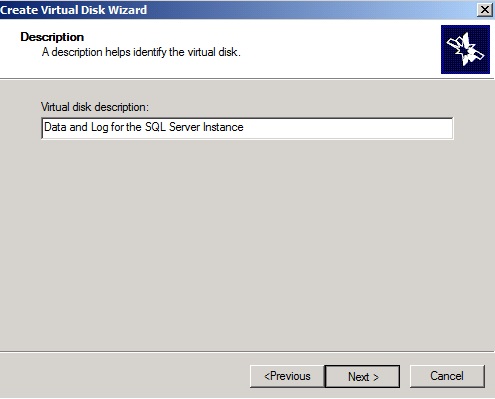
Provide an appropriate description.
On the Right Had Side, this new disk will appear with the Virtual Disk Index as 4.
Right Click on it and click on Properties.
Click on the Target Access Tab and click on Add.
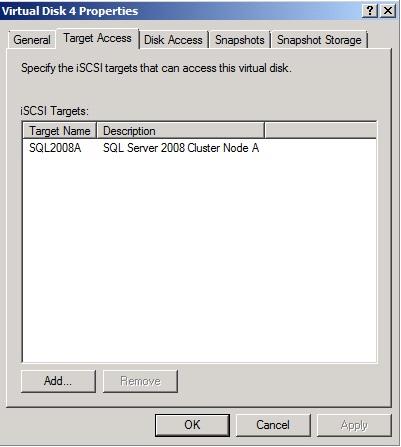
Select The node SQL2008B and click On Ok

Click Yes, for Confirmation in the dialogue box
Ensure that the Target Node SQL2008B is listed as a possible owner of the disk drive that was created.

We would now need to initialize these newly created drives on the Target Nodes. Let's go to the Node SQL2008A. You can either Start the Server Manager or Right Click On My Computer and click on Manage.
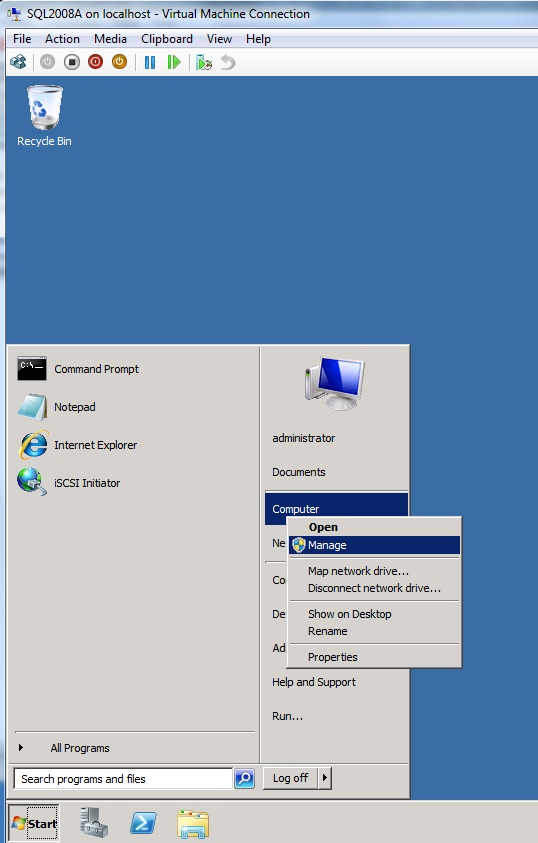
Browse to Storage and Disk Management
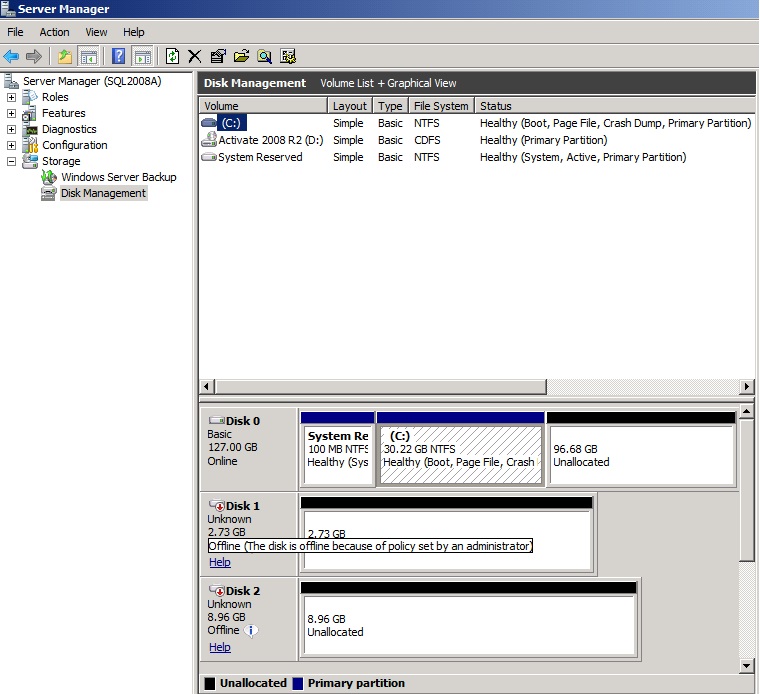
Bring the disks online, Initialize them and format them as Simple Volume Drives.
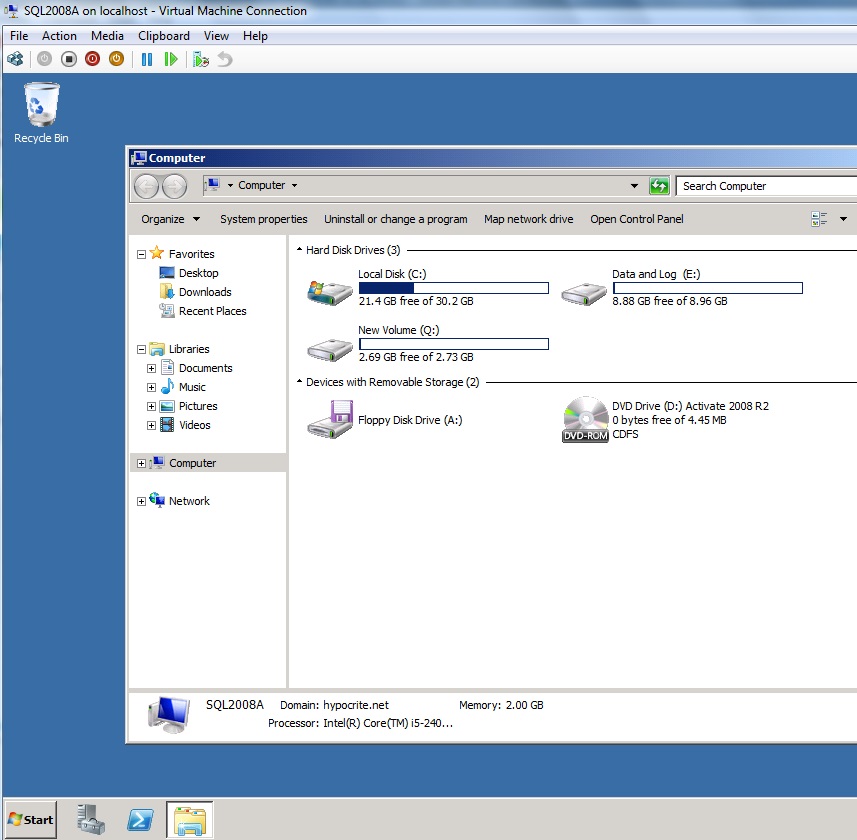
I have named the Data and Log Drive as E Drive and the Quorum as Q drive. Now, while an additional Heartbeat network is not a mandate, it provides additional stability. I am adding an additional Network Card for each of the Target nodes.
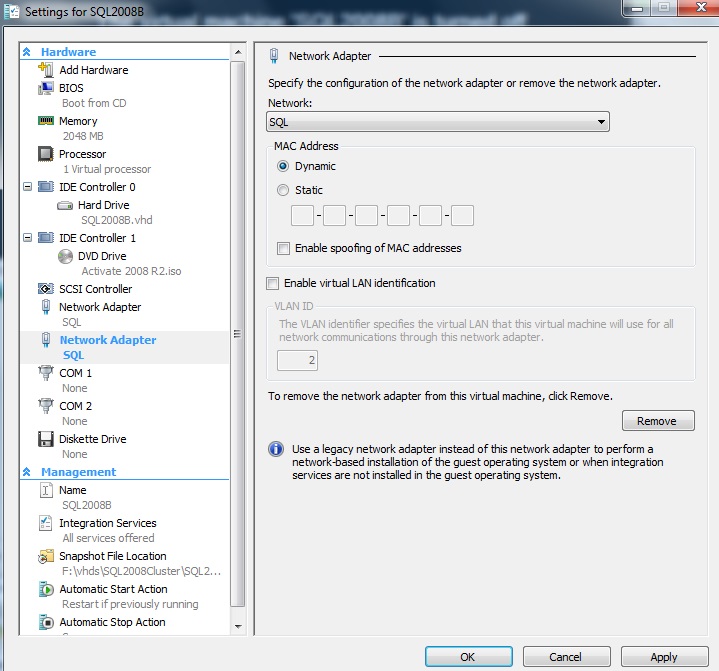
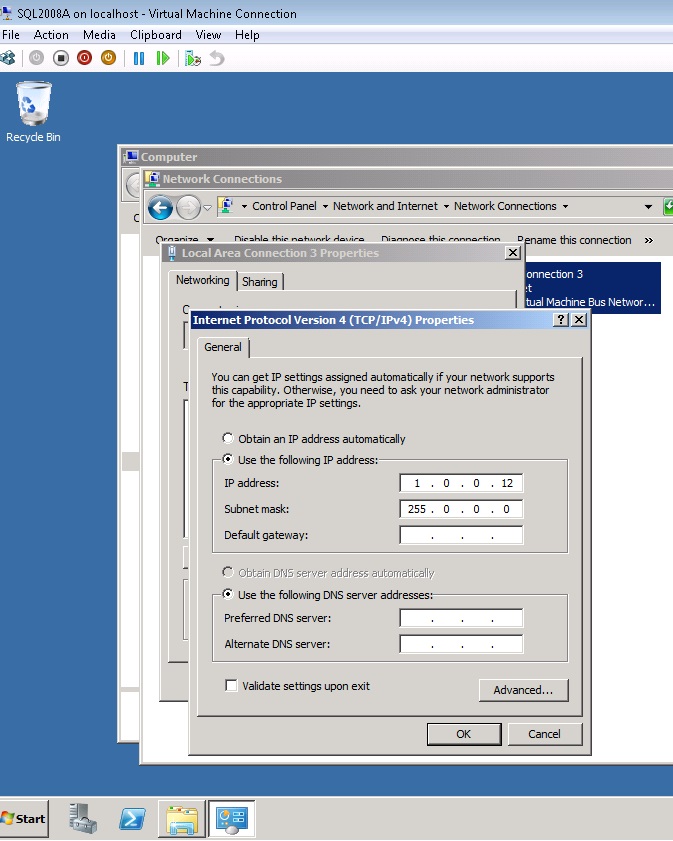
You can then provide IP Addresses to these new Network Cards arbitrarily such that they belong to the same Subnet. It's not mandatory that they have to be in the same subnet as that of the primary network cards.
Here's the IP address for Node A
And for Node B
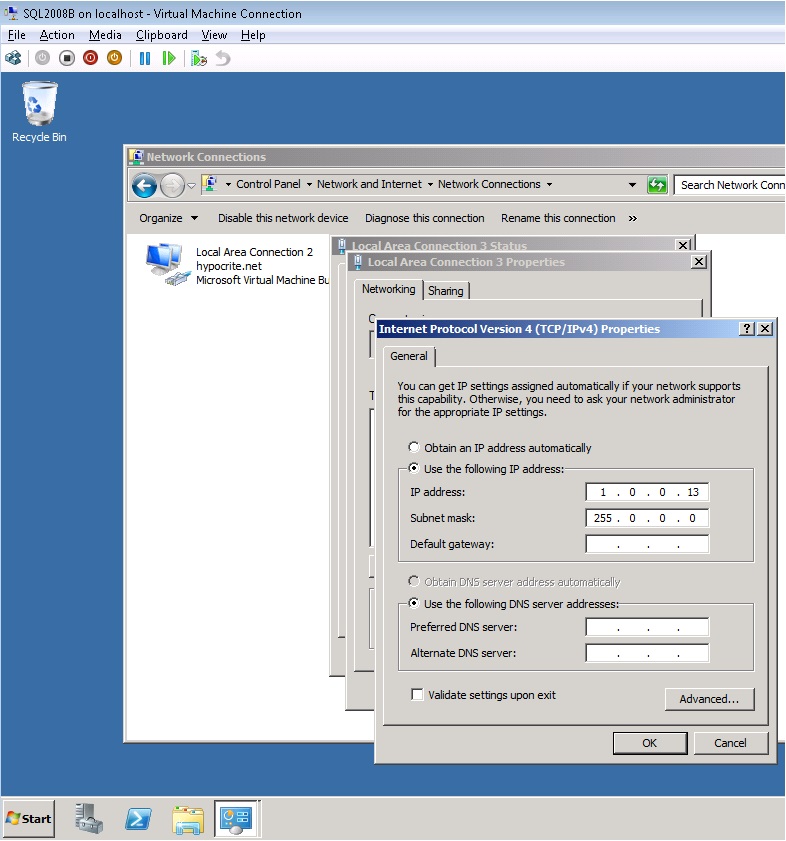
I am not specifying the DNS Server or the Gateway.
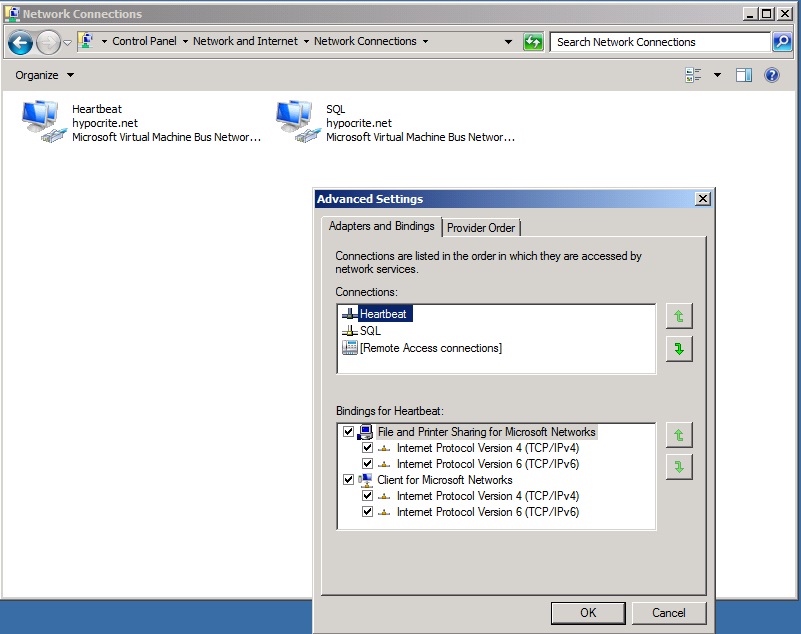
You may rename the Secondary Network Adapter on both the Machines to Heartbeat.
Also, once in the Network Connections, press the "Alt" key on the keyboard once and Click on Advanced >> Advanced Settings.
Ensure that the HeartBeat is placed above the Primary.
Now, lastly, we would need to create the Windows Cluster. You would first need to enable the feature Failover Clustering in the Server Manager.
Assuming, it's enabled, Click on Start >> Administrative Tools >> Failover Cluster Manager

Once the Failover Cluster Manager is open, Click on "Create a Cluster"

In the Create Cluster Wizard, select the names of the computers to be added to the cluster. I have selected SQL2008A and SQL2008B.
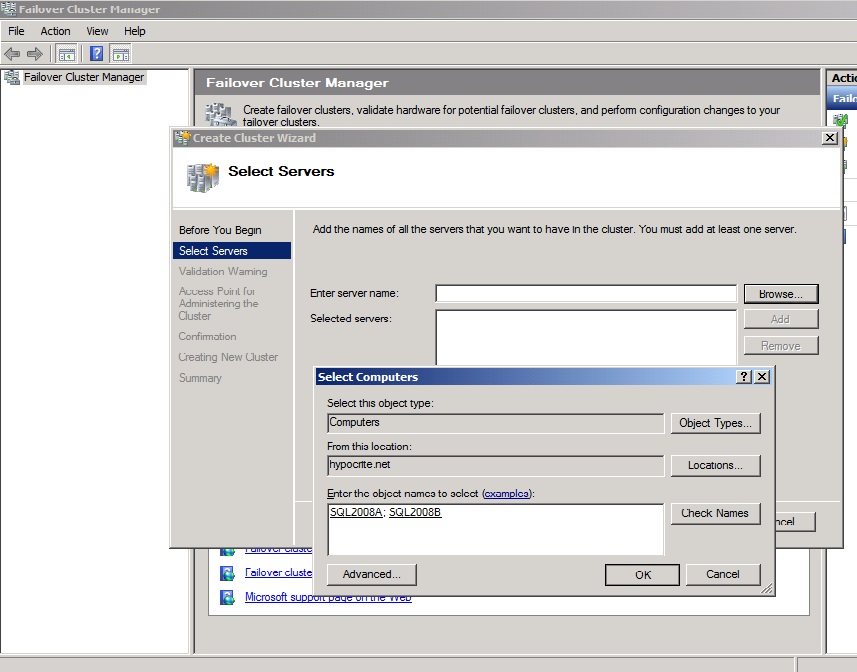
Click on Ok and Click on Next
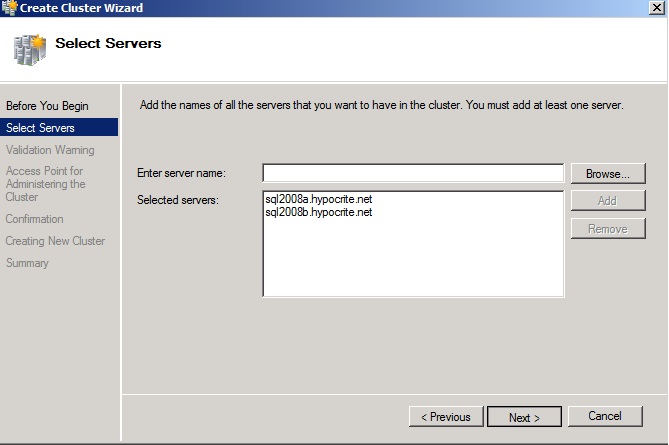
It's recommended to run the "Cluster Validation Wizard". So I would simply click on Next.
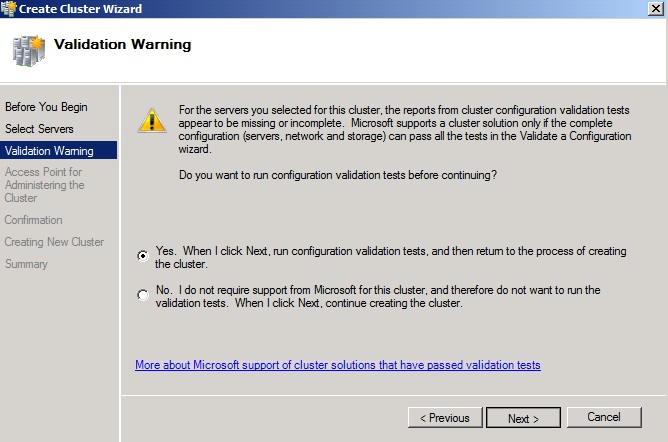
We would also have a chance to view the Cluster Validation Report.
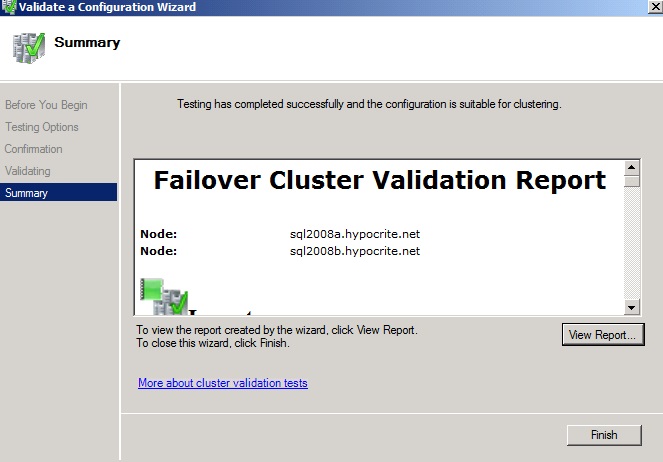
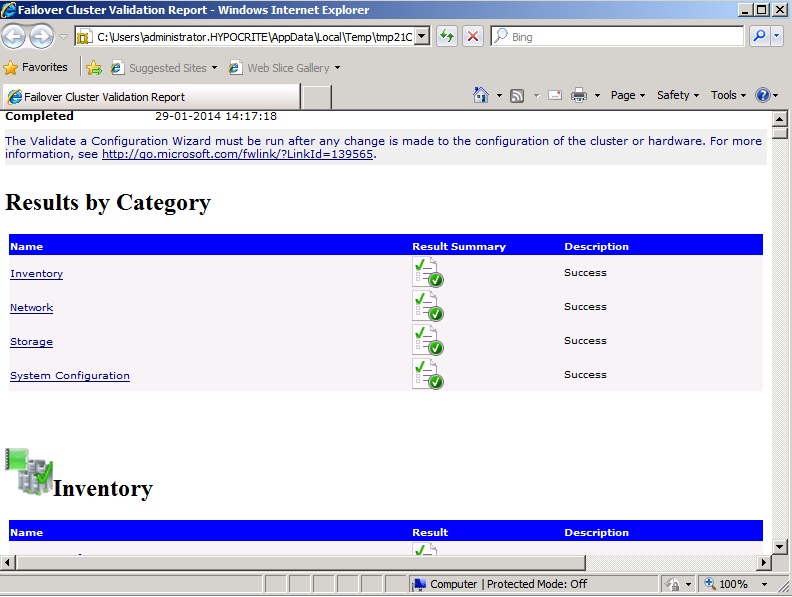
Once, you click on View Report, we would see the report in a browser page.
We would now need to provide a name for the Cluster and Also an IP Address. (Note: SQL Server Cluster instance would again require a unique cluster name and it's not to be confused with the Windows Cluster Name or IP Address)

Once you click on Next, you would be able to see the Cluster in the Failover Cluster Manager.
