Note
Access to this page requires authorization. You can try signing in or changing directories.
Access to this page requires authorization. You can try changing directories.
Important!
This wiki is based on sequencing App-V 4.x Packages. With App-V 5 sequencing has changed.
Introduction
To submit applications via the virtual Server App-V or other existing methods is necessary to perform a procedure called Sequencing. This is literally the case to "virtualize" the software components such as files, registry keys, services and components in a special package.
After that, the application will run through this package and all its components are extracted from it, creating a kind of bubble for application use and execution.
Files created during the sequencing
Listed below are described in the files created after the sequencing of the applications:
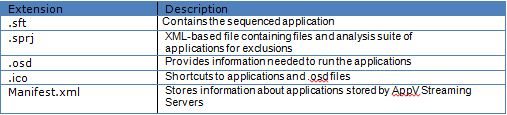
File extensions
The files created during the sequencing will be used for installation of stand-alone method or by Server App-V, but you can export the package with the MSI extension, enabling the integration with System Center Configuration Manager, for example.
When Server App-V is used, clients connect to the server using the SMB (port 445) or HTTP (port 80) to download the files. ico and. osd. This is the information used by the client to create application shortcuts. When the user opens the file is created a connection to the server over port 554. The connection between the streaming server and client is launched and the application is displayed to the user.
Sequencer Pre-installation requirements
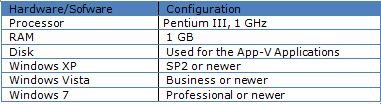
Requirements
To create a package by sequencing is necessary to create a drive (usually drive "Q" is used, but any letter can be used) to run and isolate all virtual applications.
To install the App-V Sequencer, use the following link: http://technet.microsoft.com/en-us/library/gg507669.aspx
Installation
Before starting the process, copy the installation files from the application to be sequenced to any local folder. This demonstration will use the Microsoft Word Viewer 2003 as an example.
After the sequencer installation, open it through the Start> All Programs> Application Virtualization.
The screen appears as shown in Figure 1. Click on Create Package.
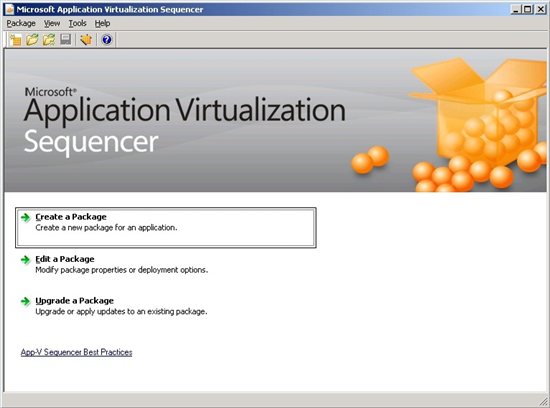
Figure 1 - Application Virtualization Sequencing
Specify the application name and description. It is recommended to use the name up to 8 characters. Then click Next.
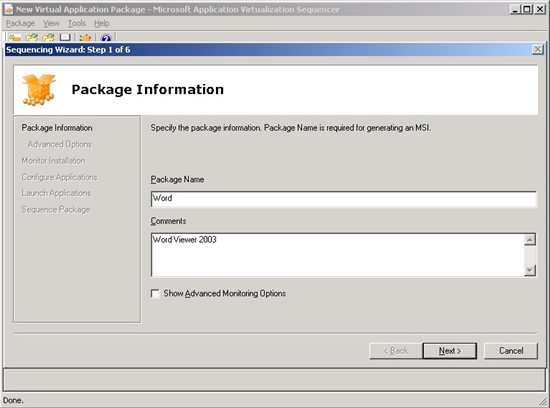
Figure 2 – Package Information
In Installation Monitor, click Begin Monitoring. Specify the partition location created for the App-V and click OK.
After that the installation will start to be monitored. Open the path of the application and start the installation program.
If you need to restart the operating system during or after installation, do it. After restarting, the process will continue without any problem.
All files, services, icons, registry keys and application components will be captured and virtualized into the partition chosen by the sequencer during this process. When the program installation is finished click Stop Monitoring and then Next.
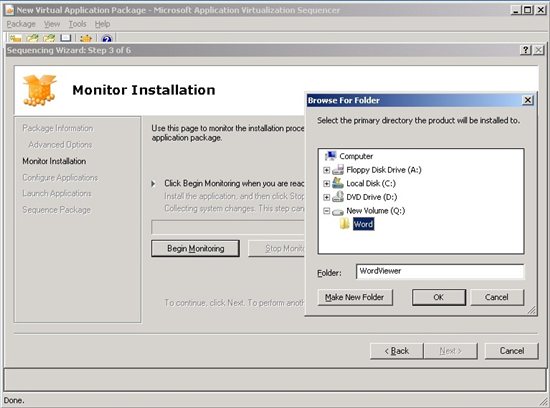
Figure 3 – Monitoring
On the next screen will display all the applications, shortcuts and file associations. You can add or change the shortcuts and associations if necessary. After choosing the settings, click Next.
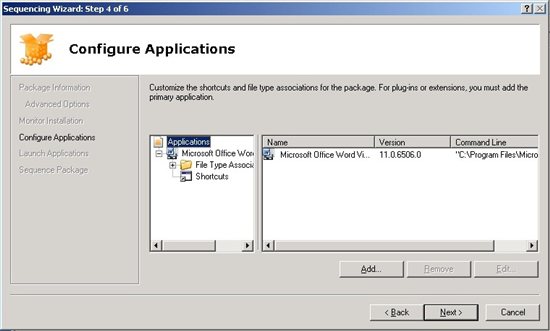
Figure 4 - Application Configuration
There are some software settings that need to be done on its first use. To prevent users from receiving these messages you need to run the program and provide this information. Then, click Next.
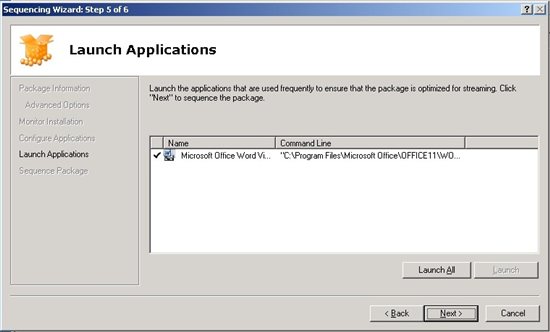
Figure 5 – Launch Applications
When you click Next the sequencing process will be terminated. Click Next again to view and change options.
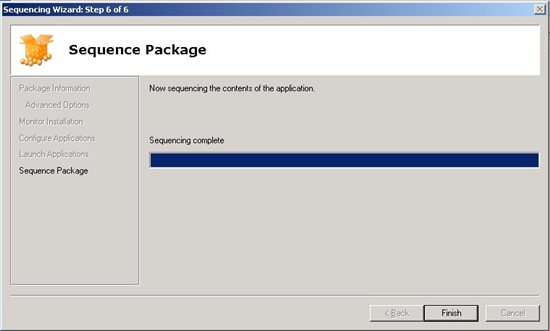
* Figure 6 – Sequence Package*
Now it will show some tabs for configuration. In properties you can change the program name and description.
To use the software through AppV Server you must specify the AppV Management or Streaming Server information. You may also have created a operating systems filter that the virtual appliance will be installed, thus preventing its installation in OSes that are not on the list.
Through the other tabs you can view and modify the App-V files, registry keys and services online.
Notice the detail in figure 7, the option to export the package App-V for a MSI file. Through this file you can use the App-V in a stand-alone or through System Center Configuration Manager integration.
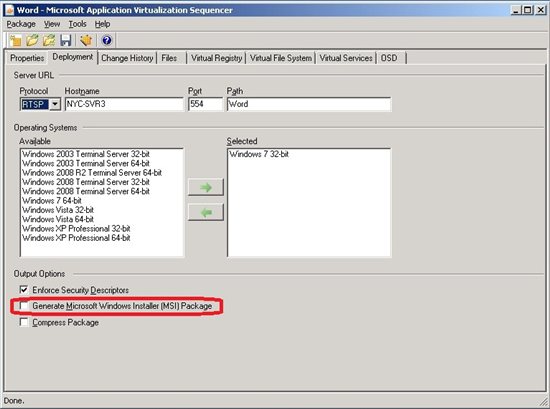
Figure 7 - Advanced Settings
To finish and save the package, click Package and Save As .Choose the destination folder where the files of the virtual appliance will be saved.
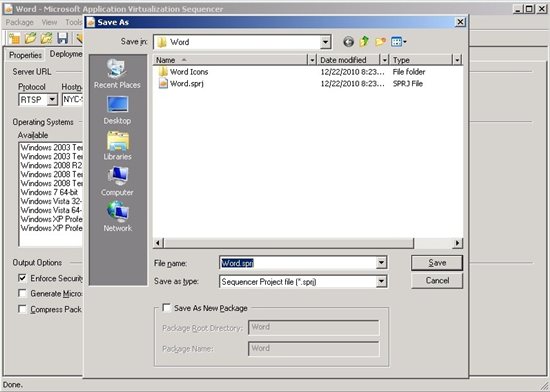
Figure 8 - Saving the package
After that you can download the application via AppV Server, or even manually by the App-V Client.