Note
Access to this page requires authorization. You can try signing in or changing directories.
Access to this page requires authorization. You can try changing directories.
Introduction
What is Microsoft Azure WebJobs?
Azure WebJobs enables you to run programs or scripts in your website as background processes. It runs and scales as part of Azure Web Sites.
What Scheduling Options are supported by Microsoft Azure WebJobs?
Azure WebJobs can run Continuously, On Demand, or on a Schedule.
In what language/scripts are WebJobs written?
Azure WebJobs can be created using the following scripts:
- .cmd, .bat, .exe (using windows cmd)
- .ps1 (using powershell)
- .sh (using bash)
- .php (using php)
- .py (using python)
- .js (using node)
This article demonstrates the use of C# command line app.
Creating and Deploying WebJobs using VS 2013 Update 3
Creating WebJobs
In Visual Studio 2013 Update 3, WebJobs can be created and deployed directly from Visual Studio itself.
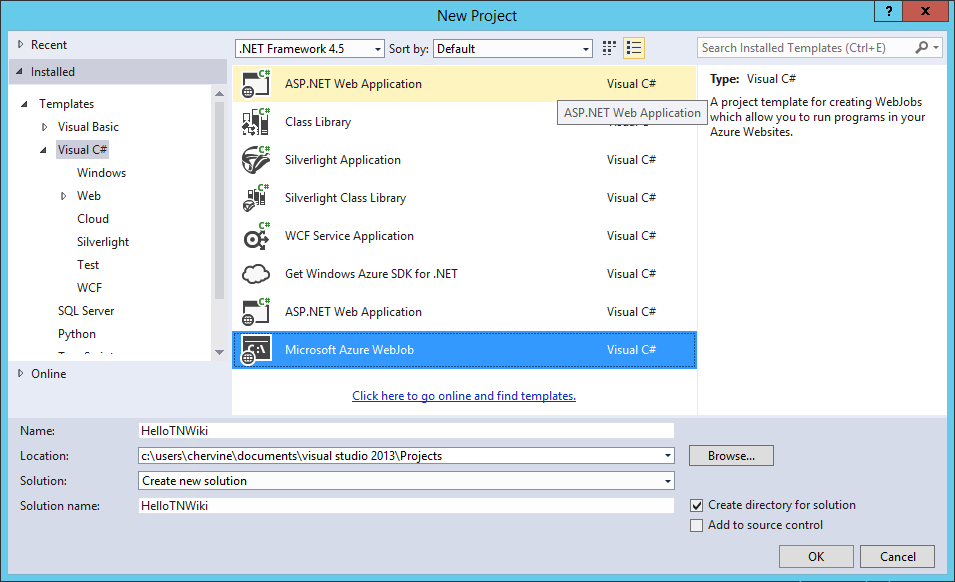
To get started, just create a new project, Under C#, select, Microsoft Azure WebJobs. In this example, a "HelloTNWiki" project is created.
A normal console application is created and the entry point to the program is Main(). This example shall just display "Hello TN Wiki!".
classProgram
{
staticvoidMain()
{
Console.WriteLine("Hello TN Wiki!");
}
}
Deploying WebJobs
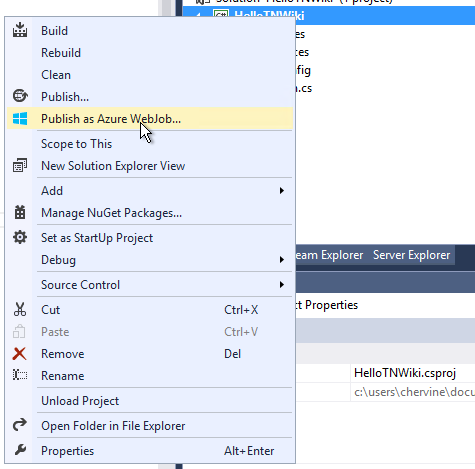
To deploy the WebJob, right-click on the project and select Publish as Azure WebJob.
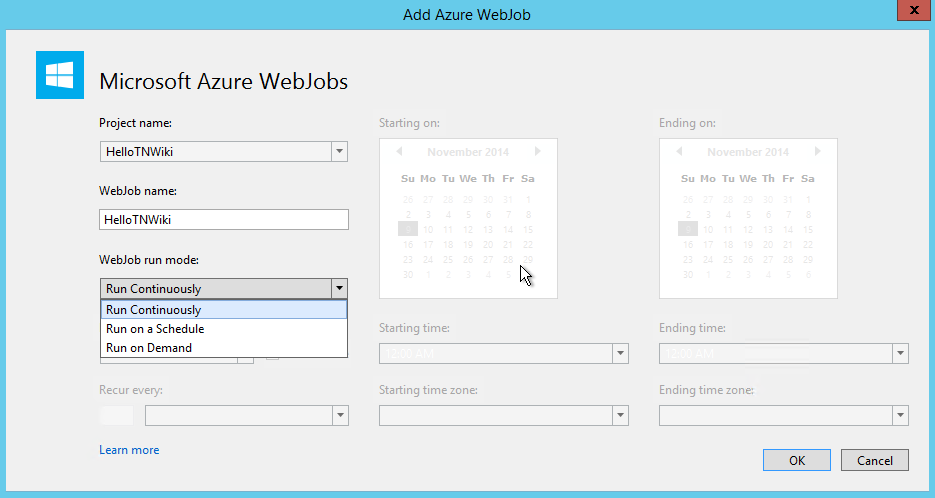
Select when the WebJob shall run and click OK. In this example, the job will be run on demand.
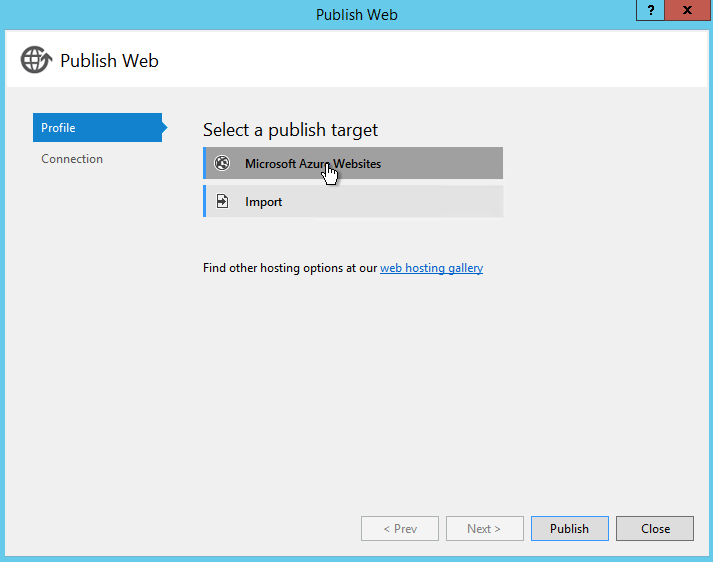
Select a publish target, in this example the target will be an Azure WebSite
You shall be required to sign-in and enter your Microsoft Azure credentials
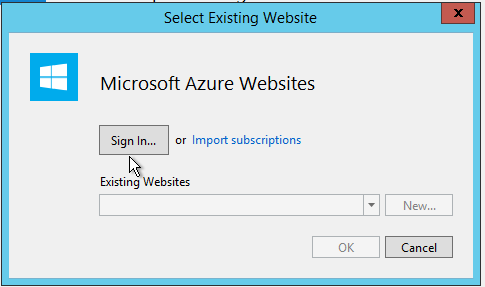
Once signed in, you may select in which WebSite the Job is to run.
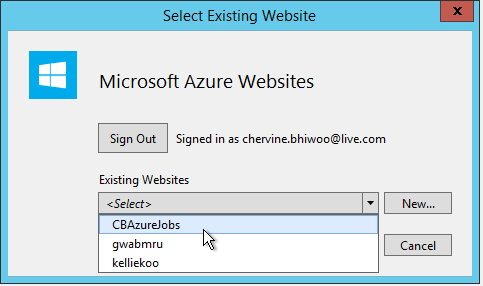
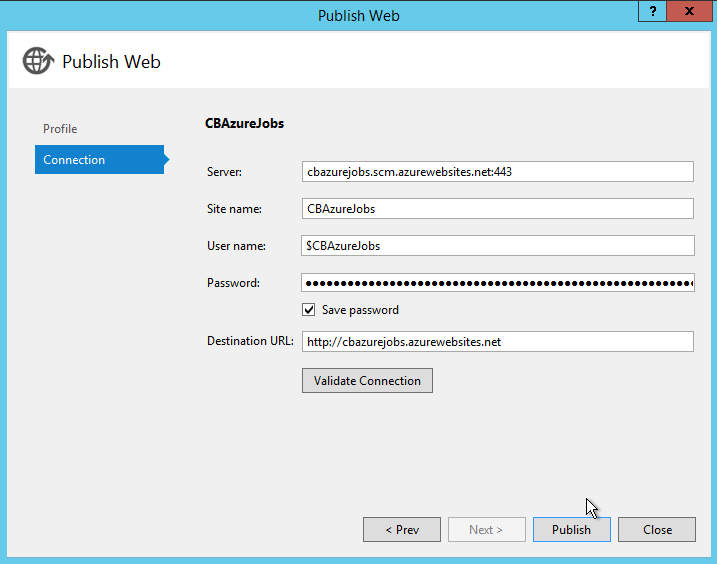
Click on OK, then select Publish.
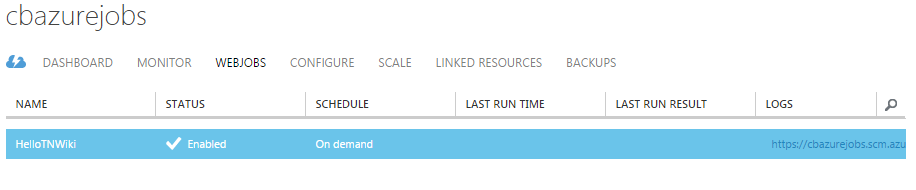
Now, if you go to the Microsoft Azure portal, and navigate to your WebSite, you shall see a new WebJob created and deployed.
Using previous versions of Visual Studio
Creating WebJobs
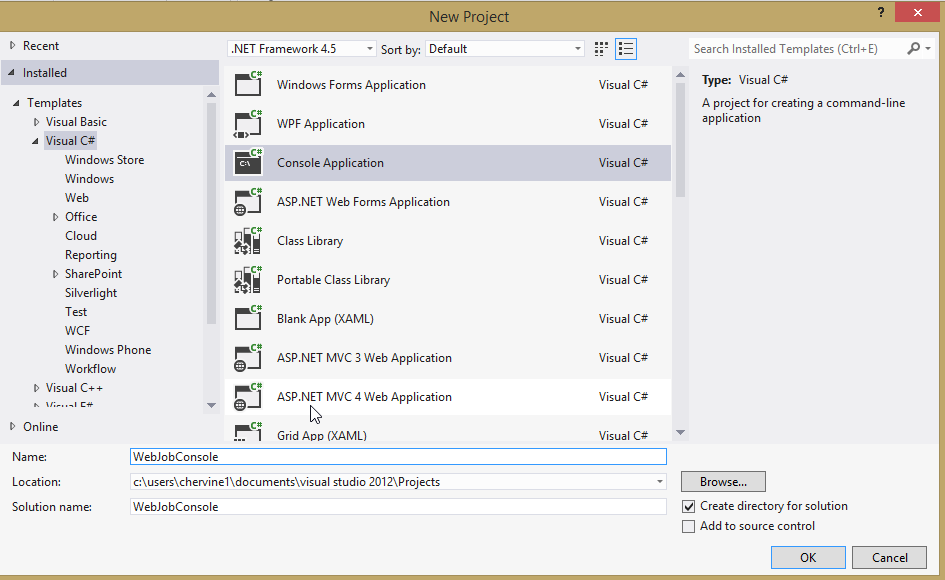
In Visual Studio, create a Console Application.
The entry point of the application is still Main(). This example shall just display "Hello TN Wiki!".
classProgram
{
staticvoidMain()
{
Console.WriteLine("Hello TN Wiki!");
}
}
Deploying WebJobs
The following steps need to be performed to deploy the WebJob:
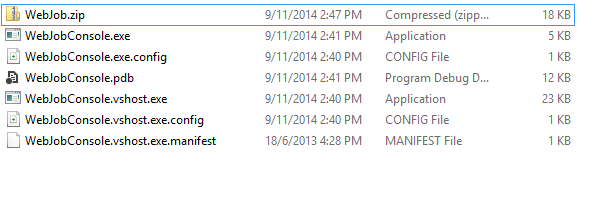
1. Build the application
2. Go the Bin/Debug path of the Application and Add all the contents of a .zip file.
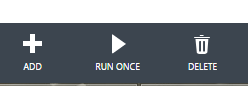
3. Goto the Azure portal, select your WebSite, Go to WebJobs and select ADD a job
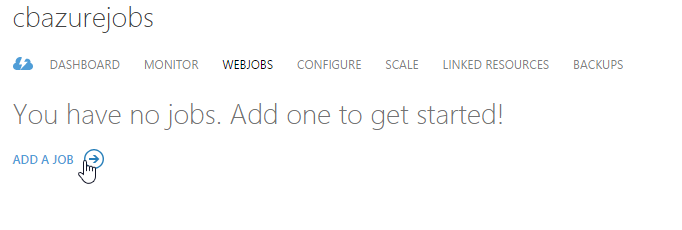
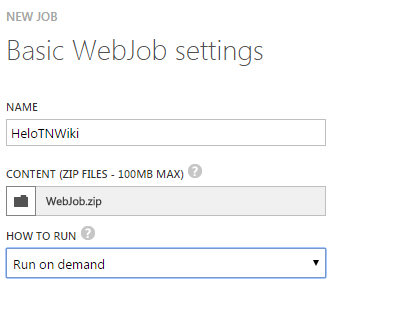
4. Enter a Job name, select the .zip file, select when the job shall run and click OK.
5. Wait for the Job to be uploaded and created
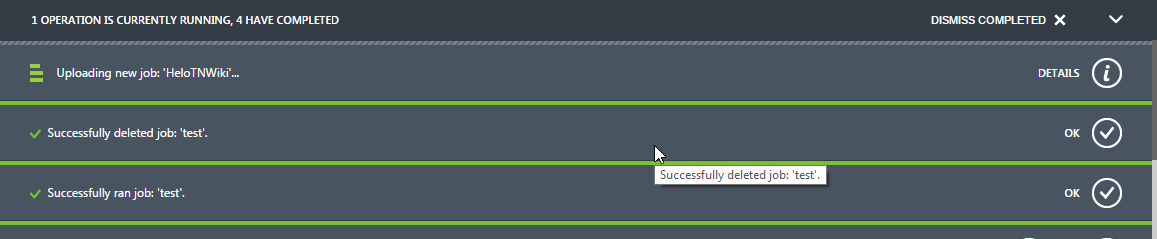
Running a Job and Viewing the result on WebJob Dashboard
Running a job
To run an on-demand WebJob as explained above, select the job and click on RUN ONCEat the bottom of the page.
When the run completes, The result shall be displayed on the Last Run Result tab.

WebJob Dashboard
The WebJobs dashboard in the Azure management portal provides powerful management capabilities that give you full control over the execution of WebJobs, including the ability to invoke individual functions within WebJobs.
The dashboard also displays function runtimes and output logs.
To access the dashboard page, click on the link under the Log Column.

This opens the dashboard page which contains details and statistics about the WebJob.
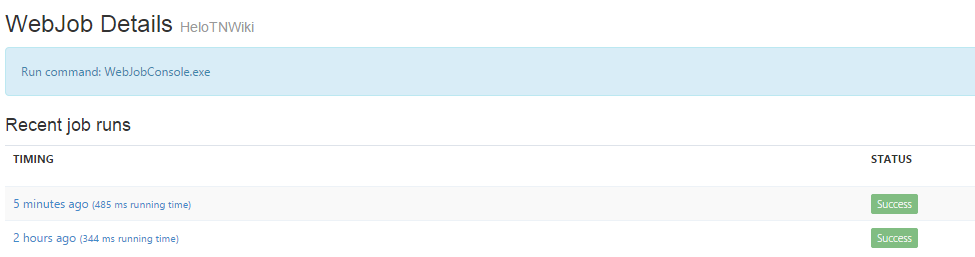
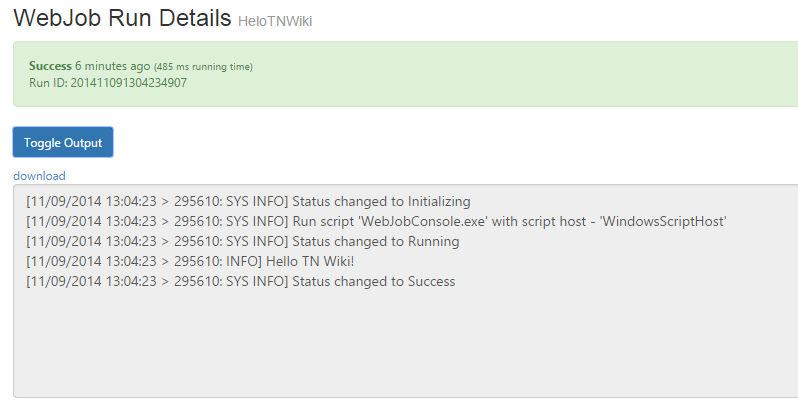
By selecting a specific run, statistics about the job together with the Job Log can be obtained.
As per the result of the example above, "Hello TN Wiki!" is displayed in the Job Log
WebJobs SDK
The WebJobs SDK makes it easier to use Azure Storage.
The WebJobs SDK has a binding and trigger system which works with Microsoft Azure Storage Blobs, Queues and Tables as well as Service Bus Queues.
Installing the WebJob SDK
To use the WebJob SDK in Visual Studio, the following NuGet Package needs to be installed.
http://www.nuget.org/packages/Microsoft.Azure.WebJobs
Using the SDK to create and save a file in an Azure Storage Account
Creating a Storage Account on Microsoft Azure
From the Azure Portal, go to, Data Services, Storage, Quick-Create and fill in the required information
Once the storage account is provision, the next thing to do is to get the keys. Click on the Manage Keys button like below

Saving a file in Azure Blob storage
Below are the steps to save a string to a blob using C# code:
1. Build the connection string using the keys retrieved above
stringConStr ="DefaultEndpointsProtocol=https;AccountName= xxx ;AccountKey=xxx ";
2. Create an instance of CloudStorageAccount. This Represents a Windows Azure Storage account.
CloudStorageAccount storageAccount = CloudStorageAccount.Parse(ConStr);
- Create an instance of CreateCloudBlobClient
Provides a client-side logical representation of the Windows Azure Blob service. This client is used to configure and execute requests against the Blob service.
CloudBlobClient blobClient = storageAccount.CreateCloudBlobClient();
- Get a container in the Windows Azure Blob service. Create the container if it does not exist.
This should be in lower case.http://msdn.microsoft.com/en-us/library/dd135715.aspx
CloudBlobContainer container = blobClient.GetContainerReference("blobcontainer");
container.CreateIfNotExists();
5. Gets a reference to a block blob in the container and Upload a string text to it.
CloudBlockBlob blob = container.GetBlockBlobReference("BlobFile.txt");
blob.UploadText("HelloTNWiki");
- Run the WebJob
You may now view the created container in your Storage Account > Containers in the Azure Portal.
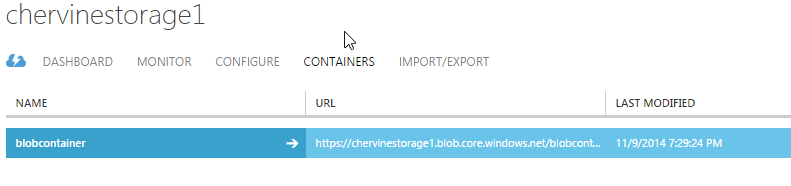
By clicking on the container, you will be able to see the newly created Blob and its contents
[
](resources/5611.v.png)
Example: Daily Sales
Having gone into the basics of Azure WebJobs below is an example where all the concepts can be used and applied.
Scenario
Consider a scenario where a sales WebApp is being deployed into Azure. The App stores sales information from several branches of a store.
The requirement is every day at a specific time in the morning, compile the total sales per region, save the report on Blob storage and email the report to the directors
Assume the Database schema of the Application is like below
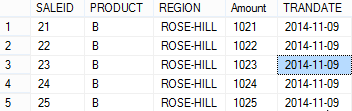
Retrieving Daily Sales from the Database
The code block below connects to an Azure Database, select and aggregates the sales information as required.
public string  GetDailySales(string  date)
{
dbconnect();

string SalesDetails = "";

try
{
string StrCommand = @"select region, sum(amount) AMOUNT
FROM SALES
WHERE TRANDATE= '" + date + "'  group by region";

using (SqlCommand command = new SqlCommand(StrCommand, con))
using (SqlDataReader reader = command.ExecuteReader())
{
while (reader.Read())
{
SalesDetails = SalesDetails + reader.GetString(0) + "\t" + reader.GetInt32(1) + "</br>";
}
}


con.Close();
}
catch (Exception e)
{
Console.WriteLine("Could not retrieve Information " + e.Message);

throw;
}

Console.WriteLine("Information Retrieved Successfully");

return SalesDetails;
}
E-Mail result
The next step is to send the results by mail. This is done by the function below
public void  SendEmail(string  msg)
{
try
{
MailMessage mail = new  MailMessage();

mail.From = new  MailAddress(emailFrom);
mail.To.Add(emailTo);
mail.Subject = subject;
mail.Body = msg;
mail.IsBodyHtml = true;

using (SmtpClient smtp = new SmtpClient(smtpAddress, portNumber))
{
smtp.Credentials = new  NetworkCredential(emailFrom, password);
smtp.EnableSsl = enableSSL;
smtp.Send(mail);
Console.WriteLine("Email sent to " +emailTo +" at " + DateTime.Now);

}
}
catch (Exception e)
{
Console.WriteLine("Email failed "+ e.Message);
throw;
}
}
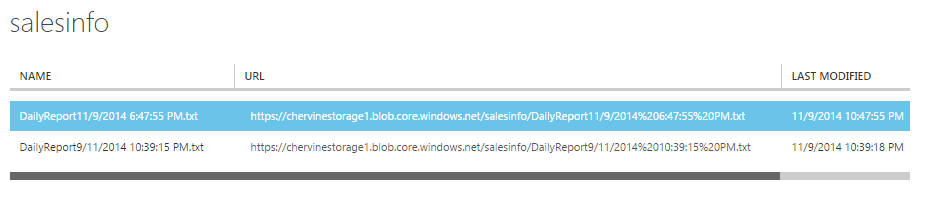
Saving the result in Blob Storage
The function below creates a container if it does not exist and save the result in a blob
public static  void WriteToBlob(string salesreport)
{
try
{
string acs = "DefaultEndpointsProtocol=https;AccountName=xxx;AccountKey=xxx";

CloudStorageAccount storageAccount = CloudStorageAccount.Parse(acs);
CloudBlobClient blobClient = storageAccount.CreateCloudBlobClient();
CloudBlobContainer container = blobClient.GetContainerReference("salesinfo");
container.CreateIfNotExists();
CloudBlockBlob blob = container.GetBlockBlobReference("DailyReport" + DateTime.Now + ".txt");
blob.UploadText(salesreport);

Console.WriteLine("File saved successfully"); ;

}
catch (Exception e)
{
Console.WriteLine("Saving to blob failed "+ e.Message);

throw;
}
}
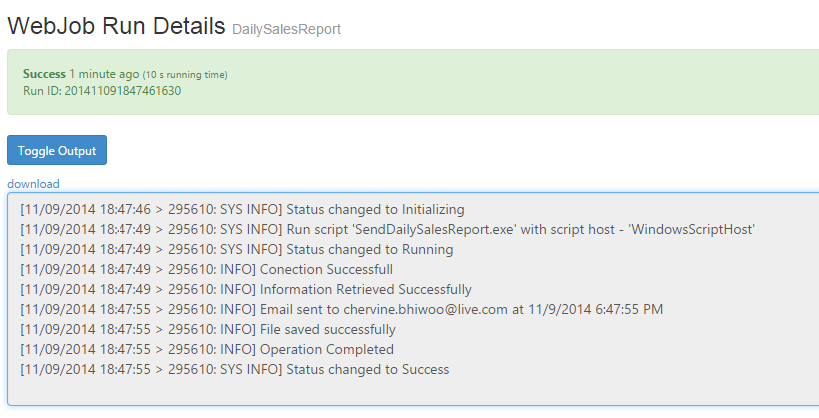
View Result
Notice the use of Console.WriteLine() in each function. This shall help to trace the execution process and log errors in case of problems.
Thus the job log will be like below
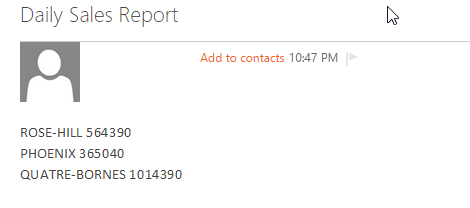
E-Mail received successfully
Sales Info container created and sales report save to blob.
References
- http://azure.microsoft.com/en-us/documentation/articles/web-sites-create-web-jobs/
- http://azure.microsoft.com/en-us/documentation/articles/websites-webjobs-resources/
- http://azure.microsoft.com/blog/2014/09/06/announcing-the-0-5-0-beta-preview-of-microsoft-azure-webjobs-sdk/
- http://msdn.microsoft.com/en-us/library/microsoft.windowsazure.storage.cloudstorageaccount.aspx
- http://msdn.microsoft.com/en-us/library/microsoft.windowsazure.storage.aspx
- http://msdn.microsoft.com/en-us/library/microsoft.windowsazure.storage.blob.cloudblobclient.aspx
- https://azure.microsoft.com/en-us/resources/samples/?service=app-service&sort=0&term=web+jobs