Visual Studio Tools for Bootstrap
Scope
This article focuses on the Tools available in Visual Studio to develop Web Applications using Bootstrap.
Requirements
The following article is based on Visual Studio 2013 update 4.
Introduction
Bootstrap is the most popular HTML, CSS, and JS framework for developing responsive, mobile friendly projects on the web.
Bootstrap makes front-end web development faster and easier. It's designed for folks of all skill levels, devices of all shapes, and projects of all sizes.
When creating Web Apps in Visual Studio, bootstrap is included by default in the project which helps developers create high end responsive Web Applications.
To enhance the development experience, there are lots of tricks, tools and Visual Studio Extensions available. This article demonstrates some of these tools which may really improves developer productivity and make development much easier.
Bootstrap support by Default for Web Apps in Visual Studio
From Visual Studio, when creating a new web application, whether web forms or MVC, Bootstrap is already installed and loaded in the project.
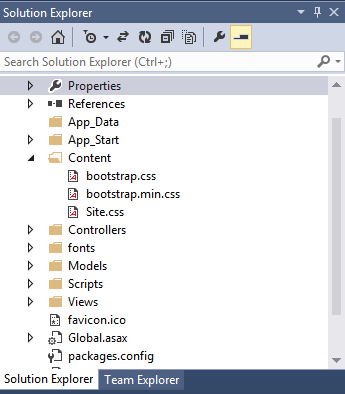
Below is an example of a new MVC Application.
As you shown below, the Booststrap CSS and Javascript files are already added by default.
 [
[
](resources/1768.f.png)
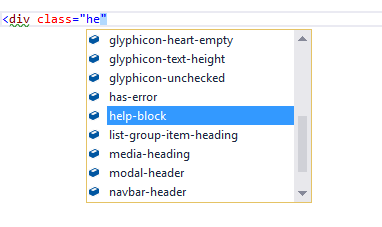
Moreover, Visual Studio provided IntelliSense for Bootstrap. This again makes bootstrap much easier to use and increase developer productivity a lot.
Default Scaffolding using ASP.NET MVC
Visual Studio not only supports Bootstrap, it can also generate your views using bootstrap.
Below is a basic example of scaffolded code.
Step 1: Create a new Model
public class  People
{
    public int  Id { get; set; }
    public string  Name { get; set; }
    public string  Surname { get; set; }
    public string  Address { get; set; }
}
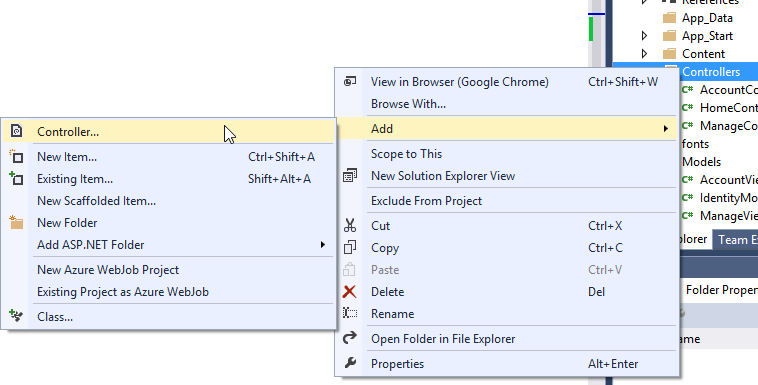
Step 2: Add a controller
Right-Click on Controller > Add > Controller
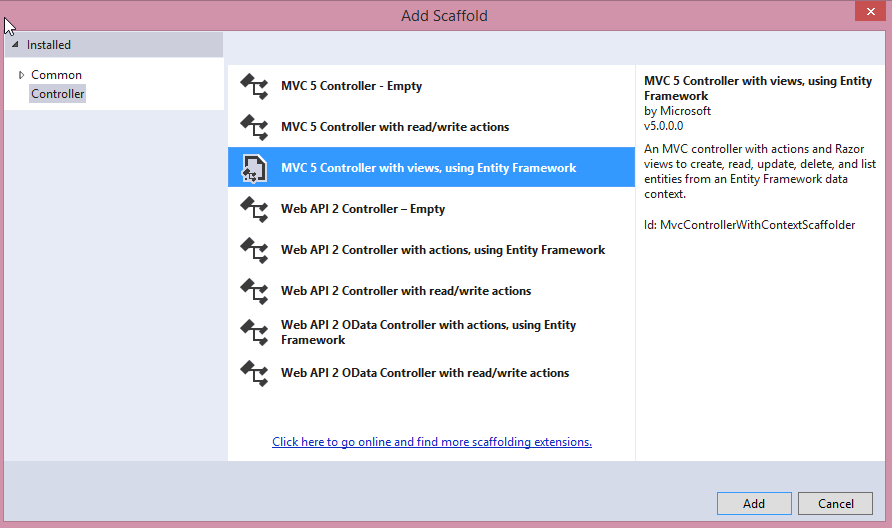
Step 3: Select MVC 5 Controller with views, using Entity Framework
Step 4: Select the model class and hit Add
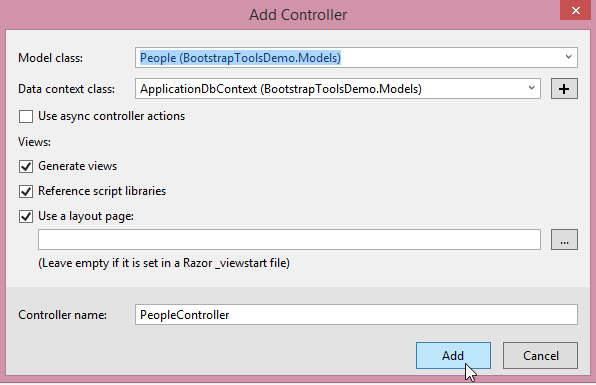
This may take a couple of seconds. Visual Studio creates the view from the model.
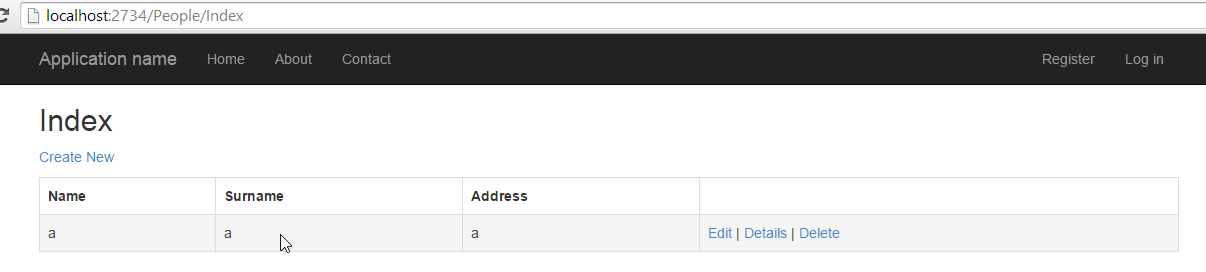
The following pages are created using bootstrap as shows below.
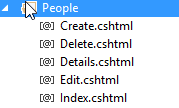
Based on the model, Visual Studio will automatically detects the required fields and generate the views for the Create, Delete, Details, Edit and Index pages.
All these pages are written using Bootstrap as shown below.
Sample from Index.cshtml
<table class="table" >
    <tr>
        <th>
            @Html.DisplayNameFor(model => model.Name)
        </th>
        <th>
            @Html.DisplayNameFor(model => model.Surname)
        </th>
        <th>
            @Html.DisplayNameFor(model => model.Address)
        </th>
        <th></th>
    </tr>
Sample from Edit.cshtml
<div class="form-group">
    @Html.LabelFor(model => model.Name, new { @class = "control-label col-md-2" })
    <div class="col-md-10">
        @Html.EditorFor(model => model.Name)
        @Html.ValidationMessageFor(model => model.Name)
    </div>
</div>
Custom Scaffolding / Scaffolding templates
In real world applications, there is a need to keep the layout standard across all the pages. For example, all table should be of a specific layout.
One way of doing is to modify each page after scaffolding the code which implies duplication of tasks.
Another more interesting way of proceeding is to define a template so that visual studio knows how to scaffold the code.
This can be achieved using a really great Visual Studio plugin called SideWaffle.
The SideWaffle extension adds a bunch of useful Snippets, Project- and Item Templates to Visual Studio. Its purpose is to make your daily work in Visual Studio a richer and more productive experience.
Installing SideWaffle
Below are the steps to Install SideWaffle.
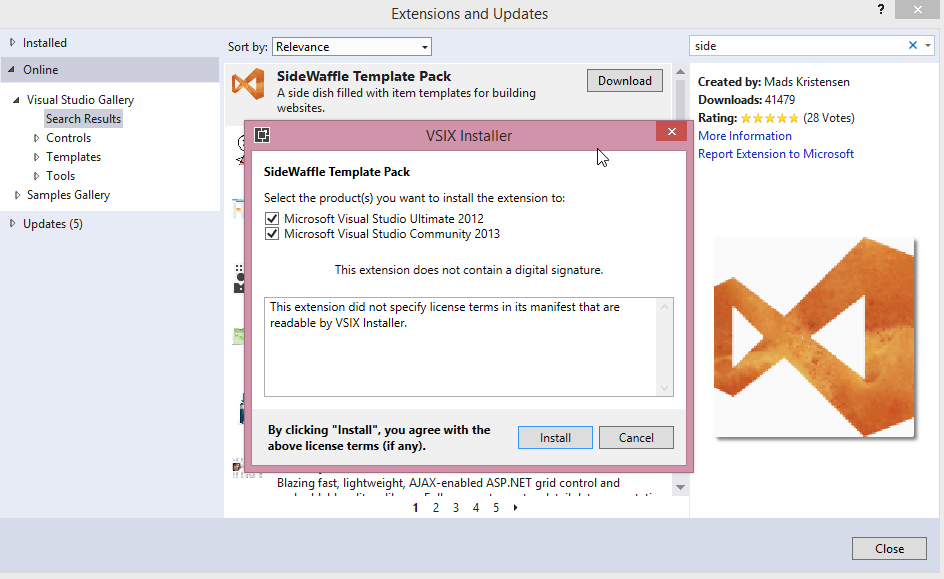
Step 1: Go to Tools > Extensions and Updates > Online > Search SideWaffle

Step 2: Select Side Waffle Power Pack and Click Download.
Step 3: This will download a VSIX package.
Step 4: Once download completes, open it and select for which versions of Visual Studio you need to install it.
Generating Templates using SideWaffle
Step 1: When the installation completes, restart Visual Studio.
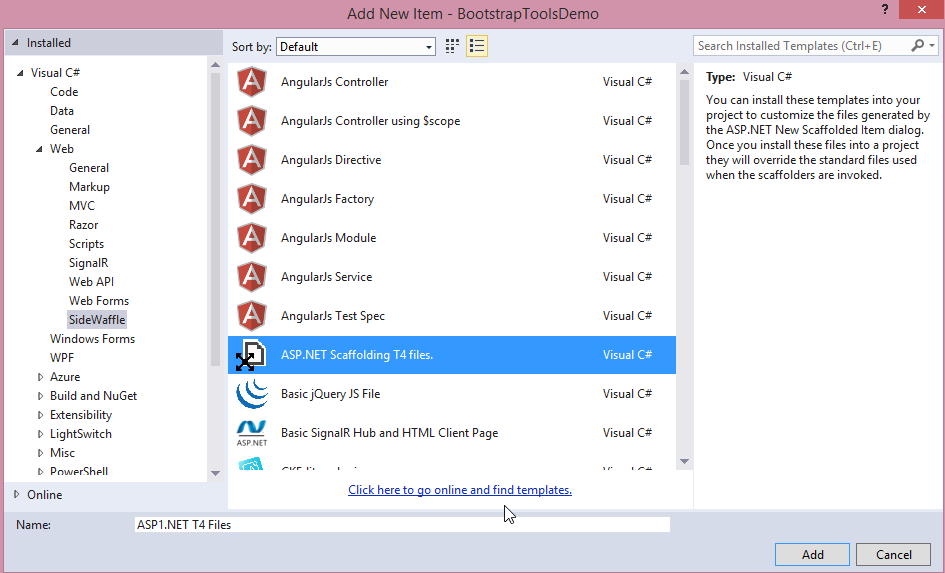
Step 2: Right Click on the project, Add new Item and select ASP.NET Scaffolding T4 Files.
Step 3: Identify the Code Templates
The folder Code Templates will be added. These are the templates that are used to create the scaffolding.
To modify the "View Templates", look for the "MVC View" folder.

Step 4: Modify the Template
The "MVC View" folder has the templates for all the views that can be scaffolded via MVC.
Assume that when viewing the records, all the tables must be bordered and have a hover effect.
To do this, Modify the list template(list.cs.t4) and add the following to the table tag.
<table class="table table-bordered table-hover" >
Step 5: Testing the changes
To test this change, delete the People controller and views and scaffold them again as explained in part 2.
Now, if you go to the Index.html of the folder people, the classes table-bordered table-hover have automatically been added.
The same thing will happen if you scaffold another view for any other model.
<table class="table table-bordered table-hover" >
    <tr>
        <th>
            @Html.DisplayNameFor(model => model.Name)
        </th>
        <th>
            @Html.DisplayNameFor(model => model.Surname)
        </th>
        <th>
            @Html.DisplayNameFor(model => model.Address)
        </th>
        <th></th>
    </tr>
Below is the output of the generated code.
Bootstrap Snippet Pack
Bootstrap Snippet Pack has collection of Bootstrap snippets for Visual Studio.
Very often, web developers need to go to minimize their development environment, go to the Bootstrap website to find a piece of HTML of a specific component.
Doing this all day reduces the developer productivity as he has to switch back and forth browser - Development Environment.
Fortunately, with Bootstrap Snippet Pack, codes snippet can be retrieved via Visual Studio.
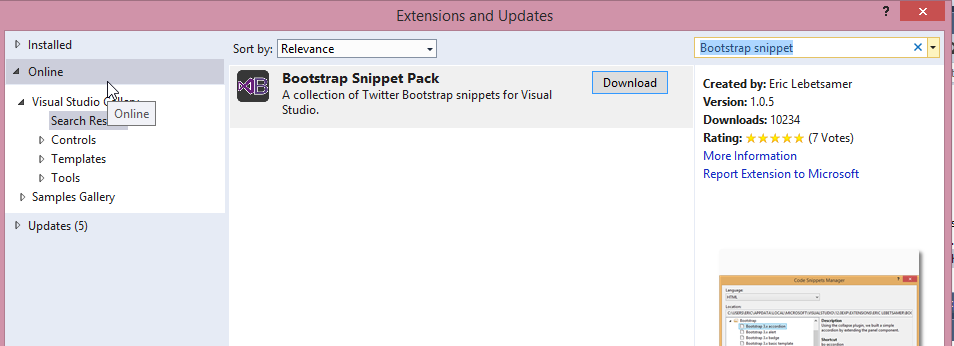
To install the Bootstrap Snippet Pack, from Visual Studio, go to Tools > Extensions and Updates > Online > Search Bootstrap Snippet Pack
Once Installed, From Visual Studio editor, hit CTL+K, CTL+X to bring in the snippet tool.

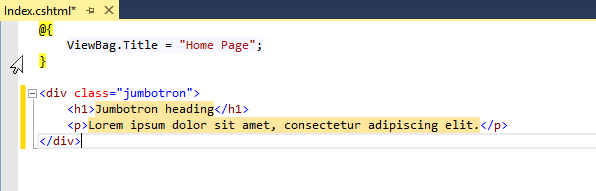
Then select bootstrap and the component needed.
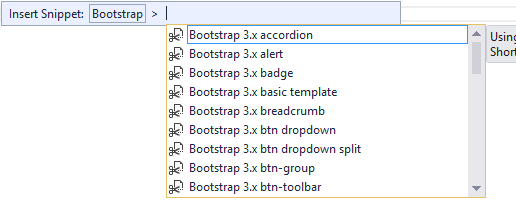
Bootstrap Snippet Pack will automatically generate the required HTML.
Bootstrap Bundle
Another great Visual Studio Extension is Bootstrap Bundle.
Bootstrap Bundle includes project template for all the Bootstrap example layouts and for Start Bootstrap's Modern Business and Business Casual full website templates.
The extension guides you through the creation of a Bootstrap themed ASP.Net MVC website, you can choose your site layout as well as the site colour
scheme based on BootSwatch.
Installing Bootstrap Bundle
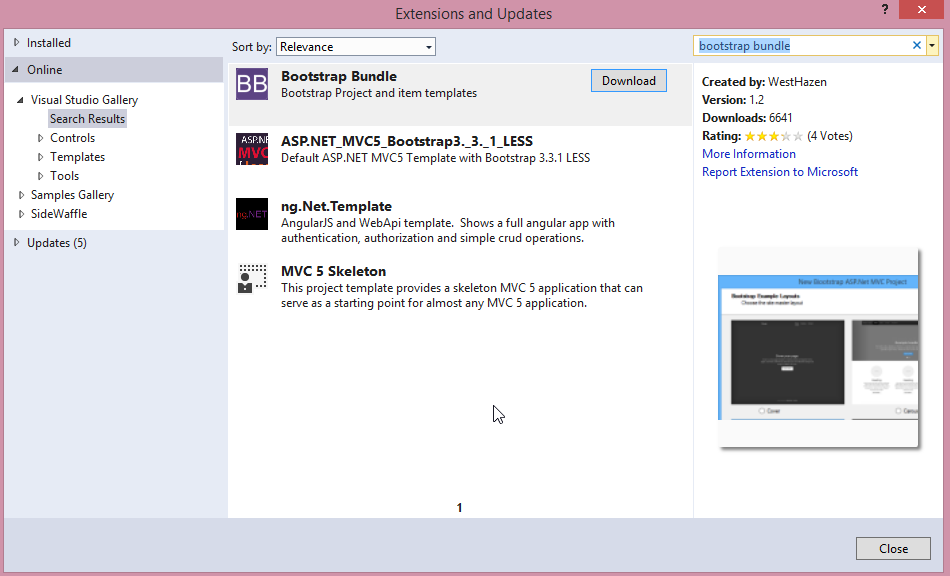
This plugin can be downloaded from visual studio itself. Just go to Tools > Extensions and Updates > Online and search for Bootstrap Bundle.
Select the plug-in and hit download then install.
Creating a template using Bootstrap Bundle
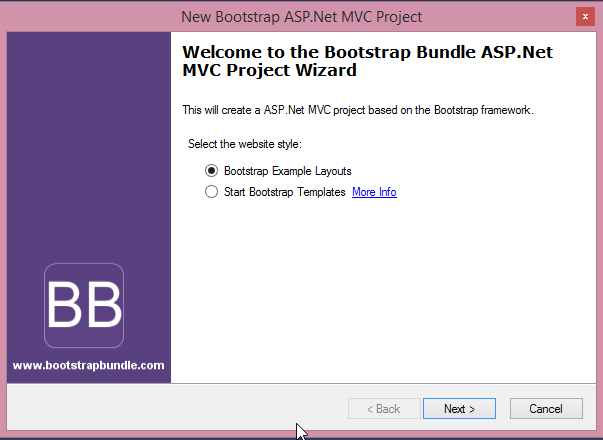
Step 1: To use the plugin, Select File > New Project
Step 2: Select Bootstrap Bundle MVC Site

Step 3: This will popup a wizard that will help you create a Bootstrap WebSite.
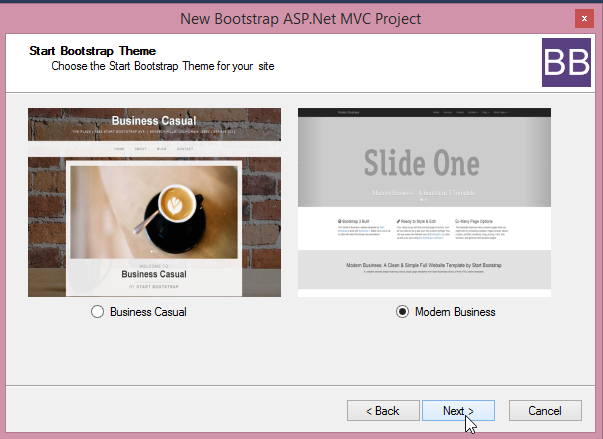
Step 4: For this Example, select from template Then Modern Business.
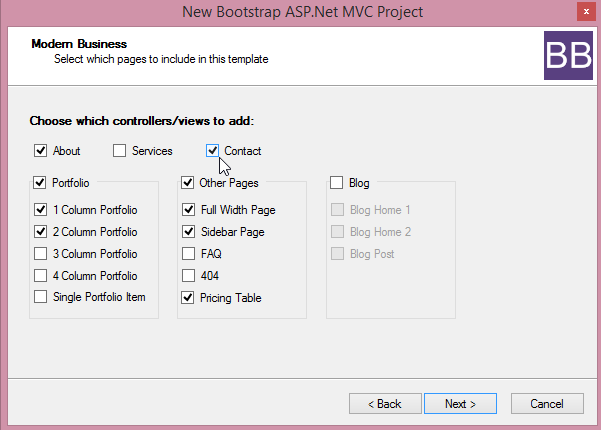
Step 5: Then, select the pages that will be needed.
Step 6: Click next to select a theme.
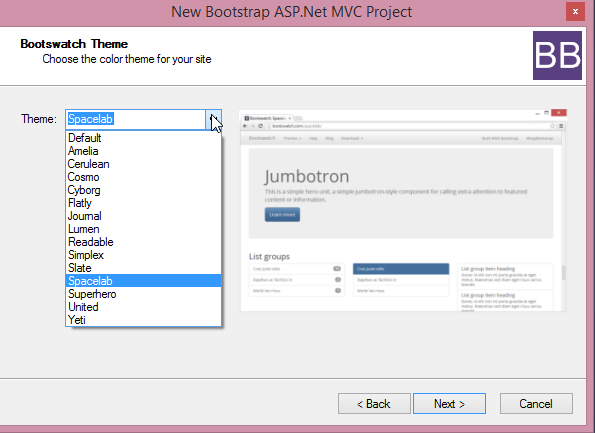
Step 7 : Click next to Add the WebSite title. Then click on Finish

Step 8: This takes a couple of seconds for the codes and pages to be scaffolded.
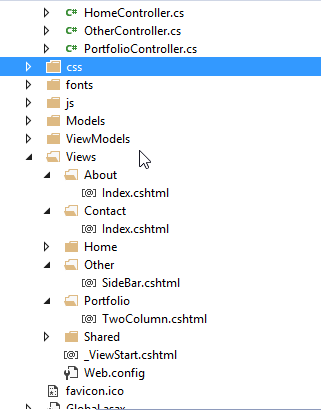
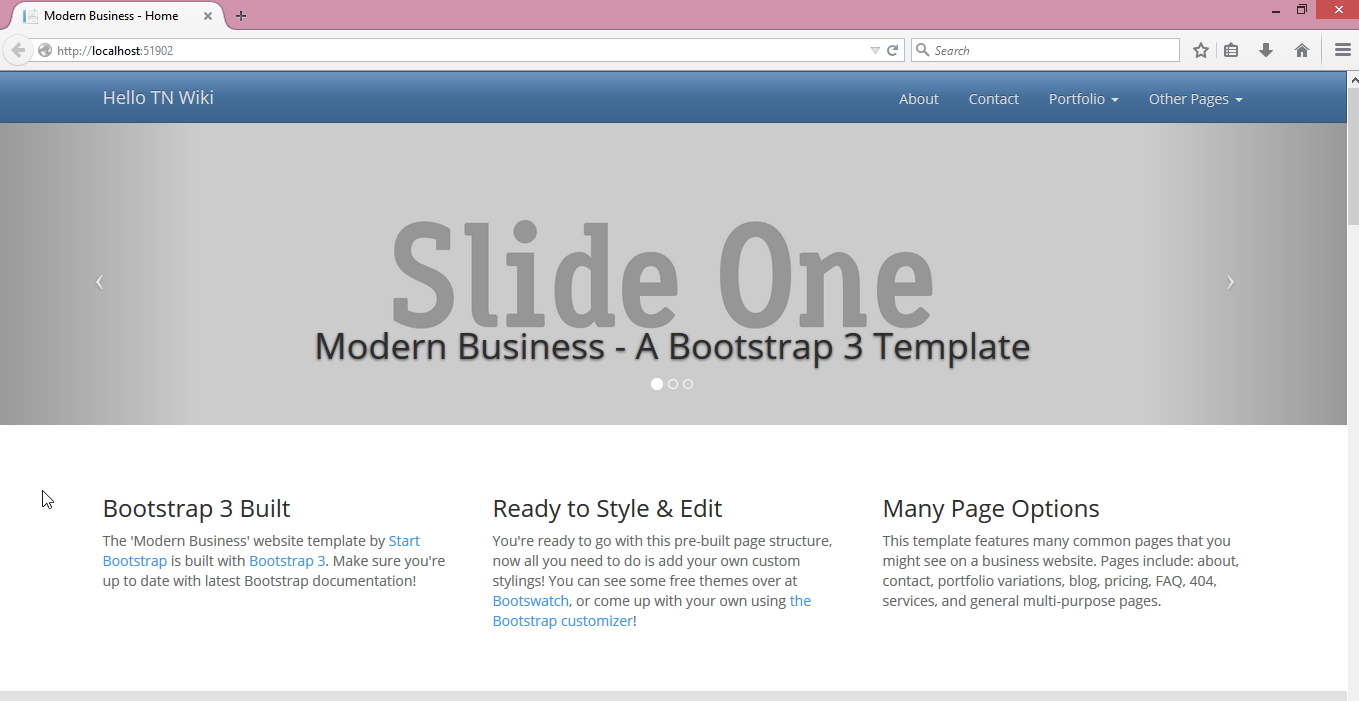
Step 9: You may then run the Application.
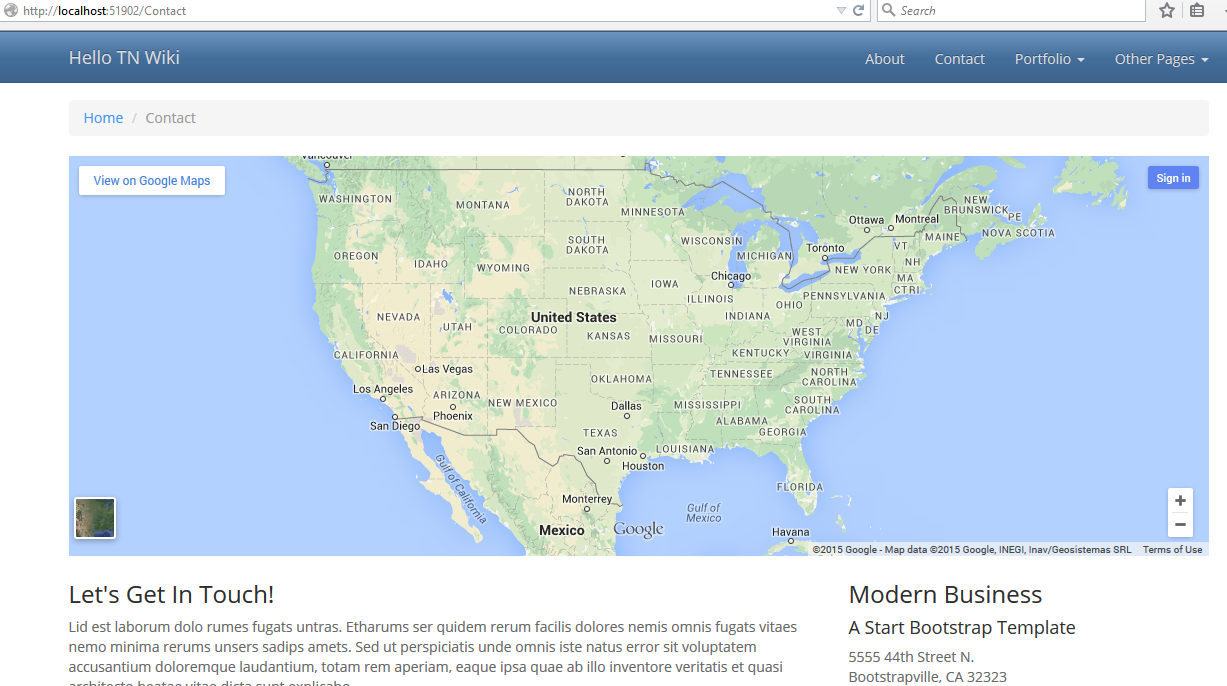
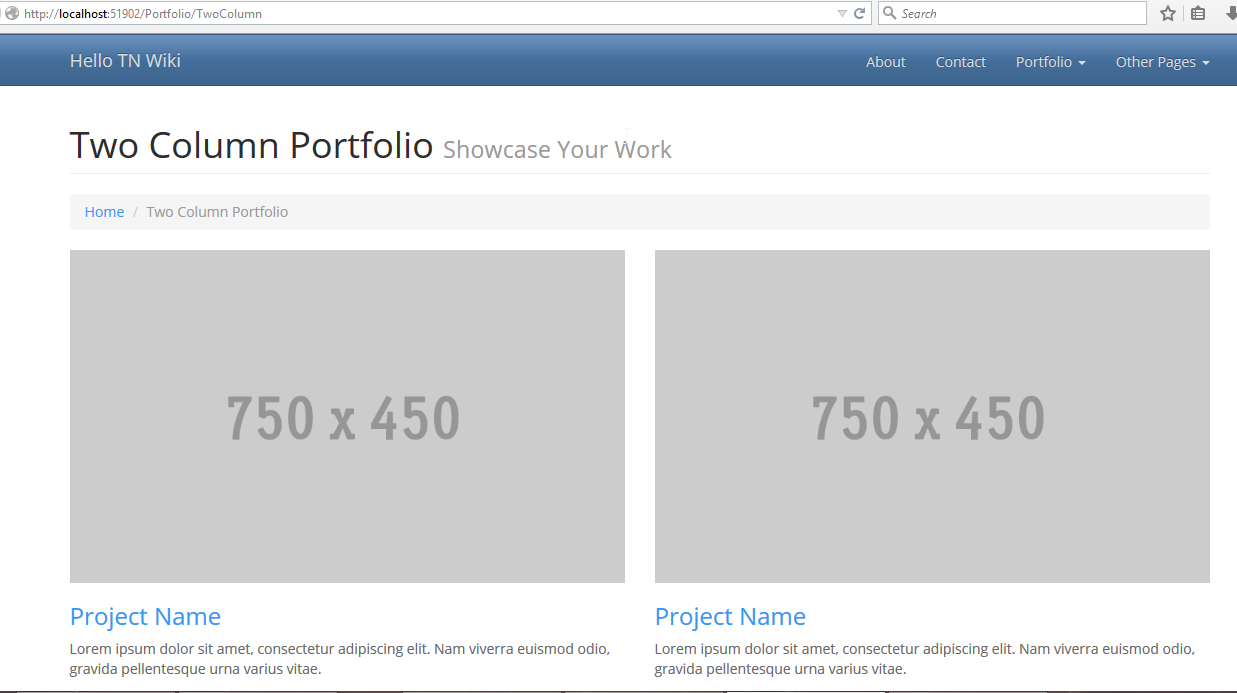
All the codes have been scaffolded and a clean template is created within minutes.
The user just have to customize the contents and its all done.
Below are some screenshots of the output.
References
a. Getbostrap.com
b. SideWaffle Template Pack
c. SideWaffle.com
d. Bootstrap Snippet Pack
e. BootstrapBundle.com