Azure VM: Instance Level Public IPs
Introduction
This article helps in configuring public IP and accessing the Azure virtual machines from the public network.
Procedure
The purpose of having an ILPIP is to give you direct access to your VM’s compared to the traditional way of connecting to an Azure VM.
The traditional way of connecting to the Azure VM is to connect to the cloud service first using the Virtual IP assigned to the specific cloud service and then porting the connection to the VIP of the Azure Virtual Machine along with its port.
It is quite simple to create and assign an ILPIP to your Azure Virtual Machine. Let us see how this can be done.
Step 1: Log in to Azure Portal
First Log in to your Azure Portal. We assume that all of us here knows how to create a Virtual Machine on Azure.
After login into the Azure Portal, select Virtual Machines from the left-hand side menu as shown below in Fig 1 and then under the Virtual Machines Blade, select the Name of the VM you would like to assign the Public IP to. In this case, I am going to select VM001.
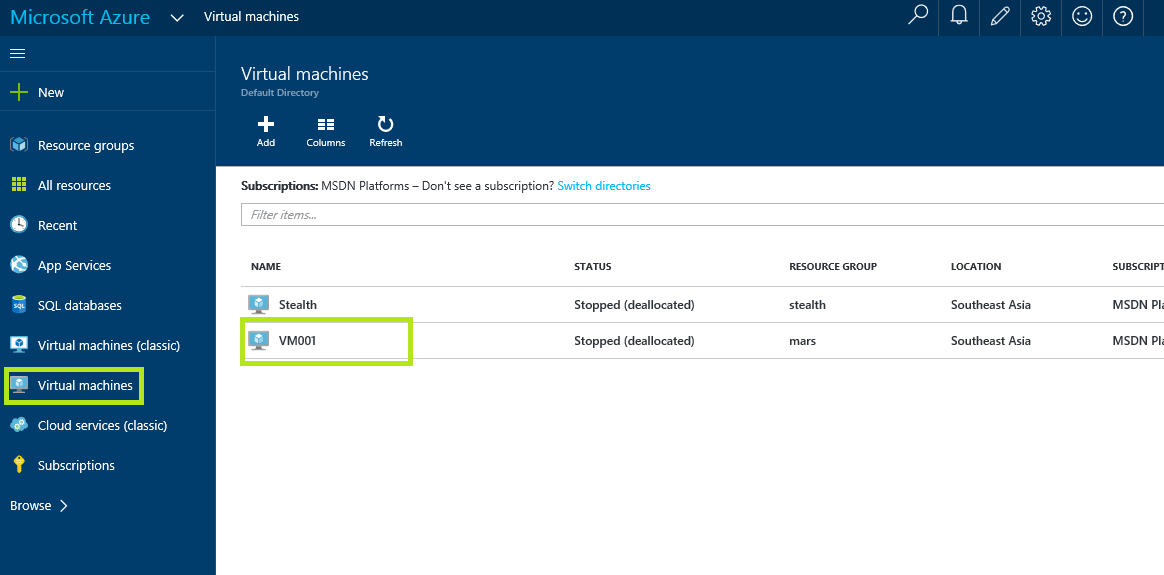
Fig 1
Step 2: Configure Virtual Network
Once the VM is selected, it will load the settings blade for the selected VM001. Within the VMS001’s settings blade, select “Network Interfaces” to bring up the settings related to the “Network Interface” of VM001 as shown below in Fig 2.
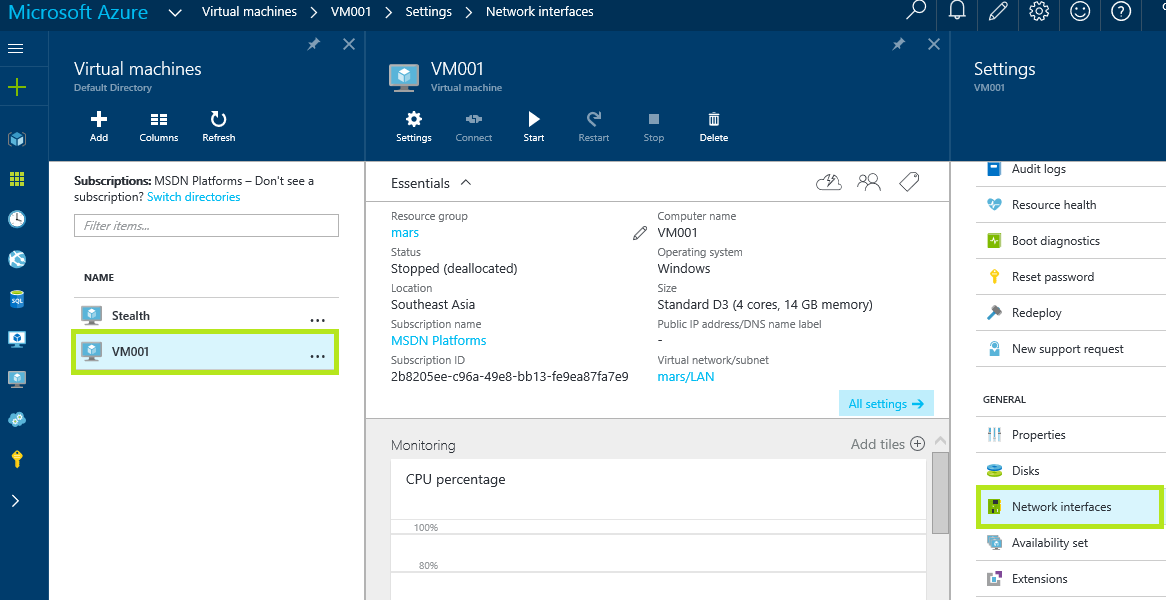
Fig 2
** **
Once the “Network Interfaces” is selected, select the name of the Network Interface card attached to the Azure VM VM001 as shown below in Fig 3. In this case, the NIC’s name is vm001765. This is just a random name and you will see a different name on your Azure VM.

Fig 3
Step 3: Configure Public IP address
Once the network interface card is selected, it will open up the network interface cards settings blade as shown in Fig 4 below. Once selected, select “IP Addresses” from the settings blade which will open up the IP Address related settings blade as shown below in Fig 4. Once done, under the “Public IP Address Settings” click on “Enabled”.
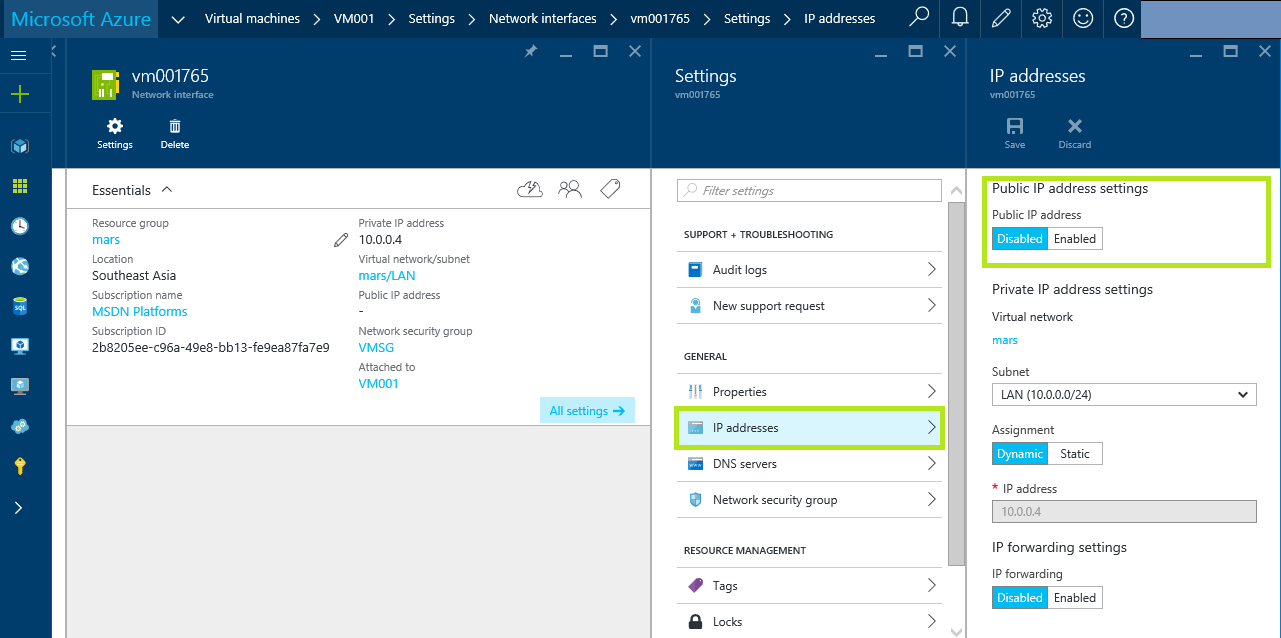
Fig 4
Once “Enabled” is clicked, it will show an “IP Address” option below it. Select the “IP Address – Configure Required Settings” which will load up the “Configure new IP Address settings blade”. Click on “Create New” and it will give the option for us to configure our Instance Level Public IP for VM001. Type in a name for the IP Address “VM001” I use in my case. This name is the DNS name and you can use whatever the name you like after planning it properly. Once done, select “Assignment” as “Static” By default it will be “Dynamic”. Since we want to make it static, select “Static” and click “OK”. This will allocate a Public IP for our Azure VM. As shown in the below Fig 5.
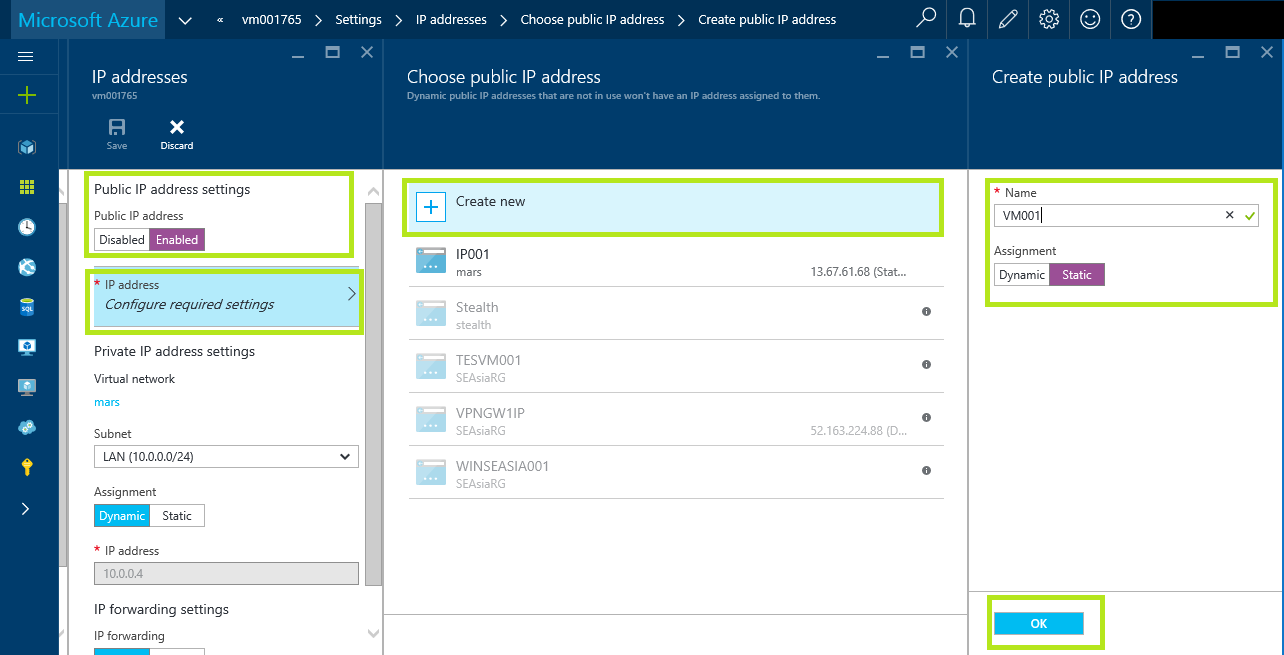
Fig 5
Once that is done, the settings will be submitted for the deployment and you will see the below message. “Creating new Public IP Address” on the notifications section as shown below in Fig 6.
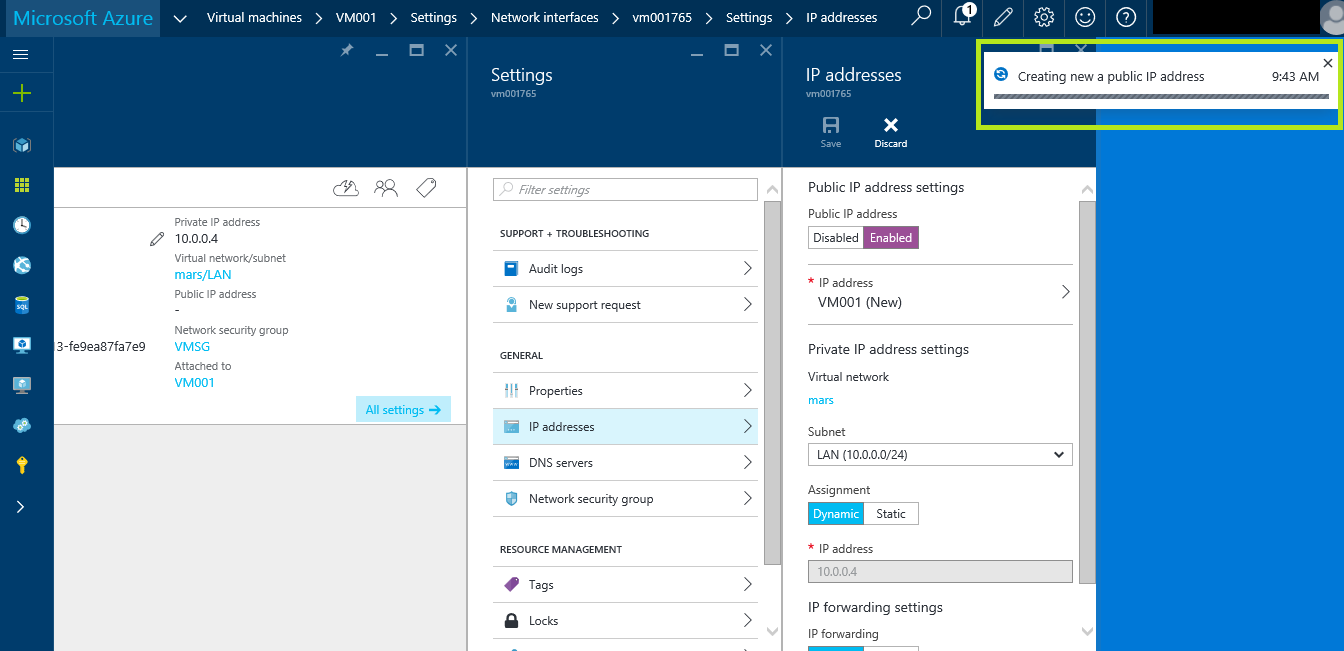
Fig 6
Step 4: Validate Public IP configuration and accessibility
Once all the settings have been successfully submitted, you will see the Public IP address under the Virtual Machines VM001’s network Interface card’s settings blade as shown below in Fig 7. This is our New Public IP and we should be able to access our Virtual Machine Azure VM001 by using this Public IP via a Microsoft Remote Desktop Connection directly.
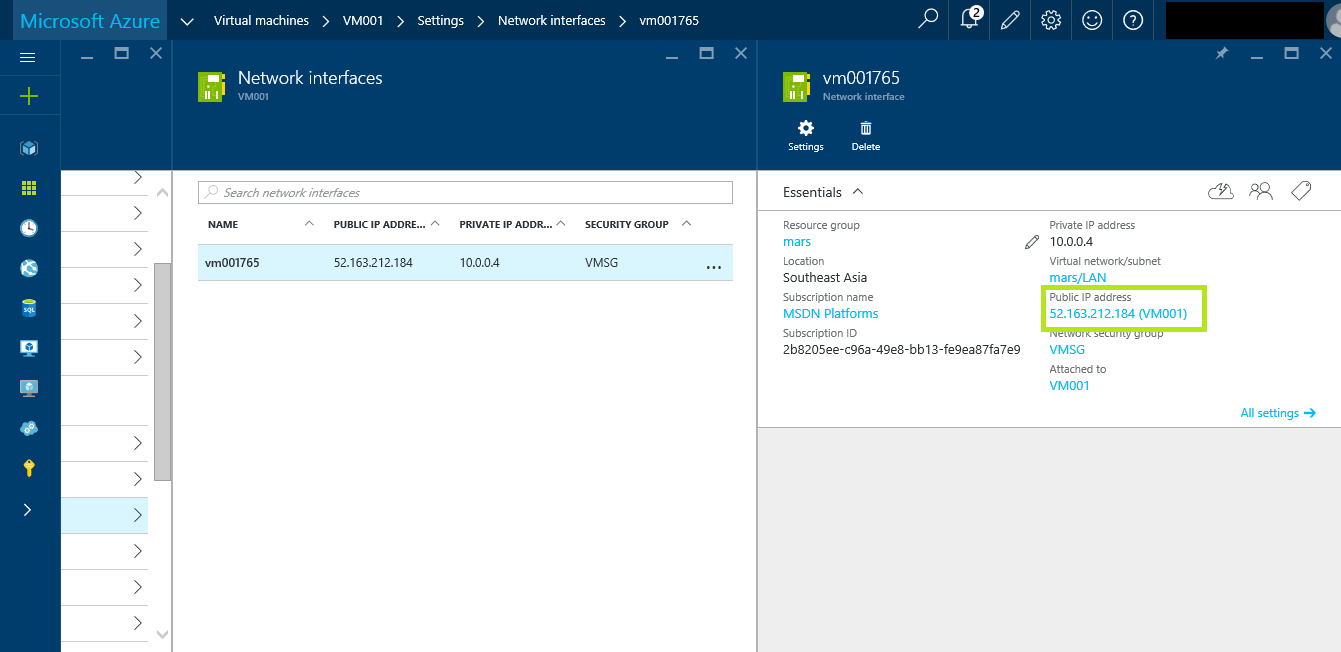
Fig 7
Conclusion
Let's summarize, using this article we learned how to configure public IP address in Azure Instances / Virtual machine and accessing it through RDP.
Please leave your feedback.