Note
Access to this page requires authorization. You can try signing in or changing directories.
Access to this page requires authorization. You can try changing directories.
Overview
This article will show how to integrate Microsoft Azure Application Insights into a web application using ASP.NET Core 1.0 to detect, triage, and diagnose issues in our web application.
Visual Studio Application Insights monitors our live application to help us detect and diagnose performance issues and exceptions, and discover how our app is used. It can be used with a wide variety of application types. It works for apps that are hosted on our own on-premises IIS servers or on Azure VMs, as well as Azure web apps.
Download code here
STEP 1 - Create Azure Account
We need to get a Microsoft Azure account. Everyone can open a Microsoft Azure account for free. Check the link below for more information.
http://www.windowsazure.com/en-us/pricing/free-trial/
STEP 2 - Create a new Application Insights in our Azure account
After authentication, select new resource, and choose the option Monitoring + Management
In the new tab that opens choose the option Application Insights.
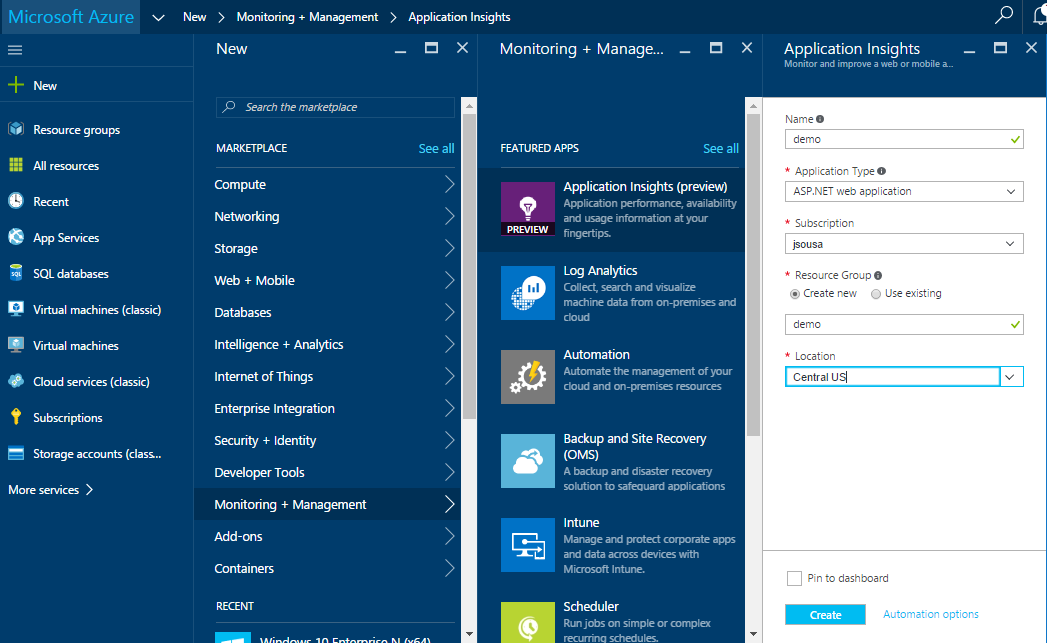
It will appear in a new window. To configure this resource we can check the image below.
On the Name field set our Application Insights configuration name. In this case, it will be called Demo. Select the Application Type on the demo to ASP.NET Web Application.
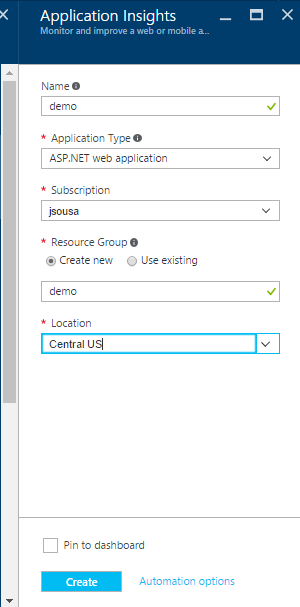
After selecting all options, select the button Create.
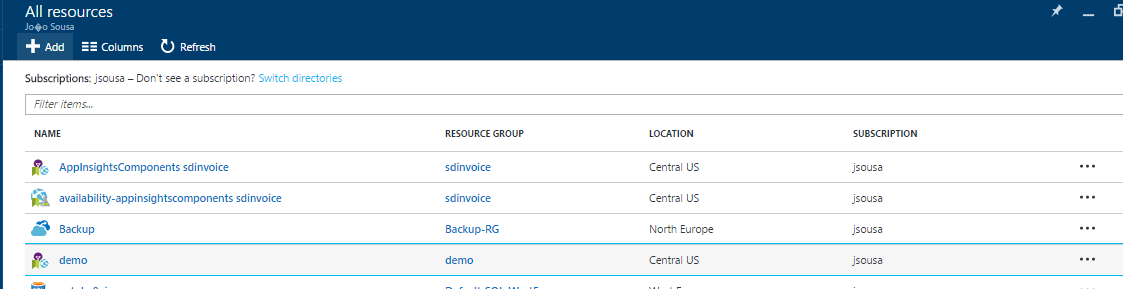
This resource will be created on the subscription selected and it will be displayed.
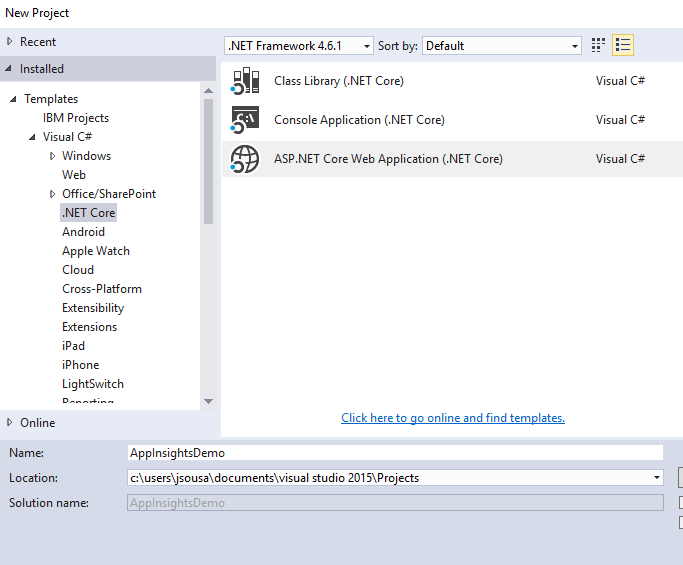
STEP 3 - Create an ASP.NET Core Web Application
Using Application Insights, it will be necessary create the project ASP.NET Core Web Application.
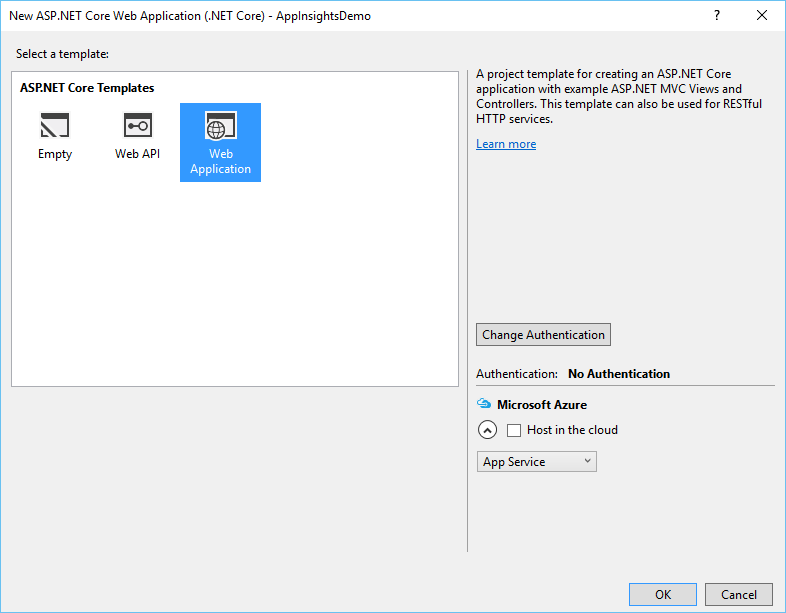
Select the template Web Application on ASP.NET 5 Ttemplates.
Named it AppInsightsDemo, and click OK.
Select Web Application, make sure the "Host In the cloud" is not marked, and click OK.
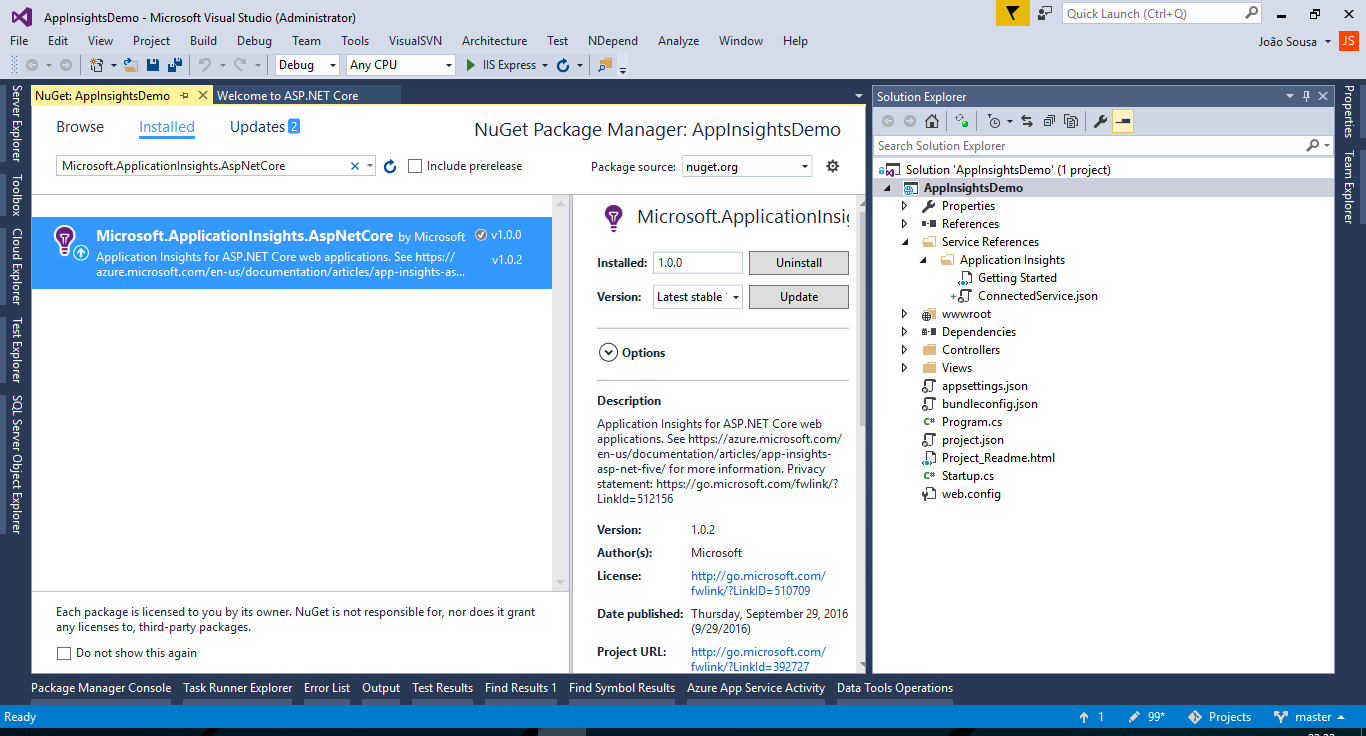
Add the NuGet package Microsoft.ApplicationInsights.AspNetCore to the solution.
STEP 4 - Configure Application Insights into our Web Application
After installing the package we should configure the key from the resource created on the Azure Portal.
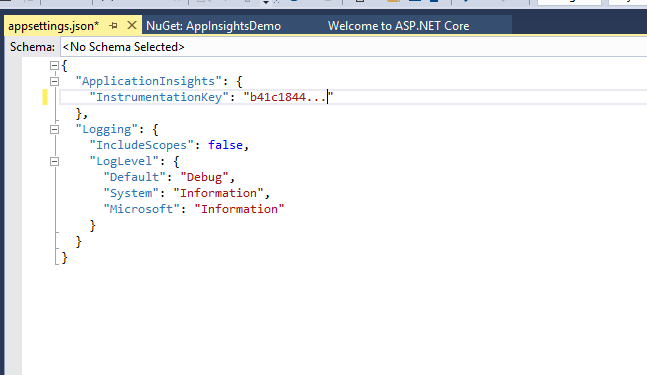
Select the file appsettings.json on our solution.
Go to the Azure Portal and then into the Demo Application Insights created. Check the settings like the image below:
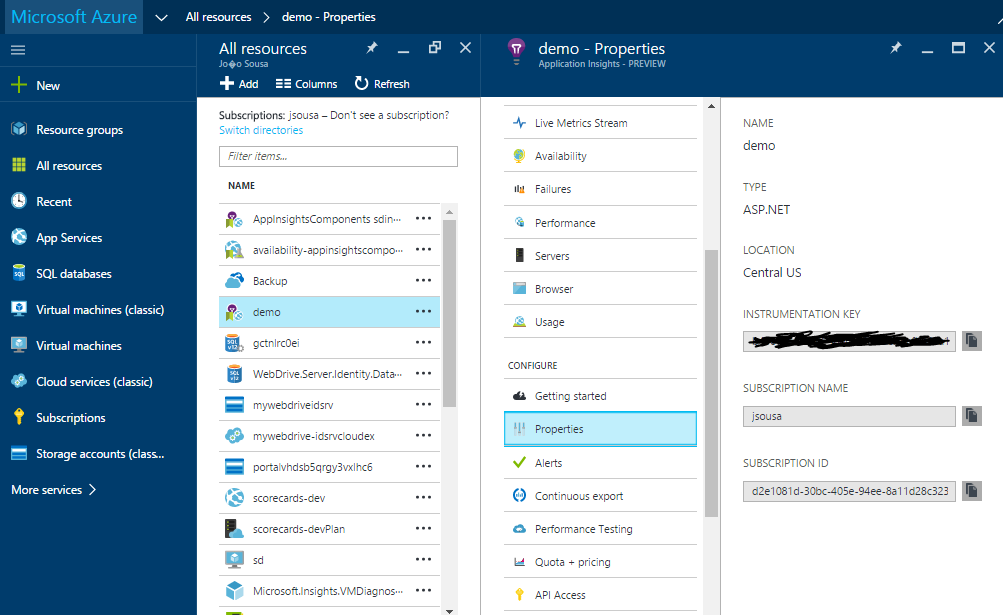
Open the appsettings.json file and copy our instrumentation key from the Azure Portal.
Our Startup class looks like this:
using System;
using System.Collections.Generic;
using System.Linq;
using System.Threading.Tasks;
using Microsoft.AspNetCore.Builder;
using Microsoft.AspNetCore.Hosting;
using Microsoft.Extensions.Configuration;
using Microsoft.Extensions.DependencyInjection;
using Microsoft.Extensions.Logging;

namespace AppInsightsDemo
{
    public class  Startup
    {
        public Startup(IHostingEnvironment env)
        {
            var builder = new  ConfigurationBuilder()
                .SetBasePath(env.ContentRootPath)
                .AddJsonFile("appsettings.json", optional: true, reloadOnChange: true)
                .AddJsonFile($"appsettings.{env.EnvironmentName}.json", optional: true)
                .AddEnvironmentVariables();

            if (env.IsDevelopment())
            {
                // This will push telemetry data through Application Insights pipeline faster, allowing you to view results immediately.
                builder.AddApplicationInsightsSettings(developerMode: true);
            }

            Configuration = builder.Build();
        }

        public IConfigurationRoot Configuration { get; }

        // This method gets called by the runtime. Use this method to add services to the container.
        public void  ConfigureServices(IServiceCollection services)
        {
            // Add framework services.
            services.AddApplicationInsightsTelemetry(Configuration);
            services.AddMvc();
        }

        // This method gets called by the runtime. Use this method to configure the HTTP request pipeline.
        public void  Configure(IApplicationBuilder app, IHostingEnvironment env, ILoggerFactory loggerFactory)
        {
            loggerFactory.AddConsole(Configuration.GetSection("Logging"));
            loggerFactory.AddDebug();

            app.UseApplicationInsightsRequestTelemetry();

            if (env.IsDevelopment())
            {
                app.UseDeveloperExceptionPage();
                app.UseBrowserLink();
            }
            else
            {
                app.UseExceptionHandler("/Home/Error");
            }

            app.UseApplicationInsightsExceptionTelemetry();

            app.UseStaticFiles();

            app.UseMvc(routes =>
            {
                routes.MapRoute(
                    name: "default",
                    template: "{controller=Home}/{action=Index}/{id?}");
            });
        }
    }
}
STEP 5 - Test Web Application
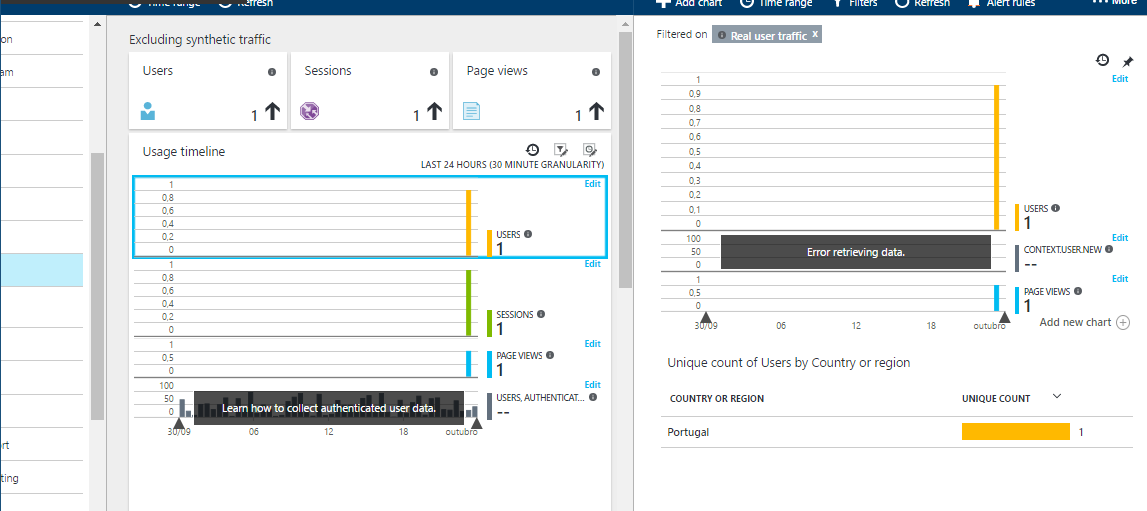
To test the integration of Application Insights into our application, just run it.
The collection of information will start immediately.
Resources
Application Insights: https://www.visualstudio.com/products/application-insights-vs