Azure App Service: Deploying a Bitbucket repo
Online hosting of your code is a normal experience for developers in today’s world. GitHub is the most common site for code hosting but unless you pay for a private repository, all of your code is exposed publicly. Bitbucket by Atlassian offers free private repos and this makes it an excellent alternative when you want to discreetly host your code in the cloud.
In this article, we will build our first Bitbucket repo to house a Jekyll (the open-source static site generator) website. We will then push the site to Azure Web Apps and host it via Azure App Service.
Creating A Bitbucket Repo
Once your Jekyll (or any other) website is created, we want it to be accessible to the world via the internet. To do this, we can push the site to Azure for cloud-based hosting.
To make sure we can access the Jekyll files from Azure, the source code must exist in a version-controlled repository Azure can access. For this example, we will move the code into a private Bitbucket Git repo via PowerShell.
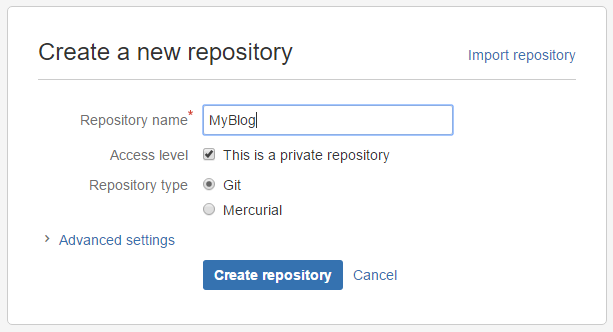
- Log into Bitbucket.
- Click Repositories > Create repository.
- Enter a Repository Name and optional Description (under Advanced Settings).
- Leave Access Level checked if you want to keep your repository hidden from the public.
- Set the Repository type to Git.
- Click Create repository.
The newly created repository is found under Repositories on the blue menu bar at the top of the page.

Pushing Code To Bitbucket
To move your code into Bitbucket, use the following commands in PowerShell. We first need to initialize our local repo before we can push the source code.
- Return to the open PowerShell window.
- Navigate to the folder housing your website files. These are the items we want to deploy. For Jekyll, this would be the _site folder.
- Use the following command to initialize the directory under source control: git init
- Run the following command git status. Your untracked files should appear in red.
- Add all the files to your local Git repo: git add . (including the period)
- Next, commit the files to the local repo with a commit message: git commit -m 'Initial commit of site'
- Connect the local repository to the remote repository on Bitbucket: git remote add origin https://{Bitbucket username}@bitbucket.org/{Bitbucket username}/myblog.git
- Finally, push your code to the remote repo on Bitbucket: git push -u origin
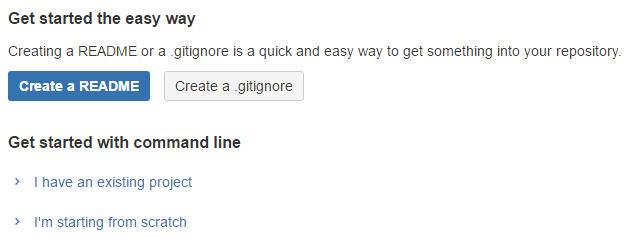
NOTE: Once you create your repository on Bitbucket, the repository page includes instructions on working with an existing project. It also includes the remote add path you need in step seven above.
Deploying To Azure
We are now ready to move our project code from our Bitbucket Git repository to Microsoft Azure. Follow the steps below to host your project on an Azure Web App:
Navigate to portal.azure.com to create a new Azure Web App.
Click +New > Web + Mobile > Web App.

Fill in all the required fields to create the Web App and click Create.
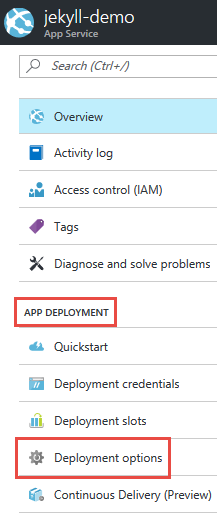
Once the web app is provisioned, it’s time to link it to your Bitbucket repo.
In the Web App blade, under the App Deployment section, click Deployment options.
The Deployment Source blade opens. Click Configure required settings and select Bitbucket as the source.
Authorize Azure to connect to your Bitbucket account by clicking Grant access.Click OK to complete the authorization process.
Under the Choose Project blade, click the name of the Bitbucket repo you created.
Next, under the Choose Branch blade, choose your release branch (usually Master).

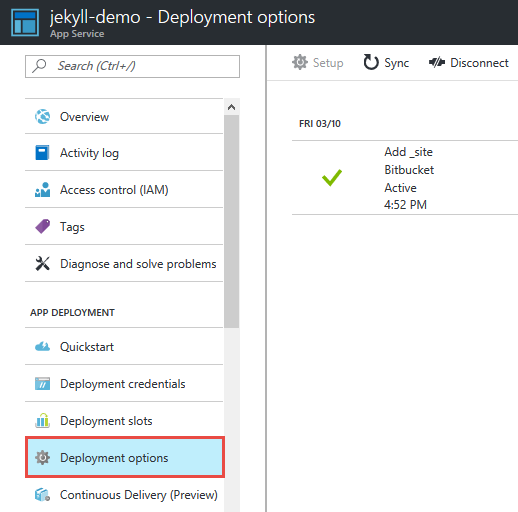
Click OK. Azure sets up your deployment source.
Your Web App is now configured to read code from your Bitbucket repo.
Return to the Overview blade of your Azure Web App and click the site URL.

The page shows your deployed Jekyll site.

Summary
In this article, we have seen how to push a website to a Bitbucket repo, and how to deploy it to Azure Web Apps. As you expand your website, you can also set up continuous deployment options so the site is constantly updated with new content.
See Also
- Understanding Microsoft ASP.NET WebHooks
- Visual Studio Team Services: Connecting a BitBucket Repository
References
Credits
Text for this article was taken from the author’s blog post: Running Jekyll on Windows & Azure