Create A Microsoft Flow That Saves Outlook Attachments To a SharePoint Library
The general availability of Microsoft Flow was announced on October 31 by Stephen Siciliano in this blog. Flow makes it easier to automate the business processes and Microsoft is investing a great amount of time in developing Power Apps and Flow, as it is going to play a huge role in the future, which is stated by the official product update. Microsoft Flow is a cloud-based service that makes it simple to automate common tasks and business processes across your applications and services, such as Office 365, Slack, Drop Box, Sales Force .com, Dynamics 365 and many more. You can visit the Microsoft Flow site to get the first-hand experience of Flow.
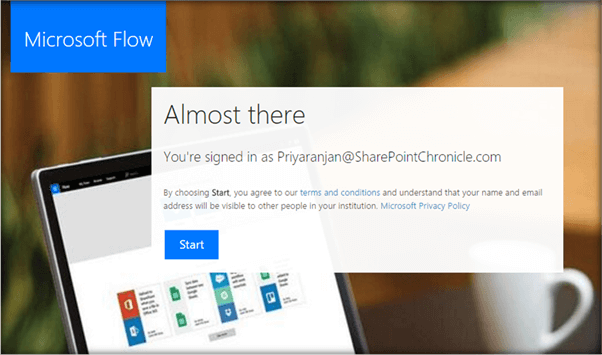
In case you have not signed up for Microsoft Flow, it can be done pretty easily from the Flow Site.

In this article, we will see how to automatically save the attachments associated with an Outlook Mail to SharePoint List using Microsoft Flow. This helps to archive the Outlook attachments.
SharePoint Prerequisites
As the first step, let's create a SharePoint List that will hold the Outlook attachments.

From the list, Select Create a Flow option.
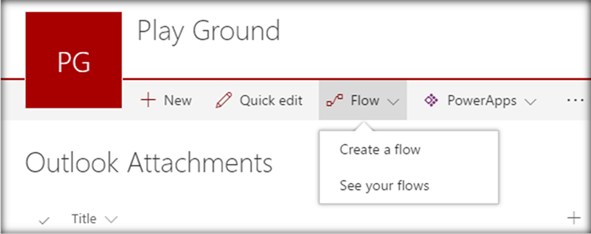
It will open up the flow options available. Select See more templates options

From the extended set of Flow options, select Save my email attachments to a SharePoint Document library.

To get started with configuring the flow action, select Use this template.

Ensure that the tick mark is present against both the components – Outlook and SharePoint. Otherwise, a sign in button will be present against it. Click on Continue.
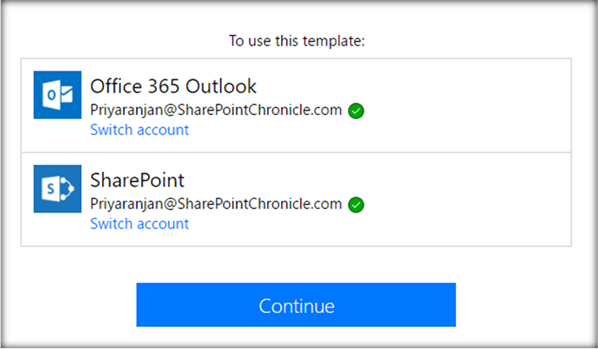
It will open up the default flow action steps for saving the Outlook attachment to a SharePoint List.

In the On new email action, specify the folder of the Outlook mail where the flow will be attached.
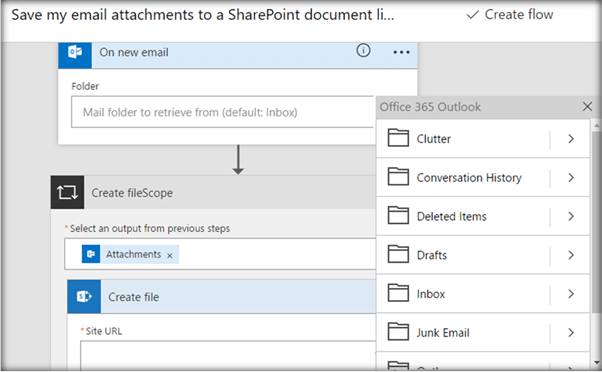
Here let’s specify it as Inbox as we are more concerned about saving the email attachments that come to the inbox.

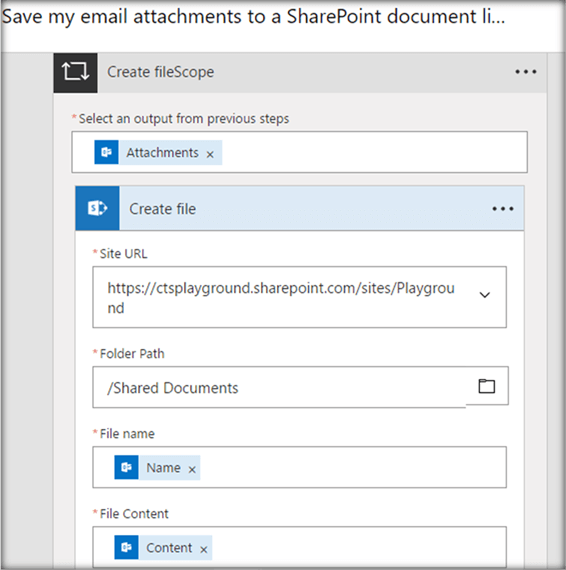
In the Create fileScopeaction set the Site URL and Folder Path variables to appropriate SharePoint location values.
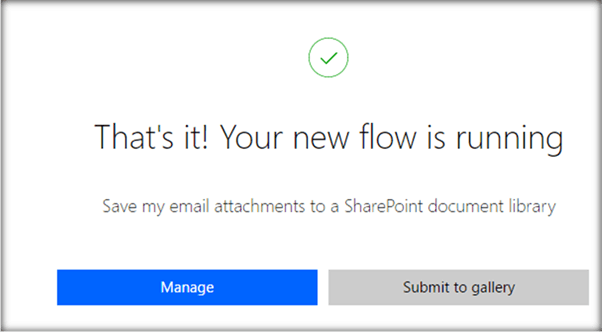
Click on Create Flow and subsequently on Done to create the Flow.

The new flow has been created.
Test the Flow
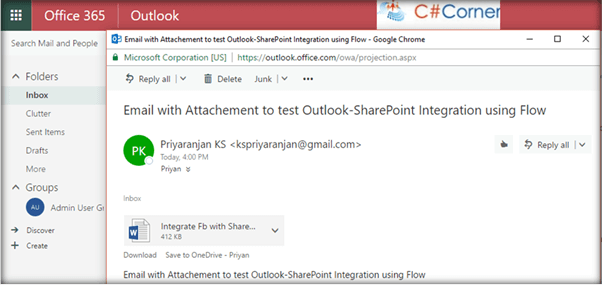
In order to test the flow, create a new mail and send it to the Outlook mail address that was used in the authentication step.

Make sure that the attachment that is intended to be copied to SharePoint is attached to the mail.
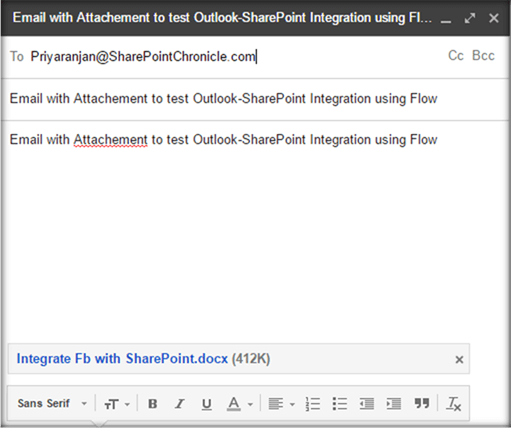
On sending the mail, the Outlook address has received the send mail as shown below.
Let’s head over to the SharePoint Library where the flow is attached. We can see the attachment of the mail has been copied to the Document Library.

If we go to the Flow Site, we can edit the existing flow from My Flows. We can also conditionally turn On/Off the flow.
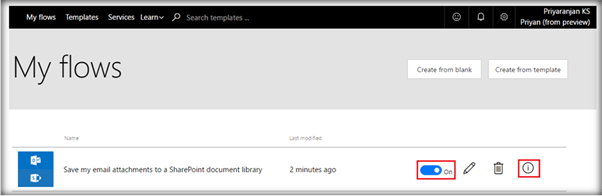
The inverted exclamation mark will also show the previous run time history of the flow.
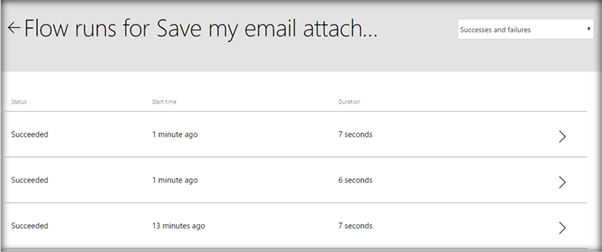
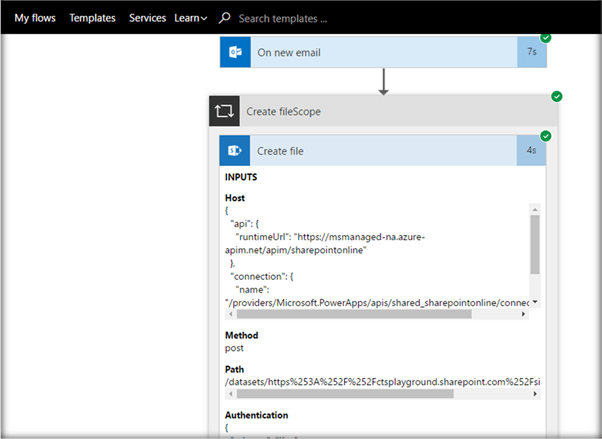
Clicking on the arrow next to each run detail will give further internal functioning steps of the flow.
If we have some new steps to be added to the flow, we can add them and click on Update Flow to modify the flow.

Summary
Thus we saw how to create a Flow that saves the Outlook attachment to SharePoint Document Library.