Exchange 2016 - Create new internal Certificate.
In any organization running Exchange 2010, Exchange 2013 or Exchange 2013, the internal certificate that is part of Exchange once you have done an installation will expire after five years.
Sometimes Admins remove these certificates but can lead you to issues down the line when your SSL certificate has expired or was removed and now you cannot either do an upgrade or "lock" yourself out because the bindings are set to this certificate.
To re-create this internal certificate on Exchange is very easy. Let's begin.
Launch the Exchange Management Shell on the respective server.
Type in the following command:
- New-ExchangeCertificate -Server <ServerName>
(Replace <ServerName> with your internal server name)
Below are three different screenshots for Exchange 2010/2013 and 2016.
Exchange 2010 - New-ExchangeCertificate
https://collaborationpro.com/wp-content/uploads/2017/10/CAS1.png
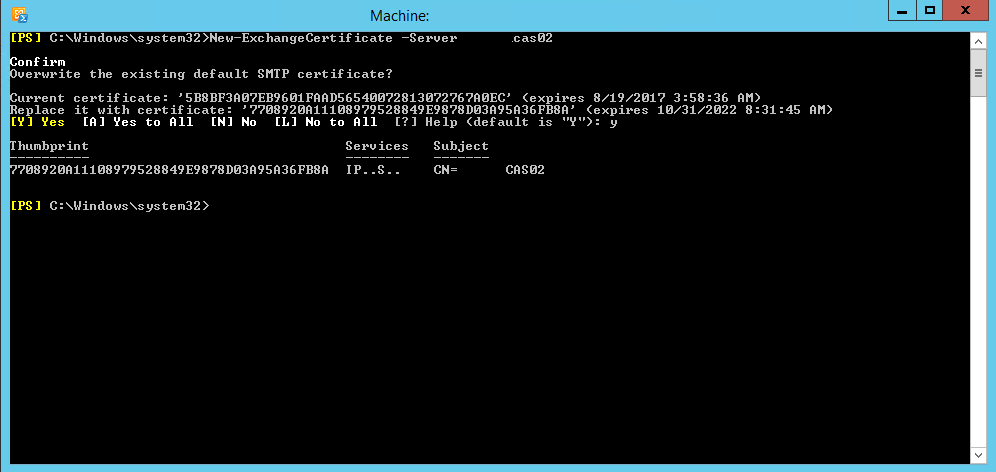
Exchange 2013 - New-ExchangeCertificate
https://collaborationpro.com/wp-content/uploads/2017/10/CAS2.png
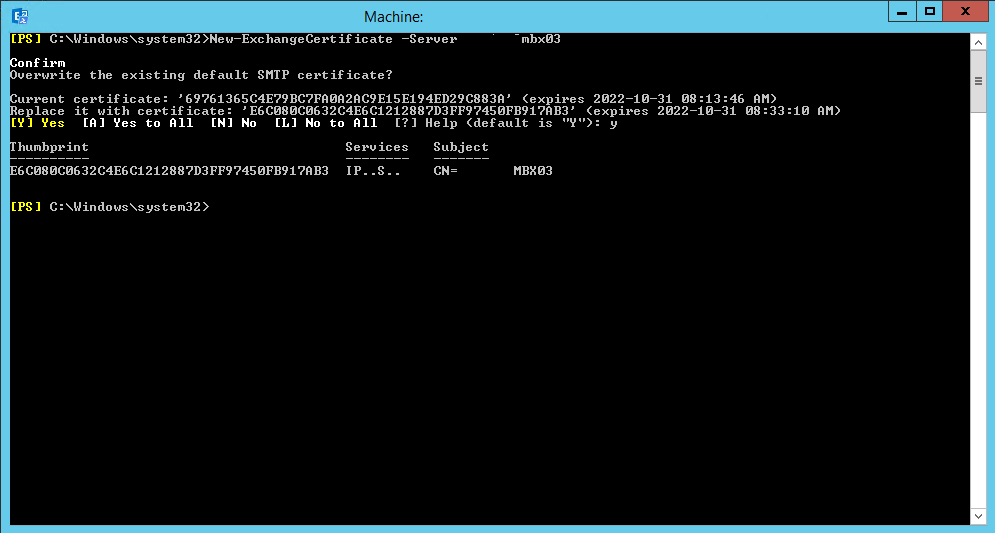
Exchange 2016 - New-ExchangeCertificate
https://collaborationpro.com/wp-content/uploads/2017/10/CAS3.png
As you can see above, it is the same on all three versions. You will notice a prompt to replace the certificate if it exists and you can just type in "Y" to proceed.
If you want to change the bindings or having issues with a blank EAC page or if the EMS won't launch, check your bindings, you can view one of our previous posts here for troubleshooting:
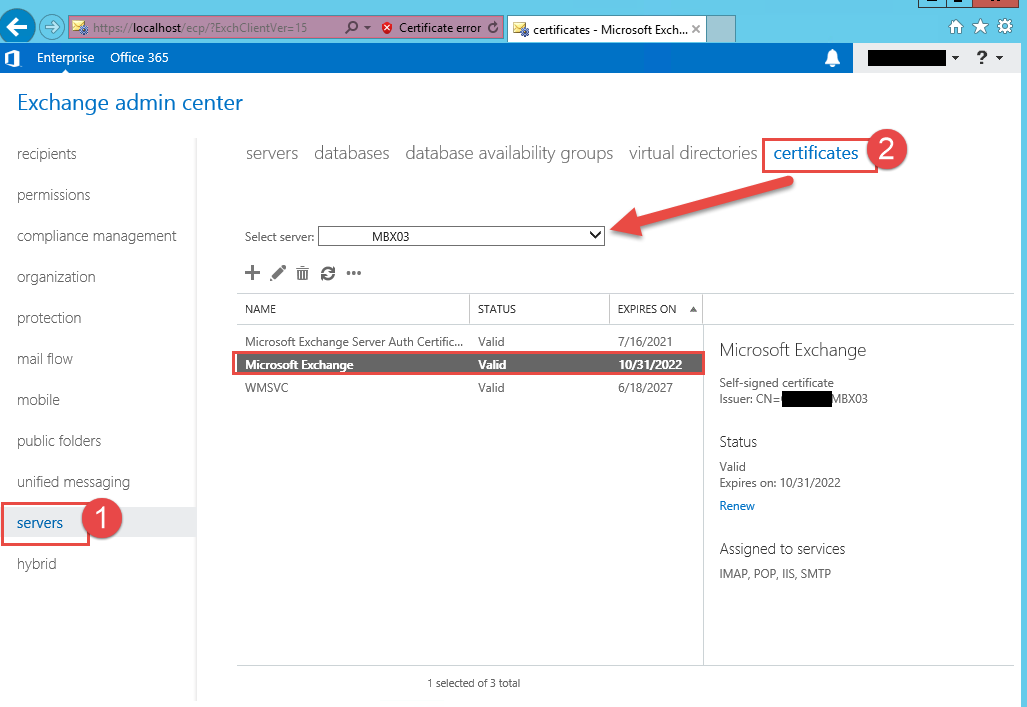
Viewing the new certificate in the ECP/EAC
You can login to the Exchange Control Panel or Admin Center and view the new certificate you created:
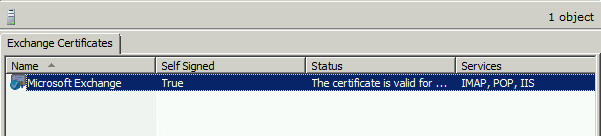
Exchange 2010 ECP:
https://collaborationpro.com/wp-content/uploads/2017/10/CAS4.png
Exchange 2013/2016 EAC:
https://collaborationpro.com/wp-content/uploads/2017/10/CAS5.png
If you want to view the certificate in the EMS as well you can run the following command:
- Get-ExchangeCertificate