ASP.NET Core 2.0 - Apply bootstrap template
Introduction
This article walks you through the steps for creating an ASP.NET Core 2.0 Web Application using Bootstrap as the template for layout.
STEP 1 - Creating the ASP .NET Core Project in VS 2017
Open VS 2017 and on the File menu click New Project. Then select the Visual C # -> Web template and check ASP.NET Core Web Application (.NET Core).

Then enter the name AspNetCoreDemo and click OK.
In the next window, choose the ASP.NET Core 2.0 version and mark the Web Application (Model-View-Controller) template without authentication and click the OK button:

STEP 2 - Upgrade version if necessary
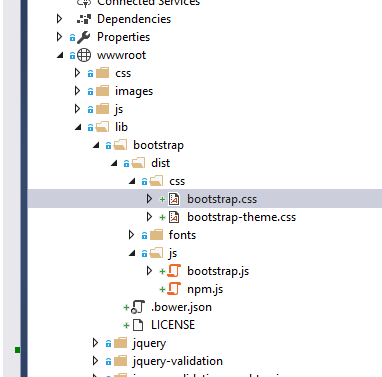
You can verify the version of bootstrap in two ways.
First one, accessing the files on the wwwroot\lib\bootstrap\dist\css folder. If open for example the file Bootstrap.css, we can check that the version of bootstrap is the 3.3.7
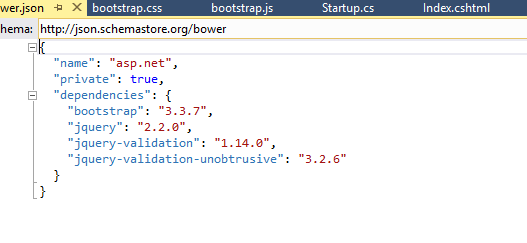
Another way to verify the bootstrap version is to check the installed Bower package.
Just select the bower.json file on the project and check the version.
STEP 3 - Change Layout
The default bootstrap template used in Visual Studio 2017 is Jumbotron. Jumpotron’s original source code is available here in the bootstrap website.
On this sample, we will change this template to a free bootstrap template Creative that could be download here: https://startbootstrap.com/template-overviews/creative/.
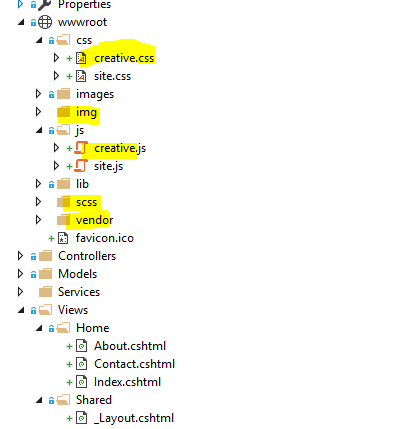
To make that change we need to:
- Add the stylesheet creative.css to the CSS folder
- Add the stylesheet creative.js to the JS folder
- Add the image folder from template downloaded
- Add the CSS folder from template downloaded
- Add the vendor folder from template downloaded
- Now, open the layout file _Layout.cshtml in the Shared folder under Views Folder
Copy the content from index.html to layout.cshtml according to your layout
This is the sample created with the solution:

This is the sample after our changes:
