Visual Studio For Office (VSTO): How to Re-Enable an Add-In That Has Been Disabled
Introduction
In this article, you will learn how to re-enable a VSTO add-in that has been disabled.
Disabled VSTO Add-ins
Whenever running our VSTO Add-in application, sometimes we see one dialog box with Yes & No buttons.
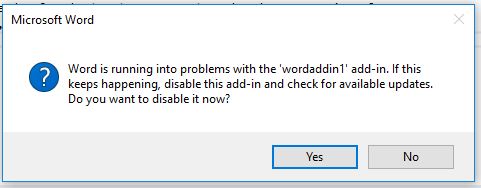
When you click "Yes", the VSTO Add-in will be disabled for a long time until we enable it. So please check the following steps to enable VSTO Adds-In our Word application.
Step 1
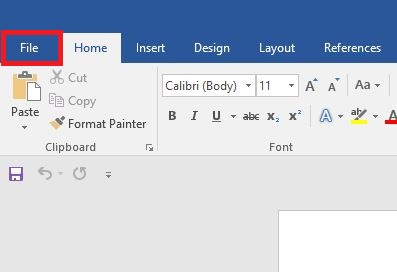
Click the "File" menu in Microsoft Office.
Step 2
Once we click the "File" menu, then it will open another menu with "Options" button. Click the "Options".

Step 3
Once we click the "Options" button, it will open a dialog box. Then, click the "Add-ins" in the left menu panel.
Step 4
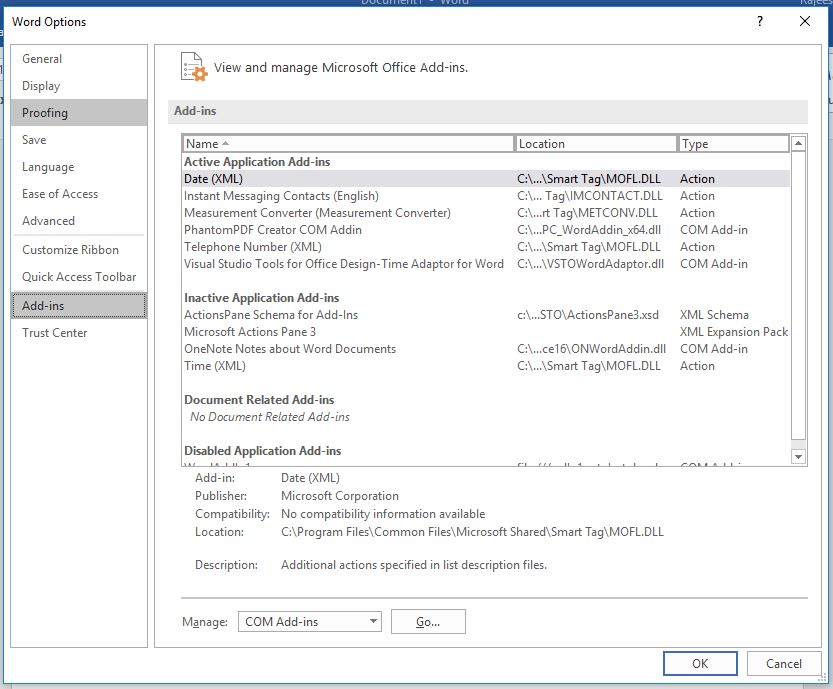
The "Add-ins" will provide multiple options, but we need to enable the Add-ins in our application; so click your application name (WordAddIn1 is our app name) inside the "Disabled Application Add-ins" list. Then, select "Manage" as "Disabled Items" in the drop-down list and click the "Go" button.

Step 5
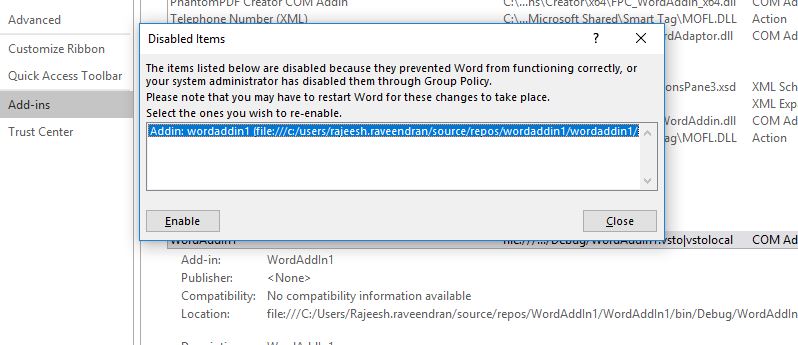
Once we click the "Go" button, it will pop up one more dialog box. In that dialog box, just click and select your app name and then click the "Enable" button. Then, click "OK" button in "Step 4". Once we have done this, the customized Add-ins will start appearing in the Office application.
Summary
We learned how to re-enable a VSTO Add-in that has been disabled in MS Word. Hope this article will be useful for beginners.
See Also
It's recommended to read more articles related to ASP.NET Core.
- ASP.NET CORE 1.0: Getting Started
- ASP.NET Core 1.0: Project Layout
- ASP.NET Core 1.0: Middleware And Static files (Part 1)
- Middleware And Staticfiles In ASP.NET Core 1.0 - Part Two
- ASP.NET Core 1.0 Configuration: Aurelia Single Page Applications
- ASP.NET Core 1.0: Create An Aurelia Single Page Application
- Create Rest API Or Web API With ASP.NET Core 1.0
- ASP.NET Core 1.0: Adding A Configuration Source File
- Code First Migration - ASP.NET Core MVC With EntityFrameWork Core
- Building ASP.NET Core MVC Application Using EF Core and ASP.NET Core 1.0
- Send Email Using ASP.NET CORE 1.1 With MailKit In Visual Studio 2017
- ASP.NET Core And MVC Core: Session State
- Startup Page In ASP.NET Core
- Sending SMS Using ASP.NET Core With Twilio SMS API
- Create And Deploy An ASP.NET Core Web App In Azure
- Chat Bot with Azure Bot Service
- Create An Intelligent Bot Application Using Microsoft Bot Framework