Azure VM: Merge Multiple Domain Controllers Into Azure Nested Virtualized VMs (Part 2)
Series
This article is a part of a series. (Part 1), (Part 3)
<<Part 1
Introduction
In part 1 of these series post, we learn how to deploy the Azure VM with its components (Storage, VNet) and the Virtual Network Gateway for the Point-To-Site VPN connection. In this one, we will see how to enable the Hyper-V role, set up the internet connectivity for the guest VM and create the nested Virtual Machine
The Hyper-V Feature
To enable the Hyper-V role/feature we have to follow the next steps.
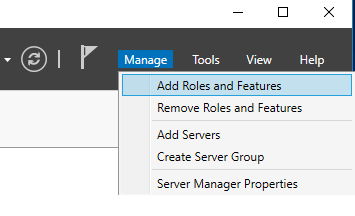
Step 1 - Add Roles and Features
From the Server Manager, select Manage - Add Roles and Features
Step 2 - Before You Begin.
In the Add Roles Wizard, click Next >

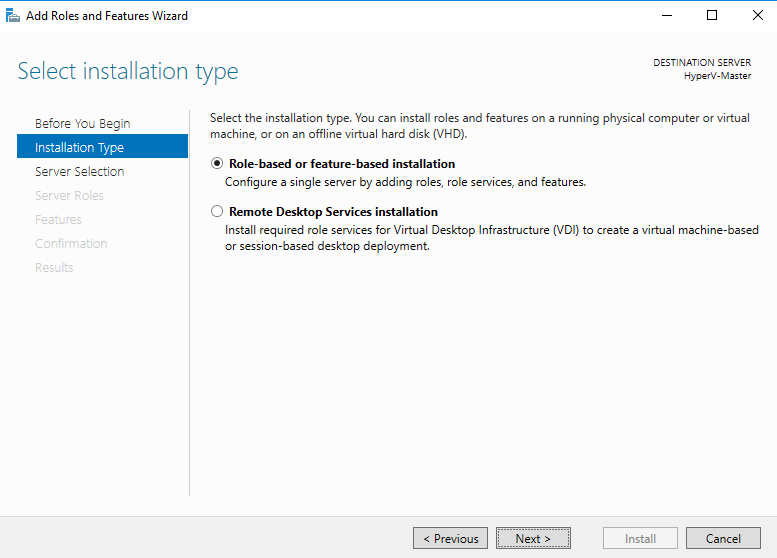
Step 3 - Select installation type
Select the installation type, Role-based or feature-based installation (default), and click Next >
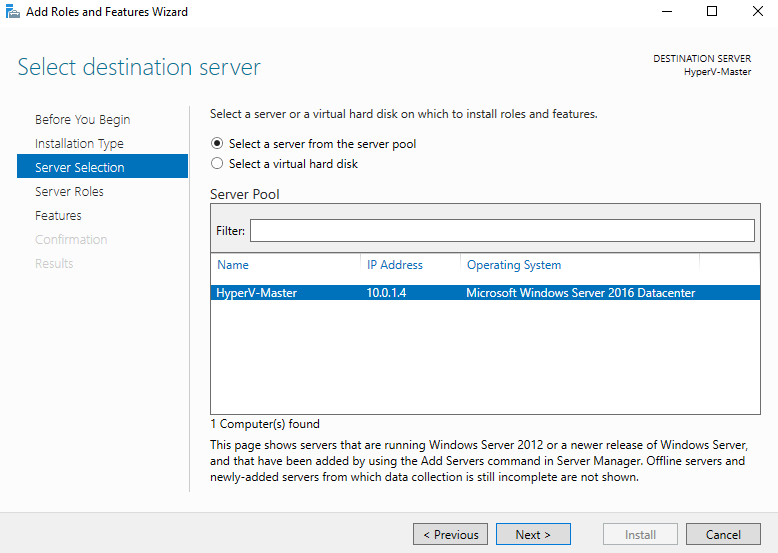
Step 4 - Server Selection.
In the server selection window, just click Next >
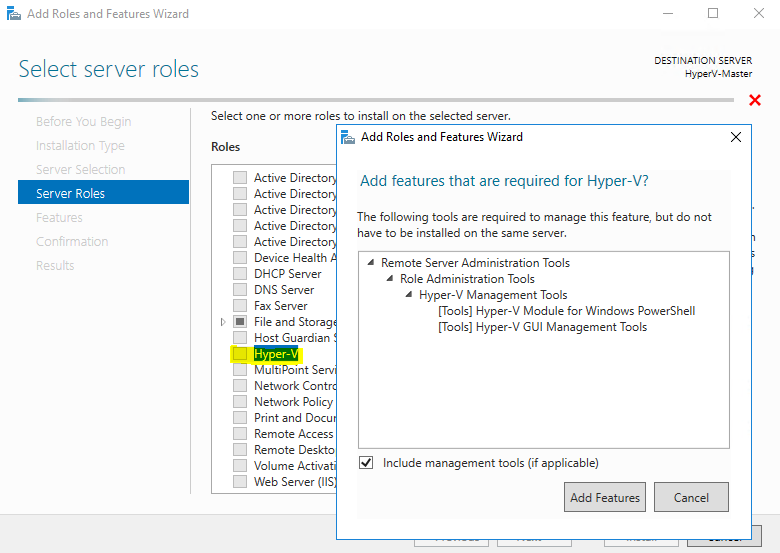
Step 5 - Select server roles
From this point, select the required features for the Hyper-V role.
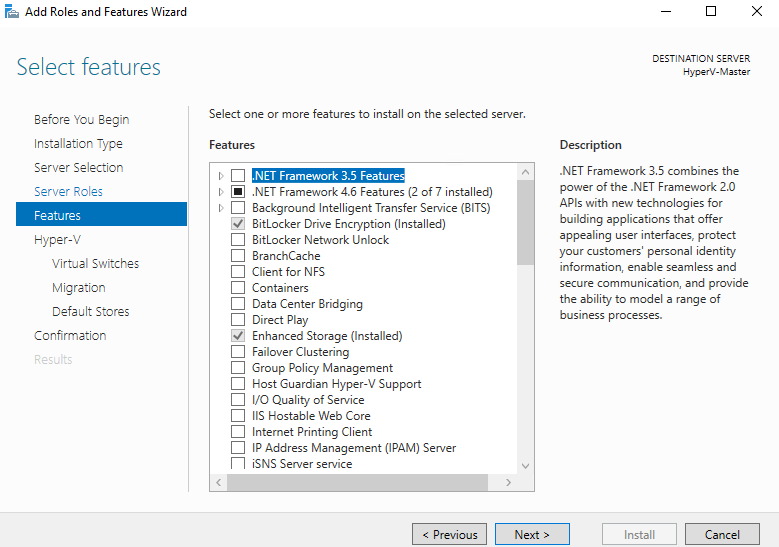
Step 6. Select Features
In the previous step, we Added the Hyper-V role, in this we just click Next >
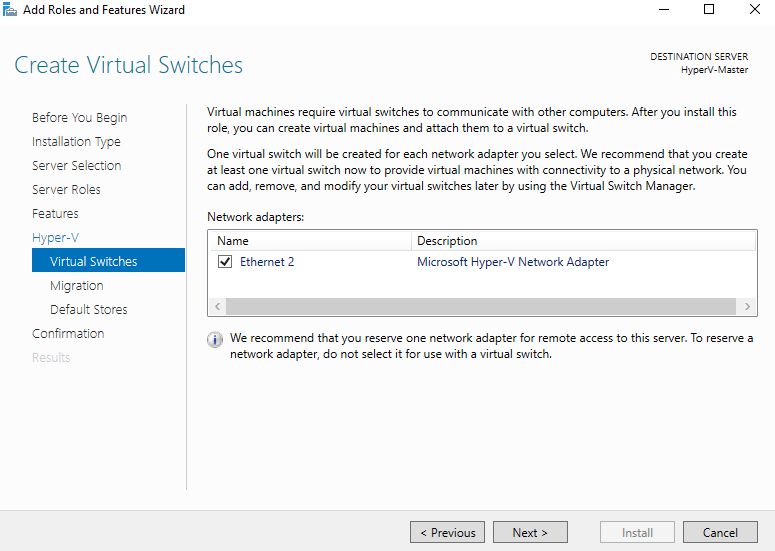
Step 7 - Create Virtual Switches
Select Ethernet card and click Next >
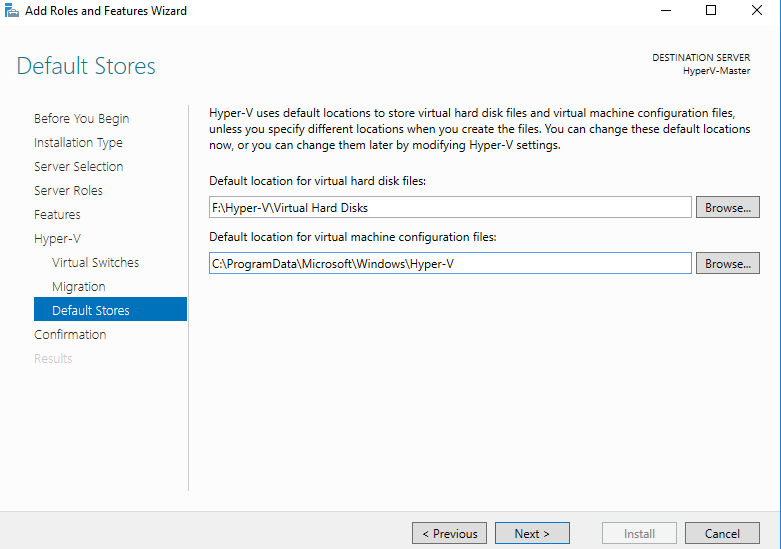
Step 8 - Default Stores
Use the default location for virtual disk and configuration files, or select a new and click Next > to continue.
Step 9 - Confirm installation selections
Confirm the configuration and click Install, to begin

Hyper-V Manager
In the following steps we proceed with the Hyper-V configuration.
Step 1 - Create a Nat Virtual Switch
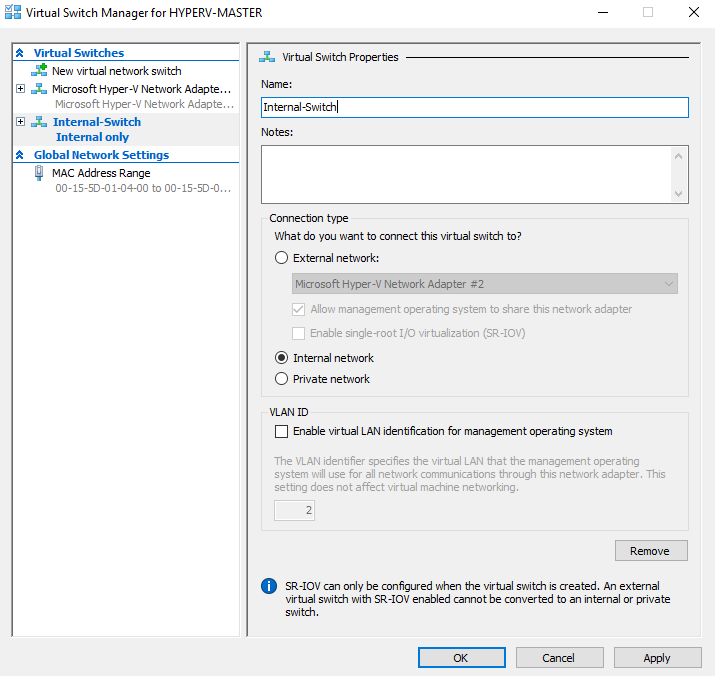
Open the Hyper-V Manager. From the right side click Virtual Switch Manager... - Select **Internal **and click Create Virtual Switch.
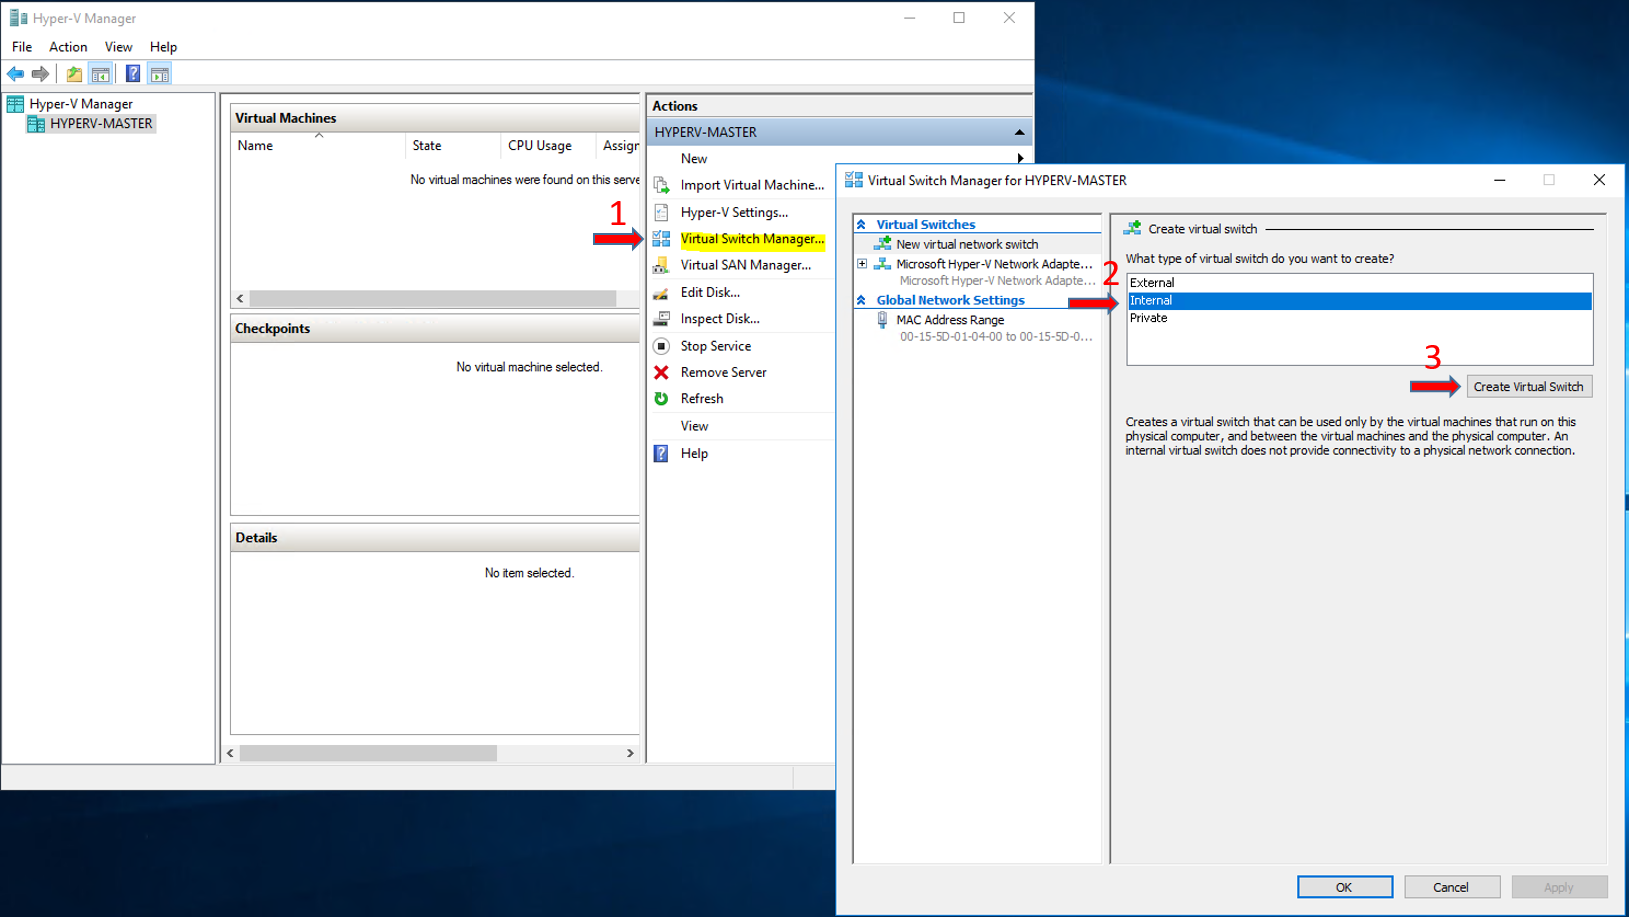
Type a Name, e.g [Internal-Switch], and click OK.
Execute the Get-NetAdapter PowerShell command to view the virtual switch properties and keep note of the ifindex parameter.

We keep the ifindex parameter and we move on to the next step to create the IP address for the NAT Gateway.
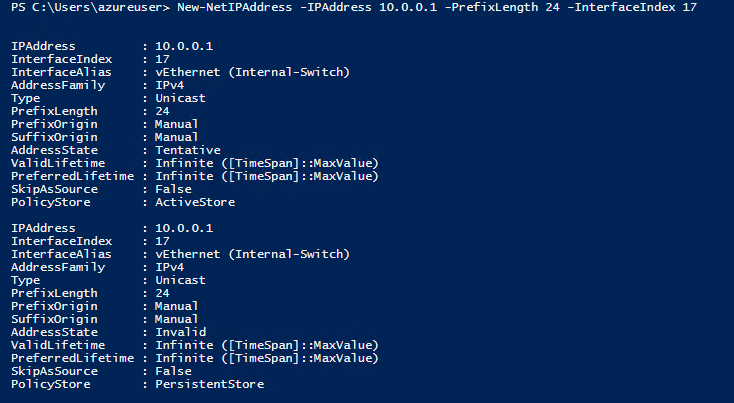
To do that we execute the command New-NetIPAddress,
New-NetIPAddress - IPaddress 10.0.0.1 -PrefixLength 24 -InterfaceIndex 17
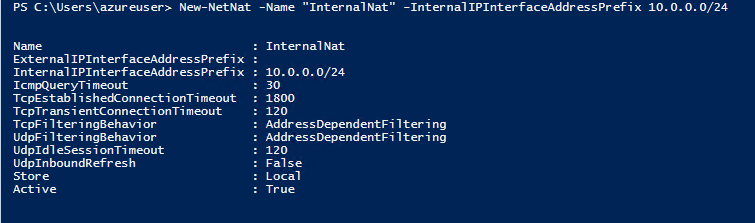
The next and final step in terms of NAT Gateway creation is the New-NetNat command
New-NetNat -Name "InternalNat" -InternalIPInterfaceAddressPrefix 10.0.0.0/24
Download Windows Server 2019 Image
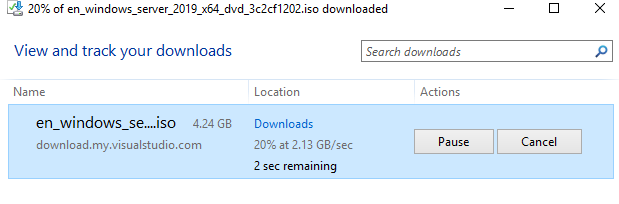
It is assumed that we do not have any image and we need to download a new one to start the nested VM deployment. In that case, we can download it from the host Virtual Machine. In the image below we can see that we download the image in 10 seconds!
Deploy Nested Virtual Machine
Open the Hyper-V Manager, from the right pane [Actions], select **New **- Virtual Machine...

Step 1 - Before You Begin
This is the first screen of the deployment Wizard and we just click Next> to continue.

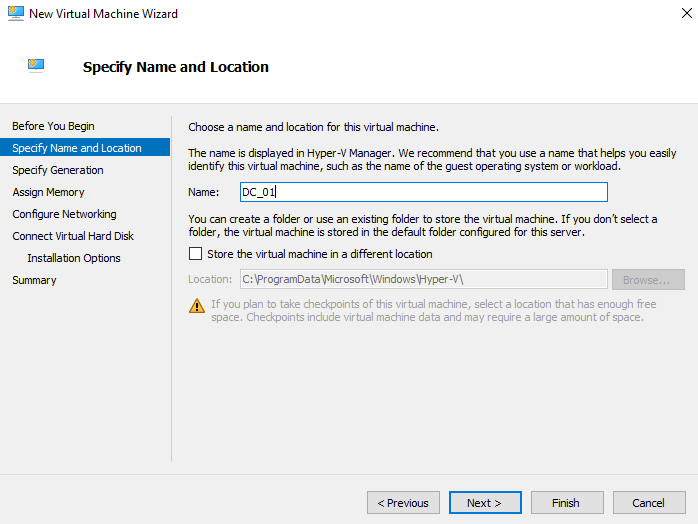
Step 2 - Specify Name and Location
At the next step type the Nested VM name and click Next >
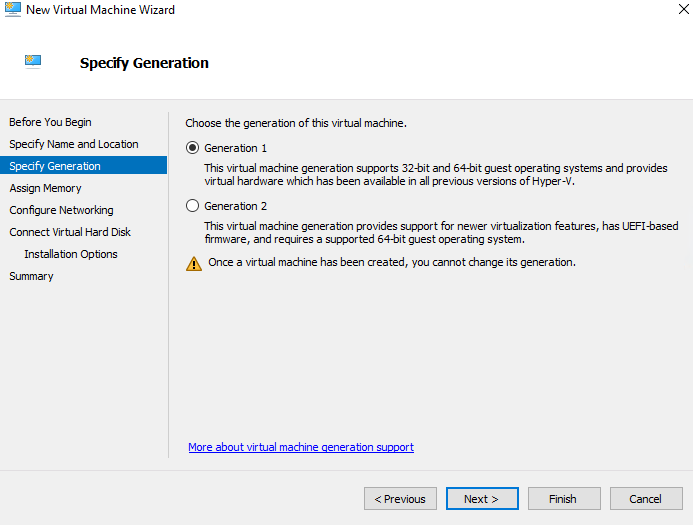
Step 3 - Specify Generation
Select the generation of the Virtual Machine, leave the default (Generation 1), and click Next >
Step 4 - Configure Networking
In 4th step select the Virtual Switch which the Virtual Machine network adapter will use.

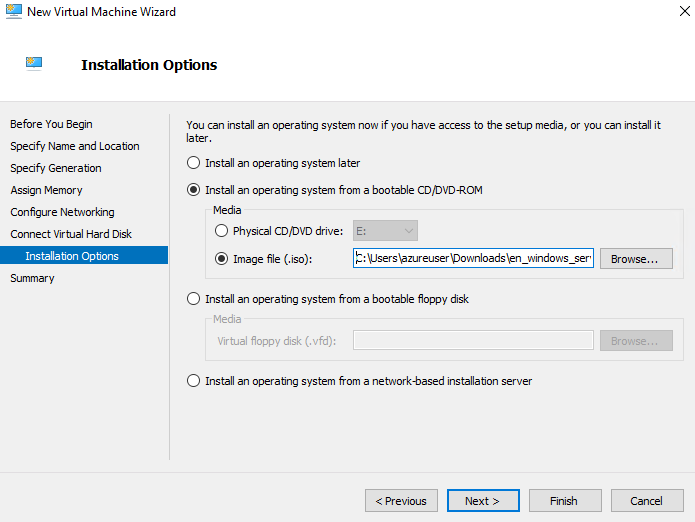
Step 5 - Installation Options
Select the option "Install an operating system from a bootable CD/DVD-ROM" - Image file(.iso), click Browse, choose the Windows Server 2019 image file and click Finish.
Summary
In Part 2 we see how to Add the Hyper- V Role/Feature, and also how to configure the Virtual Switch in the Hyper-V application and finally the Virtual Machine. At Part 3 we will see the last steps of this scenario which are the Windows installation, Domain Controller Role/Feature activation and finally the Replication process between the two ends.
See Also
- Hyper-V - Documents