DPM: Step-by-Step How to protect a folder with PowerShell
This guide applies to System Center Data Protection Manager 2016, 1801, 1807
Introduction
The DPM console can sometimes be slow, if you want to do something quick you might choose to use the DPM Shell or PowerShell.
Almost everything that you can do within the DPM console, you can also do with PowerShell, you can find all of the DPM PowerShell cmdlets from the Microsoft docs page: DataProtectionManager
Overview of the environment
Before getting into adding workloads to my protection group, we will quickly have a look at our environment.
Environment details
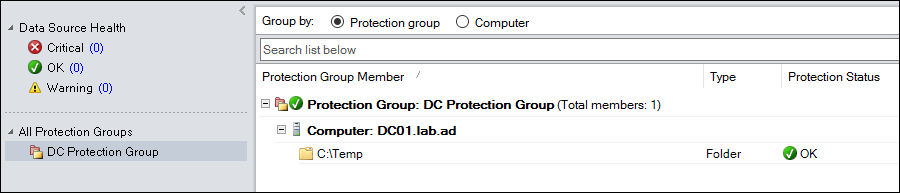
We have a server called “DC01” that is currently being protected in our DPM 1807, our “DC01” server is currently being protected in a protection group called “DC Protection Group”, currently there’s only one (1) folder in the protection group.
OS version: Windows Server 2016

DPM version: 1807

Protected computer: DC01
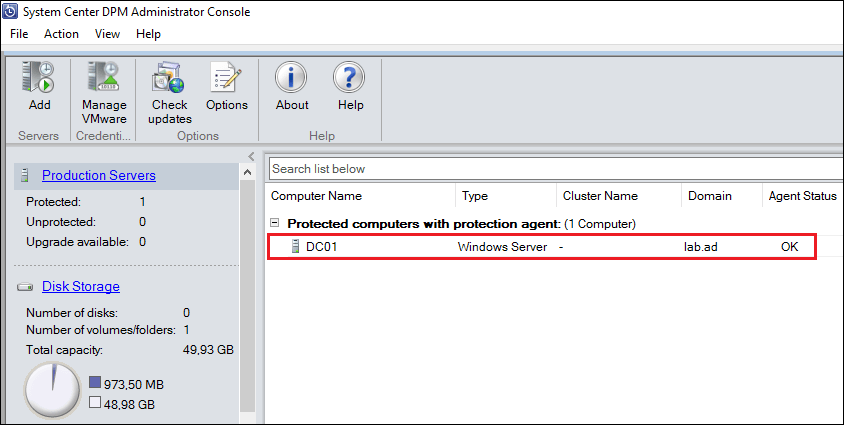
Protection Group: DC Protection Group
Protecting a folder using PowerShell
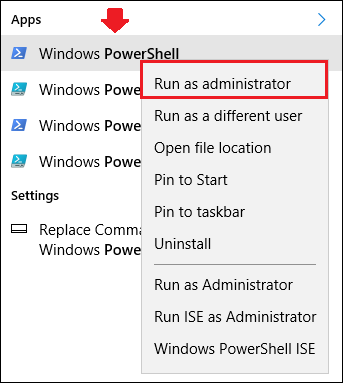
1. Let’s start by opening up a PowerShell (Run as administrator).
2. We will now import the DPM PowerShell module by typing:
Import-Module DataProtectionManager

3. We will now create a variable called $PG (short for “protection group”) and define our protection group “DC Protection Group” as follows:
$PG = Get-DPMProtectionGroup -DPMServerName "DPM" | Where-Object {$_.FriendlyName.ToUpper() -eq "DC Protection Group"}
4. Let’s check what our $PG variable returns:
5. Next we will create a variable called $PS (short for “production server”) where we will define the server where our datasource is located on.
$PS = Get-DPMProductionServer -DPMServerName "DPM" | Where {$_.ServerName -eq "DC01"}


**6. **Here’s what our $PS variable returns:

7. Now we will create a variable called $DS (short for “datasource”) and get the datasource from our production server that is stored in the $PS variable we created in the previous step.
$DS = Get-DPMDatasource -ProductionServer $PS -Inquire
8. The $DS variable returns everything found in the datasource:
9. In this guide we will choose to protect a specific folder from the C:\ drive, so we will select this drive as follows:


$DS = Get-DPMDatasource -ProductionServer $PS -Inquire | Where {$_.Name -eq "C:\"}
10. If we now check what’s stored in the $DS variable, it now only returns the C:\ drive:

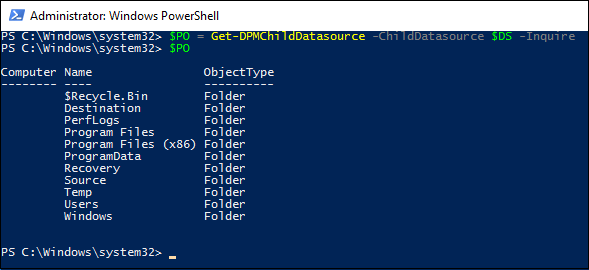
11. We have defined the C:\ drive datasource, we will now create another variable called $PO (short for “protected objects”) that will inquire the items within the C:\ drive and store it to the $PO variable.
$PO = Get-DPMChildDatasource -ChildDatasource $DS -Inquire
12. Our $PO variable contains the following objects:
13. Now we’ll create a variable called $MPG (short for “modifiable protection group”) that will get our protection group “DC Protection Group” in editable mode:
$MPG = Get-DPMModifiableProtectionGroup $PG
14. The $MPG variable will now return our “DC Protection Group”:
15. We will now add the folder we want to our “DC Protection Group”, in Step 12 we have listed the different folders that were found under the C:\ drive of our server DC01.
The list is an array, so that means that numbering will start from 0, 1, 2, 3… and so on. We want to add the **Recovery **folder, if we now count from 0, the Recovery folder would have number 6.
16. Now that we have identified the number in the array, we will add it to our “DC Protection Group” as follows:
Add-DPMChildDatasource -ProtectionGroup $MPG -ChildDatasource $PO.Item(6)17. Since we have the “DC Protection Group” in editable mode we will now have to save our changes, this can be done by using the
Set-DPMProtectionGroup cmdlet.
Set-DPMProtectionGroup -ProtectionGroup $MPG
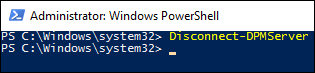
18. We are now done with the PowerShell so we can disconnect our DPM shell session.
Disconnect-DPMServer
19. Let’s go and have a look in the System Center DPM Administrator Console to verify that our Recovery folder has successfully been added to our “DC Protection Group”.
Note: If the console doesn't show the folder, try restarting the console.


We have now successfully added a folder to a protection group by using PowerShell!