Azure: How to Implement Resource Locks
It is common at some point during IT engineers' professional careers to have deleted or removed resources. Errors of this kind are commonly referred to as human error. Microsoft Azure provides an implementation of such policies to apply read-only or block delete resources.
There are two levels of security locks in Azure:
| Info: Azure resource group locks are applied to all resources included in a resource group. |
- Resource group locks
- Read-only*****
- Delete*****
| Info: Azure subscription locks are applied to the entire subscription, i.e. all resource groups and resources within the subscription. |
- Subscription locks
- Read-only*****
- Delete*****
Using Azure locks on development/production deployments in Azure must be one of your most must tasks as an Azure administrator.
*****Read-only - This type of lock prevents users from creating, updating, or deleting resources.
*****Delete - This type of lock prevents resources from being deleted, but allows them to be updated or created.
How to do create a subscription lock.
Let us see how we can create a subscription lock.
In this example, I will show you how to add a read-only lock for all resource groups with their resources under our Azure subscription. The lock prevents you from creating, modifying, or deleting resources within your subscription.
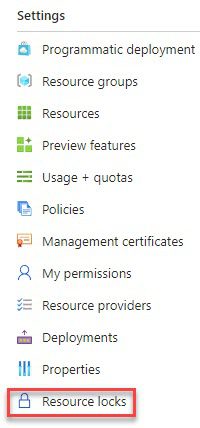
In your Azure subscription left-hand side main blade, select Settings - Resource locks
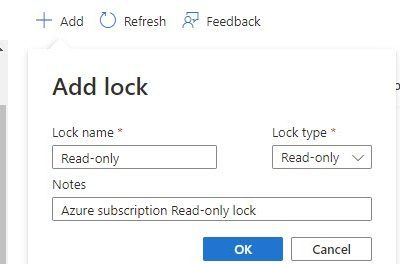
From the Resource locks menu, click + Add and enter the lock properties as the image below depicts.
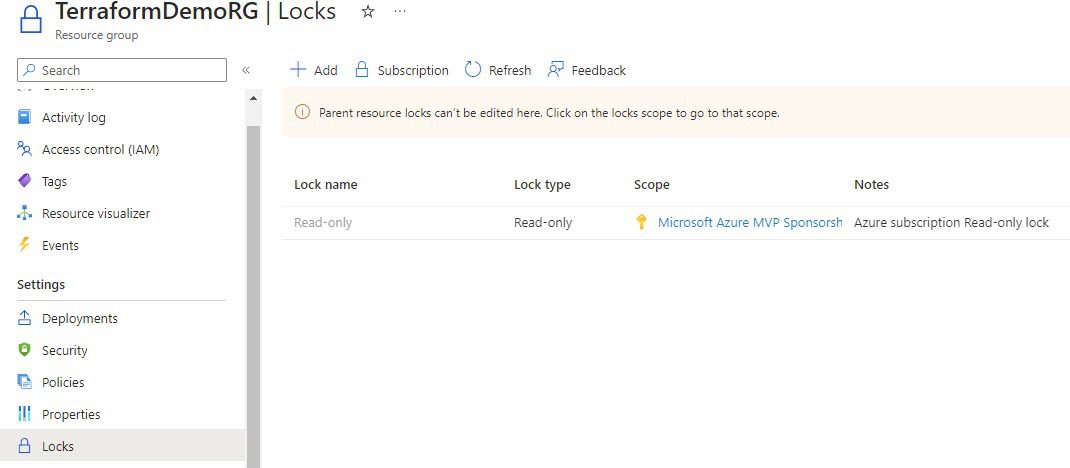
When you enter into a resource group under the subscription for which you have created the Read-only lock, the lock you created earlier will be inherited.
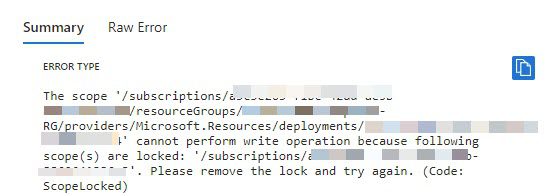
Below is an example of an error message you may receive when creating/modifying a resource.