Connect to Azure Stack Hub
To manage resources, you must connect to the Azure Stack Development Kit. This article details the steps required to connect to the development kit. You can use either of the following connection options:
- Remote Desktop: lets a single concurrent user quickly connect from the development kit.
- Virtual Private Network (VPN): lets multiple concurrent users connect from clients outside of the Azure Stack Hub infrastructure (requires configuration).
Connect to Azure Stack Hub with Remote Desktop
With a Remote Desktop Connection, a single concurrent user can work with the portal to manage resources.
Open a Remote Desktop Connection and connect to the development kit. Enter AzureStack\AzureStackAdmin as the username, and the administrative password that you provided during Azure Stack Hub setup.
From the development kit computer, open Server Manager, click Local Server, turn off Internet Explorer Enhanced Security, and then close Server Manager.
To open the portal, go to
https://portal.local.azurestack.external/and sign in using user credentials.
Connect to Azure Stack Hub with VPN
You can establish a split tunnel VPN connection to an Azure Stack Development Kit. Through the VPN connection you can access the administrator portal, user portal, and locally installed tools such as Visual Studio and PowerShell to manage Azure Stack Hub resources. VPN connectivity is supported in both Microsoft Entra ID and Active Directory Federation Services (AD FS)-based deployments. VPN connections let multiple clients connect to Azure Stack Hub at the same time.
Note
This VPN connection doesn't provide connectivity to Azure Stack Hub infrastructure VMs.
Prerequisites
- Install Azure Stack Hub compatible Azure PowerShell on your local computer.
- Download the tools required to work with Azure Stack Hub.
Configure VPN connectivity
To create a VPN connection to the development kit, open an elevated PowerShell session from your local Windows-based computer and run the following script (make sure to update the IP address and password values for your environment):
# Configure winrm if it's not already configured
winrm quickconfig

Set-ExecutionPolicy RemoteSigned

# Import the Connect module
Import-Module .\Connect\AzureStack.Connect.psm1

# Add the development kit computer's host IP address & certificate authority (CA) to the list of trusted hosts. Make sure to update the IP address and password values for your environment.

$hostIP = "<Azure Stack Hub host IP address>"

$Password = ConvertTo-SecureString `
  "<Administrator password provided when deploying Azure Stack Hub>" `
  -AsPlainText `
  -Force

Set-Item wsman:\localhost\Client\TrustedHosts `
  -Value $hostIP `
  -Concatenate

# Create a VPN connection entry for the local user
Add-AzsVpnConnection `
  -ServerAddress $hostIP `
  -Password $Password
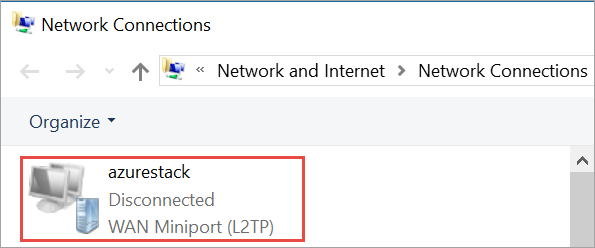
If the setup succeeds, you'll see azurestack in your list of VPN connections.
Connect to Azure Stack Hub
Connect to the Azure Stack Hub instance by using either of the following two methods:
By using the
Connect-AzsVpncommand:Connect-AzsVpn ` -Password $PasswordWhen prompted, trust the Azure Stack Hub host and install the certificate from AzureStackCertificateAuthority onto your local computer's certificate store. The prompt might appear behind the PowerShell session window.
On your local computer, go to Network Settings > VPN > select
azurestack> connect. At the sign-in prompt, enter the username (AzureStack\AzureStackAdmin) and the password.
Test the VPN connectivity
To test the portal connection, open a browser and go to the user portal https://portal.local.azurestack.external/, sign in, and then create resources.
Next steps
Feedback
Coming soon: Throughout 2024 we will be phasing out GitHub Issues as the feedback mechanism for content and replacing it with a new feedback system. For more information see: https://aka.ms/ContentUserFeedback.
Submit and view feedback for