If you already created a VM in Azure Stack Hub, you can find best practices, the availability of sizes, and OS disks and images at Introduction to Azure Stack Hub VMs.
Create a VM
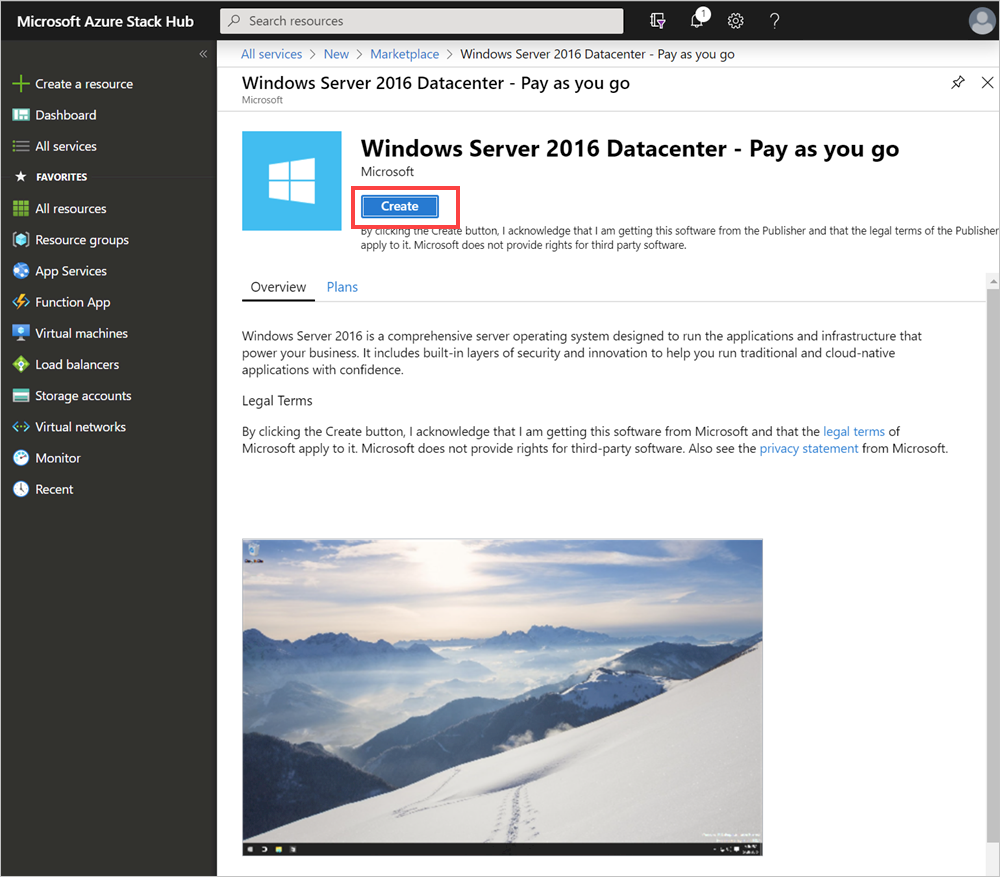
Select Create a resource > Compute. Search for Windows Server 2016 Datacenter - Pay as you use. If you don't see the Windows Server 2016 Datacenter - Pay-as-you-use entry, contact your Azure Stack Hub cloud operator and ask for the image to be added to the Azure Stack Hub Marketplace. For instructions, your cloud operator can refer to Create and publish a custom Azure Stack Hub Marketplace item.
Select Create.
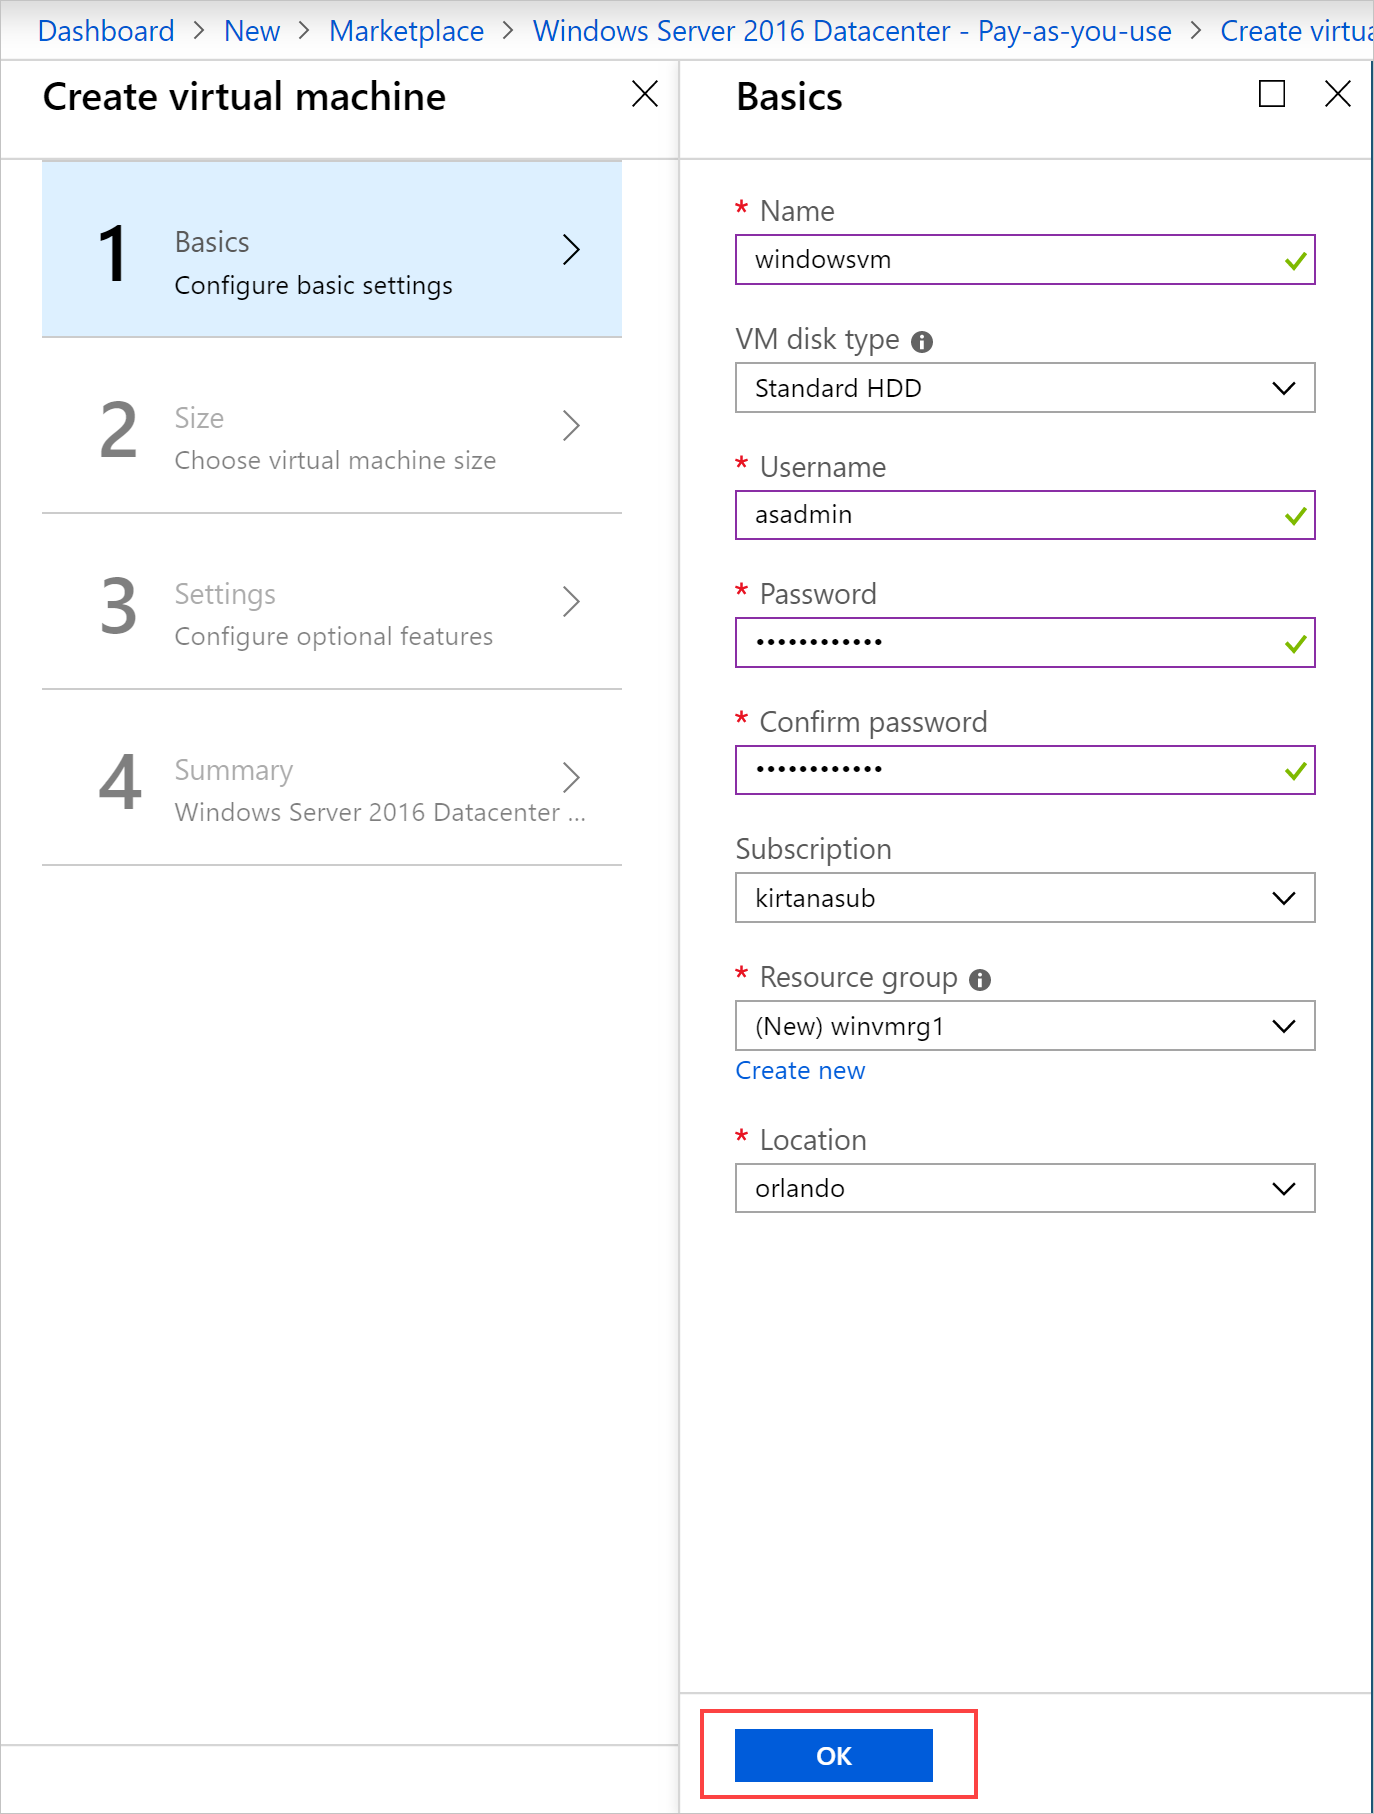
Enter a Name, Disk Type, User name, and Password under Basics. Choose a Subscription. Create a Resource group, or select an existing one, select a Location, and then select OK.
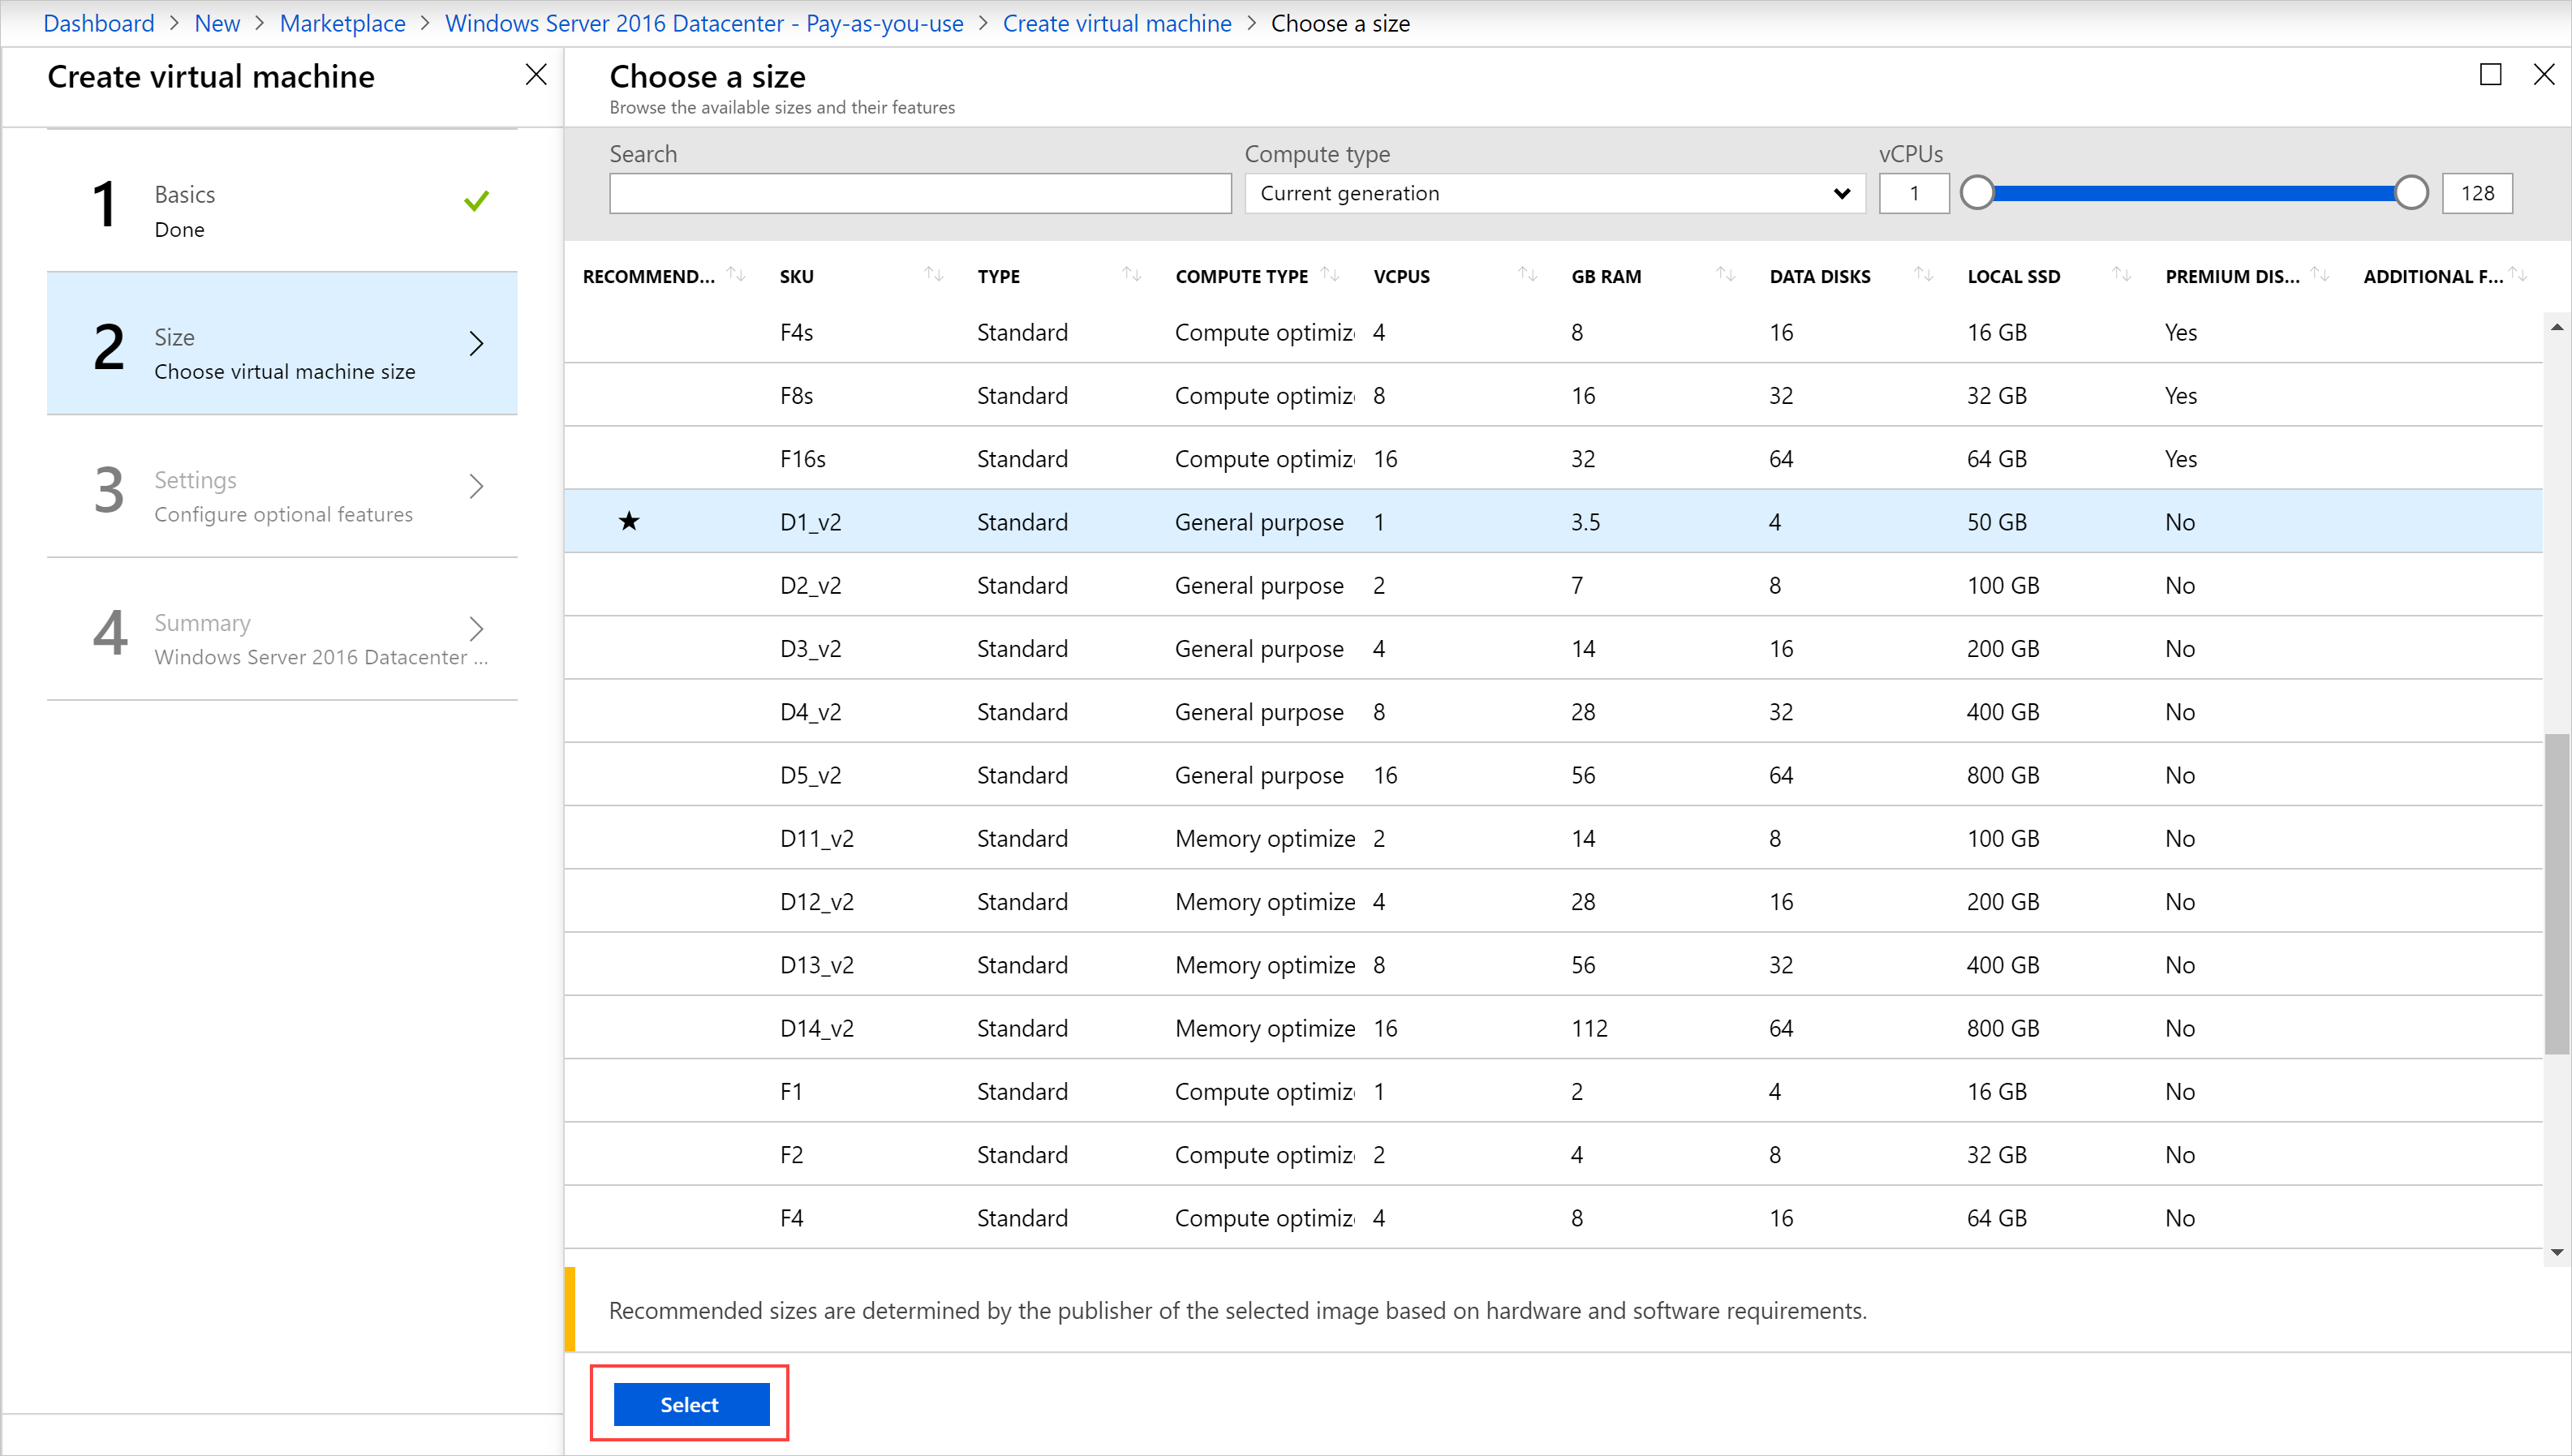
Select D1_v2 under Size, and then choose on Select.
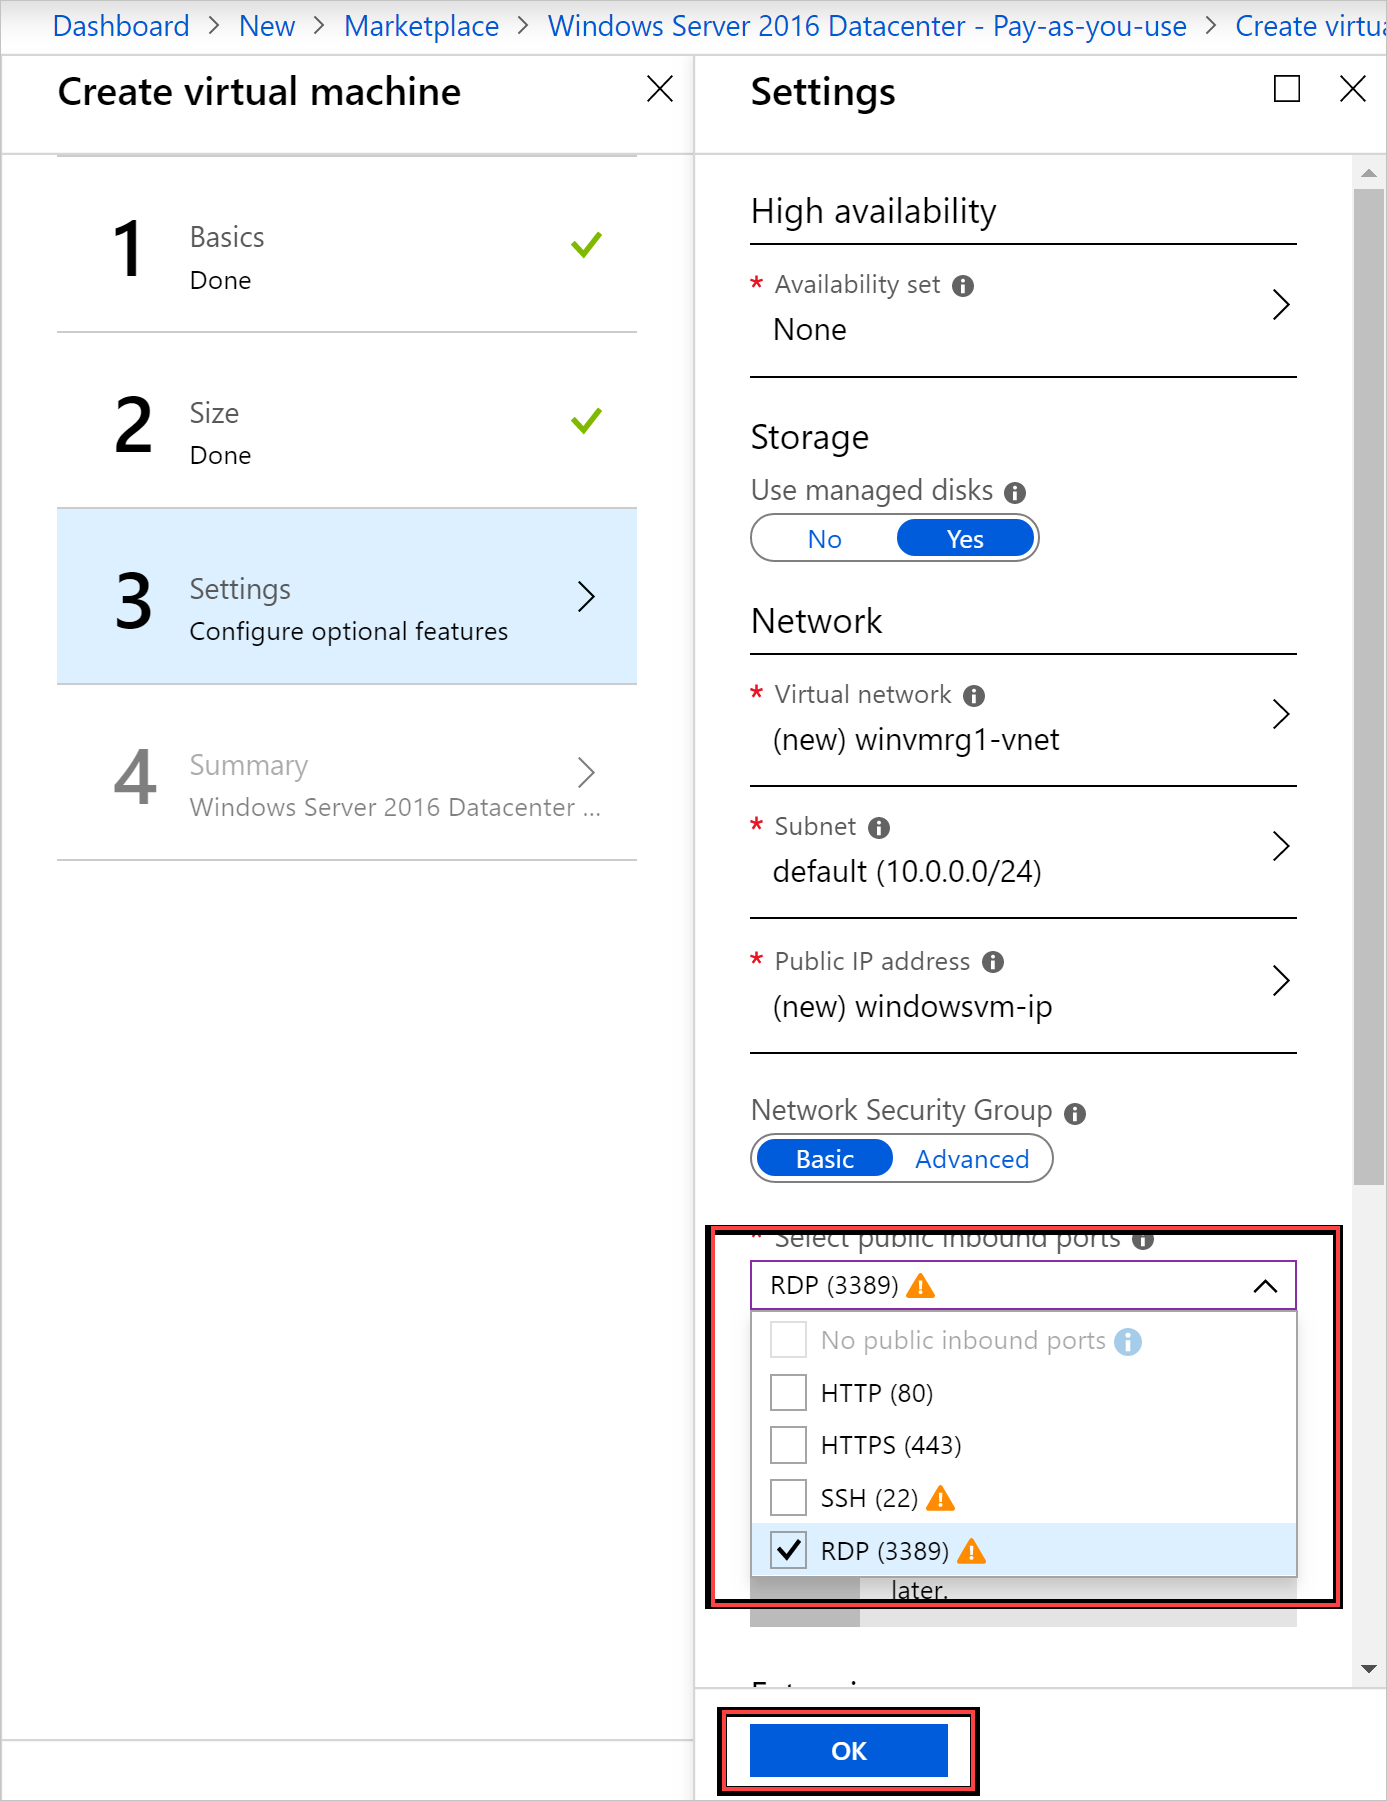
On the Settings page, change the defaults to match your configuration. Configure the public inbound ports from the related drop-down. Then,select OK.
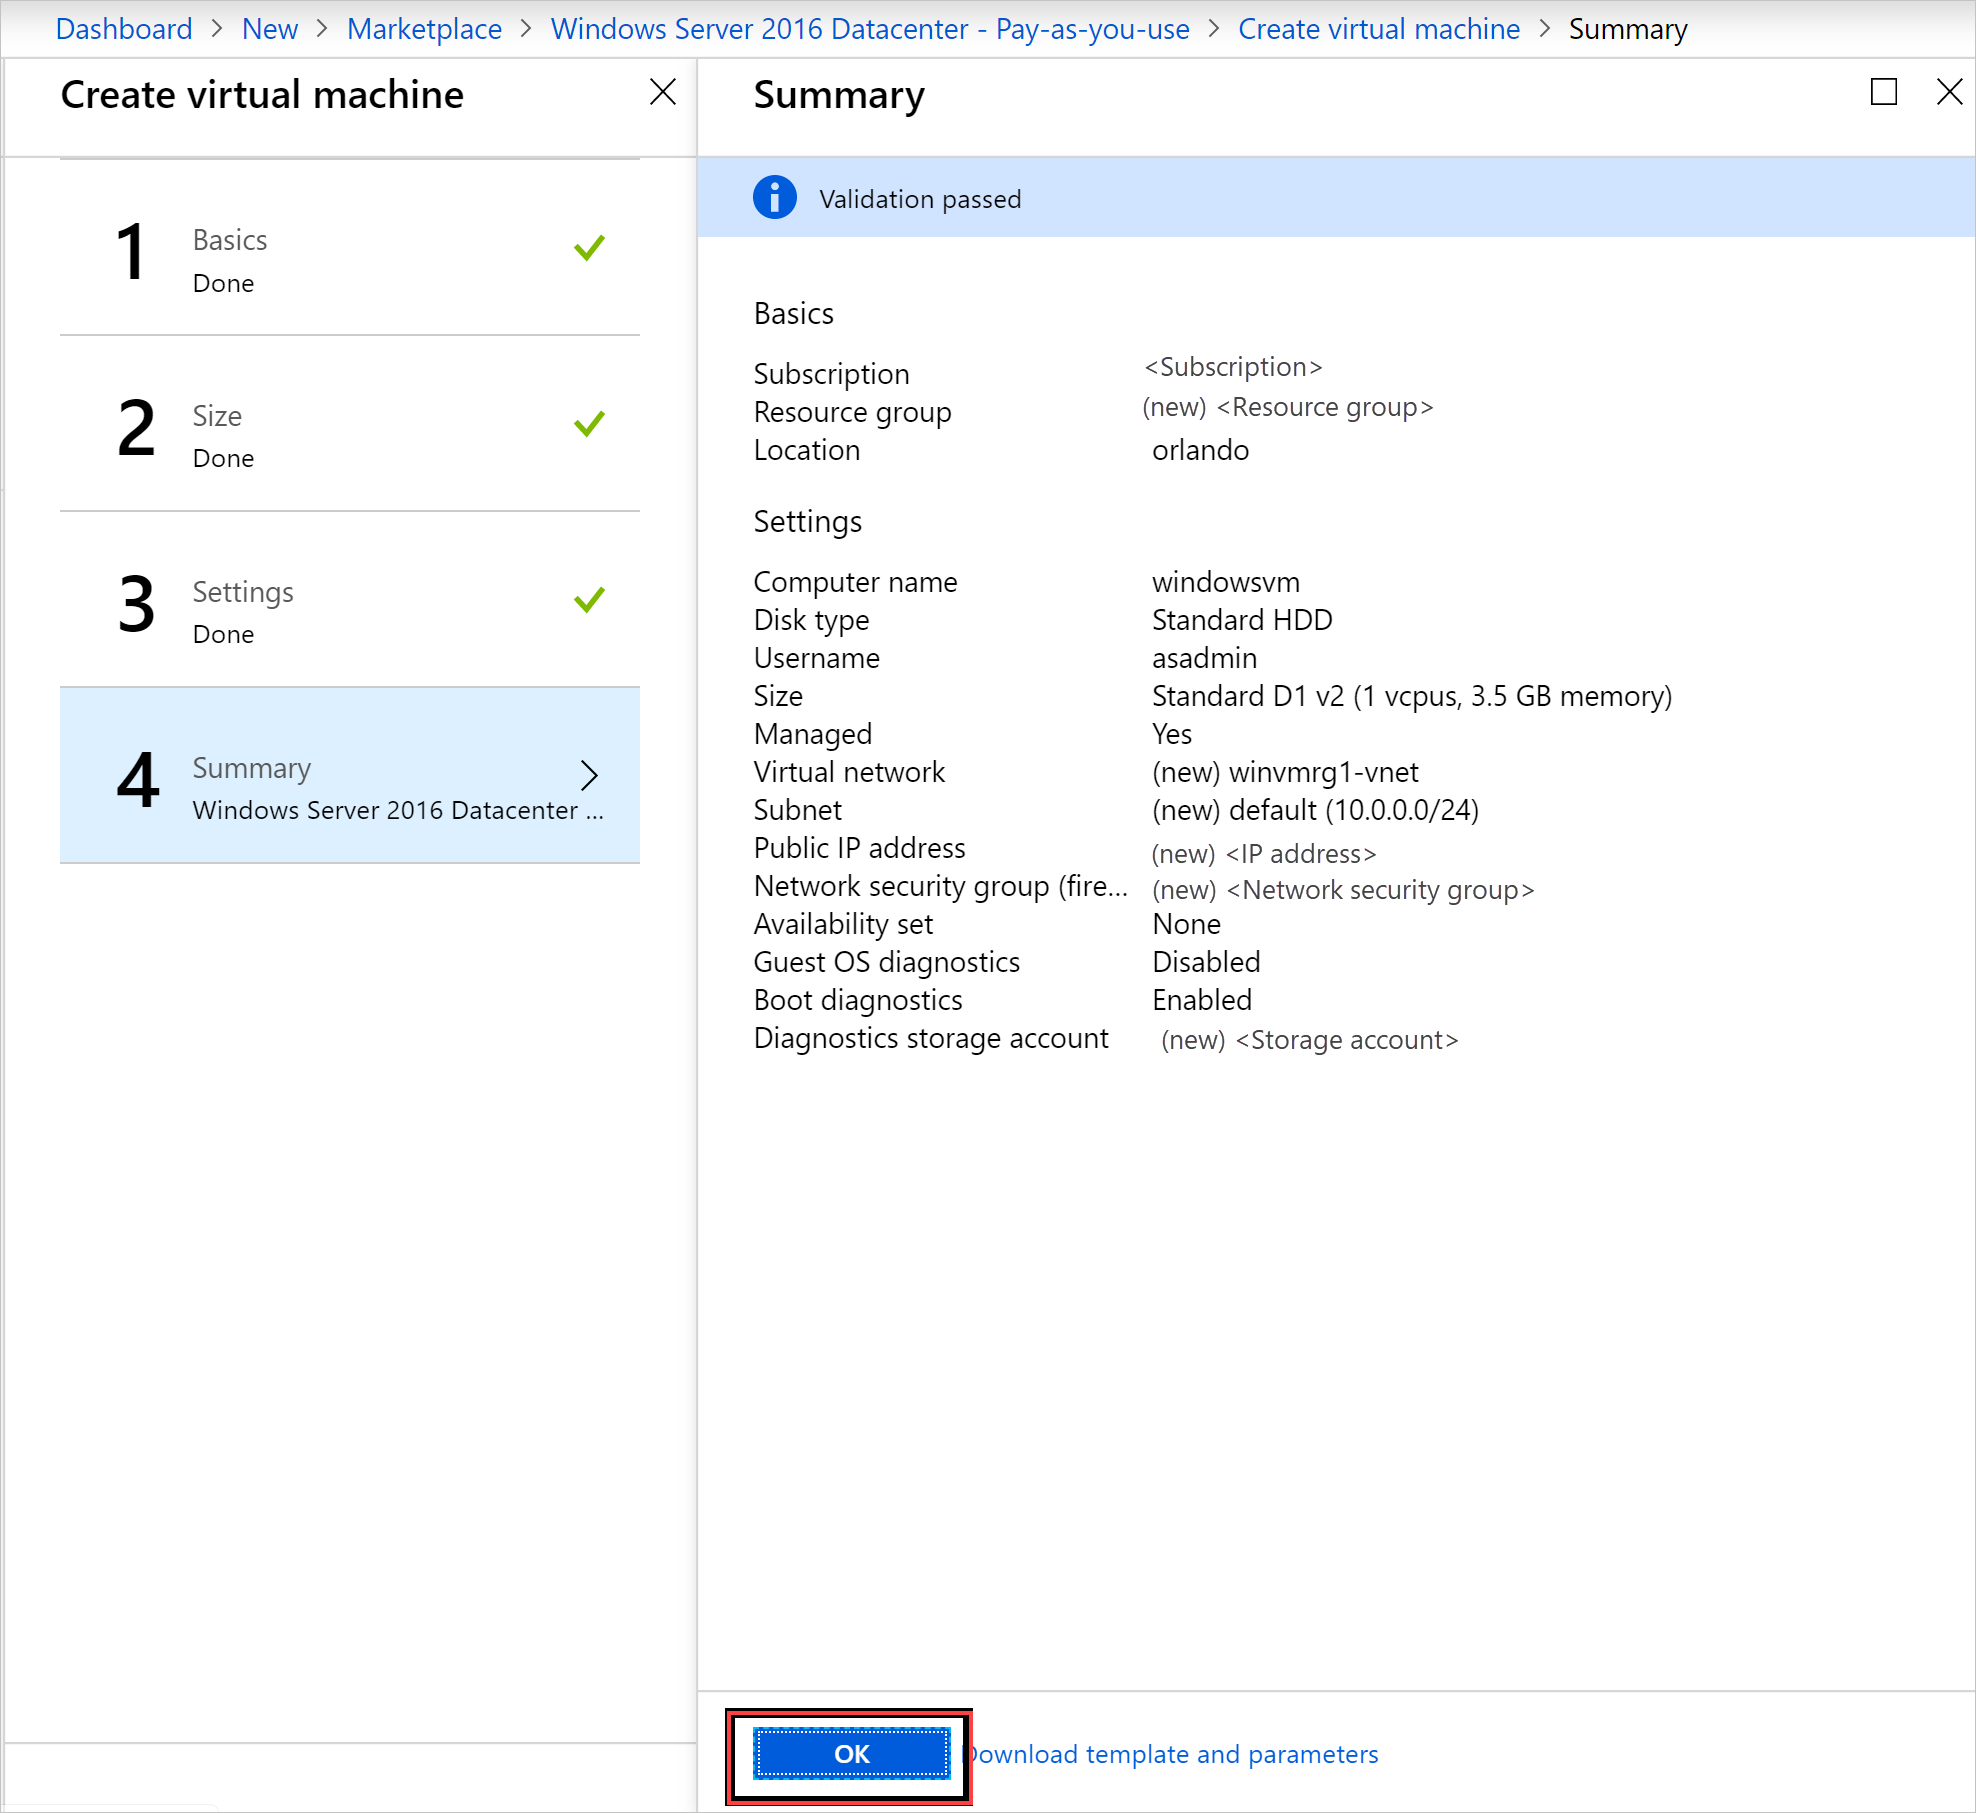
Select OK under Summary to create the VM.
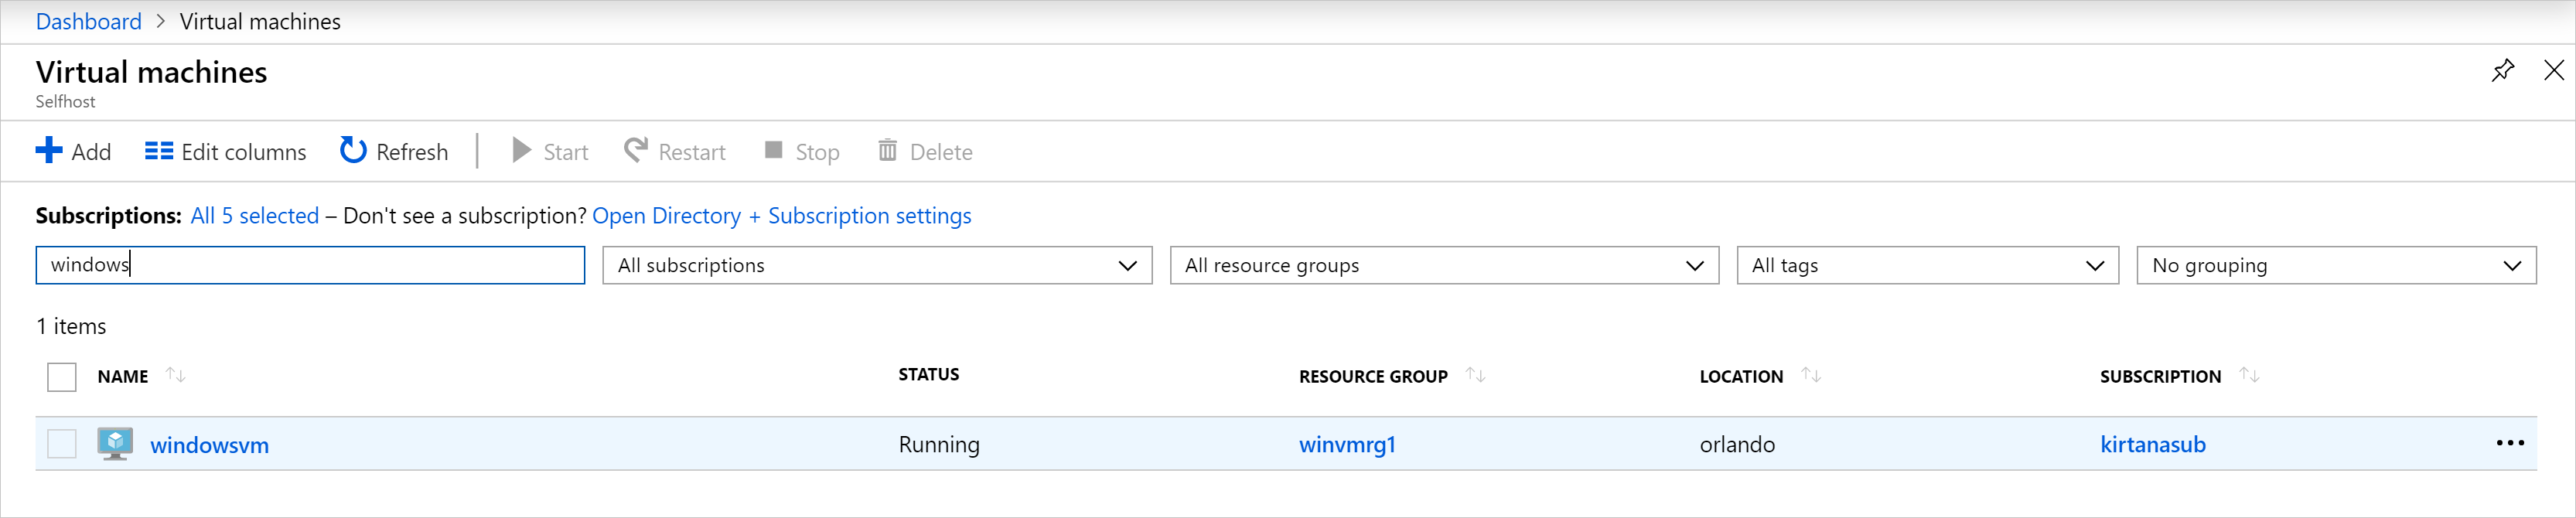
Select Virtual Machines to review your new VM. Search for the VM name, and then select the VM in the search results.
Clean up resources
When you're finished using the VM, delete the VM and its resources. To do so, select the resource group on the VM page and then select Delete.