Note
Access to this page requires authorization. You can try signing in or changing directories.
Access to this page requires authorization. You can try changing directories.
Important
Effective May 1, 2025, Azure AD B2C will no longer be available to purchase for new customers. Learn more in our FAQ.
Before you begin, use the Choose a policy type selector at the top of this page to choose the type of policy you’re setting up. Azure Active Directory B2C offers two methods to define how users interact with your applications: through predefined user flows or through fully configurable custom policies. The steps required in this article are different for each method.
Age gating in Azure Active Directory B2C (Azure AD B2C) enables you to identify minors that want to use your application, with, or without parental consent. You can choose to block the minor from sign-in into the application. Or allow uses to complete the sign-in, and provide the application the minor status.
Important
This feature is in public preview. Do not use feature for production applications.
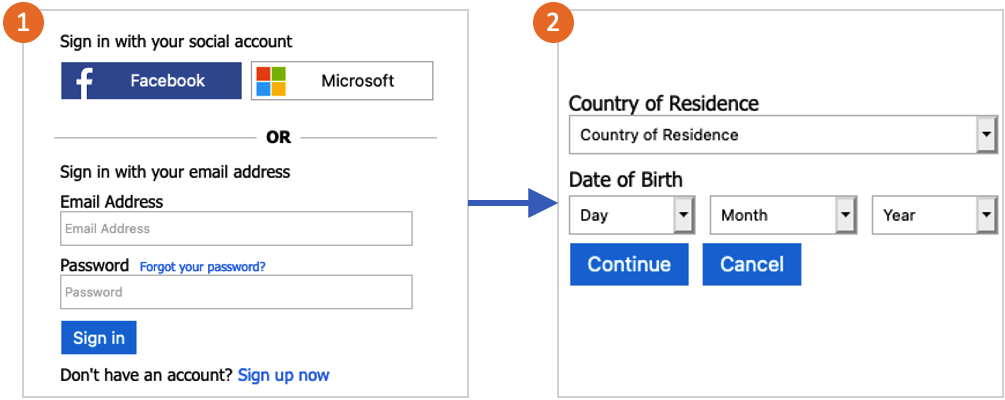
When age gating is enabled for a user flow, users are asked for their date of birth, and country/region of residence. If a user signs in that hasn't previously entered the information, they'll need to enter it the next time they sign in. The rules are applied every time a user signs in.

Azure AD B2C uses the information that the user enters to identify whether they're a minor. The ageGroup field is then updated in their account. The value can be null, Undefined, Minor, Adult, and NotAdult. The ageGroup and consentProvidedForMinor fields are then used to calculate the value of legalAgeGroupClassification.
Prerequisites
- Create a user flow so users can sign up and sign in to your application.
- Register a web application.
- Complete the steps in Get started with custom policies in Active Directory B2C. This tutorial guides you how to update custom policy files to use your Azure AD B2C tenant configuration.
- Register a web application.
Set up your tenant for age gating
To use age gating in a user flow, you need to configure your tenant to have extra properties.
- Use this link to try the age gating preview.
- If you have access to multiple tenants, select the Settings icon in the top menu to switch to your Azure AD B2C tenant from the Directories + subscriptions menu.
- Select All services in the top-left corner of the Azure portal, search for and select Azure AD B2C.
- Select Properties for your tenant in the menu on the left.
- Under the Age gating, select Configure.
- Wait for the operation to complete and your tenant will be set up for age gating.
Enable age gating in your user flow
After your tenant is set up to use age gating, you can then use this feature in user flows where it's enabled. You enable age gating with the following steps:
- Create a user flow that has age gating enabled.
- After you create the user flow, select Properties in the menu.
- In the Age gating section, select Enabled.
- For Sign-up or sign-in, select how you want to manage users:
- Allow minors to access your application.
- Block only minors below age of consent from accessing your application.
- Block all minors from accessing your application.
- For On block, select one of the following options:
- Send a JSON back to the application - this option sends a response back to the application that a minor was blocked.
- Show an error page - the user is shown a page informing them that they can't access the application.
Test your user flow
- To test your policy, select Run user flow.
- For Application, select the web application named testapp1 that you previously registered. The Reply URL should show
https://jwt.ms. - Select the Run user flow button.
- Sign-in with a local or social account. Then select your country/region of residence, and date of birth that simulate a minor.
- Repeat the test, and select a date of birth that simulates an adult.
When you sign-in as a minor, you should see the following error message: Unfortunately, your sign on has been blocked. Privacy and online safety laws in your country prevent access to accounts belonging to children.
Enable age gating in your custom policy
- Get the example of an age gating policy on GitHub.
- In each file, replace the string
yourtenantwith the name of your Azure AD B2C tenant. For example, if the name of your B2C tenant is contosob2c, all instances ofyourtenant.onmicrosoft.combecomecontosob2c.onmicrosoft.com. - Upload the policy files.
Next steps
- Learn how to Manage user access in Azure AD B2C.