Integrate with Microsoft Entra application proxy on a Network Device Enrollment Service (NDES) server
Learn how to use Microsoft Entra application proxy to protect your Network Device Enrollment Service (NDES).
Install and register the connector on the NDES server
Sign in to the Microsoft Entra admin center as at least an Application Administrator.
Select your username in the upper-right corner. Verify you're signed in to a directory that uses application proxy. If you need to change directories, select Switch directory and choose a directory that uses application proxy.
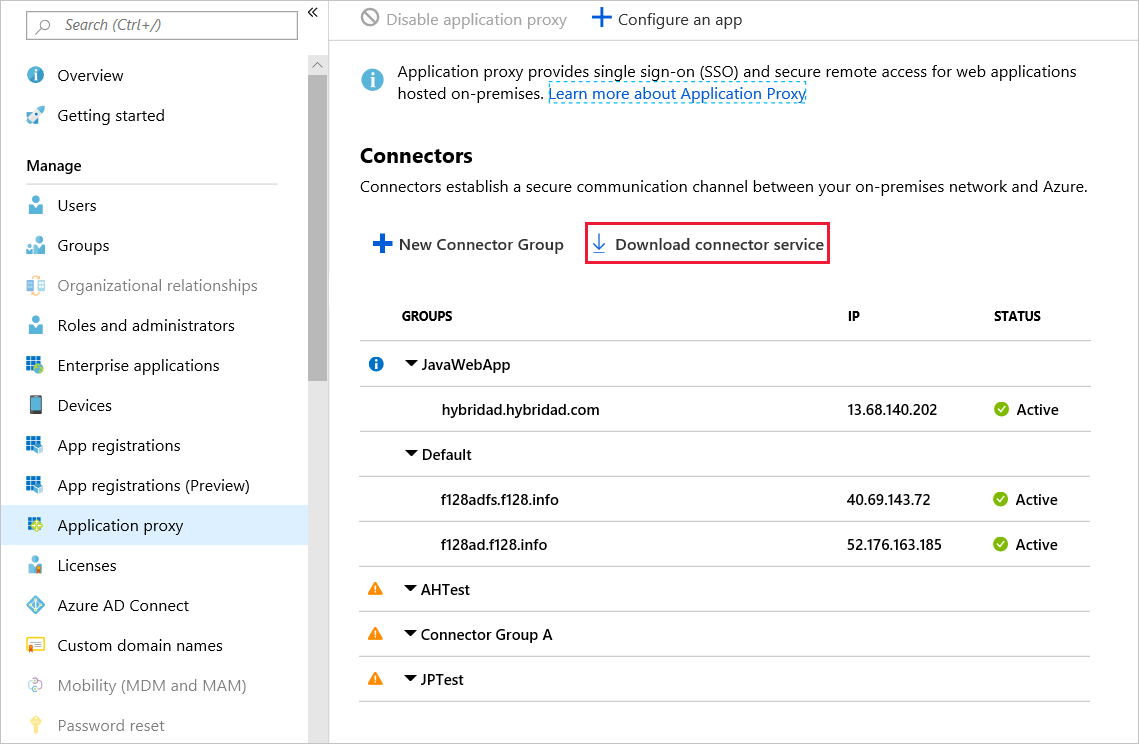
Browse to Identity > Applications > Enterprise applications > Application proxy.
Select Download connector service.
Read the Terms of Service. When you're ready, select Accept terms & Download.
Copy the Microsoft Entra private network connector setup file to your NDES server.
You install the connector on any server within your corporate network with access to NDES. You don't have to install it on the NDES server itself.
Run the setup file, such as MicrosoftEntraPrivateNetworkConnectorInstaller.exe. Accept the software license terms.
During the install, you're prompted to register the connector with application proxy in your Microsoft Entra directory. Provide the credentials for a Global Administrator or Application Administrator in your Microsoft Entra directory. The Microsoft Entra Global Administrator or Application Administrator credentials are often different from your Azure credentials in the portal.
Note
The Global Administrator or Application Administrator account used to register the connector must belong to the same directory where you enable the application proxy service.
For example, if the Microsoft Entra domain is contoso.com, the Global Administrator or Application Administrator should be
admin@contoso.comor another valid alias on that domain.If Internet Explorer Enhanced Security Configuration is turned on for the server where you install the connector, the registration screen might be blocked. To allow access, follow the instructions in the error message, or turn off Internet Explorer Enhanced Security during the install process.
If connector registration fails, see Troubleshoot application proxy.
At the end of the setup, a note is shown for environments with an outbound proxy. To configure the Microsoft Entra private network connector to work through the outbound proxy, run the provided script, such as
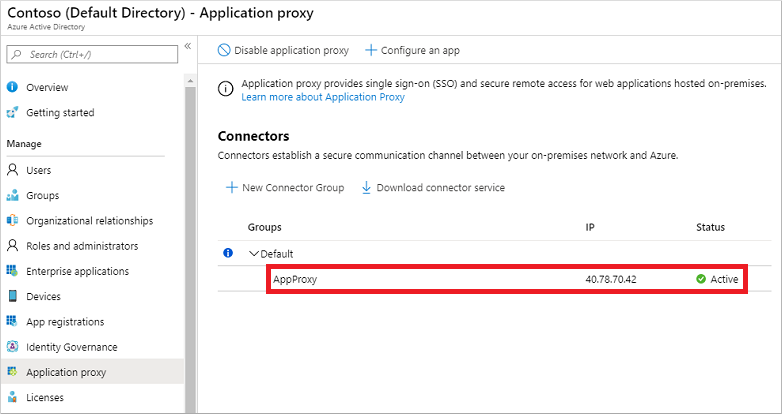
C:\Program Files\Microsoft Entra private network connector\ConfigureOutBoundProxy.ps1.On the Application proxy page in the Microsoft Entra admin center, the new connector is listed with a status of Active, as shown in the example.
Note
To provide high availability for applications authenticating through the Microsoft Entra application proxy, you can install connectors on multiple VMs. Repeat the same steps listed in the previous section to install the connector on other servers joined to the Microsoft Entra Domain Services managed domain.
After successful installation, go back to the Microsoft Entra admin center.
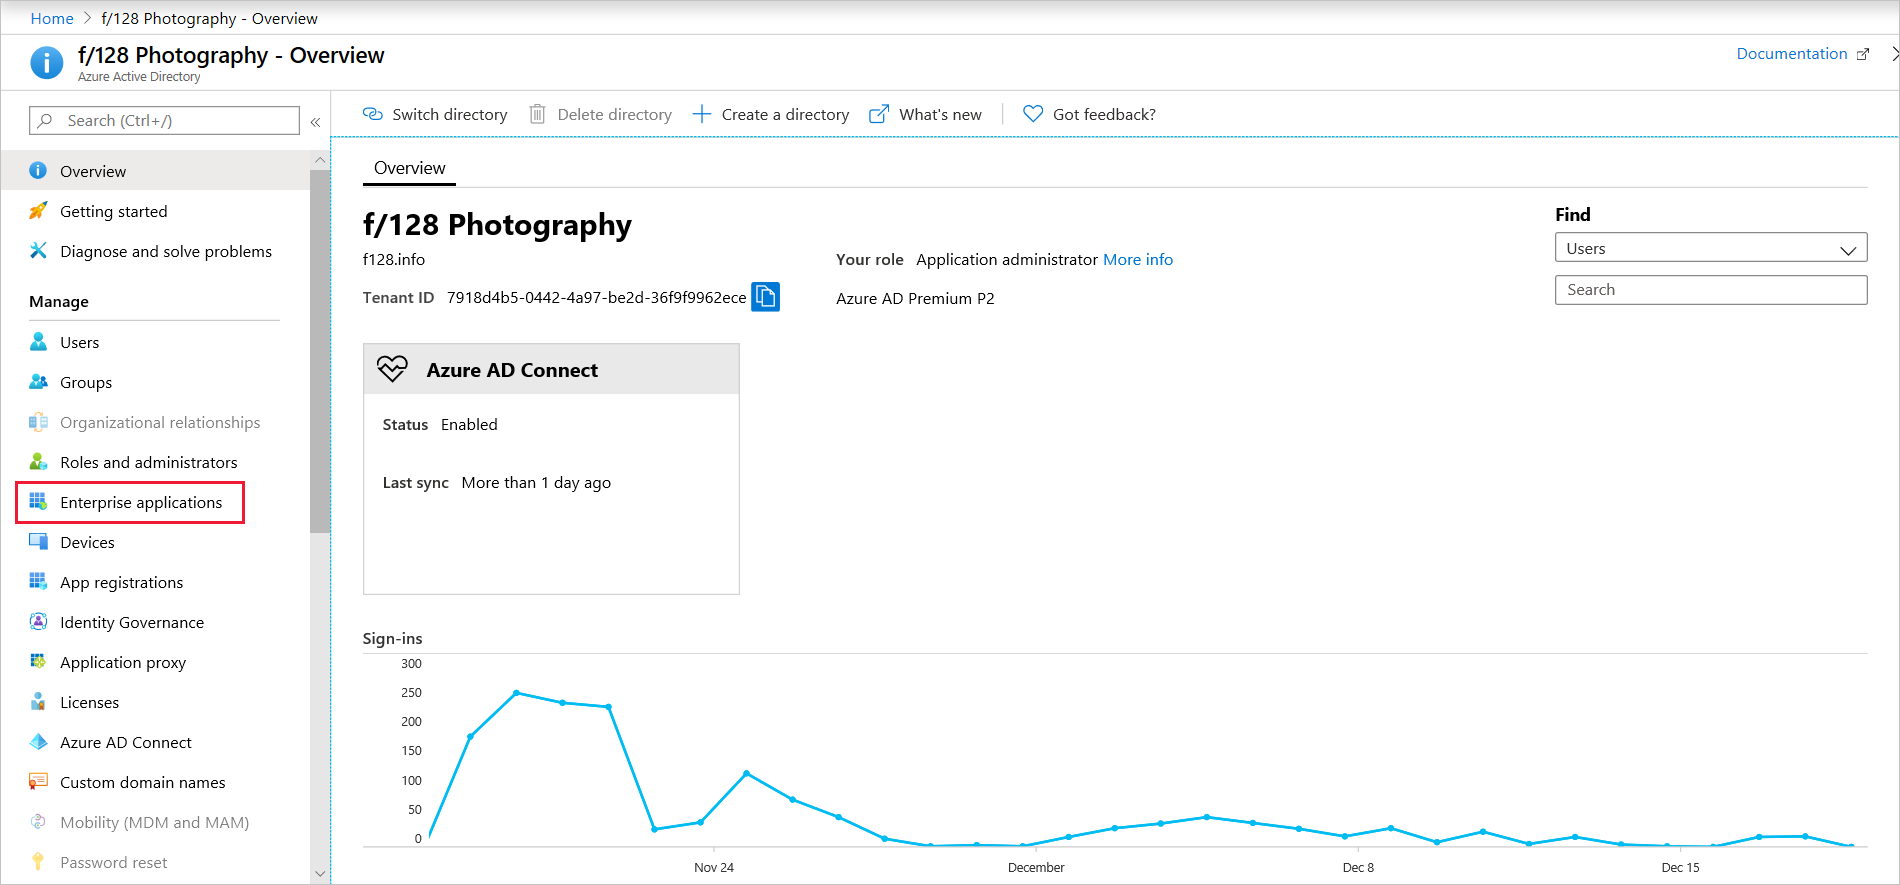
Select Enterprise applications.
Select +New Application, and then select On-premises application.
On the Add your own on-premises application, configure the fields.
Name: Enter a name for the application.
Internal Url: Enter the internal URL/FQDN of your NDES server on which you installed the connector.
Pre Authentication: Select Passthrough. It’s not possible to use any form of pre authentication. The protocol used for Certificate Requests (SCEP) doesn't provide such option.
Copy the provided External URL to your clipboard.
Select +Add to save your application.
Test whether you can access your NDES server via the Microsoft Entra application proxy by pasting the link you copied in step 15 into a browser. You should see a default Internet Information Services (IIS) welcome page.
As a final test, add the mscep.dll path to the existing URL you pasted in the previous step.
https://scep-test93635307549127448334.msappproxy.net/certsrv/mscep/mscep.dllYou should see an HTTP Error 403 – Forbidden response.
Change the NDES URL provided (via Microsoft Intune) to devices. This change could either be in Microsoft Configuration Manager or the Microsoft Intune admin center.
- For Configuration Manager, go to the certificate registration point and adjust the URL. This URL is what devices call out to and present their challenge.
- For Intune standalone, either edit or create a new SCEP policy and add the new URL.