Note
Access to this page requires authorization. You can try signing in or changing directories.
Access to this page requires authorization. You can try changing directories.
Applies to:  Workforce tenants
  External tenants (learn more)
With Microsoft Entra B2B collaboration, you can invite anyone to collaborate with your organization using their own work, school, or social account.
In this quickstart, you'll learn how to add a new guest user to your Microsoft Entra directory in the Microsoft Entra admin center. You'll also send an invitation and see what the guest user's invitation redemption process looks like.
This guide provides the basic steps to invite an external user. To learn about all of the properties and settings that you can include when you invite an external user, see How to create and delete a user.
If you don’t have an Azure subscription, create a free account before you begin.
Prerequisites
To complete the scenario in this quickstart, you need:
A role that allows you to create users in your tenant directory, such as at least a Guest Inviter role or a User Administrator.
Access to a valid email address outside of your Microsoft Entra tenant, such as a separate work, school, or social email address. You'll use this email to create the guest account in your tenant directory and access the invitation.
Invite an external guest user
Sign in to the Microsoft Entra admin center as at least a User Administrator.
Browse to Entra ID > Users.

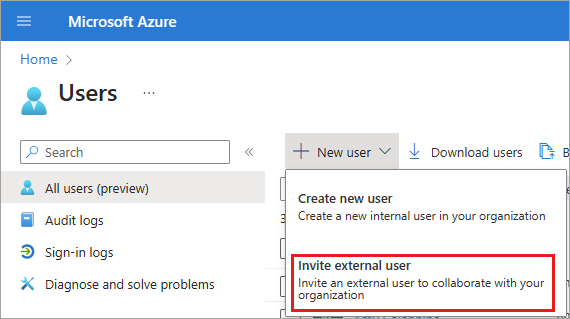
Select Invite external user from the menu.
Basics for external users
In this section, you're inviting the guest to your tenant using their email address. For this quickstart, enter an email address that you can access.
Email: Enter the email address for the guest user you're inviting.
Display name: Provide the display name.
Invitation message: Select the Send invite message checkbox to send an invitation message. When enabling this checkbox, you can also set up the customized short message and another CC recipient.
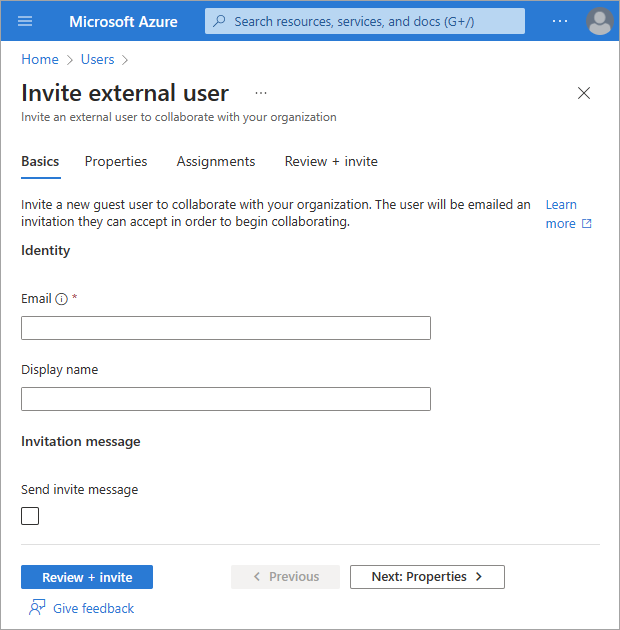
Select the Review and invite button to finalize the process.
Review and invite
The final tab captures several key details from the user creation process. Review the details and select the Invite button if everything looks good.
An email invitation is sent automatically.
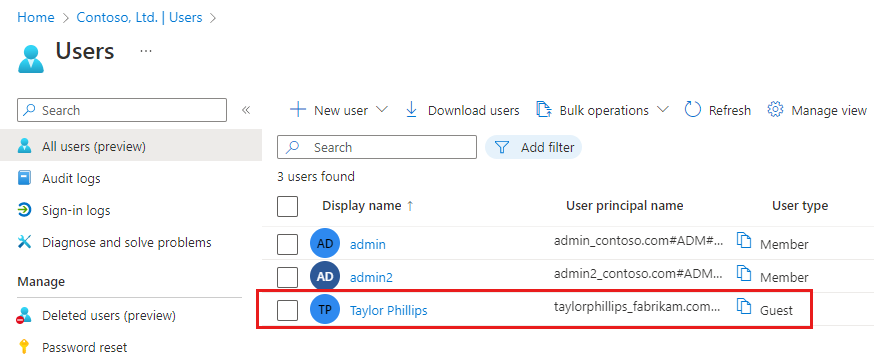
After you send the invitation, the user account is automatically added to the directory as a guest.
Accept the invitation
Now sign in as the guest user to see the invitation.
Sign in to your test guest user's email account.
In your inbox, open the email from "Microsoft Invitations on behalf of Contoso."
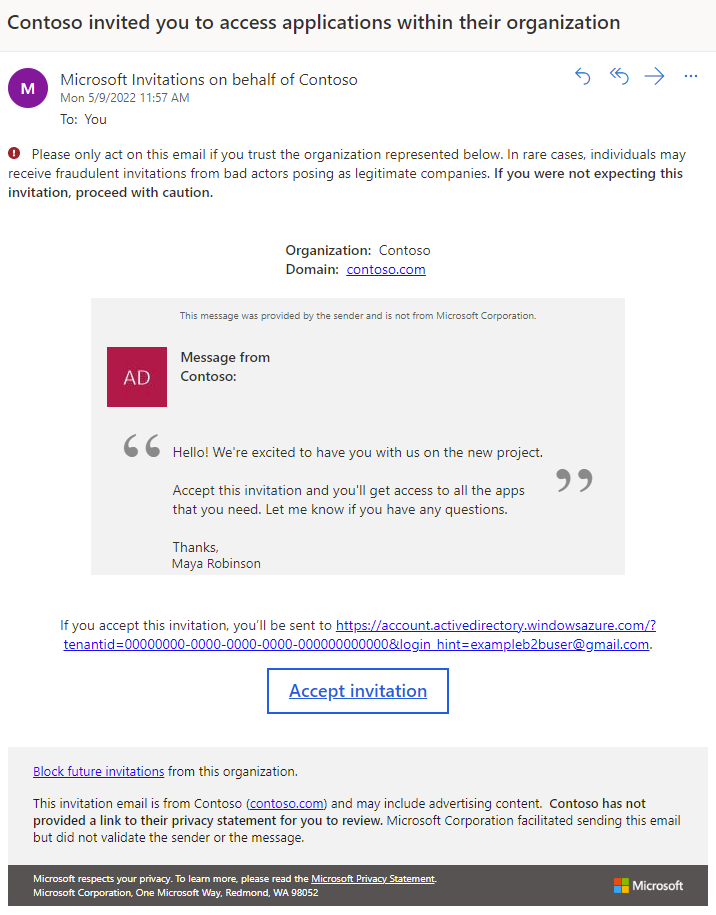
In the email body, select Accept invitation. A Permission requested by: page opens in the browser.
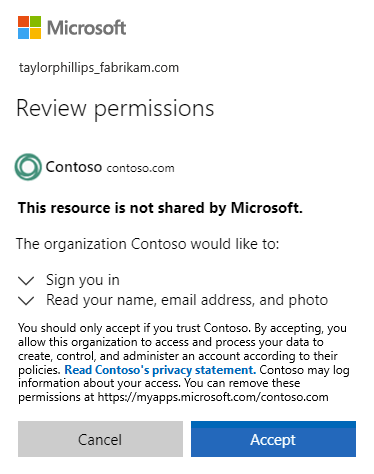
Select Accept.
The My Apps page opens. Because we haven't assigned any apps to this guest user, you'll see the message "There are no apps to show." In a real-life scenario, you would add the guest user to an app so the app would appear here.
Clean up resources
When no longer needed, delete the test guest user.
- Sign in to the Microsoft Entra admin center as at least a User Administrator.
- Browse to Entra ID > Users > User settings.
- Select the test user, and then select Delete user.
Next steps
In this quickstart, you created a guest user in the Microsoft Entra admin center and sent an invitation to share apps. Then you viewed the redemption process from the guest user's perspective, and verified that the guest user was able to access their My Apps page. To learn more about adding guest users for collaboration, see Add Microsoft Entra B2B collaboration users in the Microsoft Entra admin center. To learn more about adding guest users with PowerShell, see Add and invite guests with PowerShell. You can also bulk invite guest users via the admin center or via PowerShell.