Tutorial: Authenticate users in a Node.js CLI application
This tutorial is the final part of a tutorial series that demonstrates building a Node.js command line interface (CLI) app and preparing it for authentication using the Microsoft Entra admin center. In part 2 of this series, you built a Node.js CLI application and prepared it for authentication. This tutorial shows you how to authenticate users in the Node.js CLI application you built.
- Import the required modules and MSAL configuration
- Create an instance of a public client application
- Launch browser window for user interaction
- Create a token request object
- Define function to acquire tokens
- Initiate the authentication flow
- Configure the Node.js CLI application
- Run and test the Node.js CLI application
Import MSAL and the configuration
The CLI application we're building uses the Microsoft Authentication Library for Node to authenticate users. To import the MSAL Node package and the msalConfig and loginRequest configurations defined in the previous tutorial, add the following code to index.js:
const { PublicClientApplication, InteractionRequiredAuthError } = require('@azure/msal-node');
const open = require('open');
const { msalConfig, loginRequest } = require('./authConfig');
In this code snippet, you import the PublicClientApplication and InteractionRequiredAuthError classes from the @azure/msal-node package. You also import the open package that's enables the app to open a browser window for user interaction.
Create an instance of a PublicClientApplication object
To use MSAL Node, you must first create an instance of a PublicClientApplication object using the msalConfig object. The initialized PublicClientApplication object is used to authenticate the user and obtain an access token.
In index.js, add the following code to initialize the public client application:
const pca = new PublicClientApplication(msalConfig);
Launch browser window for user interaction
For users to sign in and consent to the scopes that the app requires, define the openBrowser function that opens a browser window for user interaction, as shown:
const openBrowser = async (url) => {
    open(url);
};
Create a token request object
Next, create a tokenRequest object by combining properties in the loginRequest (imported from authConfig.js) and the openBrowser function by adding the following code to index.js:
const tokenRequest = {
    ...loginRequest,
    openBrowser,
    successTemplate: '<h1>Successfully signed in!</h1> <p>You can close this window now.</p>',
    errorTemplate:
        '<h1>Oops! Something went wrong</h1> <p>Navigate back to the Electron application and check the console for more information.</p>',
};
The successTemplate and errorTemplate are HTML templates used for displaying messages after authentication.
Define function to acquire tokens
To create the acquireToken function that the application uses to obtain an access token for the user, add the following code to index.js:
const acquireToken = async () => {
    const accounts = await pca.getTokenCache().getAllAccounts();
    if (accounts.length === 1) {
        // Try to acquire token silently for the single account.
        // If silent acquisition fails, use interactive authentication.
        const silentRequest = {
            account: accounts[0],
        };
        return pca.acquireTokenSilent(silentRequest).catch((e) => {
            if (e instanceof InteractionRequiredAuthError) {
                return pca.acquireTokenInteractive(tokenRequest);
            }
        });
    } else if (accounts.length > 1) {
        // Multiple accounts found. Prompt the user to select an account.
        accounts.forEach((account) => {
            console.log(account.username);
        });
        return Promise.reject('Multiple accounts found. Please select an account to use.');
    } else {
        // No account found. Use interactive authentication.
        return pca.acquireTokenInteractive(tokenRequest);
    }
};
In this code snippet, the acquireToken function tries to get an access token for a single account silently; if it fails, it uses interactive authentication. If multiple accounts are found, it prompts the user to select an account, and if no account is found, it initiates interactive authentication to prompt the user for sign-in and consent.
Initiate the authentication flow
Finally, call the acquireToken() function to initiate the authentication flow by adding the following code to index.js:
acquireToken()
    .then((response) => {
        console.log(response);
    })
    .catch((e) => {
        console.error(e);
        process.exit(1);
    });
If the call to acquireToken() is successful, the response, which contains an access token, is logged to the console. If there's an error during authentication, the error is logged, and the process exits with an error code.
Run and test the sample Node.js CLI application
To run and test your Node.js CLI application, ensure you've replaced the placeholder values in the authConfig.js file with your Microsoft Entra app registration details. You can now test the application you built by following these steps:
In your terminal, run the following command:
cd 1-Authentication\6-sign-in-node-cli-app\App
npm start
The browser opens up automatically and you should see a page similar to the following:
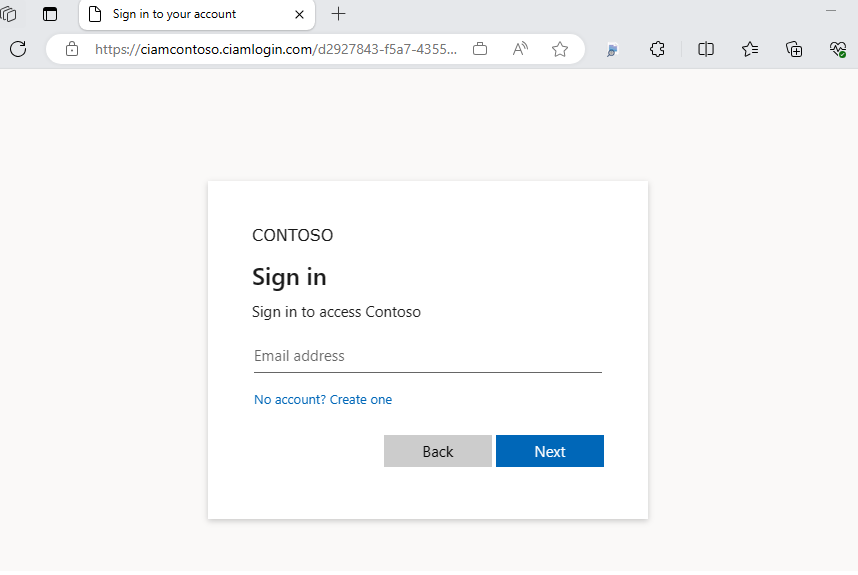
On the sign-in page, type your Email address. If you don't have an account, select No account? Create one, which starts the sign-up flow.
If you choose the sign-up option, after filling in your email, one-time passcode, new password and more account details, you complete the whole sign-up flow. After completing the sign up flow and signing in, you see a page similar to the following screenshot:
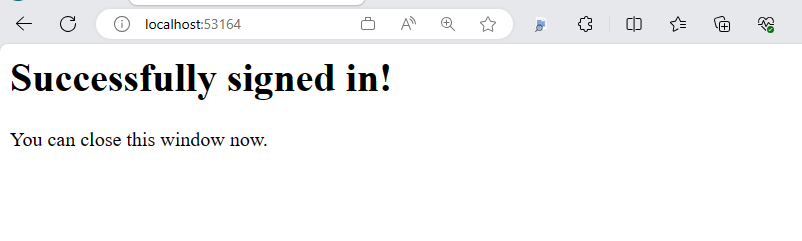
Move back to the terminal and see your authentication information including the ID token claims returned by Microsoft Entra.
See also
Feedback
Coming soon: Throughout 2024 we will be phasing out GitHub Issues as the feedback mechanism for content and replacing it with a new feedback system. For more information see: https://aka.ms/ContentUserFeedback.
Submit and view feedback for