How to customize a synchronization rule
Recommended Steps
You can use the synchronization rule editor to edit or create a new synchronization rule. You need to be an advanced user to make changes to synchronization rules. Any wrong changes may result in deletion of objects from your target directory. Please review the Recommended Documents section. To modify a synchronization rule, go through following steps:
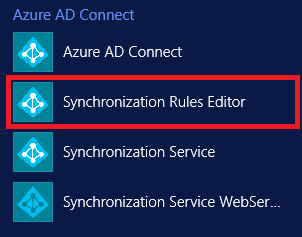
Launch the synchronization editor from the application menu in desktop as shown below:
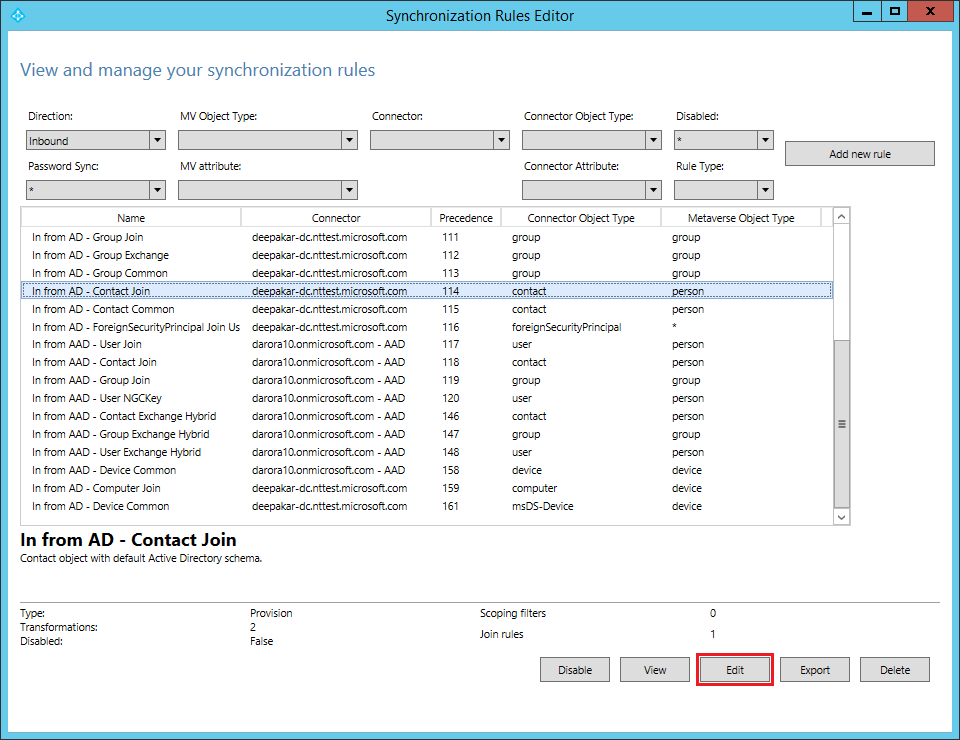
In order to customize a default synchronization rule, clone the existing rule by clicking the “Edit” button on the Synchronization Rules Editor, which will create a copy of the standard default rule and disable it. Save the cloned rule with a precedence less than 100. Precedence determines what rule wins(lower numeric value) a conflict resolution if there's an attribute flow conflict.
When modifying a specific attribute, ideally you should only keep the modifying attribute in the cloned rule. Then enable the default rule so that modified attribute comes from cloned rule and other attributes are picked from default standard rule.
In the case where the calculated value of the modified attribute is NULL, in your cloned rule, and isn't NULL in the default standard rule then, the not NULL value will win and will replace the NULL value. If you don’t want a NULL value to be replaced with a not NULL value, then assign AuthoritativeNull in your cloned rule.
To modify an Outbound rule, change filter from the synchronization rule editor.
Recommended Documents
- Microsoft Entra Connect Sync: Technical Concepts
- Microsoft Entra Connect Sync: Understanding the architecture
- Microsoft Entra Connect Sync: Understanding Declarative Provisioning
- Microsoft Entra Connect Sync: Understanding Declarative Provisioning Expressions
- Microsoft Entra Connect Sync: Understanding the default configuration
- Microsoft Entra Connect Sync: Understanding Users, Groups, and Contacts
- Microsoft Entra Connect Sync: Shadow attributes
Next Steps
Feedback
Coming soon: Throughout 2024 we will be phasing out GitHub Issues as the feedback mechanism for content and replacing it with a new feedback system. For more information see: https://aka.ms/ContentUserFeedback.
Submit and view feedback for