Create and assign a custom role in Azure Active Directory
This article describes how to create new custom roles in Azure Active Directory (Azure AD). For the basics of custom roles, see the custom roles overview. The role can be assigned either at the directory-level scope or an app registration resource scope only.
Custom roles can be created in the Roles and administrators tab on the Azure AD overview page.
Prerequisites
- Azure AD Premium P1 or P2 license
- Privileged Role Administrator or Global Administrator
- AzureADPreview module when using PowerShell
- Admin consent when using Graph explorer for Microsoft Graph API
For more information, see Prerequisites to use PowerShell or Graph Explorer.
Create a role in the Azure portal
Create a new custom role to grant access to manage app registrations
Sign in to the Azure portal.
Select Azure Active Directory > Roles and administrators > New custom role.
On the Basics tab, provide a name and description for the role and then click Next.
On the Permissions tab, select the permissions necessary to manage basic properties and credential properties of app registrations. For a detailed description of each permission, see Application registration subtypes and permissions in Azure Active Directory.
First, enter "credentials" in the search bar and select the
microsoft.directory/applications/credentials/update
permission.Next, enter "basic" in the search bar, select the
microsoft.directory/applications/basic/update
permission, and then click Next.
On the Review + create tab, review the permissions and select Create.
Your custom role will show up in the list of available roles to assign.
Create a role using PowerShell
Connect to Azure
To connect to Azure Active Directory, use the following command:
Connect-AzureAD
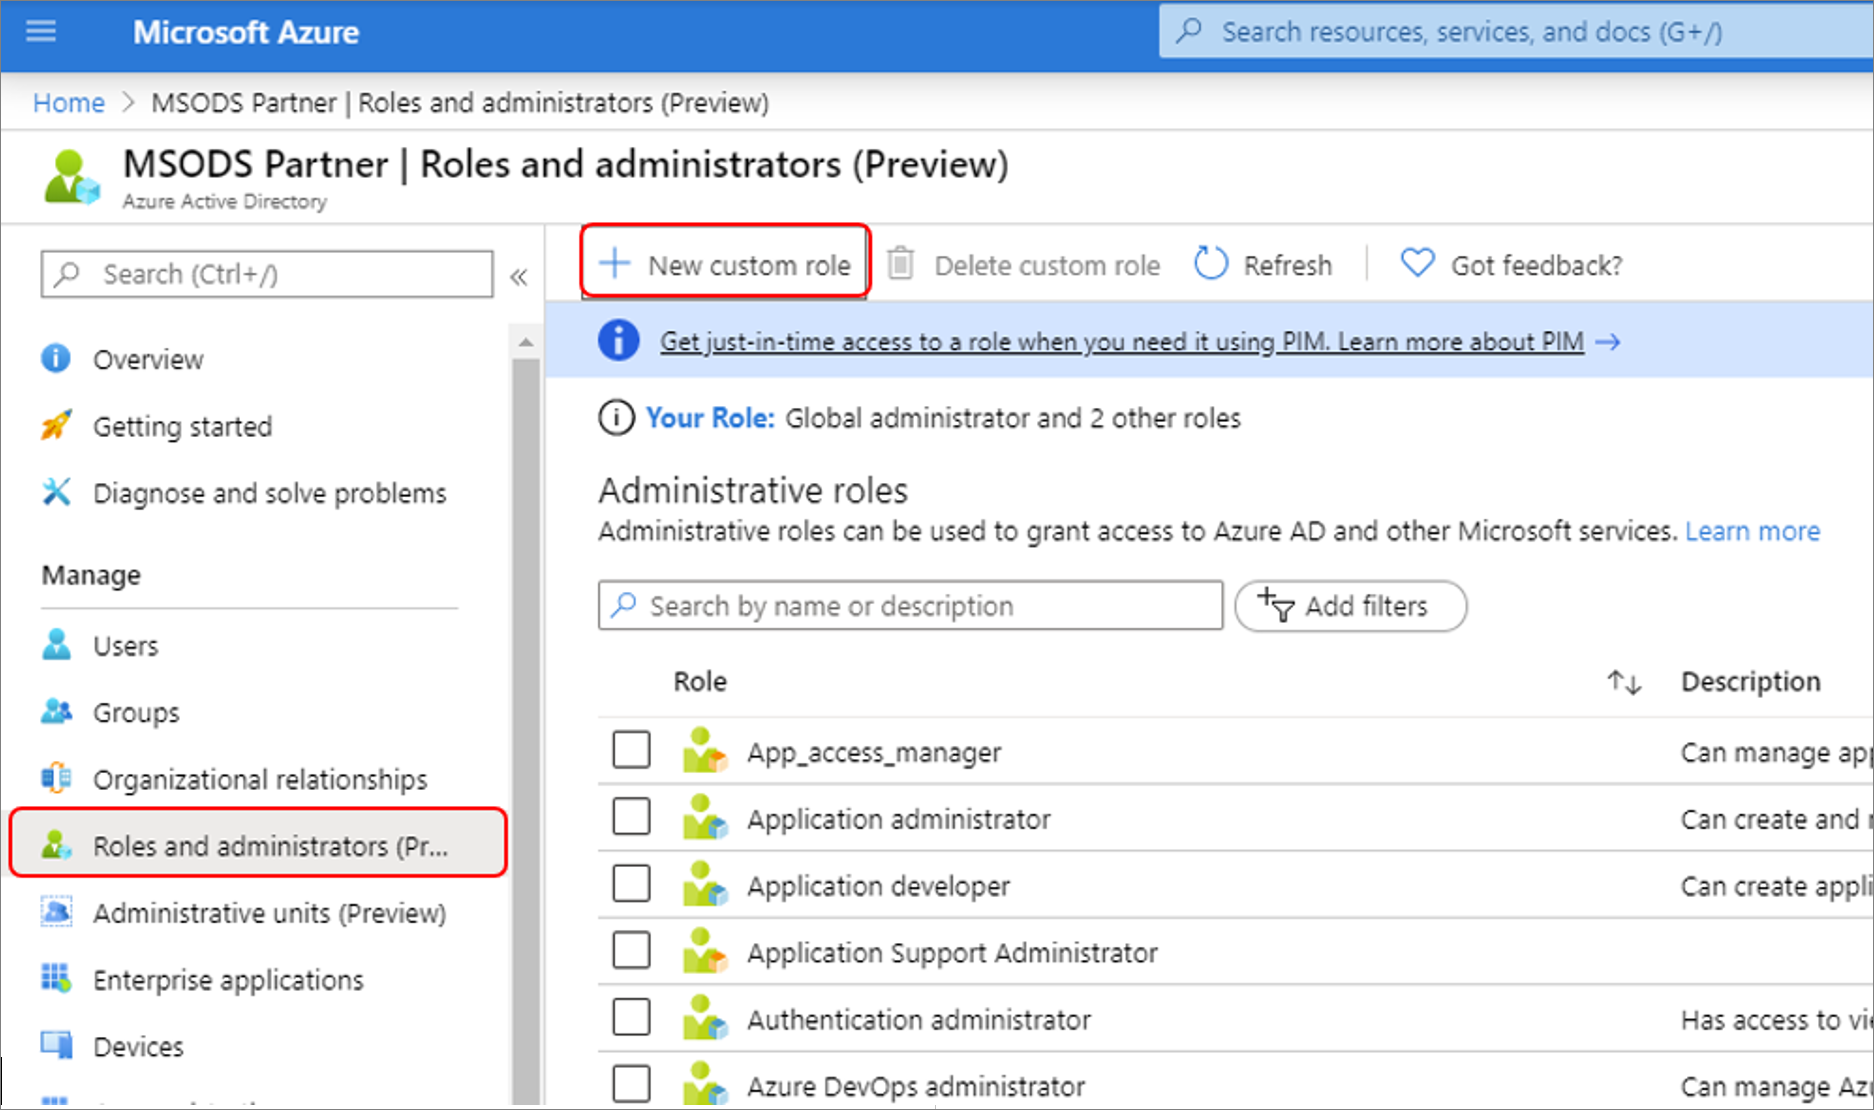
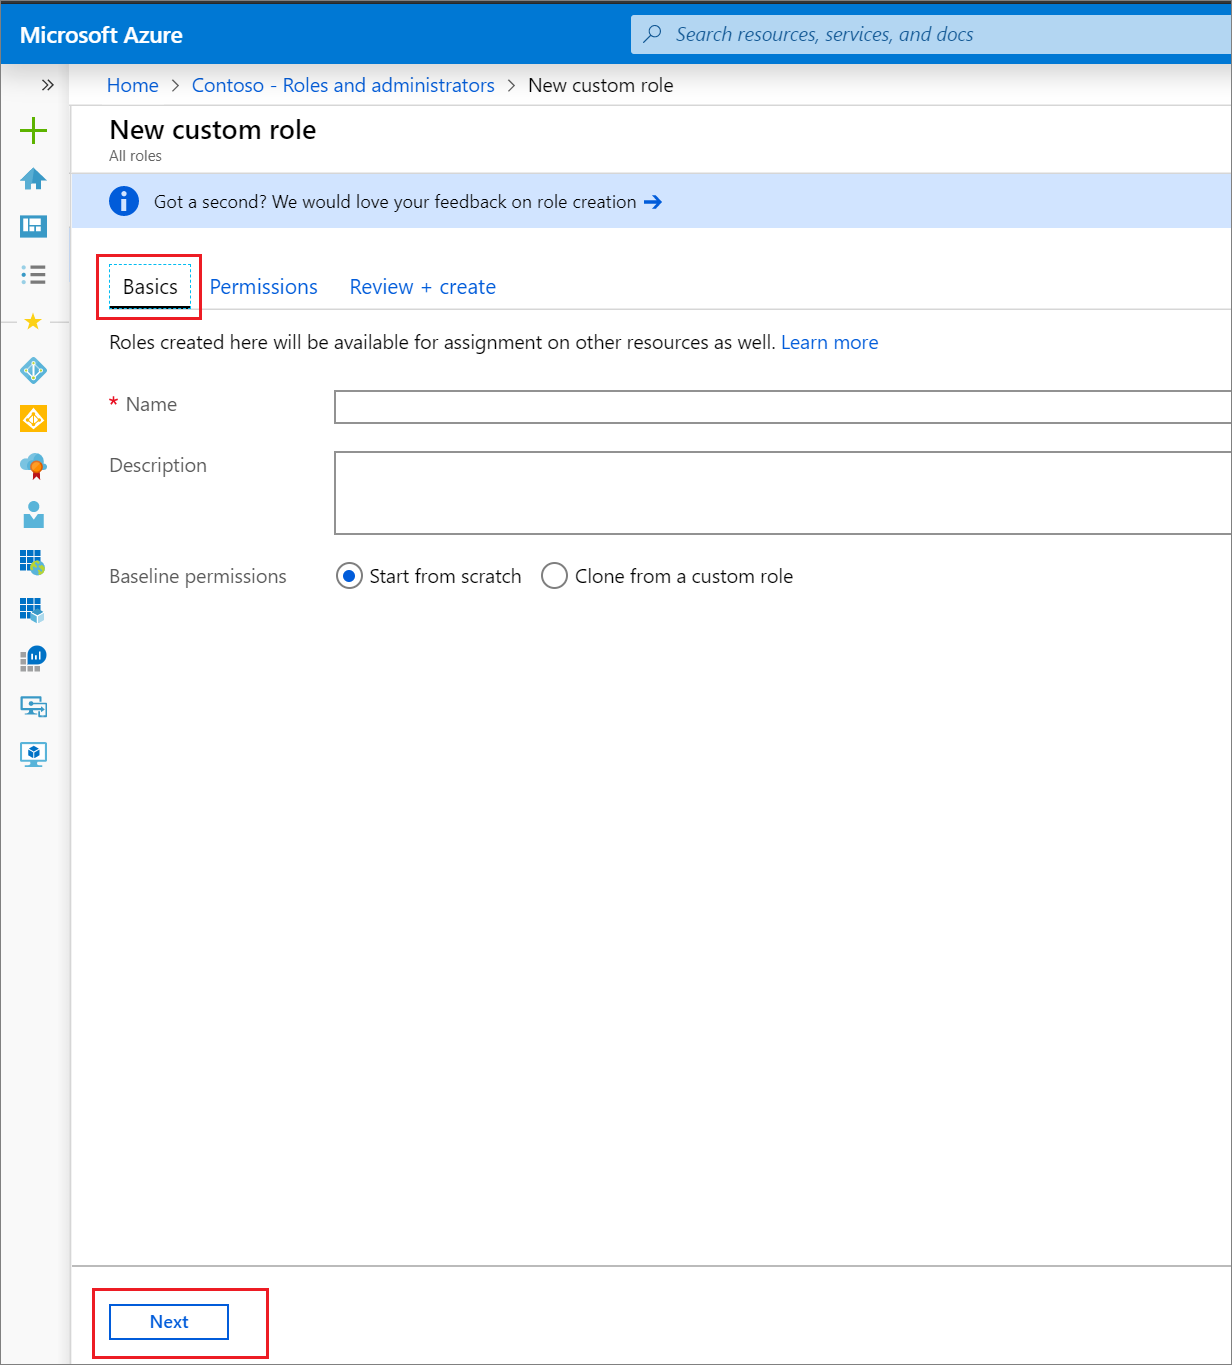
Create the custom role
Create a new role using the following PowerShell script:
# Basic role information
$displayName = "Application Support Administrator"
$description = "Can manage basic aspects of application registrations."
$templateId = (New-Guid).Guid
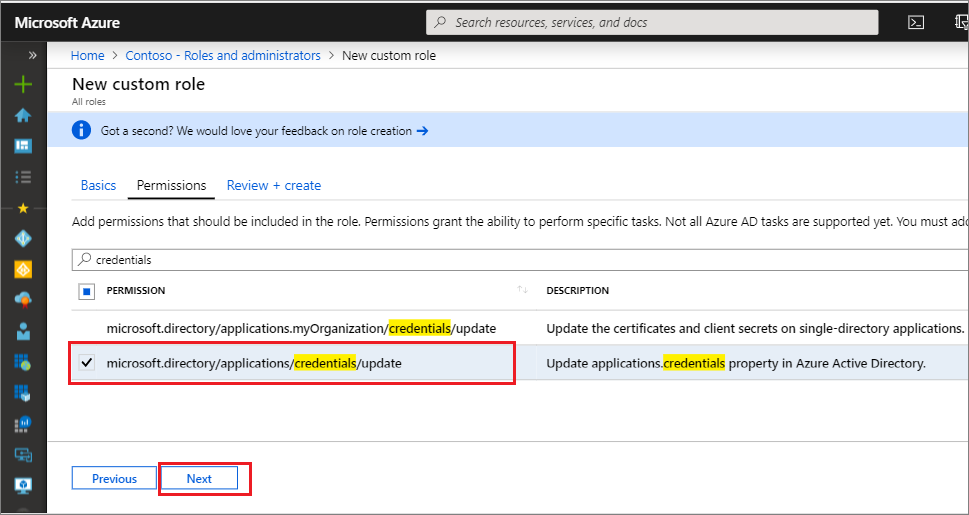
# Set of permissions to grant
$allowedResourceAction =
@(
"microsoft.directory/applications/basic/update",
"microsoft.directory/applications/credentials/update"
)
$rolePermissions = @{'allowedResourceActions'= $allowedResourceAction}
# Create new custom admin role
$customAdmin = New-AzureADMSRoleDefinition -RolePermissions $rolePermissions -DisplayName $displayName -Description $description -TemplateId $templateId -IsEnabled $true
Assign the custom role using PowerShell
Assign the role using the below PowerShell script:
# Get the user and role definition you want to link
$user = Get-AzureADUser -Filter "userPrincipalName eq 'cburl@f128.info'"
$roleDefinition = Get-AzureADMSRoleDefinition -Filter "displayName eq 'Application Support Administrator'"
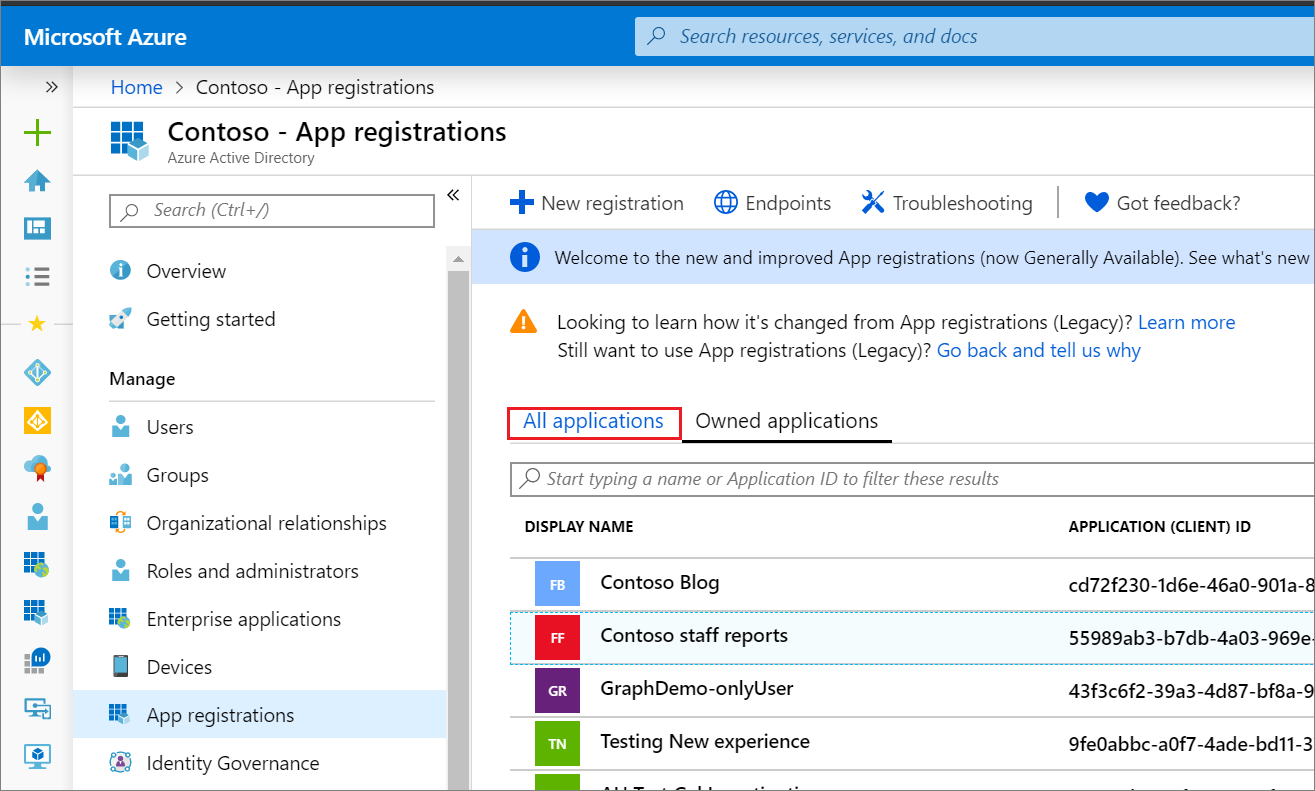
# Get app registration and construct resource scope for assignment.
$appRegistration = Get-AzureADApplication -Filter "displayName eq 'f/128 Filter Photos'"
$resourceScope = '/' + $appRegistration.objectId
# Create a scoped role assignment
$roleAssignment = New-AzureADMSRoleAssignment -DirectoryScopeId $resourceScope -RoleDefinitionId $roleDefinition.Id -PrincipalId $user.objectId
Create a role with the Microsoft Graph API
Use the Create unifiedRoleDefinition API to create a custom role.
POST https://graph.microsoft.com/v1.0/roleManagement/directory/roleDefinitions
Body
{ "description": "Can manage basic aspects of application registrations.", "displayName": "Application Support Administrator", "isEnabled": true, "templateId": "<GUID>", "rolePermissions": [ { "allowedResourceActions": [ "microsoft.directory/applications/basic/update", "microsoft.directory/applications/credentials/update" ] } ] }
Note
The
"templateId": "GUID"
is an optional parameter that's sent in the body depending on the requirement. If you have a requirement to create multiple different custom roles with common parameters, it's best to create a template and define atemplateId
value. You can generate atemplateId
value beforehand by using the PowerShell cmdlet(New-Guid).Guid
.Use the Create unifiedRoleAssignment API to assign the custom role.
POST https://graph.microsoft.com/v1.0/roleManagement/directory/roleAssignments
Body
{ "principalId":"<GUID OF USER>", "roleDefinitionId":"<GUID OF ROLE DEFINITION>", "directoryScopeId":"/<GUID OF APPLICATION REGISTRATION>" }
Assign a custom role scoped to a resource
Like built-in roles, custom roles are assigned by default at the default organization-wide scope to grant access permissions over all app registrations in your organization. Additionally, custom roles and some relevant built-in roles (depending on the type of Azure AD resource) can also be assigned at the scope of a single Azure AD resource. This allows you to give the user the permission to update credentials and basic properties of a single app without having to create a second custom role.
Sign in to the Azure portal with Application Developer permissions.
Select Azure Active Directory > App registrations.
Select the app registration to which you are granting access to manage. You might have to select All applications to see the complete list of app registrations in your Azure AD organization.
In the app registration, select Roles and administrators. If you haven't already created one, instructions are in the preceding procedure.
Select the role to open the Assignments page.
Select Add assignment to add a user. The user will be granted any permissions over only the selected app registration.
Next steps
- Feel free to share with us on the Azure AD administrative roles forum.
- For more about role permissions, see Azure AD built-in roles.
- For default user permissions, see a comparison of default guest and member user permissions.
Feedback
Submit and view feedback for